CAS 5.3.1系列之使用cas overlay搭建服务端(一)
一、CAS服务端搭建
1.1 CAS支持Http登录配置
CAS默认是要https的链接才能登录的,不过学习的话是可以先去掉https限制,本博客介绍的是基于Cas5.3.1的,之前改过4.0,4.2.7的,详情见https://blog.csdn.net/u014427391/category_7266258.html
CAS5.3.1是基于SpringBoot的版本,CAS4.2.7还是SpringMVC版本
cas的服务端搭建有两种常用的方式:
-
- 基于源码的基础上构建出来的
-
- 使用WAR overlay的方式来安装
本文介绍WAR overlay的方式,因为源码的方式,需要搭建gradle环境
ok,先要有git环境,然后使用命令,去github clone代码到本地
git clone -b 5.3.1 https://github.com/apereo/cas-overlay-template.git
然后进行编译:
# cmd命令,然后cd到文件夹里
cd cas-overlay-template
# 构建打包
build package
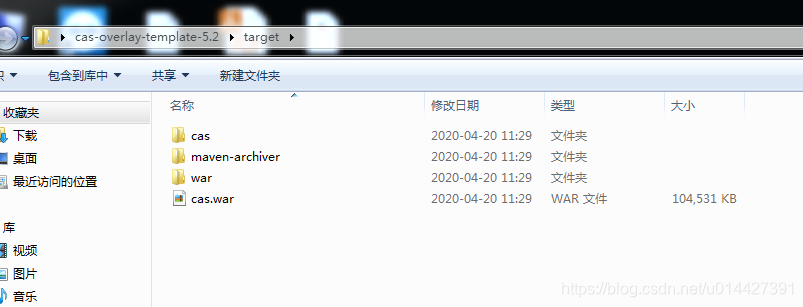
构建成功后,在target里找到cas.war

找到cas.war\WEB-INF\classes \application.properties,加入如下配置:
##
# 支持http方式
#
#开启识别json文件,默认false
cas.serviceRegistry.initFromJson=true
cas.tgc.secure=false
cas.warningCookie.secure=false
cas.war\WEB-INF\classes\services\HTTPSandIMAPS-10000001.json

然后将war包丢到tomcat,访问http://127.0.0.1:8080/cas,输入casuser/Mellon登录
1.2 CAS Https方式登录
如果想要用https方式来登录也是可以的,其实cas默认就是https方式,如果允许可以去阿里购买https证书,不过本文只是以学习为目的,所以就本地搭建模拟
设置域名
打开文件C:\Windows\System32\drivers\etc\hosts添加如下行
127.0.0.1 cas.example.org
生成ssl证书
keytool -genkey -alias cas -keyalg RSA -keysize 2048 -keypass changeit -storepass changeit -keystore casexample.keystore -dname "CN=http://cas.example.org/,OU=casexample.com,O=casexample,L=casexample,ST=casexample,C=CN" -deststoretype pkcs12
然后在apache-tomcat-8.5.54\conf\server.xml,注释原来的8080端口配置

加入8443的配置,表示开启https方式:
<Connector port="8443" protocol="org.apache.coyote.http11.Http11NioProtocol" SSLEnabled="true"
           enableLookups="false"
           acceptCount="100" disableUploadTimeout="true"
           maxThreads="150" scheme="https" secure="true"
           clientAuth="false" sslProtocol="TLS"
           keystoreFile="D:/apache-tomcat-8.5.54/casexample.keystore"
           keystorePass="changeit" />
然后将war包丢到tomcat,访问https://cas.exampl.org:8443/cas,输入casuser/Mellon登录
1.2 CAS服务端部署运行
按照上面方式部署后,将war包丢在Tomcat的webapp里,部署启动,默认账号密码casuser/Mellon,
accept.authn.users=casuser::Mellon

登录成功,当然在项目中,肯定不能这样做,这个需要我们配置jdbc或者加上权限校验等等

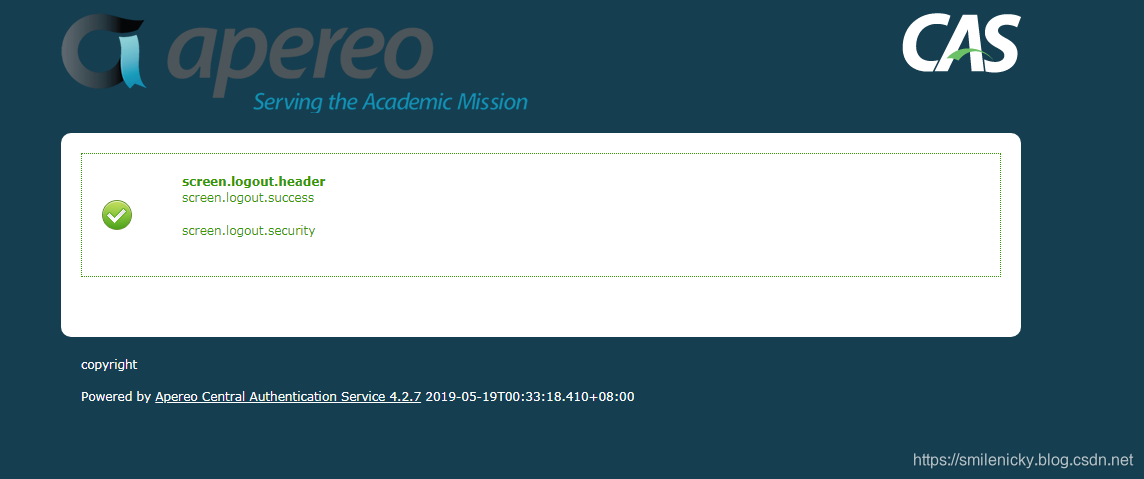
单点登出,链接是http://127.0.0.1:8080/cas/logout

优质参考博客:
https://www.cnblogs.com/jpeanut/tag/CAS/
https://blog.csdn.net/anumbrella/category_7765386.html


