jmeter5.4.3常用配置、脚本
一、CSV 数据文件读取、和写入CSV
读取MYSQL数据库的配置可参考:https://www.cnblogs.com/snailon/articles/17102671.html
1.读取CSV文件(读取文件可以放bin目录下,就可以不用写绝对路径,写文件名称即可)


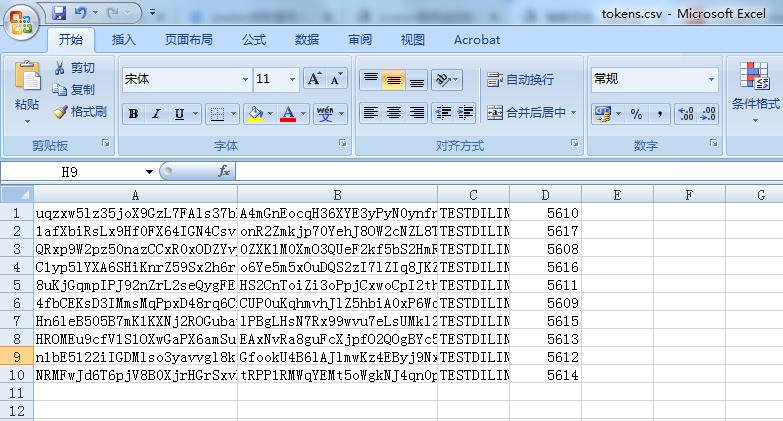
2.提取的值(encryToken,signToken,vin,userId)写入csv,代码如下:
FileWriter fstream = new FileWriter("D:\\dlink\\tokens.csv",true);
BufferedWriter out = new BufferedWriter(fstream);
out.write(vars.get("encryToken")+",");
out.write(vars.get("signToken")+",");
out.write(vars.get("vin")+",");
out.write(vars.get("userId")+",");
out.write(System.getProperty("line.separator"));
out.close();
fstream.close();

jmeter造的业务数据或提取接口返回值时,有时会看到返回值有乱码,可能是编码问题,可以在http请求,加utf-8
参考链接:https://blog.csdn.net/u013302168/article/details/126366082

二、读取Redis

代码片段:
import redis.clients.jedis.Jedis;

// import org.apache.commons.lang3.StringUtils;
String
host = "${redisHost}"; // 服务器地址
int port = ${redisPort}; // 端口号
String password = "${redisAuth}"; // redis密码
int index = 0; // redis db,默认为0
String key = "bff:b2c:code:${key}"; // key值,需要读取数据的键值
Jedis jedis = new Jedis(host, port, true); //云服务Redis时 加true
// jedis.connect()
// if (StringUtils.isNotBlank(password)){
jedis.auth(password);
//}
jedis.select(index); // 选择redis db
String value = jedis.get(key); // 通过key值获取对应value
vars.put("code", value); // 将获取的value值保存到jmeter变量code中 ${code}引用
log.info(value)

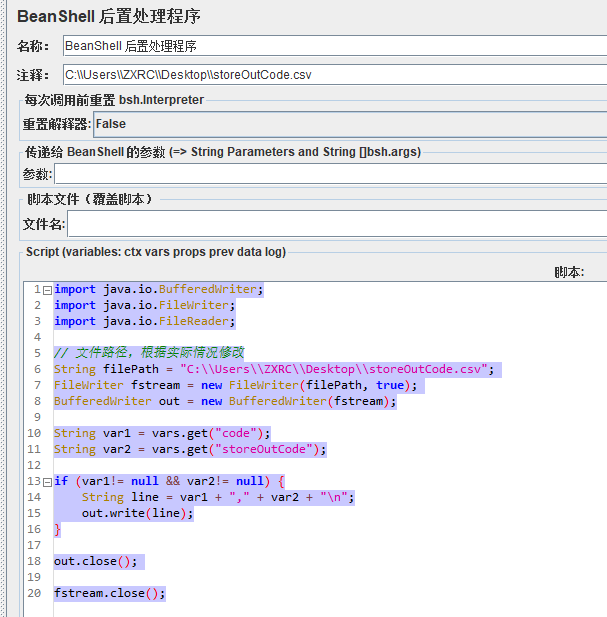
追加值到本地文件
import java.io.BufferedWriter;
import java.io.FileWriter;
import java.io.FileReader;
// 文件路径,根据实际情况修改
String filePath = "C:\\Users\\ZXRC\\Desktop\\storeOutCode.csv";
FileWriter fstream = new FileWriter(filePath, true);
BufferedWriter out = new BufferedWriter(fstream);
String var1 = vars.get("code");
String var2 = vars.get("storeOutCode");
if (var1!= null && var2!= null) {
String line = var1 + "," + var2 + "\n";
out.write(line);
}
out.close();
fstream.close();
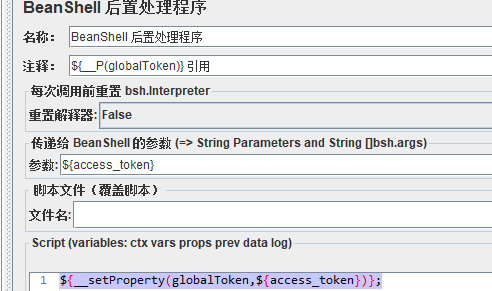
设置全局变量( ${__P(globalToken)} 引用)
${__setProperty(globalToken,${access_token})};
三、JSON提取器取值
匹配验证在线工具:https://www.lddgo.net/string/jsonpath,正则匹配规则可参考:
https://zhuanlan.zhihu.com/p/591796289?utm_id=0
https://blog.csdn.net/weixin_60664821/article/details/127774588?utm_medium=distribute.pc_relevant.none-task-blog-2~default~baidujs_baidulandingword~default-0-127774588-blog-130429863.235^v39^pc_relevant_anti_vip&spm=1001.2101.3001.4242.1&utm_relevant_index=1


四、Bealshell向文本写数据的几种方式

1.字符流
//指定输出文件所在的目录和名字,
String filename = "D://test.txt";//此处可以用txt,也可以用csv
//true为追加写入内容,如果每次都清空重写,将true删掉
FileWriter writer = new FileWriter(filename,true);
String data_name1 = vars.get("name1");//name1是我本地正则表达式提取出来的变量
String data_name2 = vars.get("name2");
writer.write(data_name1+","+data_name2);//多条数据用逗号分割
writer.write("\r\n");//换行操作,用于下一组数据换行展示
writer.close();

2.字节流
String filename = "F://review.txt";
File file = new File(filename);
FileOutputStream fs = new FileOutputStream(file,true);
fs.write("asdada".getBytes());
fs.write("\r\n".getBytes());
fs.close();

3.封装成类
public class JmeterReadAndWrite {
public static void writeTxt(String txtPath, String content){
File file = new File(txtPath);
FileOutputStream fs = new FileOutputStream(file,true);
fs.write(content.getBytes());
fs.write("\r\n".getBytes());
// fs.flush();
fs.close();
}

}
String str = vars.get("review_id");//正确的写法
String txtPath = "F:\\review.txt";
JmeterReadAndWrite.writeTxt(txtPath,str);
原文链接:https://blog.csdn.net/qq_34365469/article/details/101419994

4.循环写入

FileWriter fstream = new FileWriter("/jmeter/src/datacsv/goodsInfofor",true);
BufferedWriter out = new BufferedWriter(fstream);
//log.info(vars.get("goodsName_${__counter(true,)}").replace(" ","-"));for(int i=1; i<${goodsName_matchNr}+1; i++){
goodsName_i = "goodsName_"+i;
// log.info(goodsName_i);
String goodsName = vars.get(goodsName_i).replace(" ","-");
goodsId_i = "goodsId_"+i;
String goodsId = vars.get(goodsId_i);
goodsColorId_i = "goodsColorId_"+i;
String goodsColorId = vars.get(goodsColorId_i);
goodsColorName_i = "goodsColorName_"+i;
String goodsColorName = vars.get(goodsColorName_i);
// log.info(goodsName);
out.write(goodsName+","+goodsId+","+goodsColorId+","+goodsColorName+"\n");
}
out.close();
fstream.close();
五、设置线程组之间共享的全局变量

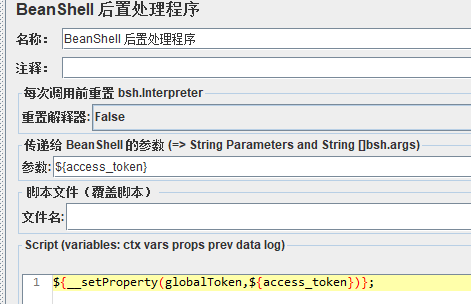
其他线程引用用 ${__P(globalToken)}
六、获取时间
https://blog.csdn.net/qq_36841447/article/details/134969542
七、接口返回值部分属性更新,作为下一个接口入参

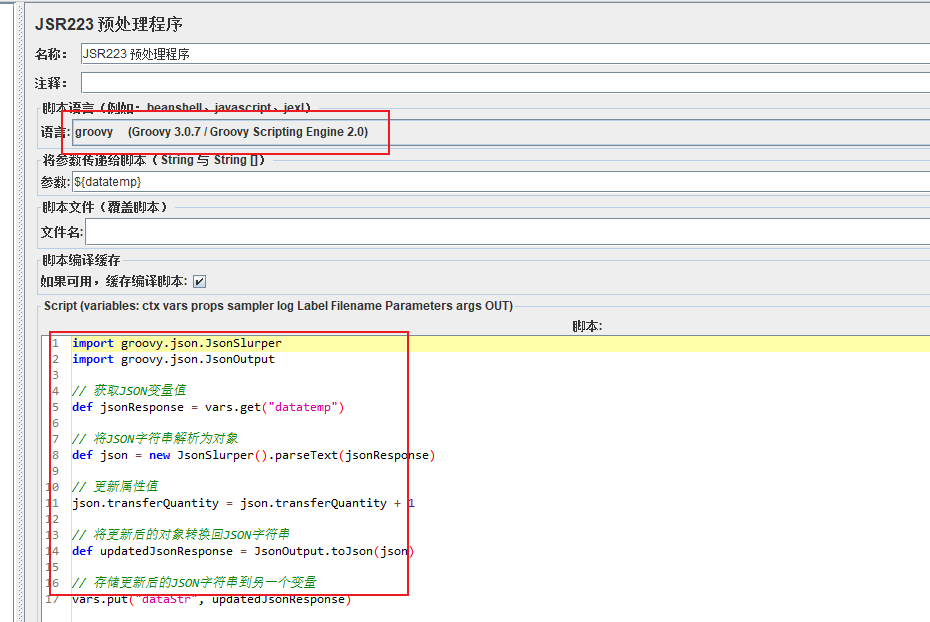
import groovy.json.JsonSlurper
import groovy.json.JsonOutput
// 获取JSON变量值
def jsonResponse = vars.get("datatemp")
// 将JSON字符串解析为对象
def json = new JsonSlurper().parseText(jsonResponse)
// 更新属性值
json.transferQuantity = json.transferQuantity + 1
// 将更新后的对象转换回JSON字符串
def updatedJsonResponse = JsonOutput.toJson(json)
// 存储更新后的JSON字符串到另一个变量
vars.put("dataStr", updatedJsonResponse)
八、定义全局数组变量,追加

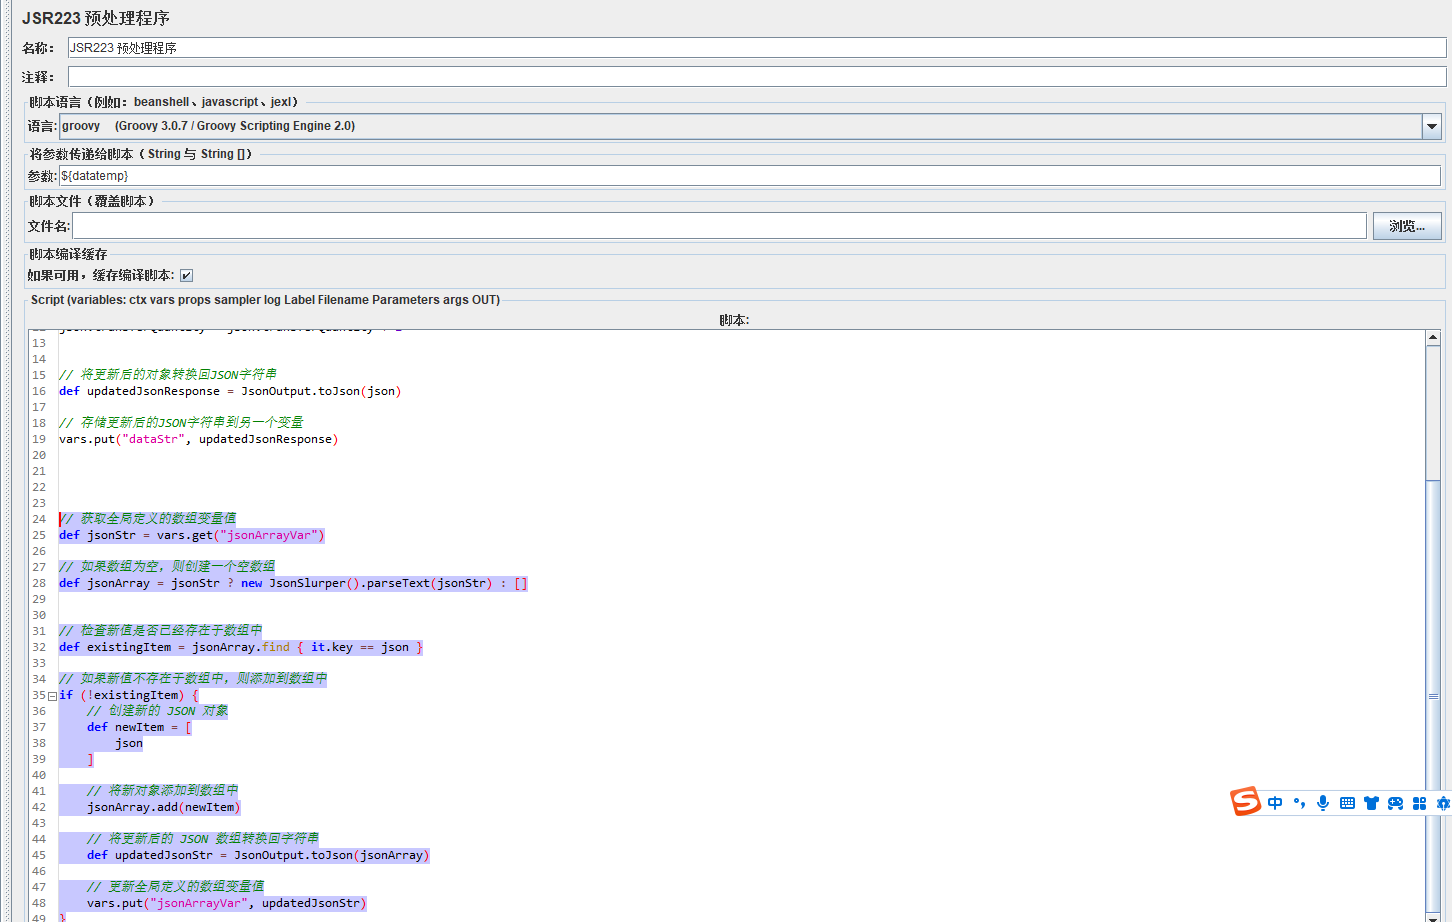
// 获取全局定义的数组变量值
def jsonStr = vars.get("jsonArrayVar")
// 如果数组为空,则创建一个空数组
def jsonArray = jsonStr ? new JsonSlurper().parseText(jsonStr) : []
// 检查新值是否已经存在于数组中
def existingItem = jsonArray.find { it.key == json }
// 如果新值不存在于数组中,则添加到数组中
if (!existingItem) {
// 创建新的 JSON 对象
def newItem = [
json
]
// 将新对象添加到数组中
jsonArray.add(newItem)
// 将更新后的 JSON 数组转换回字符串
def updatedJsonStr = JsonOutput.toJson(jsonArray)
// 更新全局定义的数组变量值
vars.put("jsonArrayVar", updatedJsonStr)
}


