SpringBoot从0到0.7——第四天
 今天进行实战开发一个小项目,SpringBoot和Thymeleaf集成的小项目
SpringBoot从0到0.7——第四天
今天进行实战开发一个小项目,SpringBoot和Thymeleaf集成的小项目
因为懒得写写前端,直接找的别人的项目在它的的基础上进行配置,进行修改。gitee项目下载
项目说明:
## 项目说明
本项目使用SpringBoot开发,jdbc5.1.48
### 1.数据库信息
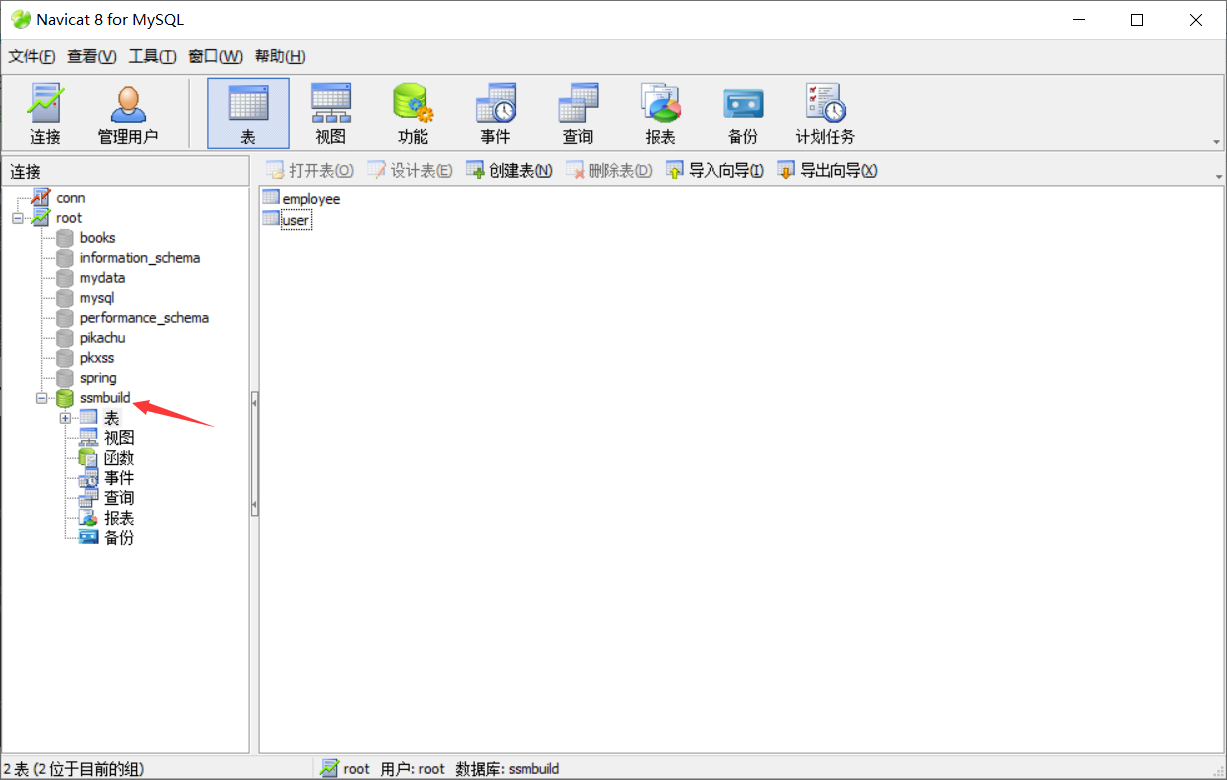
创建两个表,管理员表user和员工表employee
### 2.项目流程
1.springboot集成thymeleaf
1).引入依赖
<!--使用thymelaf-->
<dependency>
<groupId>org.springframework.boot</groupId>
<artifactId>spring-boot-starter-thymeleaf</artifactId>
</dependency>
2).配置thymeleaf模板配置
spring:
thymeleaf:
cache: false # 关闭缓存
prefix: classpath:/templates/ #指定模板位置
suffix: .html #指定后缀
3).开发controller跳转到thymeleaf模板
@Controller
@RequestMapping("hello")
public class HelloController {
@RequestMapping("hello")
public String hello(){
System.out.println("hello ok");
return "index"; // templates/index.html
}
}
=================================================================
2.thymeleaf 语法使用
1).html使用thymeleaf语法 必须导入thymeleaf的头才能使用相关语法
namespace: 命名空间
<html lang="en" xmlns:th="http://www.thymeleaf.org">
2).在html中通过thymeleaf语法获取数据
================================================================
###3.案例开发流程
需求分析: 分析这个项目含有哪些功能模块
用户模块:
注册
登录
验证码
安全退出
真是用户
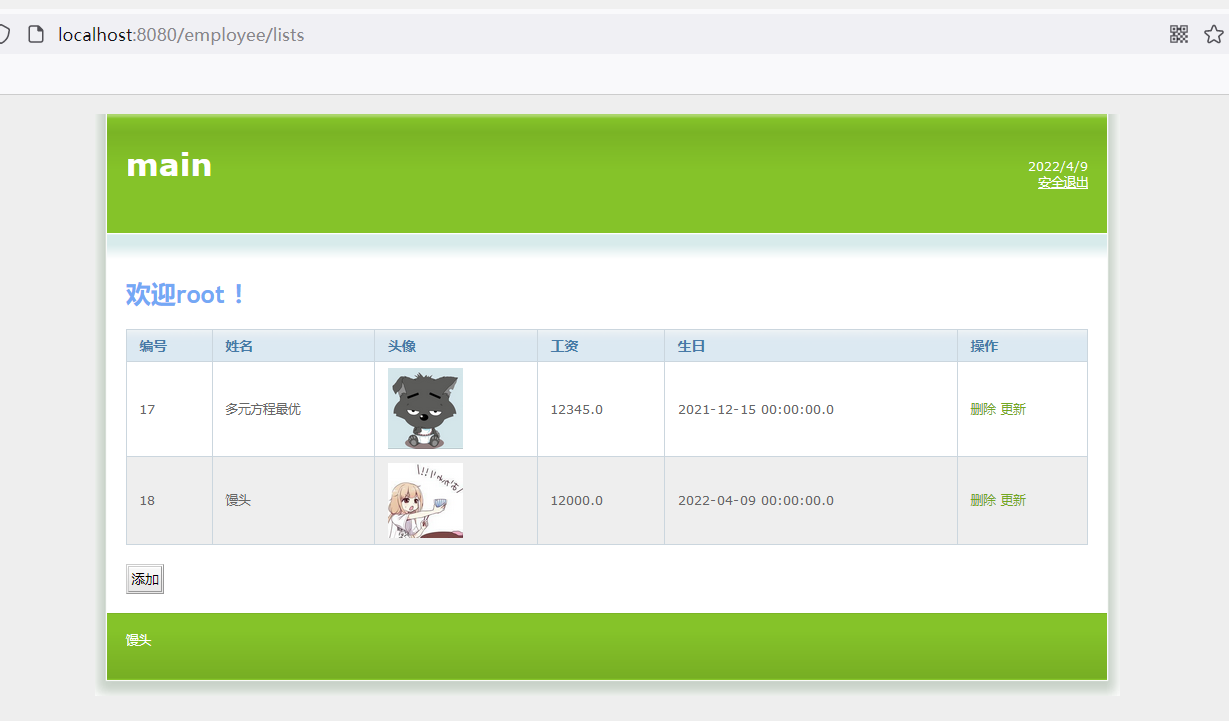
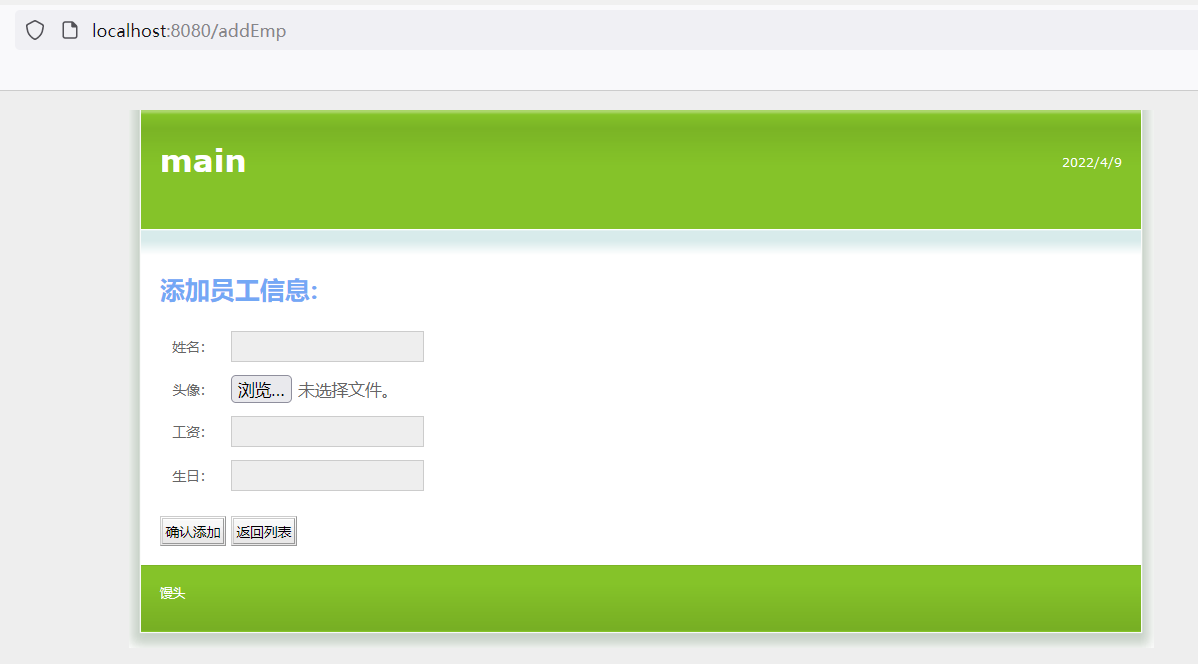
员工模块:
添加员工+上传头像
展示员工列表+展示员工头像
删除员工信息+删除员工头像
更新员工信息+更新员工头像
库表设计(概要设计): 1.分析系统有哪些表 2.分析表与表关系 3.确定表中字段(显性字段 隐性字段(业务字段))
2张表
1.用户表 user
id username realname password gender
2.员工表 employee
id name salary birthday photo
创建一个库: ems-thymeleaf
详细设计:
省略
编码(环境搭建+业务代码开发)
1.创建一个springboot项目 项目名字: ems-thymeleaf
2.修改配置文件为 application.yml pom.xml 2.5.0
3.修改端口 项目名: ems-thymeleaf
4.springboot整合thymeleaf使用
a.引入依赖
b.配置文件中指定thymeleaf相关配置
c.编写控制器测试
5.springboot整合mybatis
mysql、druid、mybatis-springboot-stater
b.配置文件中
6.导入项目页面
static 存放静态资源
templates 目录 存放模板文件
测试
上线部署
维护
发版
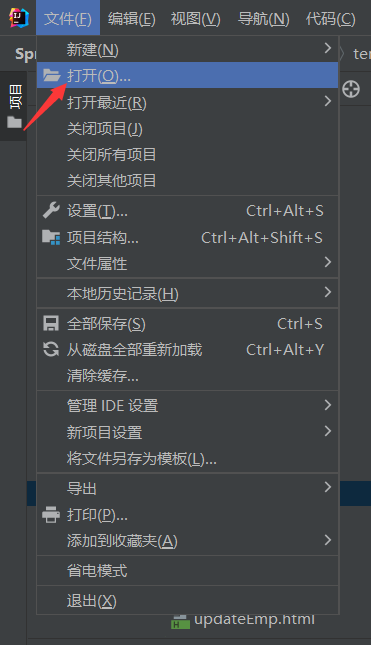
首先导入项目
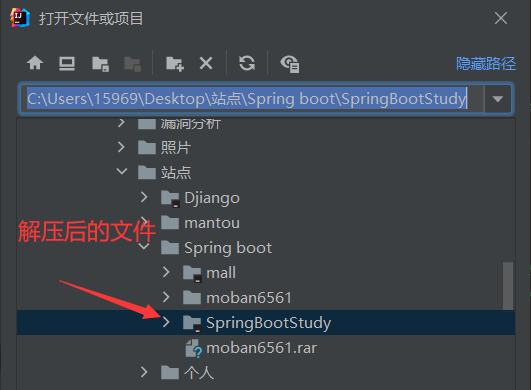
等待加载依赖完成

创建数据库导入数据---看一下它的application.yml
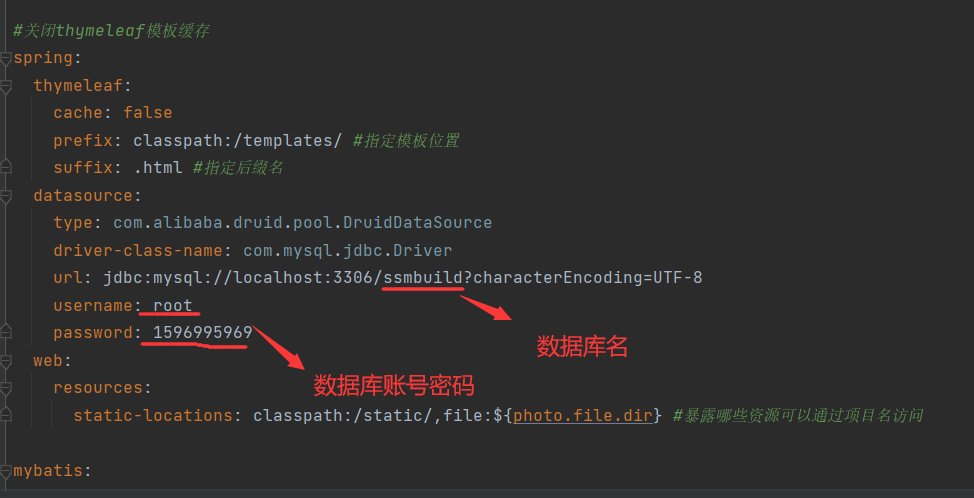
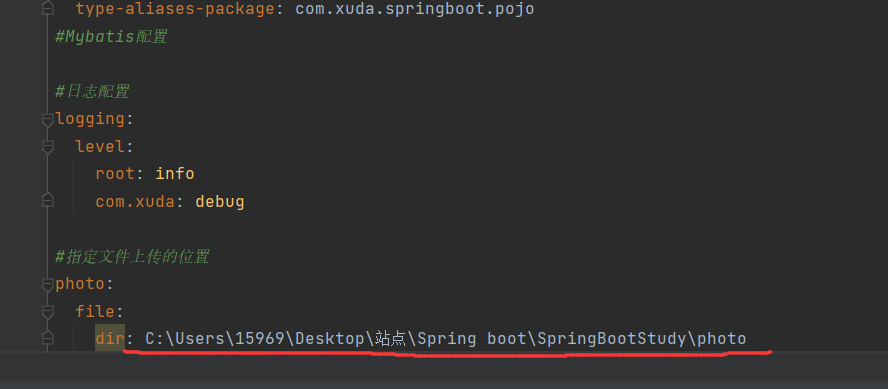
看一下yapplication.yml里面还有什么需要配置的---照片保存地址
启动项目
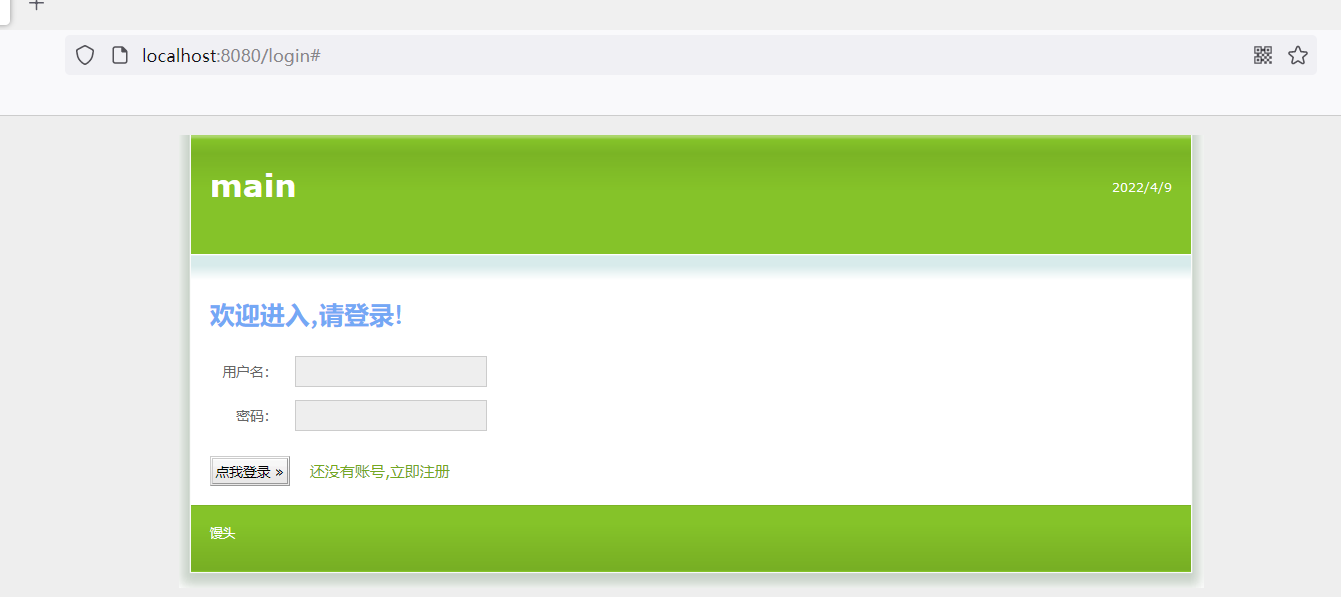
登录,看一下后台
分析一下这个小项目:
首先看一下application.yml
#关闭thymeleaf模板缓存
spring:
  thymeleaf:
    cache: false
    prefix: classpath:/templates/ #指定模板位置
    suffix: .html #指定后缀名
  datasource:
    type: com.alibaba.druid.pool.DruidDataSource
    driver-class-name: com.mysql.jdbc.Driver
    url: jdbc:mysql://localhost:3306/ssmbuild?characterEncoding=UTF-8
    username: root
    password: 123456
  web:
    resources:
      static-locations: classpath:/static/,file:${photo.file.dir} #暴露哪些资源可以通过项目名访问

mybatis:
  mapper-locations: classpath:mapper/*.xml
  type-aliases-package: com.xuda.springboot.pojo
#Mybatis配置

#日志配置
logging:
  level:
    root: info
    com.xuda: debug

#指定文件上传的位置
photo:
  file:
    dir: C:\Users\15969\Desktop\站点\Spring boot\SpringBootStudy\photo
config-LoginHandlerInterceptor拦截器,防止未授权访问
package com.xuda.springboot.config;

import com.xuda.springboot.controller.UserController;
import org.slf4j.Logger;
import org.slf4j.LoggerFactory;
import org.springframework.context.annotation.Configuration;
import org.springframework.web.servlet.HandlerInterceptor;
import org.springframework.web.servlet.ModelAndView;

import javax.servlet.http.HttpServletRequest;
import javax.servlet.http.HttpServletResponse;


@Configuration
public class LoginHandlerInterceptor implements HandlerInterceptor {
    private static final Logger log = LoggerFactory.getLogger(LoginHandlerInterceptor.class);
    @Override
    public boolean preHandle(HttpServletRequest request, HttpServletResponse response, Object handler) throws Exception {
       log.info("session+=》{}",request.getSession().getAttribute("user"));
        //登录成功后,应该有用户得session
        Object loginuser = request.getSession().getAttribute("user");
        if (loginuser == null) {
            request.setAttribute("loginmsg", "没有权限请先登录");
            request.getRequestDispatcher("/login.html").forward(request, response);
            return false;
        } else {
        return true;
        }
    }

}
这个项目很适合新手来分析学习,搭建简单,代码易懂
在此基础上添加修改,给它的日志保存下来,这样有利于分析日志,如何将日志保存到本地呢
先在resources目录下建立logback-spring.xml
<?xml version="1.0" encoding="utf-8"?>
<configuration>
    <!-- 引入默认得配置文件 -->
    <include resource="org/springframework/boot/logging/logback/defaults.xml"/>

    <!-- 模块名标识日志名称 -->
    <springProperty scope="context" name="springAppName" source="spring.application.name"/>
    <!-- info日志单文件大小限制 -->
    <springProperty scope="context" name="logback.fileInfoLog.maxFileSize" source="logback.fileInfoLog.maxFileSize" defaultValue="200MB" />
    <!-- info日志最大保留时长单位天 -->
    <springProperty scope="context" name="logback.fileInfoLog.maxHistory" source="logback.fileInfoLog.maxHistory" defaultValue="15" />
    <!-- info日志文件总大小,超过该大小,旧得即将删除 -->
    <springProperty scope="context" name="logback.fileInfoLog.totalSizeCap" source="logback.fileInfoLog.totalSizeCap" defaultValue="100GB" />

    <!-- error日志单文件大小限制 -->
    <springProperty scope="context" name="logback.fileErrorLog.maxFileSize" source="logback.fileErrorLog.maxFileSize" defaultValue="200MB" />
    <!-- error日志最大保留时长单位天 -->
    <springProperty scope="context" name="logback.fileErrorLog.maxHistory" source="logback.fileErrorLog.maxHistory" defaultValue="15" />
    <!-- error日志文件总大小,超过该大小,旧得即将删除 -->
    <springProperty scope="context" name="logback.fileErrorLog.totalSizeCap" source="logback.fileErrorLog.totalSizeCap" defaultValue="100GB" />

    <!-- http日志单文件大小限制 -->
    <springProperty scope="context" name="logback.fileHttpLog.maxFileSize" source="logback.fileHttpLog.maxFileSize" defaultValue="200MB" />
    <!-- http日志最大保留时长单位天 -->
    <springProperty scope="context" name="logback.fileHttpLog.maxHistory" source="logback.fileHttpLog.maxHistory" defaultValue="15" />
    <!-- http日志文件总大小,超过该大小,旧得即将删除 -->
    <springProperty scope="context" name="logback.fileHttpLog.totalSizeCap" source="logback.fileHttpLog.totalSizeCap" defaultValue="100GB" />
    <!-- 日志目录 -->
    <springProperty scope="context" name="logback.rootDir" source="logback.rootDir" defaultValue="logs"/>
    <!-- 控制台输出得日志格式 -->
    <property name="CONSOLE_LOG_PATTERN"
              value="%clr(%d{yyyy-MM-dd HH:mm:ss.SSS}){faint} %clr(${LOG_LEVEL_PATTERN:-%5p}) %clr(${PID:- }){magenta} %clr(---){faint} %clr([%15.15t]){faint} %clr(%-40.40logger{39}){cyan} %clr(:){faint} %m%n${LOG_EXCEPTION_CONVERSION_WORD:-%wEx}"/>
    <!-- 日志文件输出得日志格式 -->
    <property name="FILE_LOG_PATTERN"
              value="%d{yyyy-MM-dd HH:mm:ss.SSS} %-5p %t [%c:%L]-%m%n"/>
    <!-- 控制台输出 -->
    <appender name="consoleLog" class="ch.qos.logback.core.ConsoleAppender">
        <layout class="ch.qos.logback.classic.PatternLayout">
            <pattern>${CONSOLE_LOG_PATTERN}</pattern>
        </layout>
    </appender>
    <!-- info日志得设定 -->
    <appender name="fileInfoLog" class="ch.qos.logback.core.rolling.RollingFileAppender">
        <filter class="ch.qos.logback.classic.filter.LevelFilter">
            <level>ERROR</level>
            <onMatch>DENY</onMatch>
            <onMismatch>ACCEPT</onMismatch>
        </filter>
        <encoder>
            <pattern>${FILE_LOG_PATTERN}</pattern>
        </encoder>
        <file>${logback.rootDir}/${springAppName}.log</file>
        <!--滚动策略-->
        <rollingPolicy class="ch.qos.logback.core.rolling.SizeAndTimeBasedRollingPolicy" >
            <!--路径-->
            <fileNamePattern>${logback.rootDir}/%d{yyyy-MM,aux}/%d{yyyy-MM-dd,aux}/${springAppName}-%d{yyyy-MM-dd}.%i.log.zip</fileNamePattern>
            <maxFileSize>${logback.fileInfoLog.maxFileSize}</maxFileSize>
            <maxHistory>${logback.fileInfoLog.maxHistory}</maxHistory>
            <totalSizeCap>${logback.fileInfoLog.totalSizeCap}</totalSizeCap>
            <cleanHistoryOnStart>true</cleanHistoryOnStart>
        </rollingPolicy>
    </appender>

    <!-- 错误日志 -->
    <appender name="fileErrorLog" class="ch.qos.logback.core.rolling.RollingFileAppender">
        <filter class="ch.qos.logback.classic.filter.ThresholdFilter">
            <level>ERROR</level>
        </filter>
        <encoder>
            <pattern>${FILE_LOG_PATTERN}</pattern>
        </encoder>
        <file>${logback.rootDir}/${springAppName}-error.log</file>
        <!--滚动策略-->
        <rollingPolicy class="ch.qos.logback.core.rolling.SizeAndTimeBasedRollingPolicy" >
            <!--路径-->
            <fileNamePattern>${logback.rootDir}/%d{yyyy-MM,aux}/%d{yyyy-MM-dd,aux}/${springAppName}-error-%d{yyyy-MM-dd}.%i.log.zip</fileNamePattern>
            <maxFileSize>${logback.fileErrorLog.maxFileSize}</maxFileSize>
            <maxHistory>${logback.fileErrorLog.maxHistory}</maxHistory>
            <totalSizeCap>${logback.fileErrorLog.totalSizeCap}</totalSizeCap>
            <cleanHistoryOnStart>true</cleanHistoryOnStart>
        </rollingPolicy>
    </appender>

    <!-- http日志 -->
    <appender name="httpInfoLog" class="ch.qos.logback.core.rolling.RollingFileAppender">
        <encoder>
            <pattern>%d{yyyy-MM-dd HH:mm:ss.SSS} %-5p %m%n</pattern>
        </encoder>
        <file>${logback.rootDir}/${springAppName}-http.log</file>
        <!--滚动策略-->
        <rollingPolicy class="ch.qos.logback.core.rolling.SizeAndTimeBasedRollingPolicy">
            <!--路径-->
            <fileNamePattern>${logback.rootDir}/%d{yyyy-MM,aux}/%d{yyyy-MM-dd,aux}/${springAppName}-http-%d{yyyy-MM-dd}.%i.log.zip</fileNamePattern>
            <maxFileSize>${logback.fileHttpLog.maxFileSize}</maxFileSize>
            <maxHistory>${logback.fileHttpLog.maxHistory}</maxHistory>
            <totalSizeCap>${logback.fileHttpLog.totalSizeCap}</totalSizeCap>
            <cleanHistoryOnStart>true</cleanHistoryOnStart>
        </rollingPolicy>
    </appender>

    <appender name="ASYNC_consoleLog" class="ch.qos.logback.classic.AsyncAppender">
        <appender-ref ref="consoleLog"/>
    </appender>
    <appender name="ASYNC_fileInfoLog" class="ch.qos.logback.classic.AsyncAppender">
        <appender-ref ref="fileInfoLog"/>
    </appender>
    <appender name="ASYNC_fileErrorLog" class="ch.qos.logback.classic.AsyncAppender">
        <appender-ref ref="fileErrorLog"/>
    </appender>
    <appender name="ASYNC_httpInfoLog" class="ch.qos.logback.classic.AsyncAppender">
        <appender-ref ref="httpInfoLog"/>
    </appender>

    <root level="info">
        <appender-ref ref="ASYNC_consoleLog" />
        <appender-ref ref="ASYNC_fileInfoLog" />
        <appender-ref ref="ASYNC_fileErrorLog" />
    </root>
    <logger name="log_http" additivity="false" level="INFO">
        <appender-ref ref="ASYNC_httpInfoLog"/>
    </logger>

</configuration>
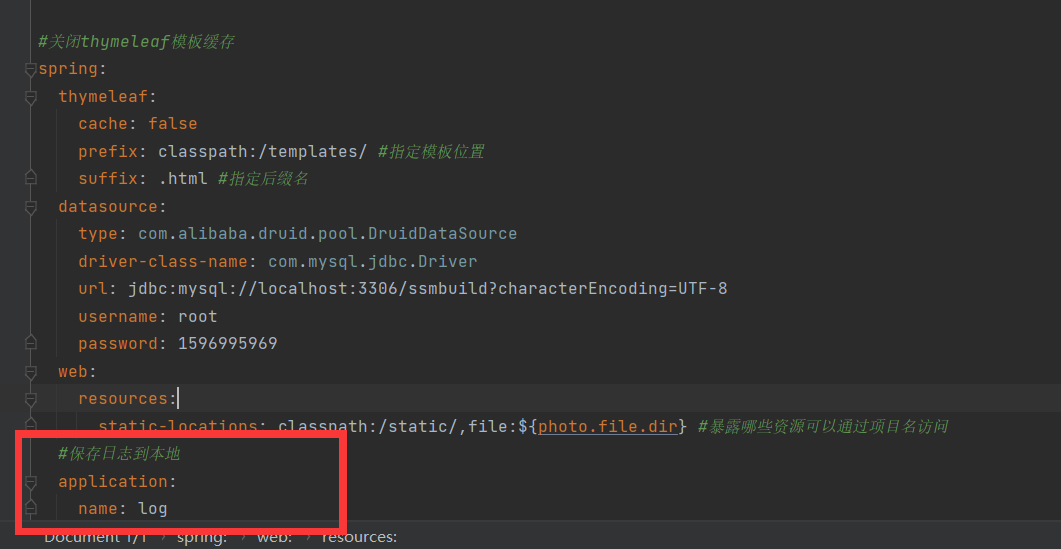
在application.yml添加
spring:
    application:
        name: log
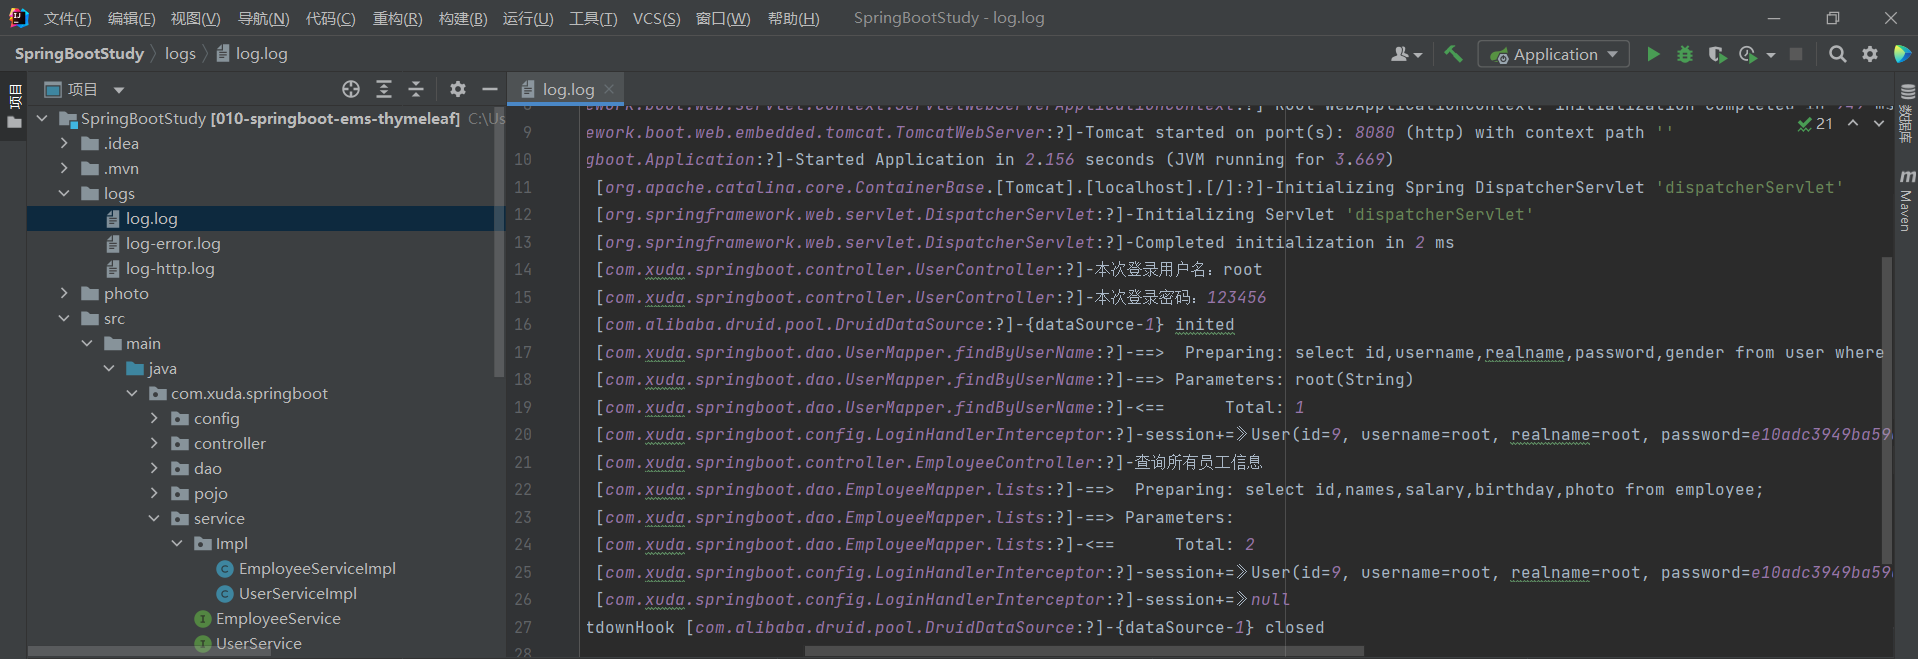
重新运行项目即可看到,在项目目录下会出现一个log文件夹,里面包含着日志
到此,已经能简单的看懂java代码了,开始看源码,去进行java代码审计!!!


 浙公网安备 33010602011771号