LinUI学习11 瀑布流分页加载的实现
LinUI学习11 瀑布流分页加载的实现
在10中我们完成了对数据的分页请求,这为我们使用LinUI自带的瀑布流组件提供了数据基础。
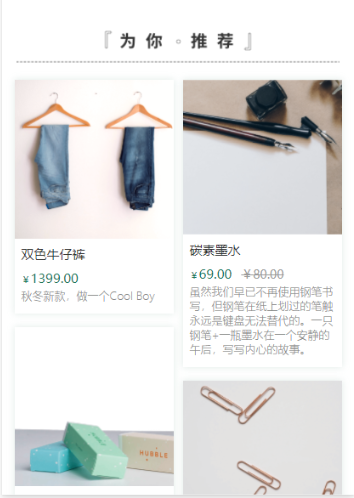
要实现如图效果
要在home页面使用LinUI的瀑布流,我们需要在home.json中引入
 "usingComponents": {
    "l-water-flow":"/miniprogram_npm/lin-ui/water-flow/index"
  }
LinUI采用的是抽象组件,在其内部提供了插槽,给予了很大的便利性。
1、自定义瀑布流内部的组件
因此我们需要自定义瀑布流内部的组件
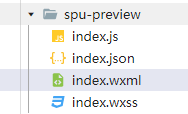
在conpomts文件夹下新建一个一个spu-preview文件夹,用于存放自定义spu-preview组件
记得在app.json中引入该组件
"s-spu-preview":"/components/spu-preview/index"
2、引用瀑布流组件
在home.wxml中如下使用瀑布流组件
<l-water-flow generic:l-water-flow-item="s-spu-preview"></l-water-flow> //“s-spu-preview”为自定义组件的名称与在app.json导入的一致
在home.js编写下列代码获取数据
  /**
   * 页面上拉触底事件的处理函数
   */
  onReachBottom: async function () {
    const data = await this.data.spuPaging.getMoreData()
    if(!data){
      return
    }
    wx.lin.renderWaterFlow(data.items)
    if(!data.moreData){
      this.setData({
        loadingType:"end"
      })
    }
  },
  // 瀑布流
  async initBottomSpuList(){
    const paging = await SpuPaging.getLatestPaging()
    this.data.spuPaging= paging
    const data =await  paging.getMoreData()
    if(!data){
      return
    }
    wx.lin.renderWaterFlow(data.items) //linui瀑布流传入数组的方法
  },
注意: wx.lin.renderWaterFlow(data.items) 是其传入数组的方法
3、瀑布流内部自定义组件的编写
index.js
// components/spu-preview/index.js
Component({
  /**
   * 组件的属性列表
   */
  properties: {
    data:Object
  },
observers:{
data:function(data){
  if(!data){
    return
  }
  if(!data.tags){
    return
  }
  const tags = data.tags.split('$') //依据关键字“$”截断字符串组成数组
  this.setData({
    tags
  })
}
},
  /**
   * 组件的初始数据
   */
  data: {
    tags:Array
  },

  /**
   * 组件的方法列表
   */
  methods: {

  }
})
index.json
{
  "component": true,
  "usingComponents": {}
}
index.wxml
<wxs src="../../wxs/price.wxs" module="p"></wxs>  //这里是将折扣前后价格的逻辑放在了price.wxs内部
<view class="container">
  <image mode="widthFix" src="{{data.img}}" class="img"></image>
  <view class="content-container">
    <text class="title">{{data.title}} </text>
    <view class="tags">
      <block wx:for="{{tags}}">
        <l-tag l-class="l-tag">{{item}}</l-tag>
      </block>
    </view>
    <view class="price-row">
      <l-price color=" #157658" value-size="28" unit-size="20" autofix
        value="{{p.mainPrice(data.price,data.discount_price)}}">
      </l-price>
      <l-price l-class="discount_price" color="#999999" size="26" wx:if="{{data.discount_price?true:false}}" deleted
        value="{{p.slasherPriced(data.price,data.discount_price)}}">
      </l-price>
    </view>
    <text class="subtitle">{{data.subtitle}}</text>
  </view>
</view>
index.wxss
.container{
  display: flex;
  flex-direction: column;
  box-shadow: 0px 0px 8px 0px rgba(119, 163, 149, 0.2);
  margin-bottom: 30rpx;
  background-color: white;
  width: 340rpx;
}
.img {
  width: 100%;
  height: 360rpx;
}
.l-tag{
  background-color: #dcebe6 !important;
  color: #157658 !important;
  padding-left: 6rpx !important;
  padding-right: 6rpx !important;
  height: 36rpx !important ;
  margin-right: 5rpx !important;
}

.title{
  font-size: 28rpx;
  color: #333333;
}
.content-container{
display: flex;
flex-direction: column;
margin: 16rpx  16rpx 22rpx 16rpx ;
}
.price-row{
  display: flex;
  flex-direction: row;
}
.discount_price{
  margin-left: 20rpx;
}
.tags{
  display: flex;
  flex-direction: row;
  margin-bottom: 8rpx;
  margin-top:6rpx ;
  flex-wrap: wrap;
}
.subtitle{
  font-size: 24rpx;
  font-weight: 300;
  margin-top: 6rpx;
  color: #888;
}
price.wxs
function mainPrice(price,discountPrice){
if(!discountPrice){
  return price
}
else{
  return discountPrice
}
}
function slasherPriced(price,discountPrice){
  if(discountPrice){
    return price
  }
  else{
    return
  }
}

module.exports={
  mainPrice:mainPrice,
  slasherPriced:slasherPriced
}
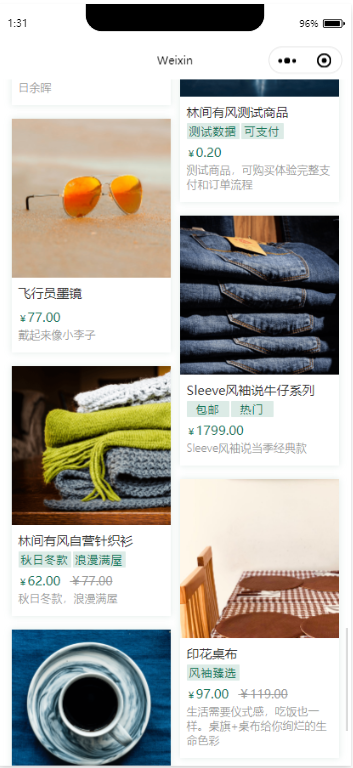
这样就实现了瀑布流分页加载的效果。

 浙公网安备 33010602011771号