

【Avalonia】Avalonia的学习笔记以及与WPF的不同点
以下均为初学入门写的一些学习记录,不保证理解都对啊。。。
1.axaml中引用命名空间
xmlns:model="using:IDataTemplateSample.Models"
2.Grid支持行列的简化写法
<Grid RowDefinitions="Auto, Auto, *" ColumnDefinitions="Auto, *"/>
3.DataTemplate 根据DataType自动选择对应类型的样式,使用Window.DataTemplates加载多个DataTemplate自动选择显示不同样式,类似WPF的DataTemplateSelector选择器

<Window.DataTemplates>
<!-- Add a DataTemplate for a Student -->
<!-- Mind the order of the Templates. Begin with the most specific first. -->
<DataTemplate DataType="model:Student">
<StackPanel>
<TextBlock FontWeight="Bold" Text="{Binding Grade, StringFormat='I am a student in {0}. grade'}" />
<!-- We re-use the PersonTemplate here by using DynamicResource -->
<ContentControl Content="{Binding}" ContentTemplate="{DynamicResource My.DataTemplates.Person}" />
</StackPanel>
</DataTemplate>
<!-- Add a DataTemplate for a Teacher -->
<DataTemplate DataType="model:Teacher">
<StackPanel>
<TextBlock FontWeight="Bold" Text="{Binding Subject, StringFormat='I am a teacher for: "{0}"'}" />
<!-- We use a UserControl here to display the data -->
<view:PersonView />
</StackPanel>
</DataTemplate>
</Window.DataTemplates>
4.前面说使用Window.DataTemplates类似WPF的选择器,实则Avalonia也有选择器
先创建一个选择器,选择器的Key和Datatemplate组成ShapesTemplateSelector的数据,根据DataType的类型然后通过选择器的Build创建出对应的数据模版。
<Window.DataTemplates>
        <dataTemplates:ShapesTemplateSelector>
            <DataTemplate x:Key="RedCircle" DataType="model:ShapeType">
                <Ellipse Width="50"
                         Height="50"
                         Fill="Red"
                         Stroke="DarkRed"
                         StrokeThickness="2" />
            </DataTemplate>
            <DataTemplate x:Key="BlueCircle" DataType="model:ShapeType">
                <Ellipse Width="50"
                         Height="50"
                         Fill="Blue"
                         Stroke="DarkBlue"
                         StrokeThickness="2" />
            </DataTemplate>
            <DataTemplate x:Key="RedSquare" DataType="model:ShapeType">
                <Rectangle Width="50"
                           Height="50"
                           Fill="Red"
                           Stroke="DarkRed"
                           StrokeThickness="2" />
            </DataTemplate>
            <DataTemplate x:Key="BlueSquare" DataType="model:ShapeType">
                <Rectangle Width="50"
                           Height="50"
                           Fill="Blue"
                           Stroke="DarkBlue"
                           StrokeThickness="2" />
            </DataTemplate>
        </dataTemplates:ShapesTemplateSelector>
    </Window.DataTemplates>
public class ShapesTemplateSelector : IDataTemplate
    {
        // This Dictionary should store our shapes. We mark this as [Content], so we can directly add elements to it later.
        [Content]
        public Dictionary<string, IDataTemplate> AvailableTemplates { get; } = new Dictionary<string, IDataTemplate>();

        // Build the DataTemplate here
        public Control Build(object? param)
        {
            var key = param?.ToString(); // Our Keys in the dictionary are strings, so we call .ToString() to get the key to look up
            if (key is null) // If the key is null, we throw an ArgumentNullException
            {
                throw new ArgumentNullException(nameof(param));
            }
            return AvailableTemplates[key].Build(param); // finally we look up the provided key and let the System build the DataTemplate for us
        }

        // Check if we can accept the provided data
        public bool Match(object? data)
        {
            // Our Keys in the dictionary are strings, so we call .ToString() to get the key to look up
            var key = data?.ToString();

            return data is ShapeType                       // the provided data needs to be our enum type
                   && !string.IsNullOrEmpty(key)           // and the key must not be null or empty
                   && AvailableTemplates.ContainsKey(key); // and the key must be found in our Dictionary
        }
    }
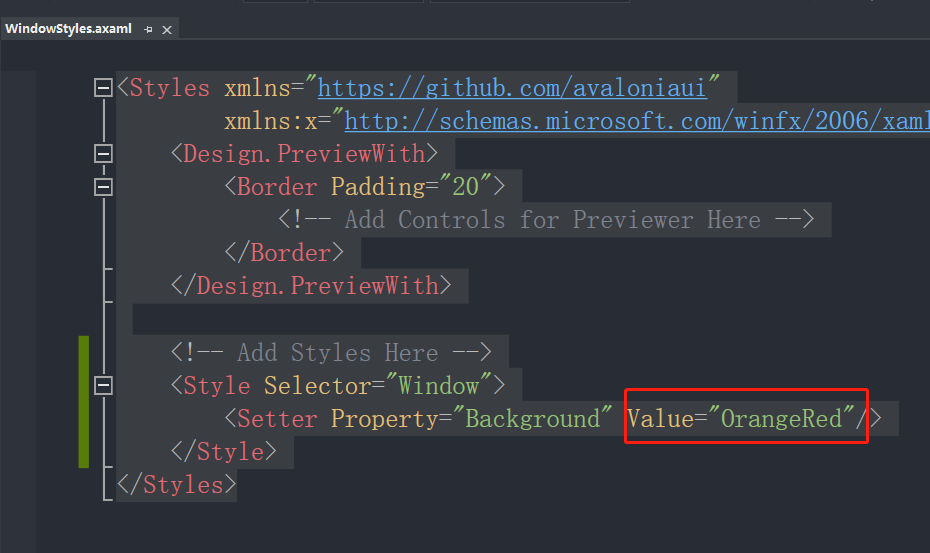
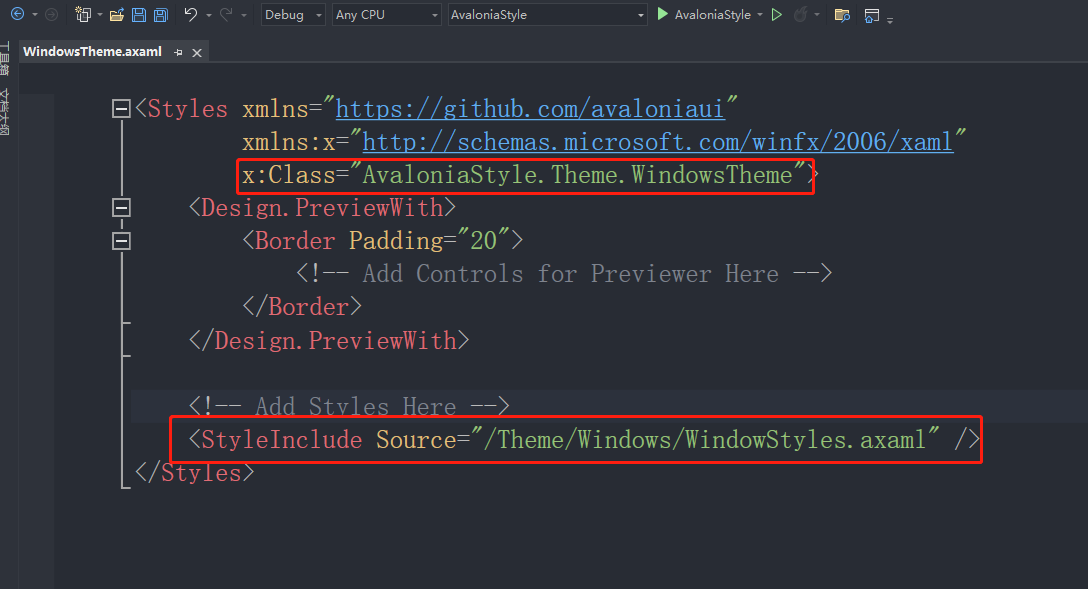
5.可以创建Styles.axaml文件,里面添加多个样式,使用Design.PreviewWith进行样式预览
<Styles xmlns="https://github.com/avaloniaui"
        xmlns:controls="using:RatingControlSample.Controls"
        xmlns:converter="using:RatingControlSample.Converter"
        xmlns:x="http://schemas.microsoft.com/winfx/2006/xaml">
    <Design.PreviewWith>
        <StackPanel Spacing="10">
            <controls:RatingControl Value="0" NumberOfStars="5" />
            <controls:RatingControl Value="2" NumberOfStars="5" />
            <controls:RatingControl Value="6" NumberOfStars="6" />
        </StackPanel>
    </Design.PreviewWith>
通过selector定义名字,具体名称="控件名.名称",不带名字则表示该类控件全部生效
<Style Selector="TextBlock.txt">
      <Setter Property="FontSize" Value="24"/>
      <Setter Property="FontWeight" Value="Bold"/>
</Style>
//此处TextBlock.txt . 表示后面的对应的是Classes,也可以使用# 对应的就是Name,另外,如果是自定义控件比如ImageButton,那么先引入命名空间比如local,那么就使用local|ImageButton
通过classes来使用样式,支持以空格分割的样式类,可以组合多个样式
<TextBlock Classes="txt xxx yyy" Text="TextBlock"/>
也支持代码增加删除样式:
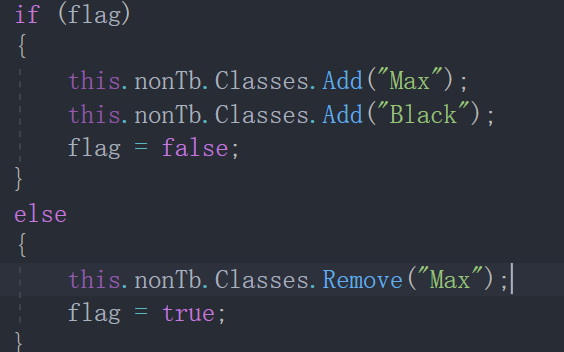
在其他文件中引用样式,添加StyleInclude进行引用,设置Source属性

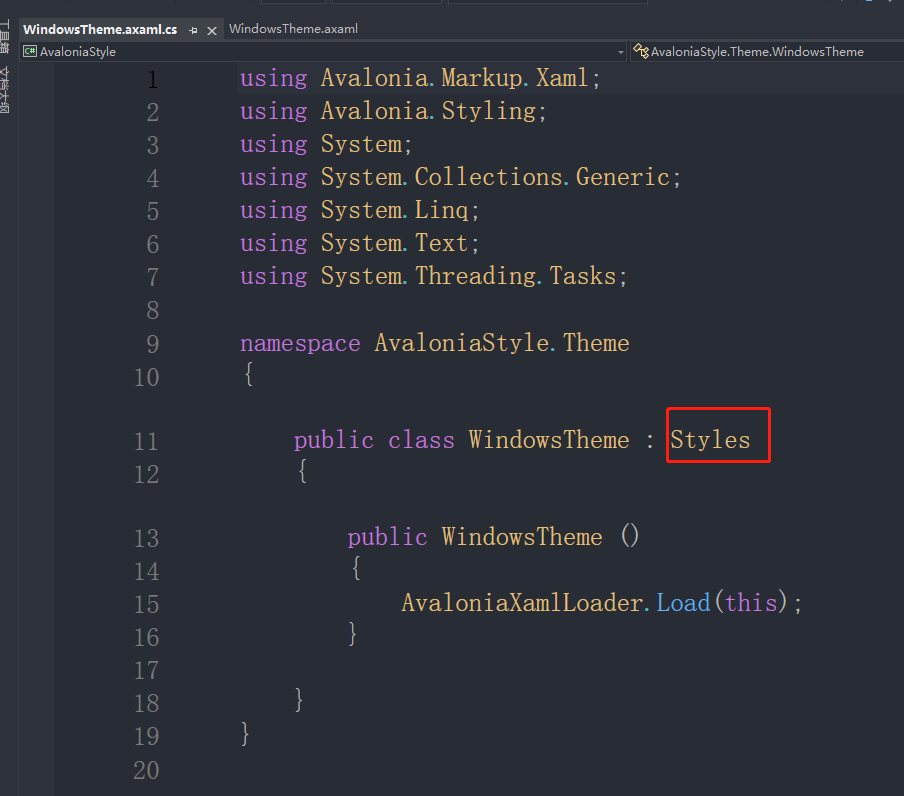
6.样式主题
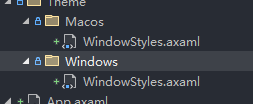
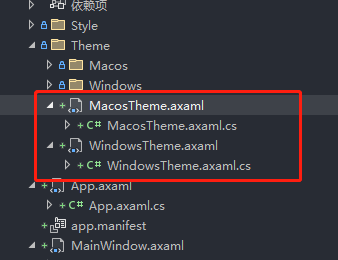
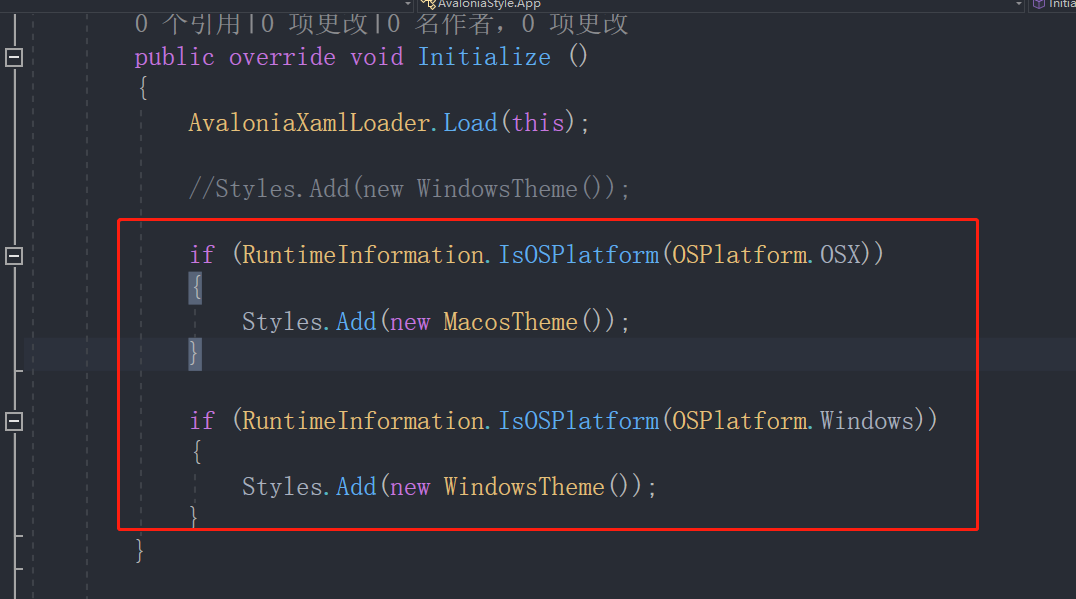
var btnWindow = this.FindControl<Button>("btnWindow");
            btnWindow.Click += (s, e) =>
            {
                this.Styles.Clear();
                this.Styles.Add(new WindowsTheme());
            };

            var btnMacos = this.FindControl<Button>("btnMacos");
            btnMac.Click += (s, e) =>
            {
                this.Styles.Clear();
                this.Styles.Add(new MacosTheme());
            };
7.和WPF一样,WPF中MouseUp直接使用没有效果,avalonia中的PointerReleased事件也不能直接触发,需要调用AddHandler
this.AddHandler(Button.PointerReleasedEvent, btnClose_PointerReleased/*事件调用函数*/, Avalonia.Interactivity.RoutingStrategies.Bubble, true);
8.在Styles中使用触发器
如下代码功能是鼠标悬浮在类名为rightDirection的按钮的子控件Border上背景变红,此处Border是重写了Button的Template里面加了Border。
  <Style Selector="Button.rightDirection>Border:pointerover">
    <Setter Property="Background" Value="Red"></Setter>
  </Style>
9.按钮想要高度适应父控件,WPF Grid Row的高度是* 就可以了,但是avalonia好像不行,需要设置VerticalAlignment="Stretch"
<Button Name="btnRight" Classes="rightDirection" Margin="0" Grid.Row="0" Grid.Column="2" Grid.RowSpan="2" VerticalAlignment="Stretch"></Button>
10、又遇到了一个问题,在后台使用 this.DataContext=new ViewModel();貌似绑定没生效。
 this.DataContext = _viewmodel = new MainWindowViewModel();//这样没生效
//下面这样就生效了在Xaml里面写
  <Design.DataContext>
    <vm:MainWindowViewModel></vm:MainWindowViewModel>
  </Design.DataContext>
11、Avalonia的依赖属性、附加属性
AttachedProperty 附加属性,StyledProperty 样式属性,DirectProperty 直接属性
他们三个都派生自AvaloniaProperty类。
| 属性 | 注册方法 |
|---|---|
| 附加属性 | AvaloniaProperty.RegisterAttached |
| 样式属性 | AvaloniaProperty.Register |
StyleProperty.AddOwner |
|
| 直接属性 | AvaloniaProperty.RegisterDirec |
 #region Thick Direct Avalonia Property
        private double _thick = default;
        public static readonly DirectProperty<MainWindow, double> ThickProperty =
            AvaloniaProperty.RegisterDirect<MainWindow, double>
            (
                nameof(Thick),
                o => o.Thick,
                (o, v) => o.Thick = v
            );
        public double Thick
        {
            get => _thick;
            set
            {
                SetAndRaise(ThickProperty, ref _thick, value);
            }
        }
        #endregion Thick Direct Avalonia Property
参考:http://www.manongjc.com/detail/42-edciwwhgvbjnzxp.html
WPF
// SplitterPanel control
public static readonly DependencyProperty OrientationProperty =
    DependencyProperty.Register(
        "Orientation",
        typeof(Orientation),
        typeof(SplitterPanel),
        new FrameworkPropertyMetadata(
            Orientation.Horizontal,
            FrameworkPropertyMetadataOptions.AffectsMeasure));
Avalonia
// SplitterPanel control
public static readonly StyledProperty<Orientation> OrientationProperty =
    AvaloniaProperty.Register<SplitterPanel, Orientation>(nameof(Orientation), Orientation.Horizontal);

static SplitterPanel()
{
    AffectsMeasure<SplitterPanel>(OrientationProperty);//这句好像可以不加
}
12、目前遇到了2个问题,不知道是不是Avalonia的bug,有知道的人可以留言告知一下哈。
1)重写ArrangeOverride用Arrange来修改子控件的尺寸,无效,位置有效,大小无效。
2)附加属性,好像在axaml下设置报错,好像找不到这个属性,在后台可以设置使用,界面前端直接设置,报错。


【推荐】国内首个AI IDE,深度理解中文开发场景,立即下载体验Trae
【推荐】编程新体验,更懂你的AI,立即体验豆包MarsCode编程助手
【推荐】抖音旗下AI助手豆包,你的智能百科全书,全免费不限次数
【推荐】轻量又高性能的 SSH 工具 IShell:AI 加持,快人一步
· 被坑几百块钱后,我竟然真的恢复了删除的微信聊天记录!
· 没有Manus邀请码?试试免邀请码的MGX或者开源的OpenManus吧
· 【自荐】一款简洁、开源的在线白板工具 Drawnix
· 园子的第一款AI主题卫衣上架——"HELLO! HOW CAN I ASSIST YOU TODAY
· Docker 太简单,K8s 太复杂?w7panel 让容器管理更轻松!
2013-12-13 【转】【MFC】 StretchBlt绘图图像失真
2013-12-13 【转】MFC 各类型相互转换
2013-12-13 【转】MFC CListCtrl 使用技巧