博客园个人博客的个性修改-----自定义背景图特效、鼠标点击心形特效、网页标题左上角的小图标的设置
作为个人博客,当然要按照自己的意愿好好装扮一番!接下来通过简单的步骤,帮助大家设置属于自己的博客。
本人新手,如有漏洞,望海涵。如有侵权,请告知立即删除
- 添加自定义背景:
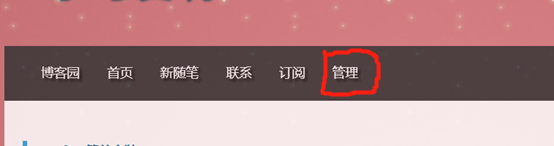
1.点击管理
2.点击相册

3.添加一个相册,输入标题后点击ADD(描述可以不写)

4.在刚添加的相册中上传要添加的背景图

5.进入相册点击刚刚上传的图片,跳转到博客的界面,再次点击最下方的查看原图跳转到只有一张刚刚上传的图片的页面,复制上面的网址链接

6.重新进入个人博客首页,点击管理。
7.点击设置进入设置界面

8.在下方的页面定制CSS代码区域输入代码。下面链接记得修改!!!(url(放图片的链接))
#home h1{
    font-size:45px;
}
body{
background-image: url("第五步复制的链接"); background-position: initial; background-size: cover; background-repeat: no-repeat; background-attachment: fixed; background-origin: initial; background-clip: initial;
height:100%;
width:100%;
}
#home{
    opacity:0.83;
}
.wall{
    position: fixed;
    top: 0;
    left: 0;
    bottom: 0;
    right: 0;
}
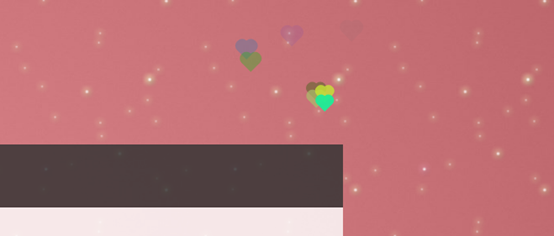
9.返回个人博客首页。背景图设置完成完成!如想要调节清晰度,修改代码#home{opacity:0.83;}中的opacity的值
- 给设置好的界面添加一个雪花的动态特效
1:按照设置背景图的步骤进入到设置界面
2:在页首Html代码输入框中输入代码
<div id="midground" class="wall"></div>
<div id="foreground" class="wall"></div>
<div id="top" class="wall"></div>
3:在页面定制CSS代码区域输入代码(可以接着设置背景图的代码继续写)(把这段写上更完美!!!!!!)
div#midground{
    background: url("https://i.postimg.cc/PP5GtGtM/midground.png");
    z-index: -1;
    -webkit-animation: cc 200s linear infinite;
    -moz-animation: cc 200s linear infinite;
    -o-animation: cc 200s linear infinite;
    animation: cc 200s linear infinite;
}
div#foreground{
    background: url("https://i.postimg.cc/z3jZZD1B/foreground.png");
    z-index: -2;
    -webkit-animation: cc 253s linear infinite;
    -o-animation: cc 253s linear infinite;
    -moz-animation: cc 253s linear infinite;
    animation: cc 253s linear infinite;
}
div#top{
    background: url("https://i.postimg.cc/PP5GtGtM/midground.png");
    z-index: -4;
    -webkit-animation: da 200s linear infinite;
    -o-animation: da 200s linear infinite;
    animation: da 200s linear infinite;

}
@-webkit-keyframes cc {
    from{
        background-position: 0 0;
        transform: translateY(10px);
    }
    to{
        background-position: 600% 0;
    }
}
@-o-keyframes cc {
    from{
        background-position: 0 0;
        transform: translateY(10px);
    }
    to{
        background-position: 600% 0;
    }
}
@-moz-keyframes cc {
    from{
        background-position: 0 0;
        transform: translateY(10px);
    }
    to{
        background-position: 600% 0;
    }
}
@keyframes cc {
    0%{
        background-position: 0 0;
    }
    100%{
        background-position: 600% 0;
    }
}

@keyframes da {
    0%{
        background-position: 0 0;
    }
    100%{
        background-position: 0 600%;
    }
}
@-webkit-keyframes da {
    0%{
        background-position: 0 0;
    }
    100%{
        background-position: 0 600%;
    }
}
@-moz-keyframes da {
    0%{
        background-position: 0 0;
    }
    100%{
        background-position: 0 600%;
    }
}
@-ms-keyframes da {
    0%{
        background-position: 0 0;
    }
    100%{
        background-position: 0 600%;
    }
}
4:返回博客首页,完成!
- 设置鼠标点击心形特效
(从此之后的自己感觉应该是!!!!把页脚html文件粘贴进去就可以成功)
首先在桌面新建一个尾缀为js的文件。名字按照自己的意愿起,但是尾缀必须为.js。在文件写入代码
(function(window,document,undefined){
var hearts = [];
window.requestAnimationFrame = (function(){
return window.requestAnimationFrame ||
window.webkitRequestAnimationFrame ||
window.mozRequestAnimationFrame ||
window.oRequestAnimationFrame ||
window.msRequestAnimationFrame ||
function (callback){
setTimeout(callback,1000/60);
}
})();
init();
function init(){
css(".heart{width: 10px;height: 10px;position: fixed;background: #f00;transform: rotate(45deg);-webkit-transform: rotate(45deg);-moz-transform: rotate(45deg);}.heart:after,.heart:before{content: '';width: inherit;height: inherit;background: inherit;border-radius: 50%;-webkit-border-radius: 50%;-moz-border-radius: 50%;position: absolute;}.heart:after{top: -5px;}.heart:before{left: -5px;}");
attachEvent();
gameloop();
}
function gameloop(){
for(var i=0;i<hearts.length;i++){
if(hearts[i].alpha <=0){
document.body.removeChild(hearts[i].el);
hearts.splice(i,1);
continue;
}
hearts[i].y--;
hearts[i].scale += 0.004;
hearts[i].alpha -= 0.013;
hearts[i].el.style.cssText = "left:"+hearts[i].x+"px;top:"+hearts[i].y+"px;opacity:"+hearts[i].alpha+";transform:scale("+hearts[i].scale+","+hearts[i].scale+") rotate(45deg);background:"+hearts[i].color;
}
requestAnimationFrame(gameloop);
}
function attachEvent(){
var old = typeof window.onclick==="function" && window.onclick;
window.onclick = function(event){
old && old();
createHeart(event);
}
}
function createHeart(event){
var d = document.createElement("div");
d.className = "heart";
hearts.push({
el : d,
x : event.clientX - 5,
y : event.clientY - 5,
scale : 1,
alpha : 1,
color : randomColor()
});
document.body.appendChild(d);
}
function css(css){
var style = document.createElement("style");
style.type="text/css";
try{
style.appendChild(document.createTextNode(css));
}catch(ex){
style.styleSheet.cssText = css;
}
document.getElementsByTagName('head')[0].appendChild(style);
}
function randomColor(){
return "rgb("+(~~(Math.random()*255))+","+(~~(Math.random()*255))+","+(~~(Math.random()*255))+")";
}
})(window,document);
第二步,把尾缀为js的文件上传到博客中。
点击博客首页的管理下的文件进行上传

第三步,点击上传的尾缀为js的文件,跳转到一个以刚才文件名为结尾的网页,复制该网页的链接

第四部,进入到设置页面,在页脚Html代码输入
<script src="这是上一步复制的连接"></script>
第五步,完成

网页标题左上角的小图标的设置
网页的默认图标和其他人的一模一样,怎么才能设置属于自己的网页小图标呢?
修改前![]()
修改后![]()
第一步,在网上下载自己喜欢的尾缀为ico的小图标(推荐尺寸小一点,如16px,不然加载慢!)
第二步,进入个人博客首页的管理页面

第三步,进入文件页面
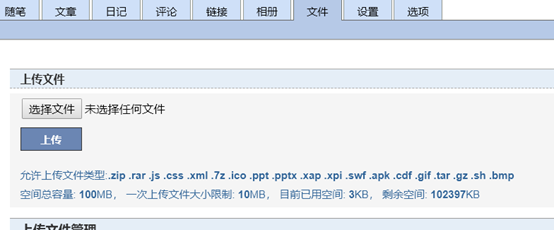
第四步,上传刚下载好尾缀为.ico的图标
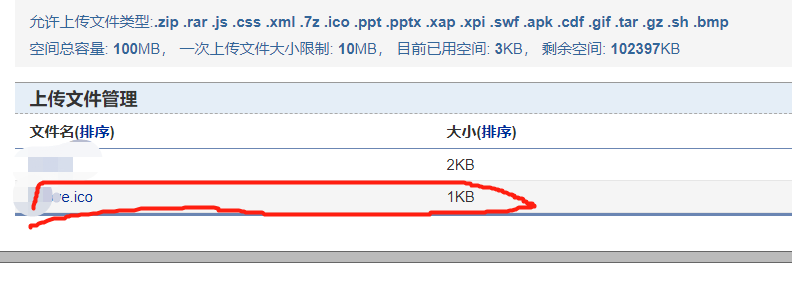
第五步,点击上传的.ico文件,复制好跳转后的页面的链接

第六步,在设置下的页脚Html代码中添加下面代码
<script type="text/javascript" language="javascript">
  //Setting ico for cnblogs
  var linkObject = document.createElement('link');
  linkObject.rel = "shortcut icon";
  linkObject.href = "第五步的链接";
  document.getElementsByTagName("head")[0].appendChild(linkObject);
</script>
大功告成!!!!!!

 浙公网安备 33010602011771号