
利用ASP.NET操作IIS (可以制作安装程序)
很多web安装程序都会在IIS里添加应用程序或者应用程序池,早期用ASP.NET操作IIS非常困难,不过,从7.0开始,微软提供了 Microsoft.Web.Administration 类,可以很容易操作IIS。
本文主要介绍四点:
一.添加应用程序
二.添加应用程序池
三.设置应用程序所使用的应用程序池
四.IIS里其他属性的设置
首先,必须确保电脑上已经安装了IIS,安装后,系统默认会注册一个DLL,通常位置是
C:\Windows\assembly\GAC_MSIL\Microsoft.Web.Administration\7.0.0.0__31bf3856ad364e35\Microsoft.Web.Administration.dll
要获取站点和应用程序,代码为:
1 2 3 4 5 6 7 8 9 10 11 12 | public static ApplicationPool getAppPool() { ServerManager manager = new ServerManager(); return manager.ApplicationPools; } public static SiteCollection GetAllSite() { ServerManager manager = new ServerManager(); SiteCollection sites = manager.Sites; return sites; } |
一.添加应用程序
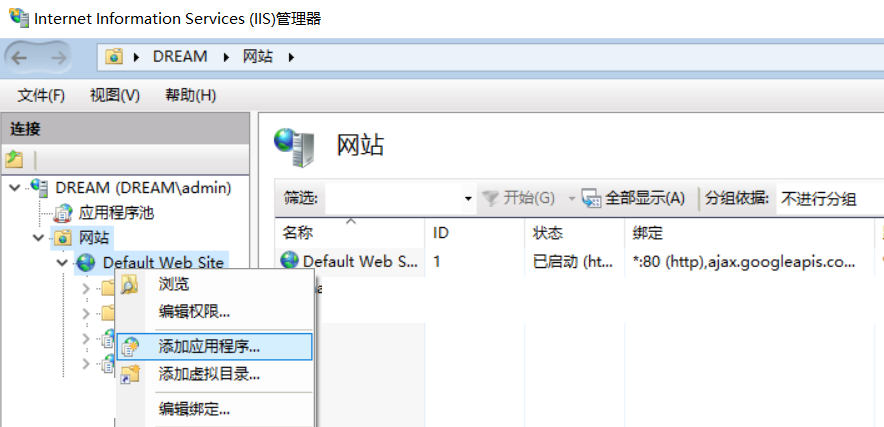
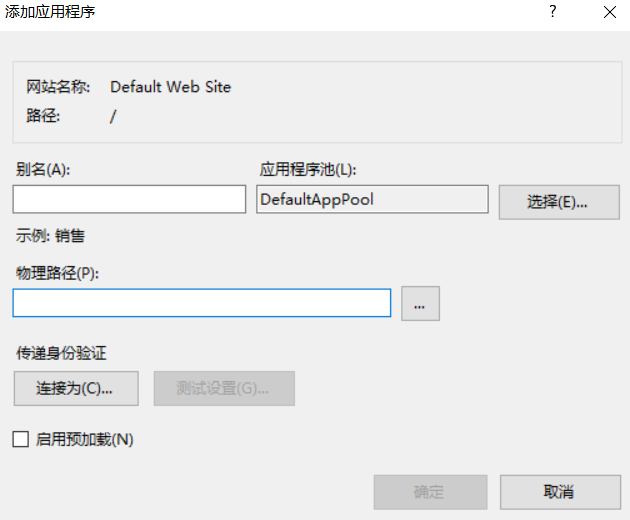
手动添加应用程序,通常是在“Default Web Site”上,右键,选择“添加应用程序...”,然后在弹出的对话框里,输入应用程序名称和物理路径,如下图所示。
这个操作,使用C#代码操作为
1 2 3 4 5 6 7 8 | public static void CreateVdir(string vdir, string phydir) { ServerManager serverManager = new ServerManager(); Site mySite = serverManager.Sites["Default Web Site"]; <strong> mySite.Applications.Add("/" + vdir, phydir);</strong> serverManager.CommitChanges(); } |
首先定义一个ServerManager 对象,然后用Sites获取站点的集合。,最后调用Applications属性里的Add方法将应用程序添加到站点里。但是请注意:建立应用程序是以“/”为路径的,所以,上面代码里传入的参数,直接输入应用程序名称即可。
要在Default Web Site默认站点下建立一个名称为 test的应用程序,其物理路径为 D:\web\sample ,则调用为
1 | CreateVdir("test","d:\\web\\sample") |
删除一个应用程序也很简单,直接调用Remove方法即可。
1 2 3 4 5 6 7 8 9 | public static void DeleteVdir(string vDirName) { ServerManager serverManager = new ServerManager(); Site mySite = serverManager.Sites["Default Web Site"]; Microsoft.Web.Administration.Application application = mySite.Applications["/" + vDirName]; <strong> mySite.Applications.Remove(application);</strong> serverManager.CommitChanges(); } |
二、添加应用程序池
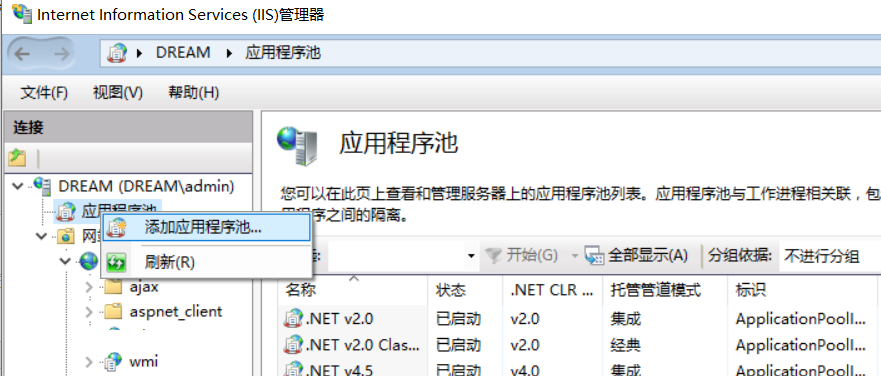
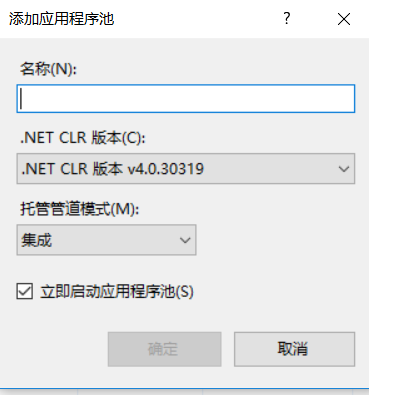
手动在IIS里添加应用程序池为直接在IIS控制面板里添加。
使用c#代码如下
1 2 3 4 5 6 7 8 9 10 11 12 13 | public static void CreateAppPool( string appPoolName) { ServerManager serverManager = new ServerManager(); serverManager.ApplicationPools.Add(appPoolName); <strong> ApplicationPool apppool = serverManager.ApplicationPools[appPoolName];</strong> <strong> apppool.ManagedPipelineMode = ManagedPipelineMode.Integrated; apppool.Enable32BitAppOnWin64 = true; apppool.ManagedRuntimeVersion = "v4.0";</strong> serverManager.CommitChanges(); apppool.Recycle(); } |
从上面代码里可以看到,ApplicationPool 提供了 Enable32BitAppOnWin64 、ManagedPipelineMode 、ManagedRuntimeVersion等属性,可以很容易使用。
就像上面代码,要使用集成模式可以直接设置 apppool.ManagedPipelineMode = ManagedPipelineMode.Integrated 。
删除应用程序池同样也比较简单,调用remove方法
1 2 3 4 5 6 7 8 9 | public static void DeleteAppPool(string appPoolName) { ServerManager serverManager = new ServerManager(); ApplicationPool apppool = serverManager.ApplicationPools[appPoolName]; <strong>serverManager.ApplicationPools.Remove(apppool);</strong> serverManager.CommitChanges(); } |
三:设置应用程序所使用的应用程序池
手动操作:在IIS里,选择应用程序后,在高级设置里,可以直接修改应用程序所使用的应用程序池。
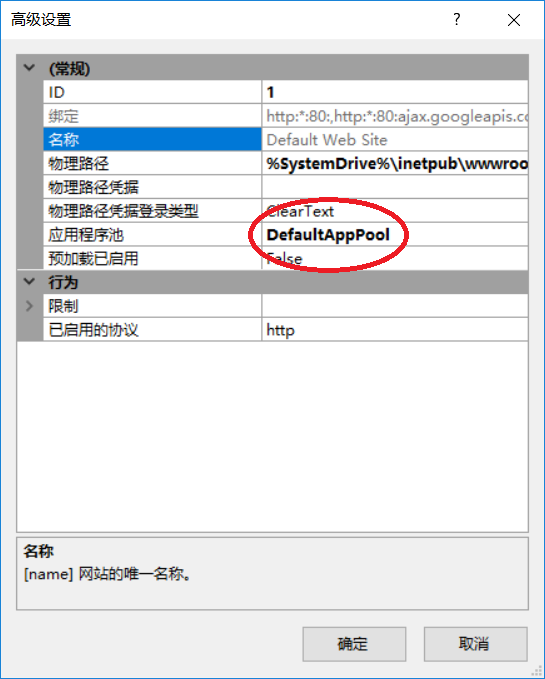
要完成类似上面的操作,可以设置Applications的ApplicationPoolName属性,该属性表示应用程序所使用的应用程序池名称。
1 2 3 4 5 6 7 8 9 | public static void AssignVDirToAppPool(string vdir, string appPoolName) { ServerManager serverManager = new ServerManager(); Site site = serverManager.Sites["Default Web Site"]; <strong> site.Applications["/" + vdir].ApplicationPoolName = appPoolName;</strong> serverManager.CommitChanges(); } |
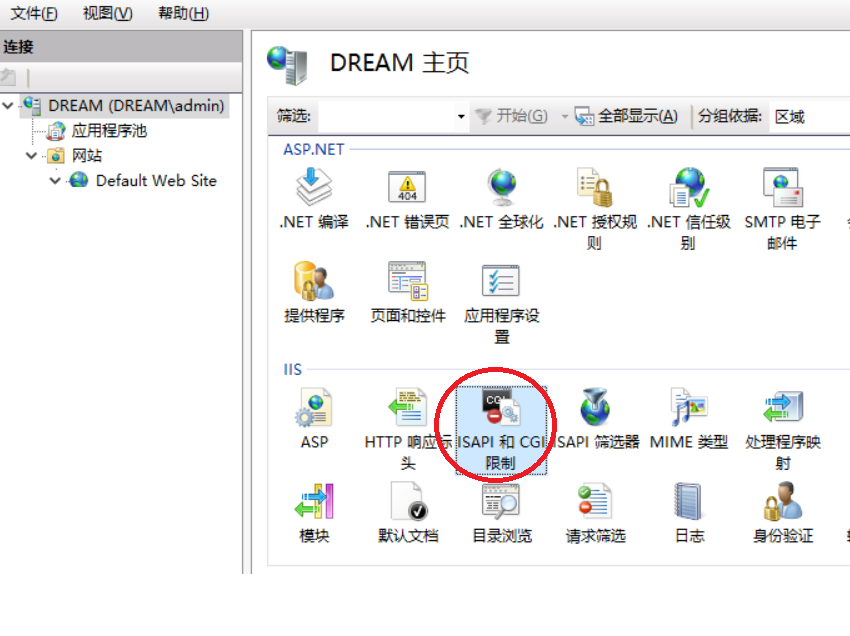
四:控制IIS里的其他属性
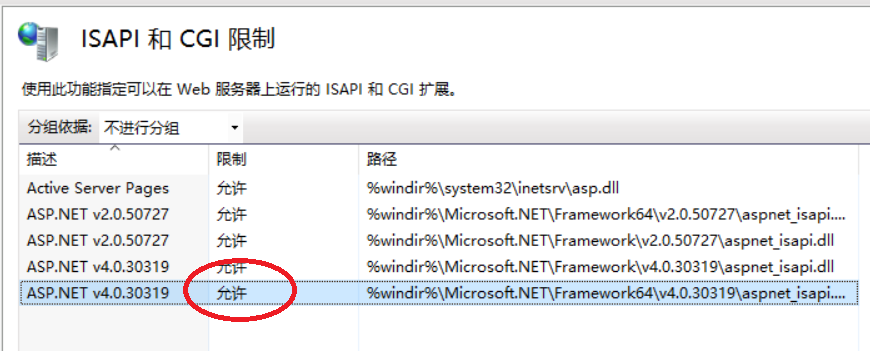
除了应用程序和应用程序池,使用ServerManager类还可以操控IIS里的更多属性。例如设置ISAPI和CGI的限制。
手动操作为:打开ISAPI和CGI操作,在需要的.NET版本上启用或者禁用。
完成上面操的代码如下
1 2 3 4 5 6 7 8 9 10 11 12 13 14 15 16 17 18 19 20 21 22 23 24 25 26 | using (ServerManager serverManager = new ServerManager()) { Configuration config = serverManager.GetApplicationHostConfiguration(); ConfigurationSection isapiCgiRestrictionSection = config.GetSection("system.webServer/security/isapiCgiRestriction"); ConfigurationElementCollection isapiCgiRestrictionCollection = isapiCgiRestrictionSection.GetCollection(); foreach (ConfigurationElement element in isapiCgiRestrictionCollection) { string path = element["path"].ToString(); string allowed = element["allowed"].ToString(); string description = element["description"].ToString(); string groupId = element["groupId"].ToString(); <strong> if (description == "ASP.NET v4.0.30319") { element["allowed"] = true; }</strong> } serverManager.CommitChanges(); } |
你甚至可以在ISPAPI里增加自己的配置:
1 2 3 4 5 6 7 | ConfigurationElement addElement = isapiCgiRestrictionCollection.CreateElement("add");addElement["path"] = @"C:\Windows\abc\aspnet_isapi.dll";addElement["allowed"] = true;addElement["groupId"] = @"ContosoGroup";addElement["description"] = @"Contoso Extension";isapiCgiRestrictionCollection.Add(addElement);serverManager.CommitChanges(); |
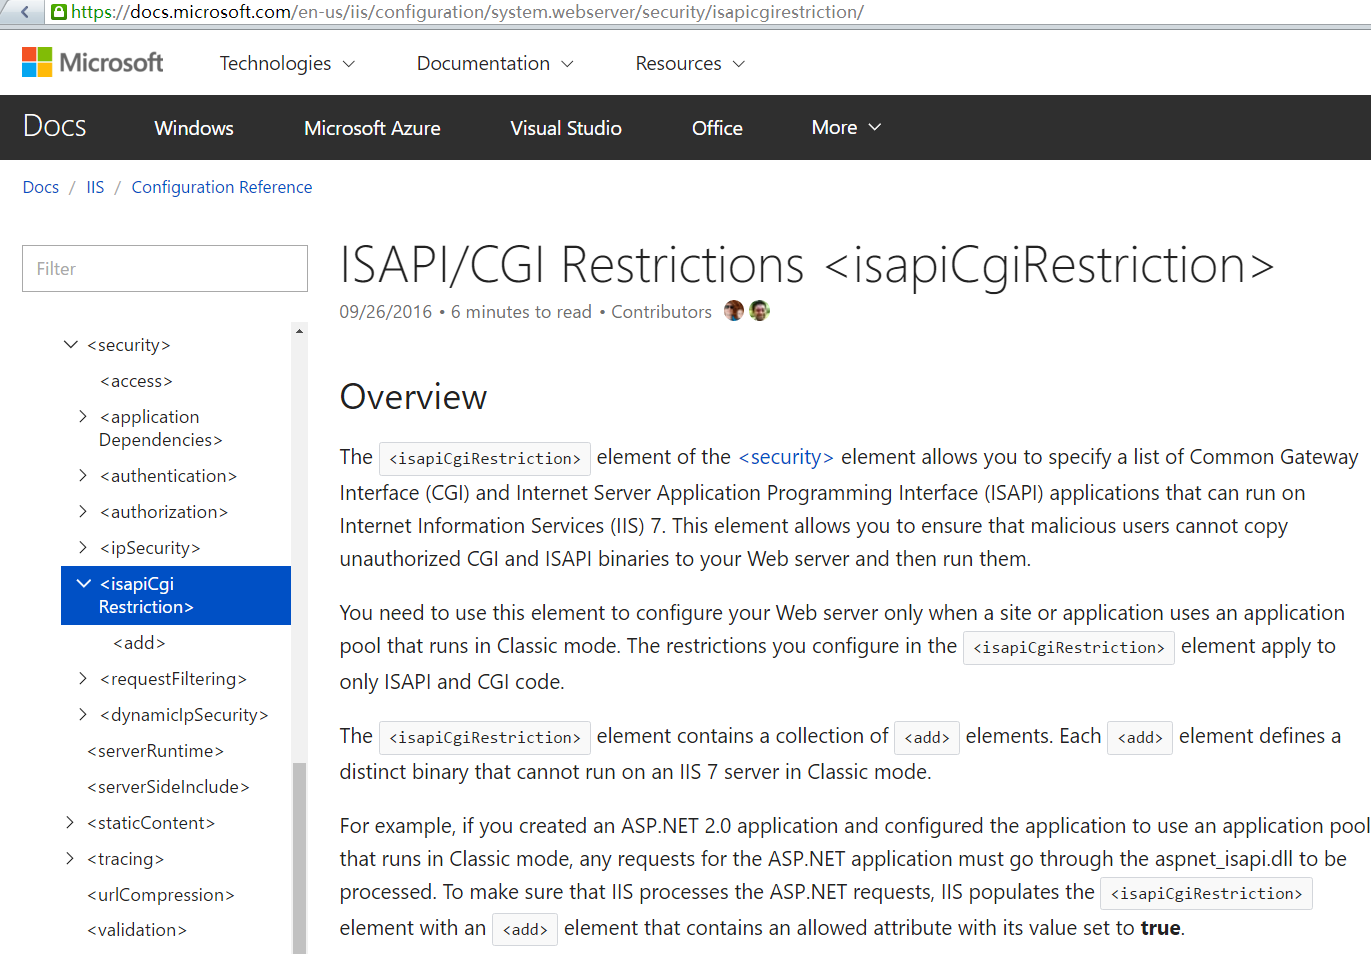
当然,上面代码里的“难点”是,可能你并不知道IIS里,各个属性的 Section("system.webServer/security/isapiCgiRestriction") 是多少,不过不用担心
微软的官方文档已经详细列出了各个节点,你只要根据根据需要使用相应的节点即可进行相关操作。
网址为: https://docs.microsoft.com/en-us/iis/configuration/system.webserver/security/isapicgirestriction/
有了上面的属性,如果后期想定制exe版本的web安装程序,就可以使用这些类控制IIS。


【推荐】国内首个AI IDE,深度理解中文开发场景,立即下载体验Trae
【推荐】编程新体验,更懂你的AI,立即体验豆包MarsCode编程助手
【推荐】抖音旗下AI助手豆包,你的智能百科全书,全免费不限次数
【推荐】轻量又高性能的 SSH 工具 IShell:AI 加持,快人一步
· go语言实现终端里的倒计时
· 如何编写易于单元测试的代码
· 10年+ .NET Coder 心语,封装的思维:从隐藏、稳定开始理解其本质意义
· .NET Core 中如何实现缓存的预热?
· 从 HTTP 原因短语缺失研究 HTTP/2 和 HTTP/3 的设计差异
· 分享 3 个 .NET 开源的文件压缩处理库,助力快速实现文件压缩解压功能!
· Ollama——大语言模型本地部署的极速利器
· 使用C#创建一个MCP客户端
· 分享一个免费、快速、无限量使用的满血 DeepSeek R1 模型,支持深度思考和联网搜索!
· Windows编程----内核对象竟然如此简单?