android 第一次作业 类微信界面设计
github仓库:https://github.com/mostimacc/My_Application.git
设计目标:
根据课程教学内容完成类微信的门户页面框架设计,APP最少必须包含4个tab页面。框架设计需要使用fragment,activity。
功能说明:
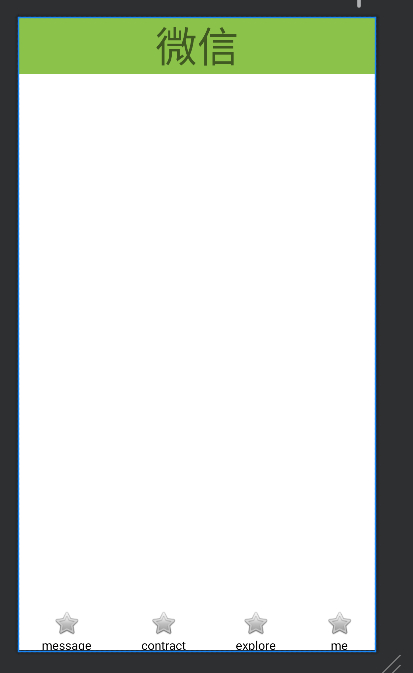
主界面,顶部标题和底部导航都是xml文件,include进主界面去;
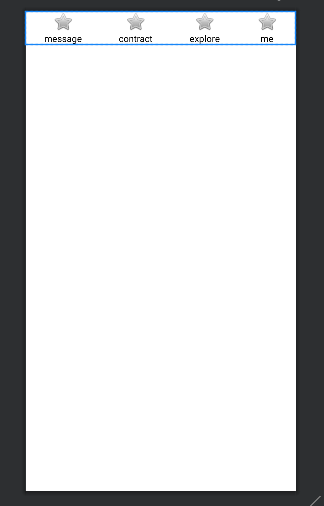
底部导航栏,将4个横向linearlayout放入一个纵向的linearlayout里面去,每个linearlayout里面都放入一个textview和imageview,通过点击来实现界面的切换
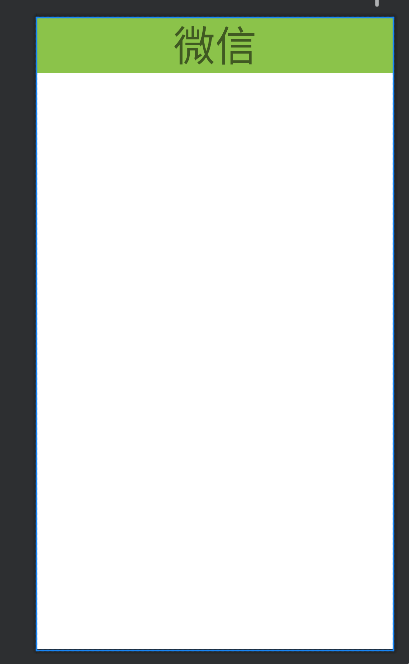
顶部标题,通过一个textview来实现
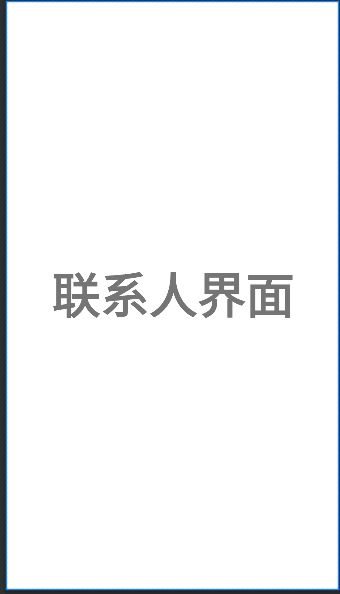
中间的文本部分是由4给不同的fragment来实现,除了显示文本不同其他都一样
代码解析
package com.example.myapplication;

import android.os.Bundle;

import androidx.fragment.app.Fragment;

import android.view.LayoutInflater;
import android.view.View;
import android.view.ViewGroup;

/**
 * A simple {@link Fragment} subclass.
 * Use the {@link contractFragment#newInstance} factory method to
 * create an instance of this fragment.
 */
public class contractFragment extends Fragment {

    // TODO: Rename parameter arguments, choose names that match
    // the fragment initialization parameters, e.g. ARG_ITEM_NUMBER
    private static final String ARG_PARAM1 = "param1";
    private static final String ARG_PARAM2 = "param2";

    // TODO: Rename and change types of parameters
    private String mParam1;
    private String mParam2;

    public contractFragment() {
        // Required empty public constructor
    }

    /**
     * Use this factory method to create a new instance of
     * this fragment using the provided parameters.
     *
     * @param param1 Parameter 1.
     * @param param2 Parameter 2.
     * @return A new instance of fragment contractFragment.
     */
    // TODO: Rename and change types and number of parameters
    public static contractFragment newInstance(String param1, String param2) {
        contractFragment fragment = new contractFragment();
        Bundle args = new Bundle();
        args.putString(ARG_PARAM1, param1);
        args.putString(ARG_PARAM2, param2);
        fragment.setArguments(args);
        return fragment;
    }

    @Override
    public void onCreate(Bundle savedInstanceState) {
        super.onCreate(savedInstanceState);
        if (getArguments() != null) {
            mParam1 = getArguments().getString(ARG_PARAM1);
            mParam2 = getArguments().getString(ARG_PARAM2);
        }
    }

    @Override
    public View onCreateView(LayoutInflater inflater, ViewGroup container,
                             Bundle savedInstanceState) {
        // Inflate the layout for this fragment
        return inflater.inflate(R.layout.fragment_contract, container, false);
    }
}
fragment的代码没什么需要改的地方,直接用默认的就可以了
package com.example.myapplication;
import androidx.appcompat.app.AppCompatActivity;
import androidx.fragment.app.Fragment;
import androidx.fragment.app.FragmentManager;
import androidx.fragment.app.FragmentTransaction;
import android.graphics.Color;
import android.os.Bundle;
import android.view.View;
import android.view.Window;
import android.widget.ImageView;
import android.widget.LinearLayout;
import android.widget.TextView;
import android.view.SurfaceControl;
public class MainActivity extends AppCompatActivity implements View.OnClickListener{
private final Fragment messageFragment = new MessageFragment();
private final Fragment exploreFragment = new exploreFragment();
private final Fragment contractFragment = new contractFragment();
private final Fragment meFragment = new MeFragment();
private FragmentManager fm;
private LinearLayout linerlayoutmessage;
private LinearLayout linerlayoutcontract;
private LinearLayout linerlayoutexplore;
private LinearLayout linerlayoutme;
private TextView topText;
private TextView messageText;
private TextView contractText;
private TextView exploreText;
private TextView meText;
private ImageView imagemessage;
private ImageView imagecontract;
private ImageView imageexplore;
private ImageView imageme;
@Override
protected void onCreate(Bundle savedInstanceState) {
supportRequestWindowFeature(Window.FEATURE_NO_TITLE);
super.onCreate(savedInstanceState);
setContentView(R.layout.activity_main);
linerlayoutmessage = findViewById(R.id.message);
linerlayoutcontract = findViewById(R.id.contract);
linerlayoutexplore = findViewById(R.id.explore);
linerlayoutme = findViewById(R.id.me);
topText=findViewById(R.id.topText);
messageText = findViewById(R.id.textView4);
contractText = findViewById(R.id.textView3);
exploreText = findViewById(R.id.textView2);
meText = findViewById(R.id.textView1);
imagemessage = findViewById(R.id.imageView4);
imagecontract = findViewById(R.id.imageView3);
imageexplore = findViewById(R.id.imageView2);
imageme = findViewById(R.id.imageView1);
imagemessage.setOnClickListener(this);
imageexplore.setOnClickListener(this);
imagecontract.setOnClickListener(this);
imageme.setOnClickListener(this);
initFragmentManager();
}
private void initFragmentManager() {
fm = getSupportFragmentManager();
FragmentTransaction transaction = fm.beginTransaction();
transaction.add(R.id.id_content, messageFragment);
transaction.add(R.id.id_content,exploreFragment);
transaction.add(R.id.id_content,contractFragment);
transaction.add(R.id.id_content,meFragment);
transaction.commit();
hideFragmentAll(transaction);
showFragmentOne(messageFragment);
topText.setText(R.string.消息);
messageText.setTextColor(Color.GREEN);
imagemessage.setColorFilter(Color.GREEN);
}
private void hideFragmentAll(FragmentTransaction transaction){
transaction.hide(messageFragment);
transaction.hide(exploreFragment);
transaction.hide(contractFragment);
transaction.hide(meFragment);
}
public void showFragmentOne(Fragment oneFragment){
FragmentTransaction transaction = fm.beginTransaction();
hideFragmentAll(transaction);
transaction.show(oneFragment);
transaction.commit();
}
@Override
public void onClick(View view) {
switch (view.getId()){
case R.id.imageView4:
showFragmentOne(messageFragment);
topText.setText(R.string.消息);
setColorDefault();
messageText.setTextColor(Color.GREEN);
imagemessage.setColorFilter(Color.GREEN);
break;
case R.id.imageView3:
showFragmentOne(contractFragment);
topText.setText(R.string.联系人);
setColorDefault();
contractText.setTextColor(Color.GREEN);
imagecontract.setColorFilter(Color.GREEN);
break;
case R.id.imageView2:
showFragmentOne(exploreFragment);
topText.setText(R.string.发现);
setColorDefault();
exploreText.setTextColor(Color.GREEN);
imageexplore.setColorFilter(Color.GREEN);
break;
case R.id.imageView1:
showFragmentOne(meFragment);
topText.setText(R.string.我的);
setColorDefault();
meText.setTextColor(Color.GREEN);
imageme.setColorFilter(Color.GREEN);
break;
default:
break;
}
}
public void setColorDefault(){
imagemessage.setColorFilter(0);
messageText.setTextColor(Color.BLACK);
imagecontract.setColorFilter(0);
contractText.setTextColor(Color.BLACK);
imageexplore.setColorFilter(0);
exploreText.setTextColor(Color.BLACK);
imageme.setColorFilter(0);
meText.setTextColor(Color.BLACK);
}
}
mainactivity里面实现对点击的监听,通过对不同的控件的点击实现界面的跳转
先定义所需要的变量,然后再onCreate里面进行初始化。
initFragmentManager()通过调用这个函数实现四个界面的初始化,并默认显示第一个界面
hideFragmentAll()实现隐藏4个界面
showFragmentOne()显示被点击的那个界面
onClick()监听被电击的控件,并实现相应的界面跳转及字体变色
setColorDefault()把没有被点击的界面的字体变为黑色
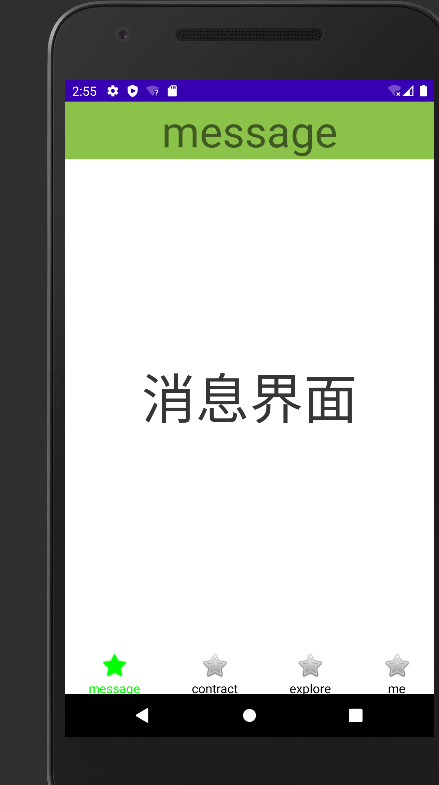
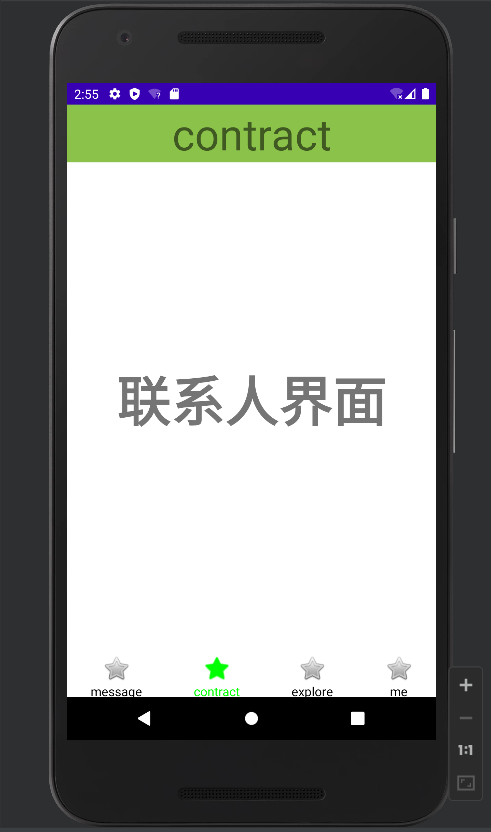
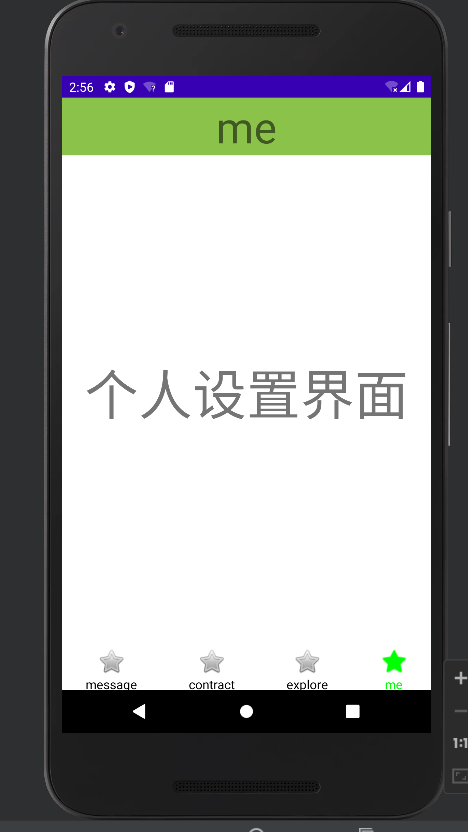
运行展示截图


 浙公网安备 33010602011771号