
CentOS7 MySql数据库安装配置(单实例)
下载并安装MySQL官方的 Yum Repository
[root@localhost ~]# wget -i -c http://dev.mysql.com/get/mysql57-community-release-el7-10.noarch.rpm
使用上面的命令就直接下载了安装用的Yum Repository,大概25KB的样子,然后就可以直接yum安装了。
[root@localhost ~]# yum -y install mysql57-community-release-el7-10.noarch.rpm
之后就开始安装MySQL服务器。
[root@localhost ~]# yum -y install mysql-community-server
这步可能会花些时间,安装完成后就会覆盖掉之前的mariadb。
如果遇到安装不成功,提示:The GPG keys listed for the “MySQL 5.7 Community Server” repository are already installed but they are not correct for this package.Check that the correct key URLs are configured for this repository.
给yum添加–nogpgcheck来强制安装,如下命令即可
yum install mysql-server --nogpgcheck
启动配置mysql
vi /etc/my.cnf
在[mysqld]下添加:
skip-grant-tables=1
启动MySQL服务:
[root@localhost ~]# service mysqld restart
依次执行一下命令:
登录(初始密码为空),
mysql -u root -p
使用mysql数据库
use mysql;
设置账户密码:
update user set host='%' where host='localhost';
update user set authentication_string = password('xxx'), password_expired = 'N', password_last_changed = now() where user = 'root';
退出:
quit;
再把上面的skip-grant-tables=1去掉,这样就可以密码登录了。
关闭防火墙:
systemctl stop firewalld
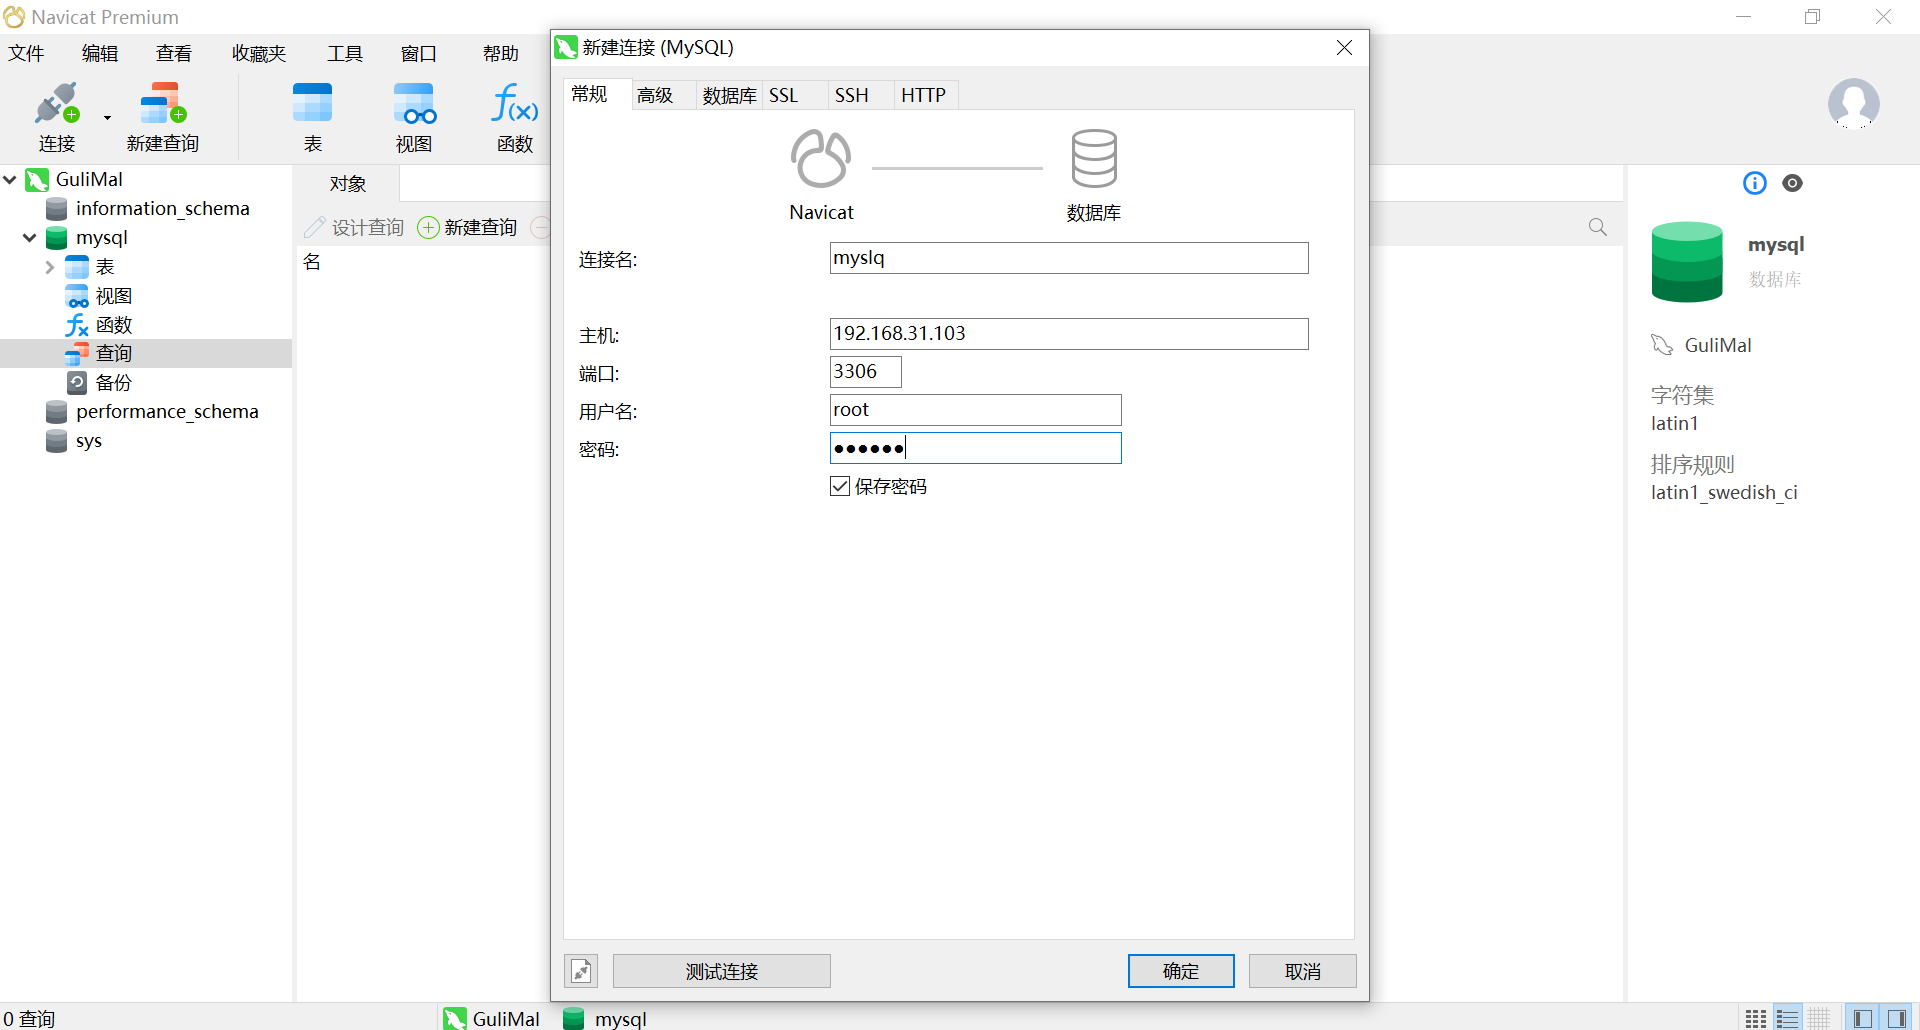
然后就可以使用Navicat或Sqlyog连接登录了:
本文来自博客园,作者:明明改变世界,转载请注明原文链接:https://www.cnblogs.com/mmworld/p/16034713.html

 浙公网安备 33010602011771号