
XFire+Spring构建Web Service经验总结
使用工具 MyEclipse:6.5 ,tomcat6.x.
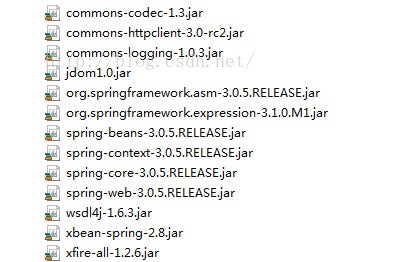
1.新建web项目,要导入用的包:
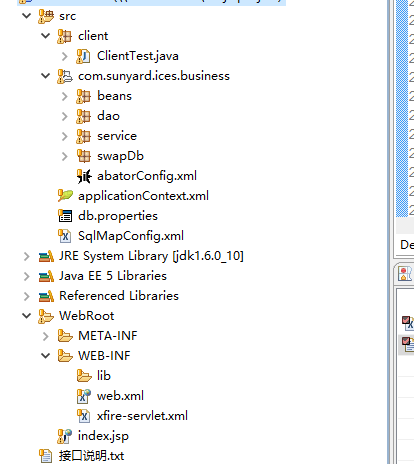
2程序结构:
3 web.xml配置文件
<?xml version="1.0" encoding="UTF-8"?>
<web-app version="2.4" xmlns="http://java.sun.com/xml/ns/j2ee"
	xmlns:xsi="http://www.w3.org/2001/XMLSchema-instance"
	xsi:schemaLocation="http://java.sun.com/xml/ns/j2ee
	http://java.sun.com/xml/ns/j2ee/web-app_2_4.xsd">
	<display-name>webtest2</display-name>
	<welcome-file-list>
		<welcome-file>index.html</welcome-file>
		<welcome-file>index.htm</welcome-file>
		<welcome-file>index.jsp</welcome-file>
		<welcome-file>default.html</welcome-file>
		<welcome-file>default.htm</welcome-file>
		<welcome-file>default.jsp</welcome-file>
	</welcome-file-list>
	<context-param>
  		<param-name>contextConfigLocation</param-name>
  		<param-value>classpath*:applicationContext*.xml,/WEB-INF/xfire-servlet.xml</param-value>
  	</context-param>
  	<listener>
  		<listener-class>org.springframework.web.context.ContextLoaderListener</listener-class>
  	</listener>


  	<session-config>
  		<session-timeout>30</session-timeout>
  	</session-config>

	<servlet>
		<servlet-name>xfire</servlet-name>
		<servlet-class>
			org.springframework.web.servlet.DispatcherServlet
		</servlet-class>
	</servlet>
    /*主要部分*/
	<servlet-mapping>
		<servlet-name>xfire</servlet-name>
		<url-pattern>/service/*</url-pattern>
	</servlet-mapping>
</web-app>
4接口及其实现类
public interface IHelloWorld {
 public String getHello();
 public User getUser(User user);
}
public class HelloWorld implements IHelloWorld {

 public String getHello() {
  return "Hello";
 }

 public User getUser(User user) {
  User helloUser = new User();
  helloUser.setName("hello," + user.getName());
  return helloUser;
 }
}
5 在spring配置文件中的配置
<bean id="posVouch"class="com.sunyard.ices.business.service.impl.HelloWorld"> </bean>
6xfire-servlet.xml文件的配置
<?xml version="1.0" encoding="UTF-8"?>
<!DOCTYPE beans PUBLIC "-//SPRING//DTD BEAN 2.0//EN" "http://www.springframework.org/dtd/spring-beans-2.0.dtd">
<beans default-lazy-init="true">
	<import resource="classpath:org/codehaus/xfire/spring/xfire.xml" />
	<bean
		class="org.springframework.web.servlet.handler.SimpleUrlHandlerMapping">
		<property name="urlMap">
			<map>
				<!--同步 -->

				<entry key="/posVouch">
					<ref bean="posvouch"/>
				</entry>

			</map>
		</property>
	</bean>
	<bean id="baseWebService"
		class="org.codehaus.xfire.spring.remoting.XFireExporter"
		lazy-init="false" abstract="true">
		<property name="serviceFactory" ref="xfire.serviceFactory" />
		<property name="xfire" ref="xfire" />
	</bean>


	<!--  web Service 方法 -->

	<bean id="posvouch" parent="baseWebService">
		<property name="serviceBean" ref="posVouch" />
		<property name="serviceClass"
			value="com.sunyard.ices.business.service.IHelloWorld " />
    </bean>
</beans>
以上相信大家在别的博客那边也能找到类似代码,下面我要说的我在构建Web Service时遇到的一个问题:
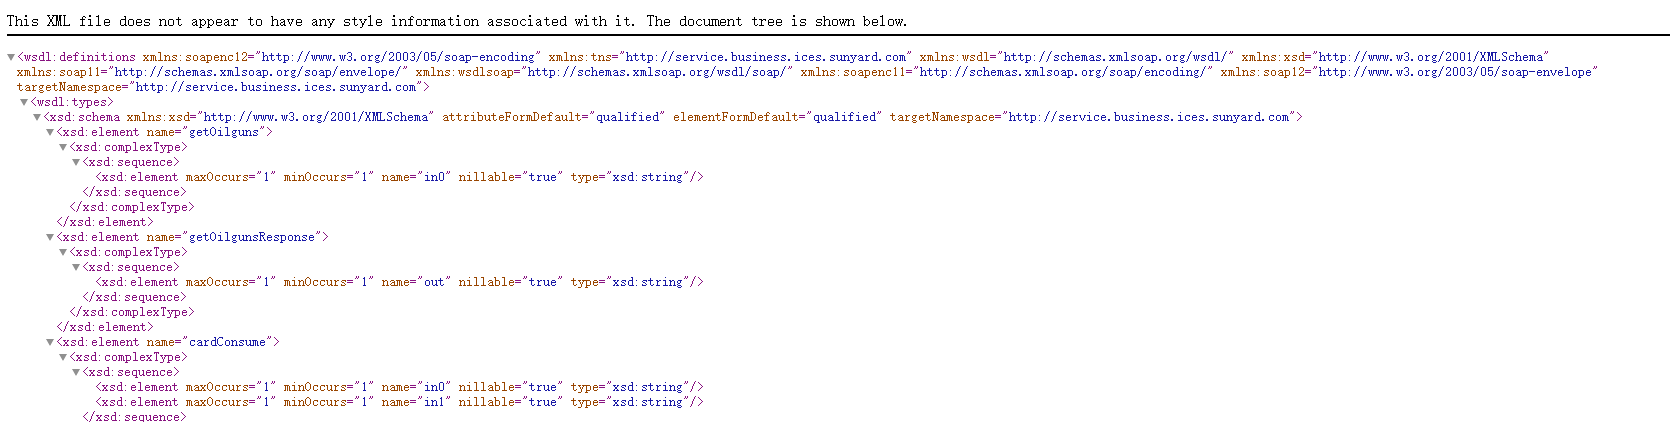
上面的都写好就要启动测试Webservice,但我在这上面却翻了个很大的跟头,究其原因就是URL错误导致的。后来我成功后,
我总结了访问wsdl文件的url的公式:
具体的根据web.xml文件中url-pattern来,这是我的,
<url-pattern>/service/*</url-pattern>
以及xfire-servlet.xml文件中的同步配置中的key
<map>
				<!--同步 -->

				<entry key="/posVouch">
					<ref bean="posvouch"/>
				</entry>

</map>
那么正确的URL= 访问项目路径/service/posVouch?wsdl

 浙公网安备 33010602011771号