option配置整体代码const lineDom = document.getElementById('lineChart')
this.lineChart = this.$echarts.init(lineDom)
this.lineOption = {
title: Object.values(this.lineSections).map((item, index) => {
return {
text: item.title,
top: 280 * index // 由于在同一个canvas里,所以每个图的title都要由top定位
}
}),
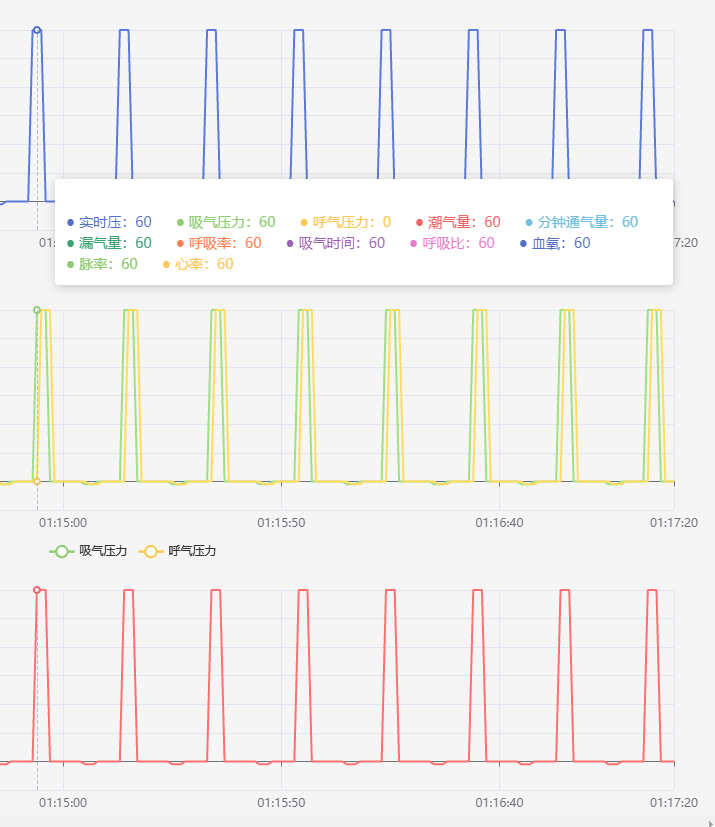
tooltip: { // 自定义鼠标悬停时查看的对比数据样式
trigger: 'axis',
formatter: (params) => {
const len = params.length
// 这里的formatter可以带html标签,所以定义样式也可以用class
return params.reduce((res, item, index) => {
res += ('<apan style="margin-right: 24px; color:' + item.color + '">● ' + item.seriesName + ':' + item.value[1] + '</apan>')
if ((index + 1) % 5 === 0) {
res += '<br/>'
}
if (index === len - 1) { // 最后一个了,给div封口
res += '</div>'
}
return res
}, '<div>' + params[0].name + '<br/>') // 初始值给了一个div头,所以后面要封口
}
},
axisPointer: {
link: [{
xAxisIndex: 'all' // 联动X轴
}]
},
// 由于全是画在同一个chart,所以这些属性都是数组,包括高度、位置等,根据各自的数据来生成
xAxis: Object.values(this.lineSections).map((item, index) => {
return {
type: 'value',
axisLabel: {
formatter: (val) => {
return this.secondHandler(val) // 自定义X轴显示
}
},
min: this.min,
max: this.max,
gridIndex: index
}
}),
yAxis: Object.values(this.lineSections).map((item, index) => {
return {
type: 'value',
gridIndex: index
}
}),
grid: Object.values(this.lineSections).map((item, index) => {
return {
left: '3%',
right: '4%',
height: 200,
top: 280 * index + 50 // 和title一样,每个图表的位置也要设置top定位
}
}),
series: that.lineDataHandler() // 处理数据为series
}
this.lineChart.setOption(this.lineOption)