Openstack创建镜像
如何创建生产用的Openstack镜像
参考官方文档https://docs.openstack.org/image-guide/centos-image.html
1,创建虚拟机硬盘
qemu-img create -f qcow2 /tmp/centos.qcow2 10G
2,创建虚拟机(没有virt-install命令使用yum -y install virt-install安装)
virt-install --virt-type kvm --name centos --ram 1024 \
  --disk /tmp/centos.qcow2,format=qcow2 \
  --network network=default \
  --graphics vnc,listen=0.0.0.0 --noautoconsole \
  --os-type=linux --os-variant=rhel7 \
  --location=/tmp/CentOS-7-x86_64-Minimal-1708.iso
PS:使用物理机作为控制节点安装的时候报 network default参数错误,把这个参数取消即可,不影响安装
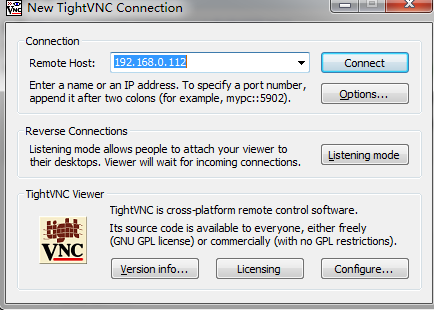
VNC客户端先准备好
使用TightVNC连接
选择支持中文,时区为亚洲上海
分区只分一个/分区即可(设置为标准分区)
PS:虚拟机不分swap分区因为虚拟机本来就是用硬盘创建出来的,没必要在用硬盘来做虚拟内存

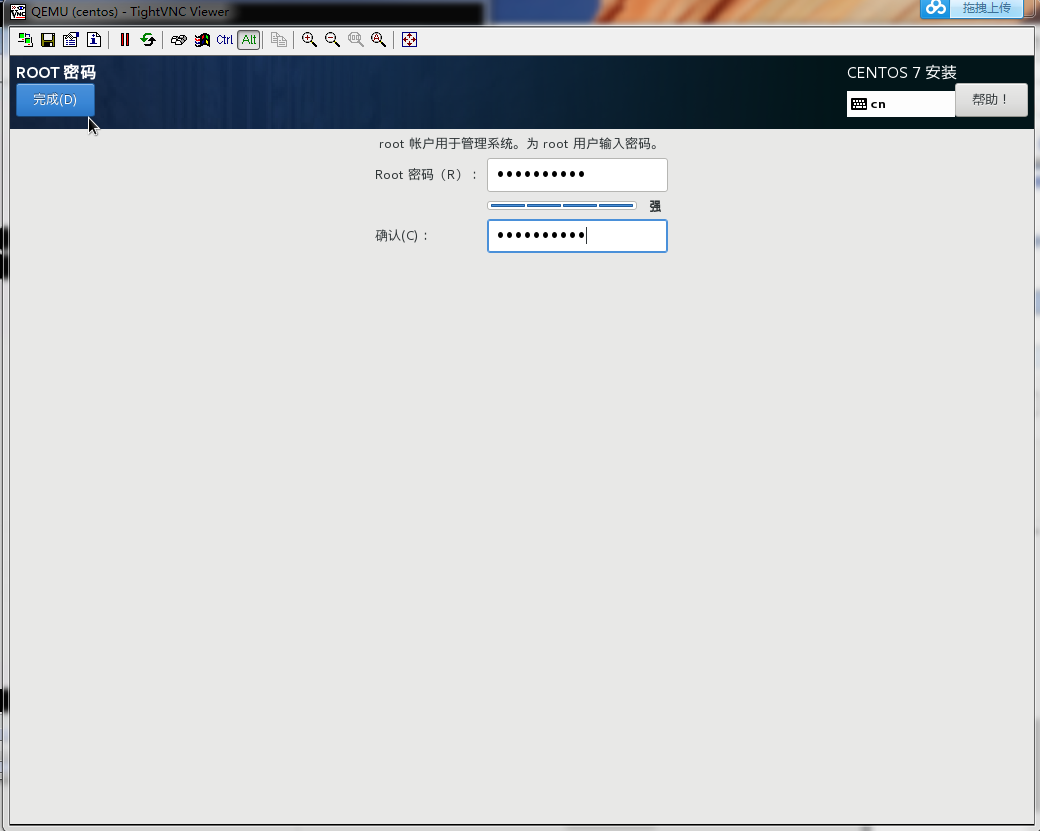
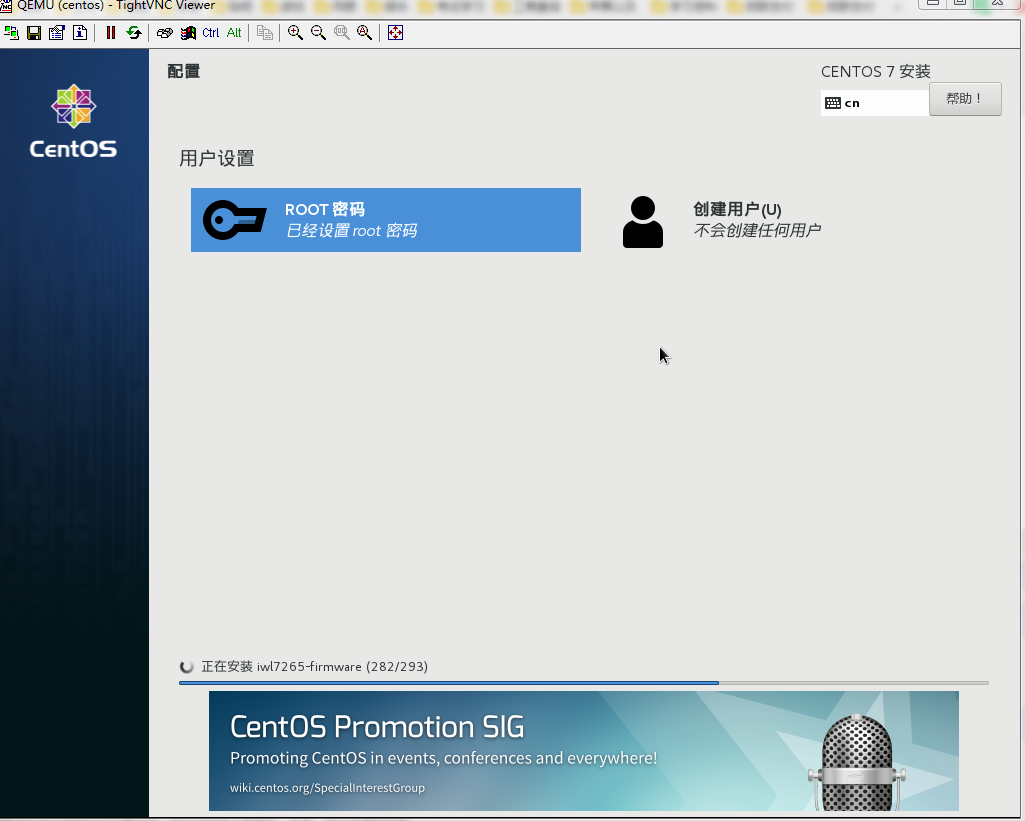
设置密码(以后创建的虚拟机密码均为这个)
等待安装完成
安装完毕点击重启,但是在该页面无法启动,需要在宿主机上面来启动
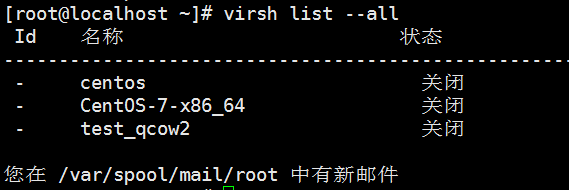
virsh start centos
使用VNC登陆
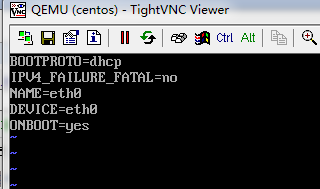
修改网卡硬配置 /etc/sysconfig/network-scripts/ifcfg-eth0
删除不需要的配置
关闭网络管理(记得首字母大写)
systemctl stop NetworkManager
systemctl disable NetworkManager
重启网络
systemctl restart network
PS:虚拟机没有通公网
关闭selinux
关闭防火墙postfix
systemctl disable firewalld
systemctl diaable postfix
安装acpi或者其他需要在组件(比如生产需要配置yum源,安装一些常用的软件等)演示不安装了
假设都安装完毕,写mate-data
在虚拟机的/tmp/init.sh
#!/bin/bash

set_key(){
  if [ ! -d /root/.ssh ]; then
 	 mkdir -p /root/.ssh
  	chmod 700 /root/.ssh
  fi
for ((i=1;i<=5;i++));do
     if [ ! -f /root/.ssh/authorized_keys ];then
  	curl -f http://169.254.169.254/latest/meta-data/public-keys/0/openssh-key > /tmp/metadata-key 2>/dev/null
  	if [ $? -eq 0 ];then
    	cat /tmp/metadata-key >> /root/.ssh/authorized_keys
    	chmod 0600 /root/.ssh/authorized_keys
    	restorecon /root/.ssh/authorized_keys
    	rm -f /tmp/metadata-key
    	echo "Successfully retrieved public key from instance metadata"
    	echo "*****************"
    	echo "AUTHORIZED KEYS"
    	echo "*****************"
    	cat /root/.ssh/authorized_keys
    	echo "*****************"
  	fi
    fi
done
}

set_hostname(){
    PRE_HOSTNAME=$(curl -s http://169.254.169.254/latest/meta-data/hostname)
    DOMAIN_NAME=$(echo $PRE_HOSTNAME | awk -F '.' '{print $1}')
    hostnamectl set-hostname `echo ${DOMAIN_NAME}.example.com`
}

set_static_ip(){
    PRE_IP=$(curl -s http://169.254.169.254/latest/meta-data/local-ipv4)
    NET_FILE="/etc/sysconfig/network-scripts/ifcfg-eth0"
echo  "TYPE=Ethernet" > $NET_FILE
echo  "BOOTPROTO=static" >> $NET_FILE
echo  "NAME=eth0" >> $NET_FILE
echo  "DEVICE=eth0" >> $NET_FILE
echo  "ONBOOT=yes" >> $NET_FILE
echo  "IPADDR=${PRE_IP}" >> $NET_FILE
echo  "NETMASK=255.255.255.0" >> $NET_FILE
echo  "GATEWAY=192.168.0.1" >> $NET_FILE
}

main(){
   set_key;
   set_hostname;
   set_static_ip;
   /bin/cp /tmp/rc.local /etc/rc.d/rc.local
   reboot
}

main
PS:把获取key,hostname,静态ip写成3个函数,然后在main里面执行,在/tmp文件夹备份一份rc.local 设置完毕覆盖,以防虚拟机重启再次执行
在/etc/rc.local添加
/bin/bash /tmp/init.sh
给rc.local加执行权限(必须是/etc/rc.d/rc.local不能给/etc/rc.local加执行权限否则会不执行初始化文件需要手动执行初始化文件才能生效)
chmod +x /etc/rc.d/rc.local
关闭镜像
shutdown -h now
在控制节点操作,上传镜像
openstack image create "CentOS-7-x86_64" \
--file /tmp/centos.qcow2 \
--disk-format qcow2 --container-format bare \
--public
删除镜像使用命令
openstack image delete CentOS-7-x86_64
上传较慢

镜像路径在/var/lib/glance/images
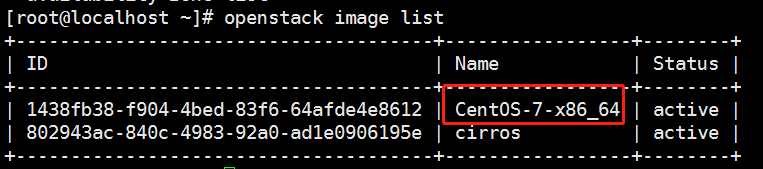
使用命令查看
openstack image list
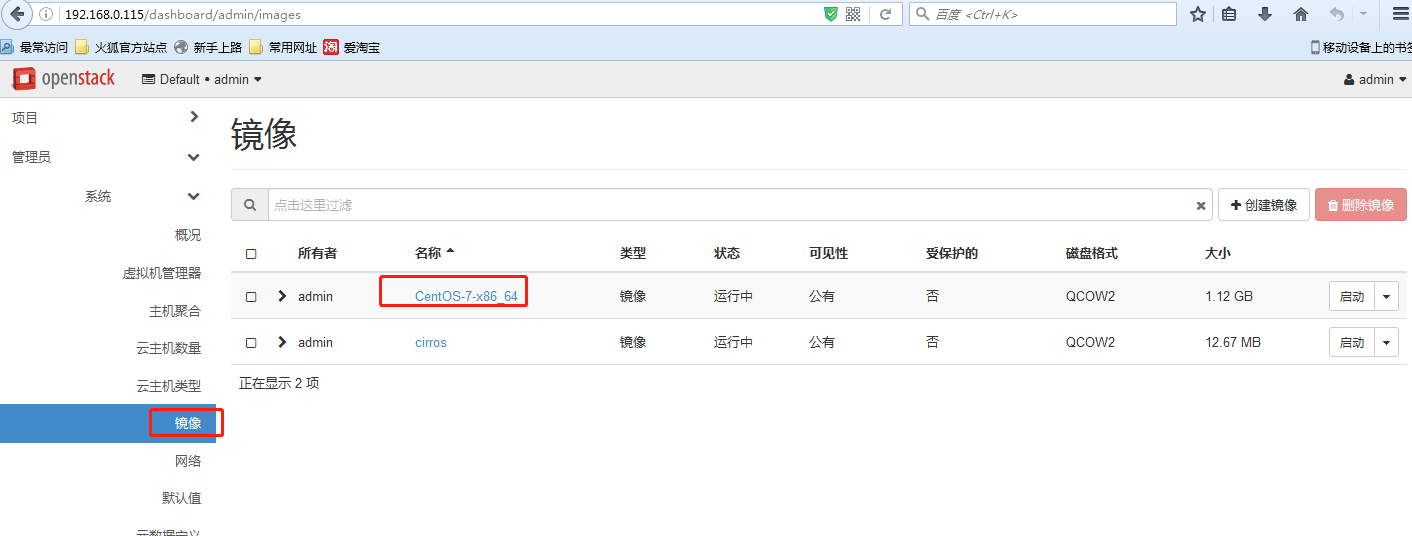
使用admin登陆web界面也能看到
使用新镜像创建虚拟机
使用admin登陆web界面
创建云主机类型


谁能使用demo
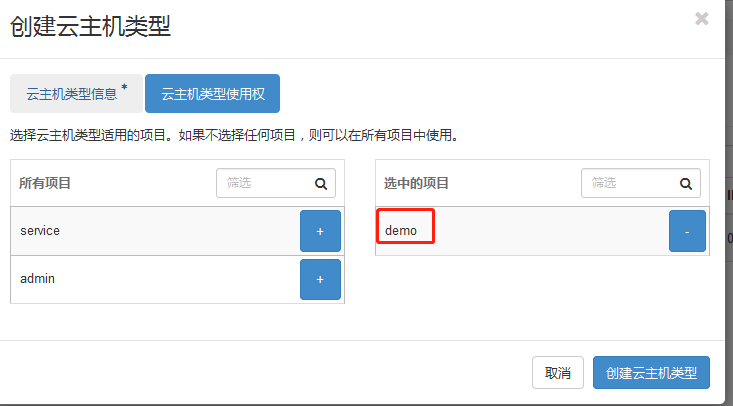
退出admin使用demo登陆
创建云主机

使用刚刚建立的源

云主机类型web-node
创建可以在node2的目录/var/lib/nova/instances/_base看到拷贝镜像
PS:我试验中没有动静 可能和报错 构建已中止:分配网络失败,不重新调度有关
重启主机可以正常创建了 但是该目录还是没有文件增加
原来是创建在控制节点上面去了,因为控制节点也设置成了计算节点调度到上面了
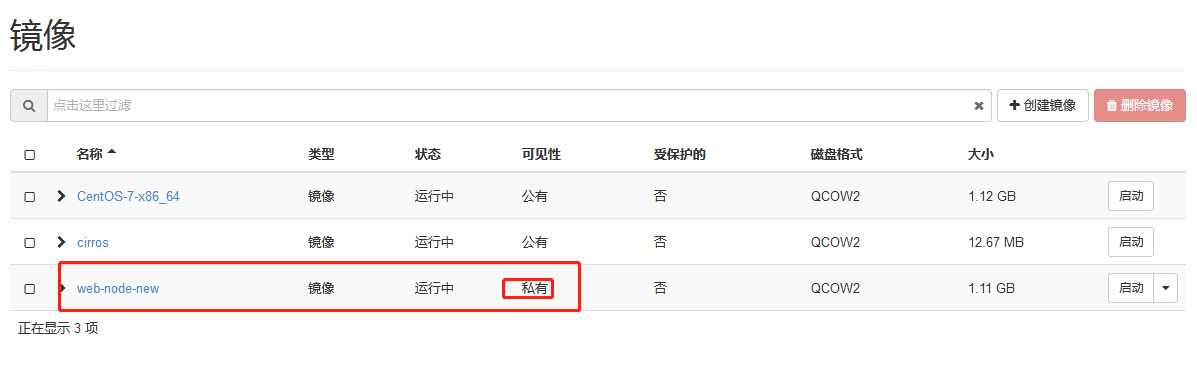
创建快照
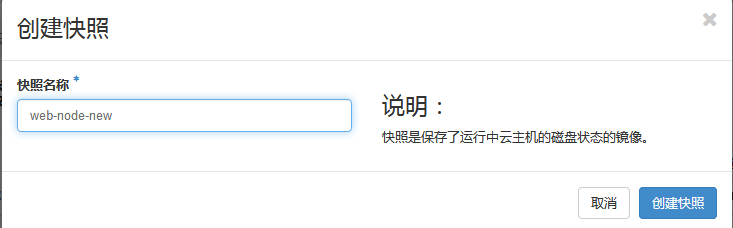
是一个私有快照

 浙公网安备 33010602011771号