

KOS版本2303定制ISO镜像
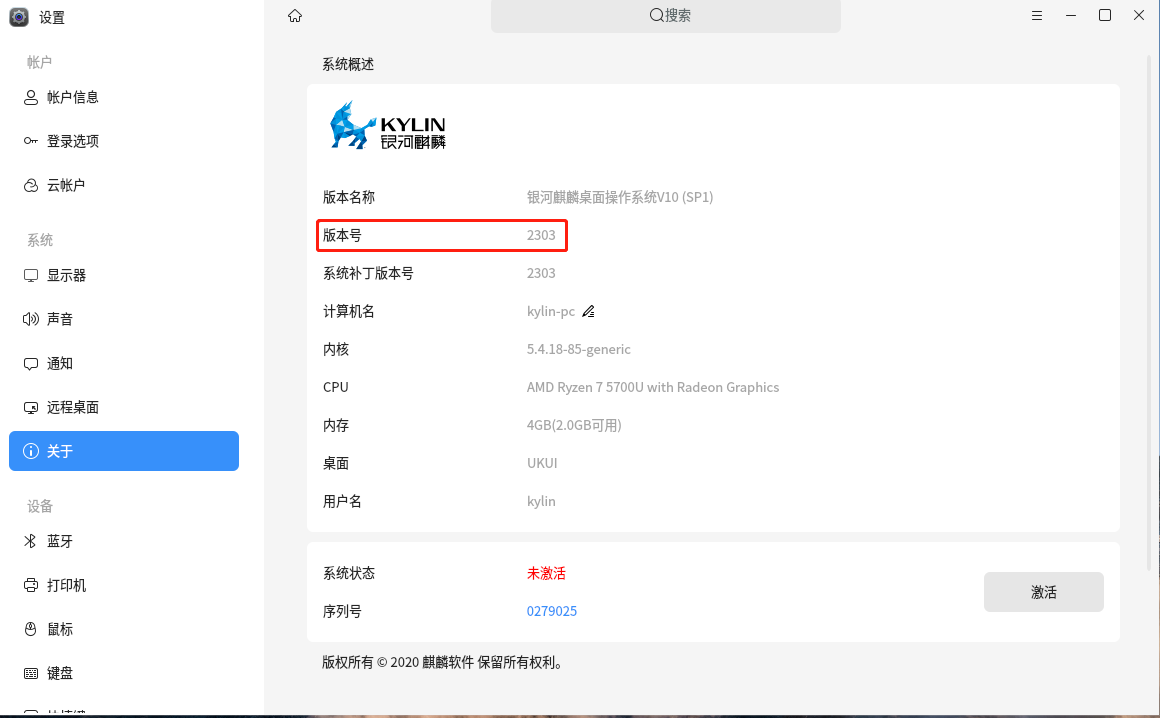
- 环境及版本查看

- 拷贝和挂载镜像
把KOS2303镜像拷贝至主机并且挂载
# mount Kylin-Desktop-V10-SP1-General-Release-2303-X86_64.iso /mnt2303
新建iso目录用于定制iso镜像
# mkdir /iso
因为挂载目录只读所以需要把所有文件复制到/iso目录进行定制化操作
从挂载目录把所有文件复制至/iso目录
# rsync -a /mnt2303 /iso
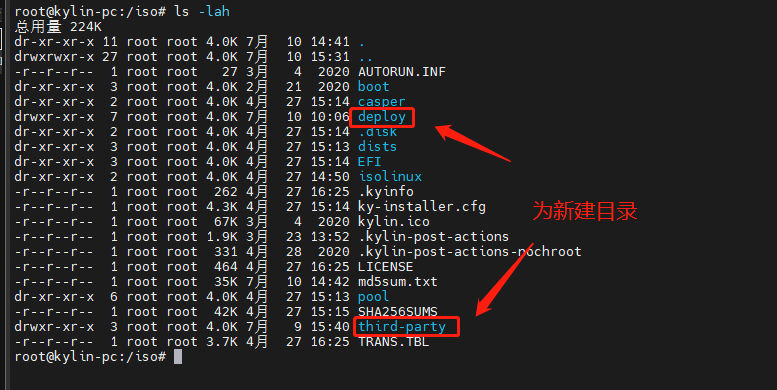
- 在iso目录下新建目录
# cd /iso
# mkdir deploy
# mkdir third-party
注意:其中third-party用于放置初始化deb包和在安装系统时自动安装的deb包,deploy用于放置安装完系统以后重启系统后自动安装的包
4. 创建kyinit目录用于创建初始化deb包
目录结构如下
# pwd
/iso/third-party/common/kyinit
# tree
.
├── DEBIAN
│   ├── control
│   └── postinst
└── usr
    └── local
        └── init
            ├── autostart
            │   ├── auto.desktop
            │   ├── autostart.sh
            │   └── first-init
            ├── config
            ├── scripts
            │   └── security_init.sh
            ├── services
            ├── sysinit.cfg
            └── sys-init.sh
#
压缩包使用以下地址下载
https://files.cnblogs.com/files/minseo/kyinit.zip?t=1688982797&download=true
5. 把对应包分别放置在对应目录
需要在安装操作系统的时候安装的包放置在目录third-patry
需要在安装完系统之后的包放置在目录deploy
6. 打包iso
# cd /iso
# find -type f -print0 | xargs -0 md5sum|grep -v isolinux/boot.cat |tee md5sum.txt
# mkisofs -J -r -T -joliet-long -V "Kylin-Desktop-V10-SP1" -no-emul-boot -boot-load-size 4 -boot-info-table -r -b isolinux/isolinux.bin -c isolinux/boot.cat -eltorito-alt-boot -e boot/grub/efi.img -no-emul-boot -allow-limited-size -o /home/kylin/桌面/Kylin-Desktop-V10-SP1-new.iso .
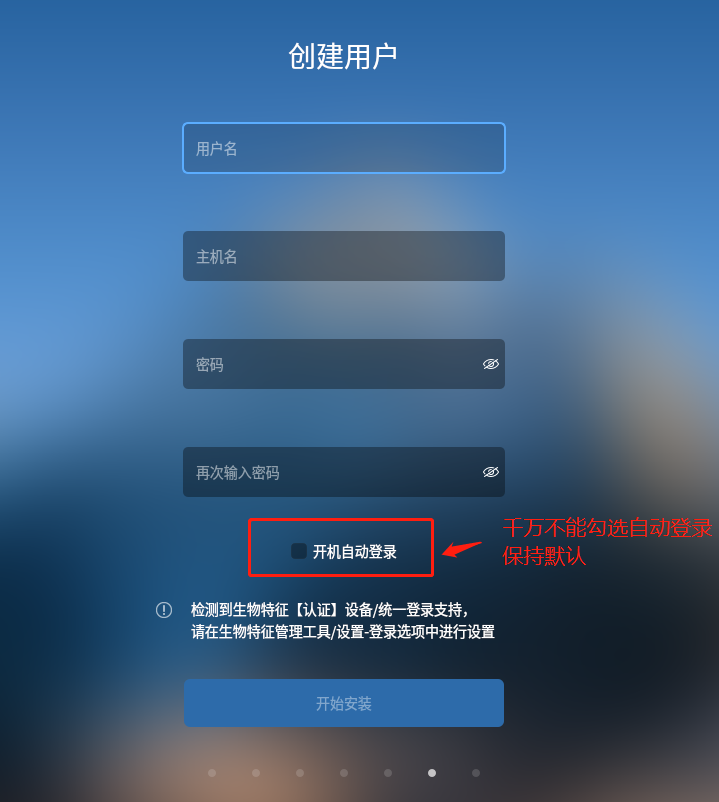
- 安装
注意:安装时不要选择自动登录,如果选择则无法执行安装之后第一次重启的初始化安装操作


【推荐】国内首个AI IDE,深度理解中文开发场景,立即下载体验Trae
【推荐】编程新体验,更懂你的AI,立即体验豆包MarsCode编程助手
【推荐】抖音旗下AI助手豆包,你的智能百科全书,全免费不限次数
【推荐】轻量又高性能的 SSH 工具 IShell:AI 加持,快人一步
· 阿里最新开源QwQ-32B,效果媲美deepseek-r1满血版,部署成本又又又降低了!
· AI编程工具终极对决:字节Trae VS Cursor,谁才是开发者新宠?
· 开源Multi-agent AI智能体框架aevatar.ai,欢迎大家贡献代码
· Manus重磅发布:全球首款通用AI代理技术深度解析与实战指南
· 被坑几百块钱后,我竟然真的恢复了删除的微信聊天记录!
2020-07-10 Rabbitmq集群搭建
2019-07-10 Python3 IO编程之StringIO和BytesIO
2019-07-10 Python3 IO编程之文件读写