noVNC实现浏览器远程访问VNC服务
参考
https://www.cnblogs.com/binaway/p/9772673.html
https://blog.jialezi.net/?post=65
一,简介
1,VNC介绍
VNC (Virtual Network Console)是虚拟网络控制台的缩写。它 是一款优秀的远程控制工具软件。VNC 是在基于 UNIX 和 Linux 操作系统的免费的开源软件,远程控制能力强大,高效实用,其性能可以和 Windows 和MAC中的任何远程控制软件媲美。
VNC基本上是由两部分组成:一部分是客户端的应用程序(vnc viewer);另外一部分是服务器端的应用程序(vnc server)。VNC的基本运行原理和一些Windows下的远程控制软件很相像。VNC的服务器端应用程序在UNIX和Linux操作系统中适应性很强,图形界面十分友好。在任何安装了客户端的应用程序(vncviewer)的Linux平台的计算机都能十分方便地和安装了服务器端的应用程序(vncserver)的计算机相互连接。
2,noVNC介绍
noVNC提供一种在网页上通过html5的Canvas,访问机器上vncserver提供的vnc服务,需要做tcp到websocket的转化,才能在html5中显示出来。网页就是一个客户端,类似win下面的vncviewer,只是此时填的不是裸露的vnc服务的ip+port,而是由noVNC提供的websockets的代理,在noVNC代理服务器上要配置每个vnc服务,noVNC提供一个标识,去反向代理所配置的vnc服务。
noVNC 被普遍用在各大云计算、虚拟机控制面板中,比如 OpenStack Dashboard 和 OpenNebula Sunstone 都用的是 noVNC。
二,准备工作
- 远程目标主机:Windows10,统信UOS
- UltraVNC:http://www.uvnc.com/ (Windows环境下的VNC Server,还有TightVNC、TigerVNC、RealVNC等,其中RealVNC不能通过noVNC)
- Node.js:https://nodejs.org/en/download/ (用于执行Websockify.js)
- NoVNC:https://github.com/novnc/noVNC
- Websockify https://github.com/novnc/websockify-js.git
三,Windows10安装及配置noVNC
- 下载安装UltraVNC
下载地址
https://www.uvnc.eu/download/1360/UltraVNC_1_3_60_X64_Setup.exe
安装一直下一步即可,安装完毕server端自动运行
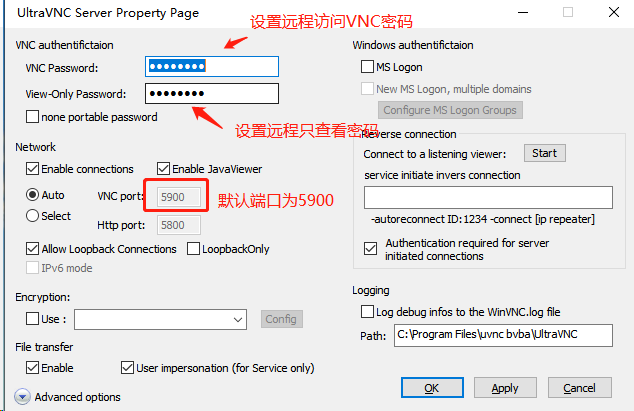
设置密码
右下角右键单击VNC图标选择Admin Properties
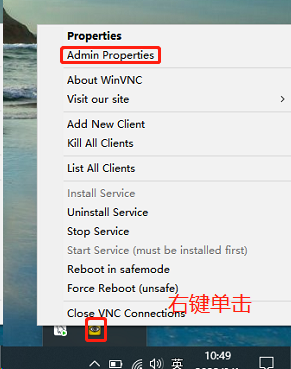
设置页码如下
2. 安装node.js
下载地址
https://nodejs.org/dist/v16.14.0/node-v16.14.0-x64.msi
下载windows下64位版本,双击安装即可
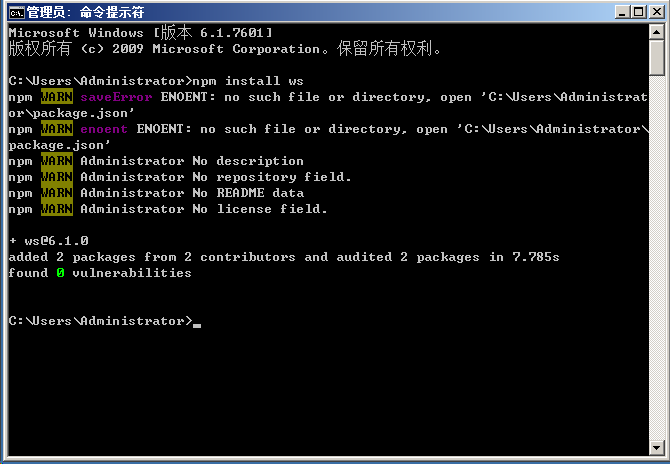
node.js安装完成后,需要安装ws、optimist模块(执行websockify.js文件所需)
在目录C:\Users\Administrator>下执行安装程序
npm install ws
npm install optimist
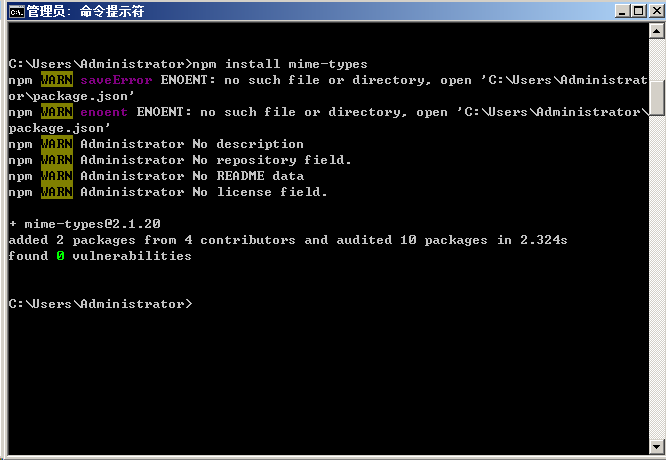
npm install mime-types

安装完ws和optimist后会在C:\Users\Administrator\下生成node_modules目录
3. 下载noVNC
进入目录C:\Users\Administrator>使用git下载noVNC
git clone https://github.com/novnc/noVNC
- 下载websockify-js
进入目录C:\Users\Administrator>使用git下载websockify-js
git clone https://github.com/novnc/websockify-js.git
- 执行websockify.js
执行websockify.js:转发9000端口的http链接到5900端口(UltraVNC Server的默认端口为5900)
执行完整命令格式如下
C:\Users\Administrator>node c:\Users\Administrator\node_modules\websockify-js\websockify\websockify.js --web c:\Users\Administrator\node_modules\noVNC 9000 192.168.8.161:5900
命令行解析
C:\Users\Administrator> # 当前目录
node # 使用node启动js
c:\Users\Administrator\node_modules\websockify-js\websockify\websockify.js # js文件路径
--web c:\Users\Administrator\node_modules\noVNC # noVNC地址
9000 # 启动端口为9000
192.168.8.161:5900 # 转发的VNC地址和端口
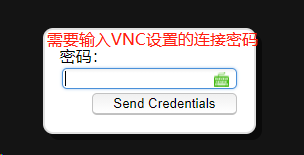
- 在浏览器输入地址加端口访问
![image]()
![image]()
输入密码,成功登录Windows远程桌面

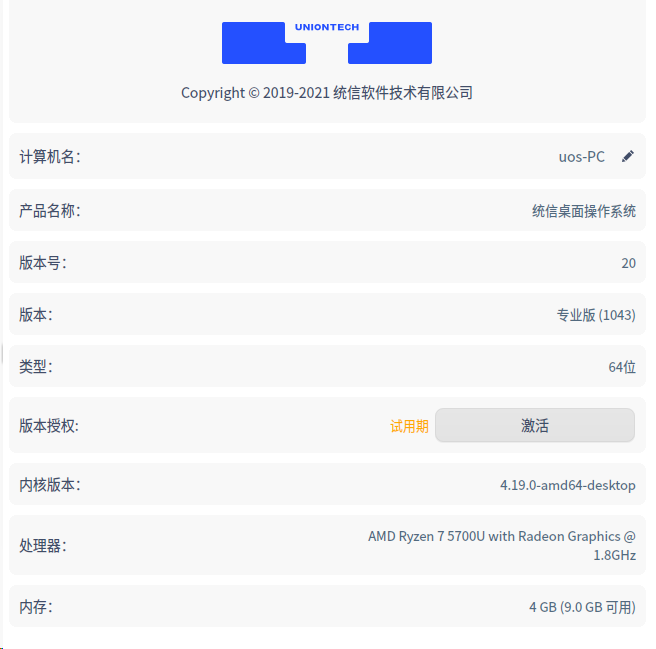
统信UOS安装及配置noVNC
系统版本及配置查看

- 更新系统组件
apt update
apt upgrade -y
- 安装LXDE环境,vncserver,git等
apt-get install xorg lxde-core tightvncserver git vim -y
- 启动VNC
tightvncserver :1
然后需要我们输入VNC的登录密码,输入密码要注意输入的时候是不可见的,我们要看清楚自己键盘然后输入回车后再输入一次。
出现这一行"Would you like to enter a view-only password (y/n)"问我们是否需要一个只可读的账户密码,我们可以输入y输入密码,也可以输入n不输入,这个不要紧。
修改VNC密码
首先清除~/.vnc目录下文件passwd内容
然后使用命令修改
vncpasswd
- 暂停VNC
tightvncserver -kill :1
- 配置xstartup系统文件
编辑系统文件
vim ~/.vnc/xstartup
然后在文件的最下面添加脚本代码
lxterminal &
/usr/bin/lxsession -s LXDE &
- 重启VNC
tightvncserver :1
- 安装noVNC
git clone https://github.com/novnc/noVNC
- 运行noVNC
./noVNC/utils/novnc_proxy --vnc localhost:5901
命令解析
./noVNC/utils/novnc_proxy --vnc # 启动noVNC
localhost:5901 # 对应的VNC主机和端口
脚本的启动参数
脚本的启动参数:
--listen PORT                          Port for proxy/webserver to listen on
                                               Default: 6080
--vnc VNC_HOST:PORT                    VNC server host:port proxy target
                                               Default: localhost:5900
--cert CERT                            Path to combined cert/key file
                                               Default: self.pem
--web WEB                              Path to web files (e.g. vnc.html)
                                               Default: ./
--ssl-only                             Disable non-https connections.
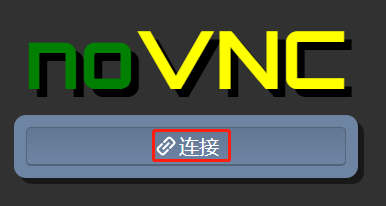
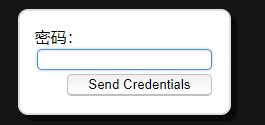
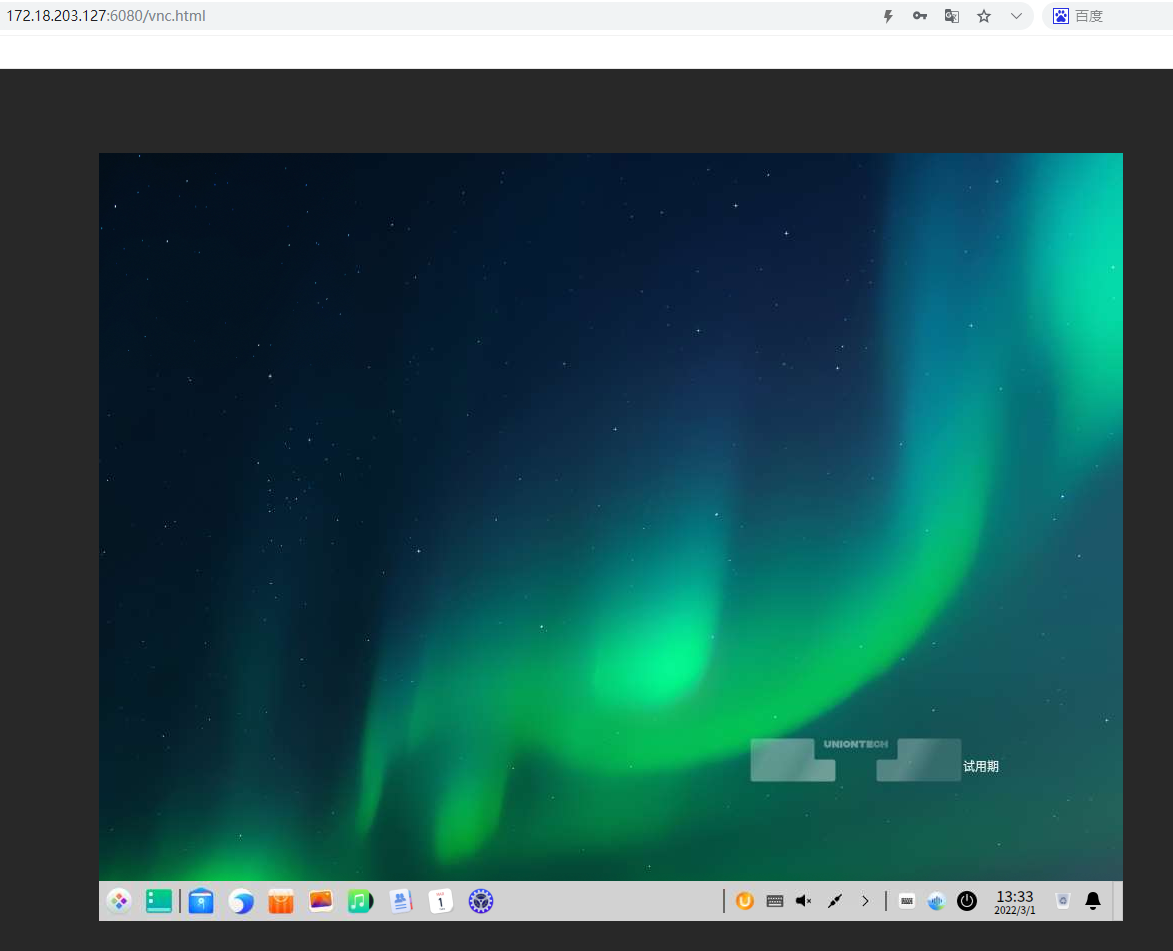
web页面访问测试
如果不指定--listen参数默认的端口为6080
使用以下地址访问
http://ip:6080/vnc.html

 浙公网安备 33010602011771号