ELK之在CentOS7.5上使用rpm包安装配置ELK7版本
一,安装环境查看

二,软件版本选用
jdk 1.8.0_171
elasticsearch 7.1.1
kibana 7.1.1
logstash 7.1.1
三,安装配置
1,安装JDK
过程不详述
2,安装ELK
官网下载安装包
wget https://artifacts.elastic.co/downloads/elasticsearch/elasticsearch-7.1.1-x86_64.rpm
wget https://artifacts.elastic.co/downloads/kibana/kibana-7.1.1-x86_64.rpm
wget https://artifacts.elastic.co/downloads/logstash/logstash-7.1.1.rpm
安装
rpm -ivh elasticsearch-7.1.1-x86_64.rpm
rpm -ivh kibana-7.1.1-x86_64.rpm
rpm -vih logstash-7.1.1.rpm
修改elasticsearch配置文件
/etc/elasticsearch/elasticsearch.yml
#集群名
cluster.name: my-es
#node名
node.name: node-1
#数据目录
path.data: /data/es-data
#日志目录
path.logs: /var/log/elasticsearch
network.host: 0.0.0.0
http.port: 9200
#集群master需要和node名设置一致
cluster.initial_master_nodes: ["node-1"]
设置elasticsearch的jave目录(手动安装java需设置yum安装的java无需设置)
修改配置文件
/etc/sysconfig/elasticsearch
设置java目录
JAVA_HOME=/usr/local/jdk1.8.0_171
创建数据目录并设置权限
 mkdir -p /data/es-data
 chown -R elasticsearch:elasticsearch /data/es-data/
启动elasticsearch
systemctl start elasticsearch
systemctl enable elasticsearch
检测是否启动
[root@salt-test 7.1.1]# curl 127.0.0.1:9200
{
  "name" : "node-1",
  "cluster_name" : "my-es",
  "cluster_uuid" : "-5vm0JOyQP-fehWjlXal_A",
  "version" : {
    "number" : "7.1.1",
    "build_flavor" : "default",
    "build_type" : "rpm",
    "build_hash" : "7a013de",
    "build_date" : "2019-05-23T14:04:00.380842Z",
    "build_snapshot" : false,
    "lucene_version" : "8.0.0",
    "minimum_wire_compatibility_version" : "6.8.0",
    "minimum_index_compatibility_version" : "6.0.0-beta1"
  },
  "tagline" : "You Know, for Search"
}
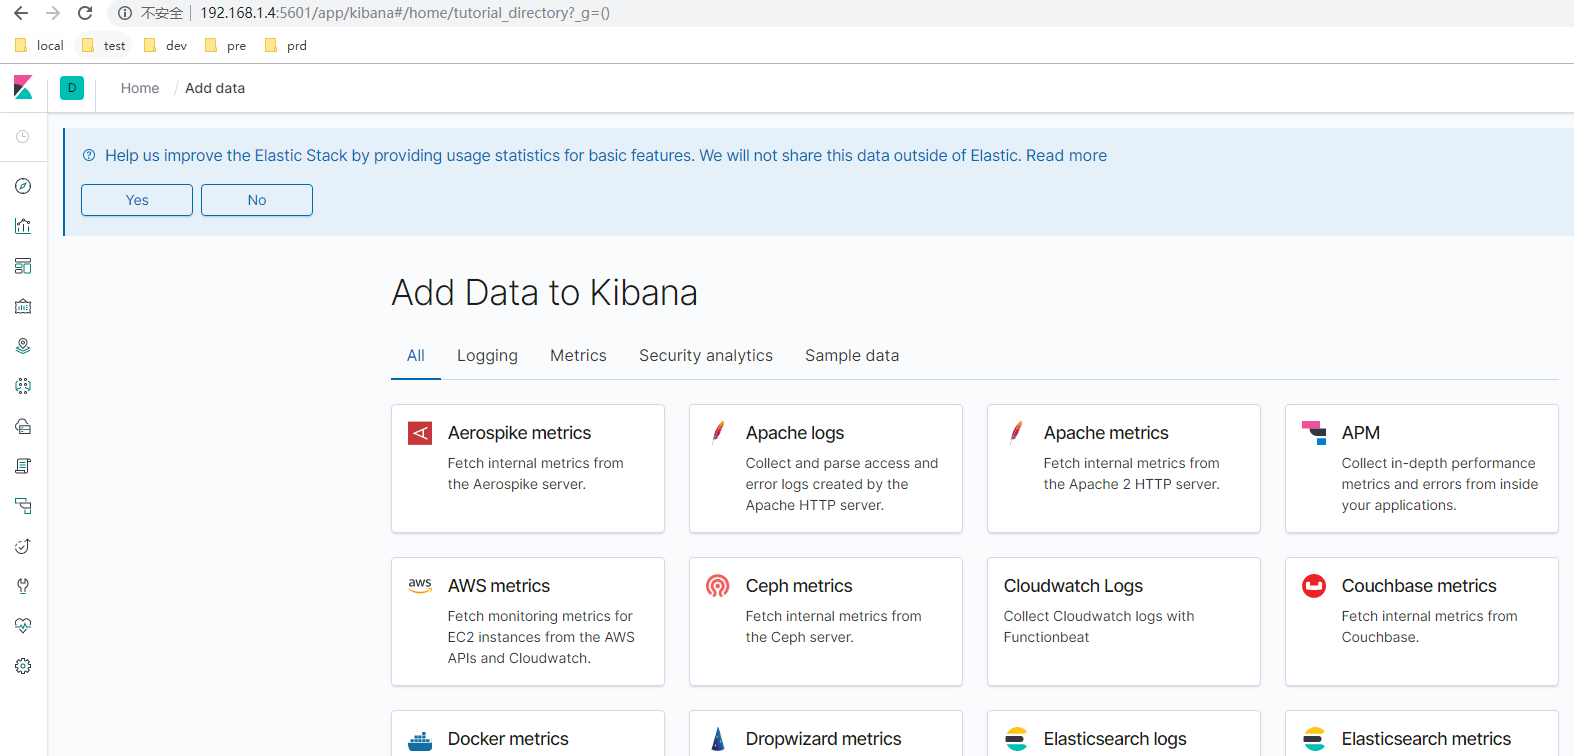
设置kibana
修改配置文件
server.port: 5601
server.host: "0.0.0.0"
server.name: "node-1"
elasticsearch.hosts: ["http://192.168.1.4:9200"]
kibana.index: ".kibana"
PS:7版本elasticsearch.hosts的配置在6版本里面为elasticsearch.url 需要配置正确否则message日志会报错
FATAL Error: [elasticsearch.url]: definition for this key is missing
启动
systemctl start kibana
systemctl enable kibana
web页面查看,还没有索引
安装head
安装head同elasticsearch6 参考 https://www.cnblogs.com/minseo/p/9117470.html
集群健康状态检查
curl -XGET 'http://192.168.1.4:9200/_cluster/health?pretty=true'
使用logstash收集日志
标准输入输出
/usr/share/logstash/bin/logstash -e 'input { stdin{} } output { stdout {} }'
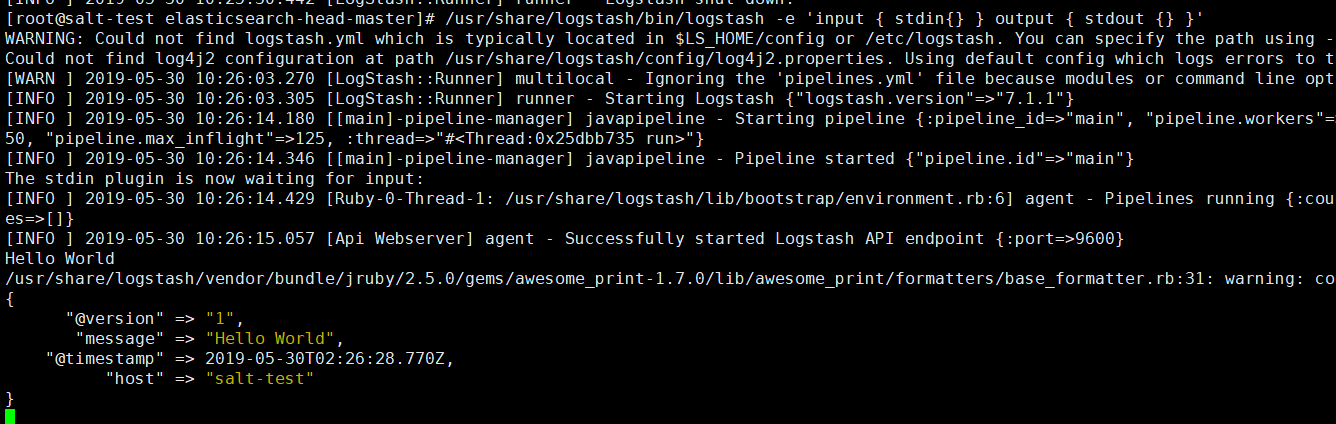
页面输入什么则输出什么
以json格式输出

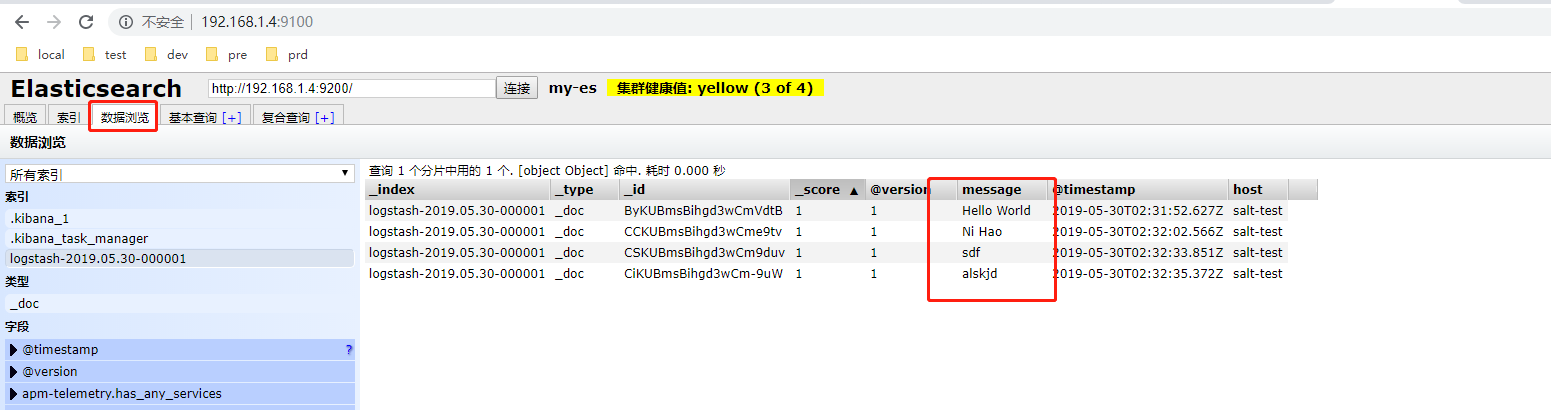
输出至ES
/usr/share/logstash/bin/logstash -e 'input { stdin{} } output { elasticsearch { hosts => ["192.168.1.4:9200"] index => "logstash-%{+YYYY.MM.dd}" } }'
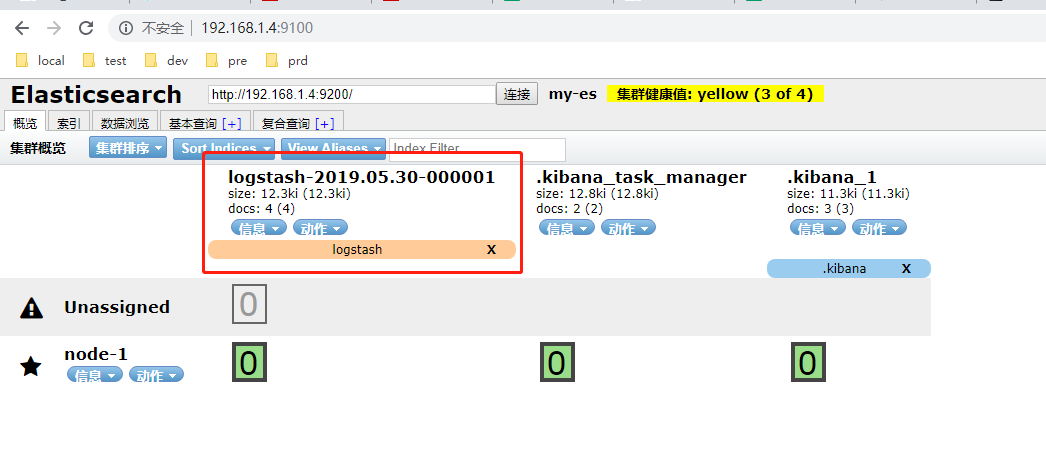
启动后标准输出无反应
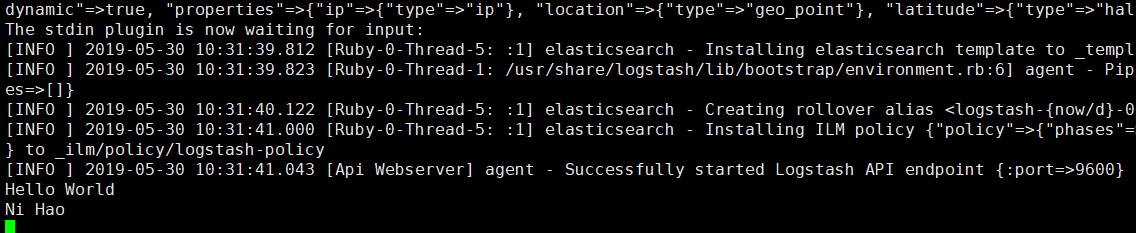
打卡head即可查看
写一个配置文件收集系统日志
/etc/logstash/conf.d/file.conf
input{
  file{
    path => ["/var/log/messages"]
    type => "system-log"
    start_position => "beginning"
  }
}

filter{

}

output{
  elasticsearch{
    hosts => ["192.168.1.4:9200"]
    index => "system-log-%{+YYYY.MM}"
  }
}
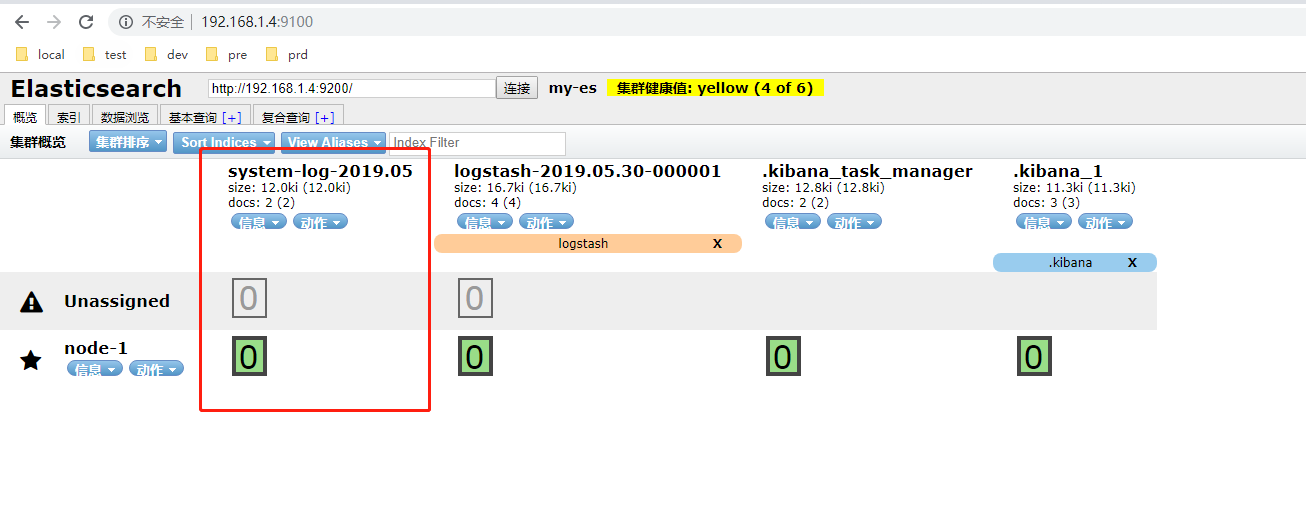
启动放置在后台
/usr/share/logstash/bin/logstash -f /etc/logstash/conf.d/file.conf &
当文件/var/log/messages有日志写入时就会写es,在head可以查看
把日志添加至kiban展示
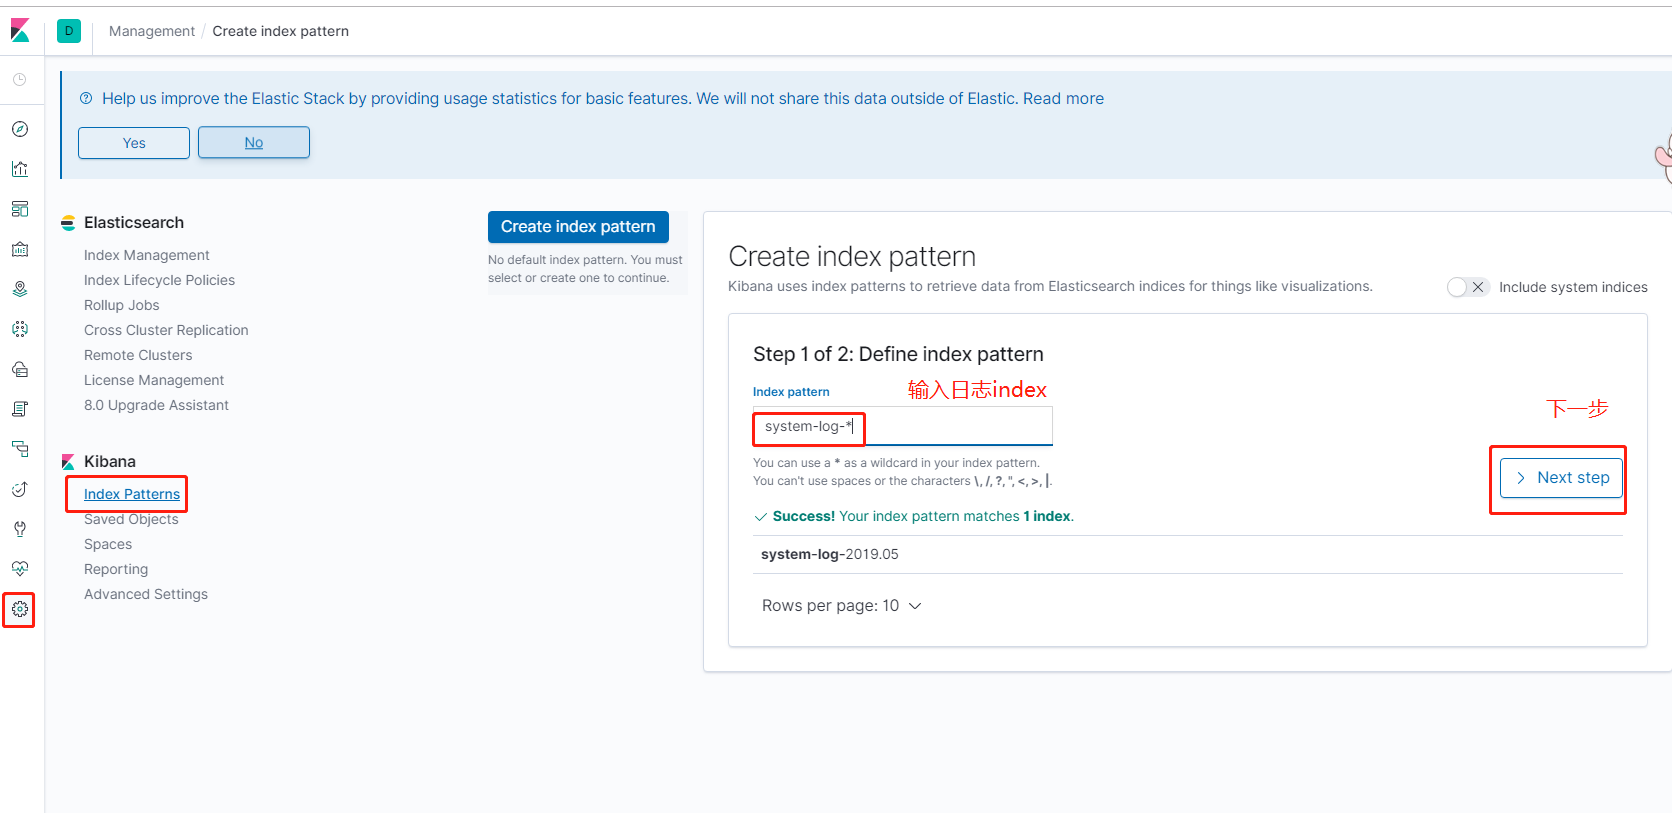
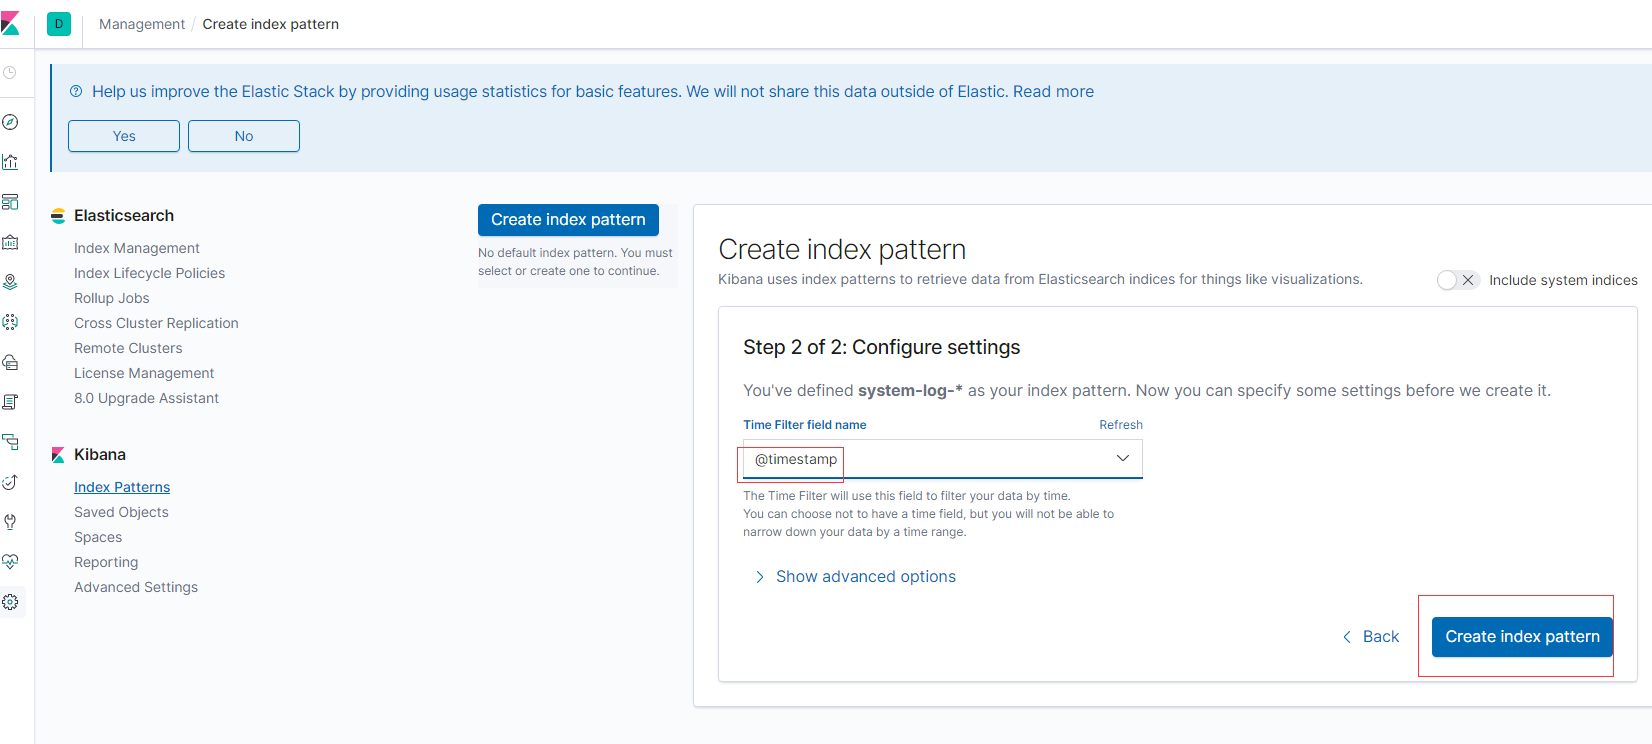
查看
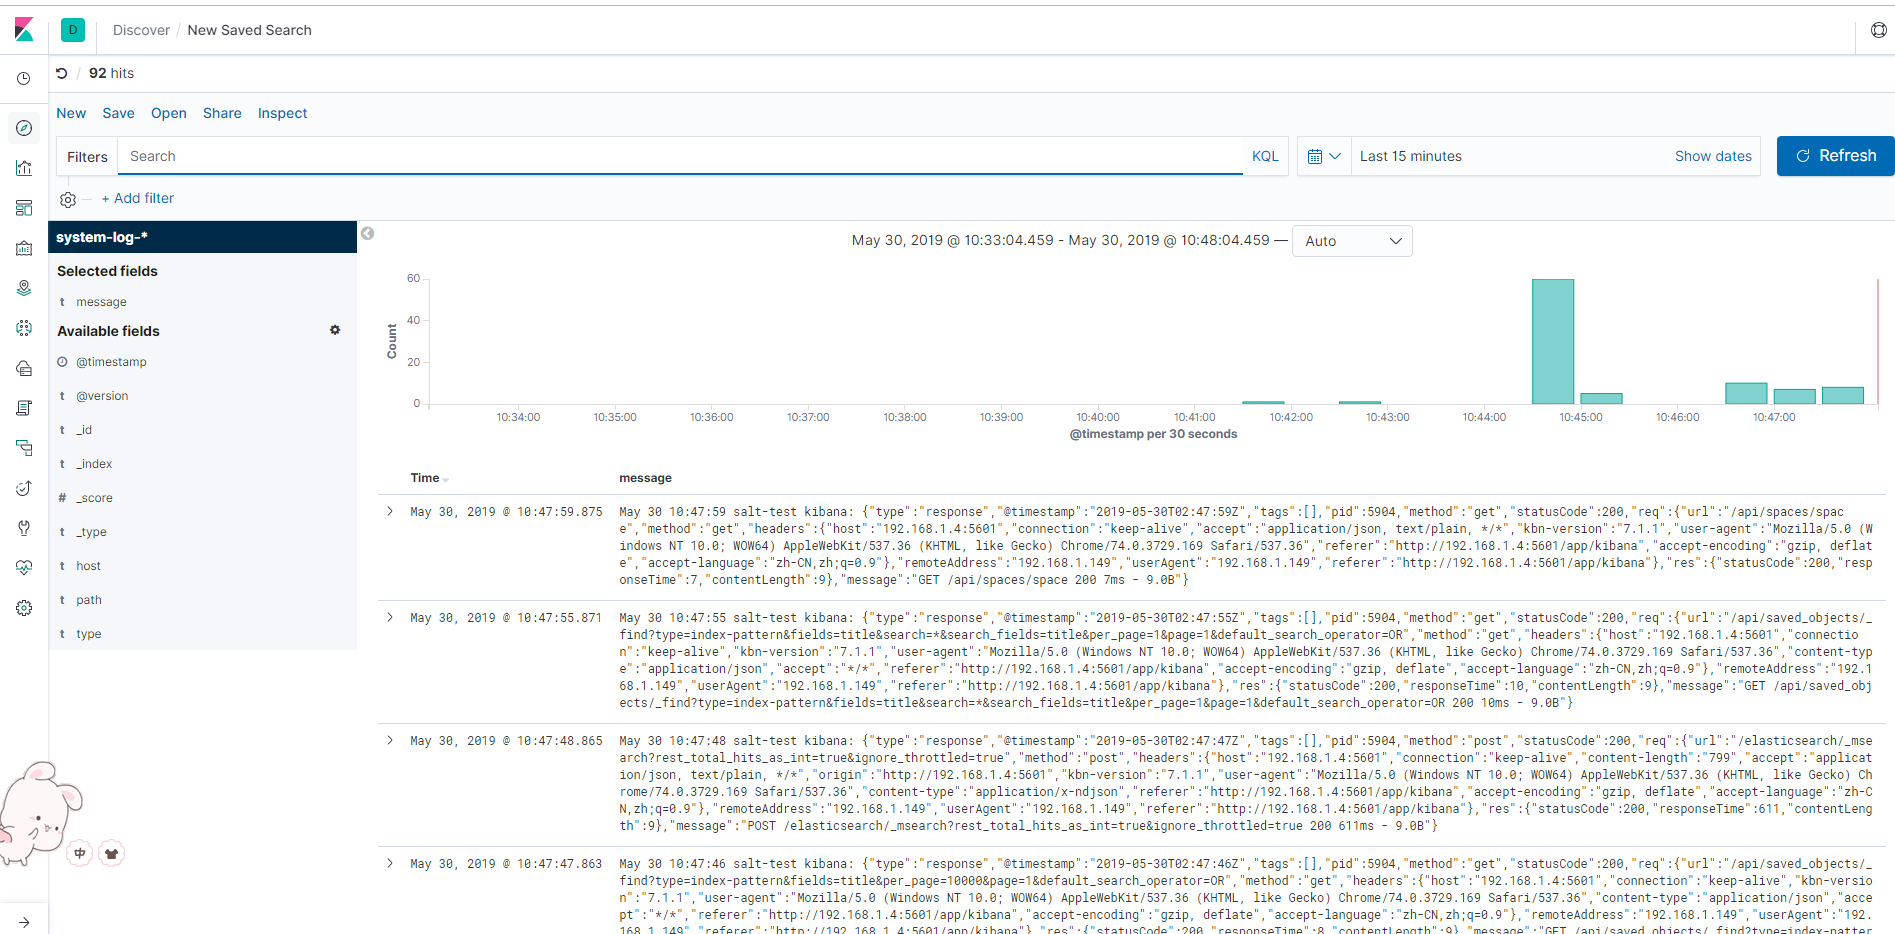
elk7搭建完成与elk6搭建几乎一致
区别为elasticsearch配置文件需要添加配置,否则elasticsearch启动不成功
cluster.initial_master_nodes: ["node-1"]

 浙公网安备 33010602011771号