Pytorch入门—Tensors张量的学习
Tensors张量的学习
张量是一种特殊的数据结构,与数组和矩阵非常相似。在PyTorch中,我们使用张量来编码模型的输入和输出,以及模型的参数。
张量类似于NumPy的ndarrays,只是张量可以在GPU或其他硬件加速器上运行。事实上,张量和NumPy数组通常可以共享相同的底层内存,从而无需复制数据(请参阅使用NumPy进行桥接)。张量还针对自动微分进行了优化(我们将在稍后的Autograd部分中看到更多内容)。如果您熟悉ndarrays,您将熟悉Tensor API。
import torch
import numpy as np
Initializing a Tensor 初始化张量
Directly from data 直接从数据中初始化
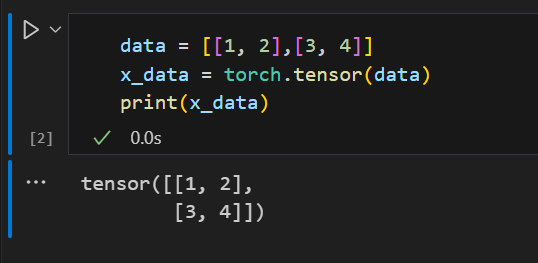
张量可以直接从数据中创建。数据类型是自动推断的。
data = [[1, 2],[3, 4]]
x_data = torch.tensor(data)
From a NumPy array 从NumPy数组初始化
张量可以从NumPy数组中创建(反之亦然—请参阅使用NumPy进行桥接)。
np_array = np.array(data)
x_np = torch.from_numpy(np_array)
From another tensor 从另一个tensor初始化
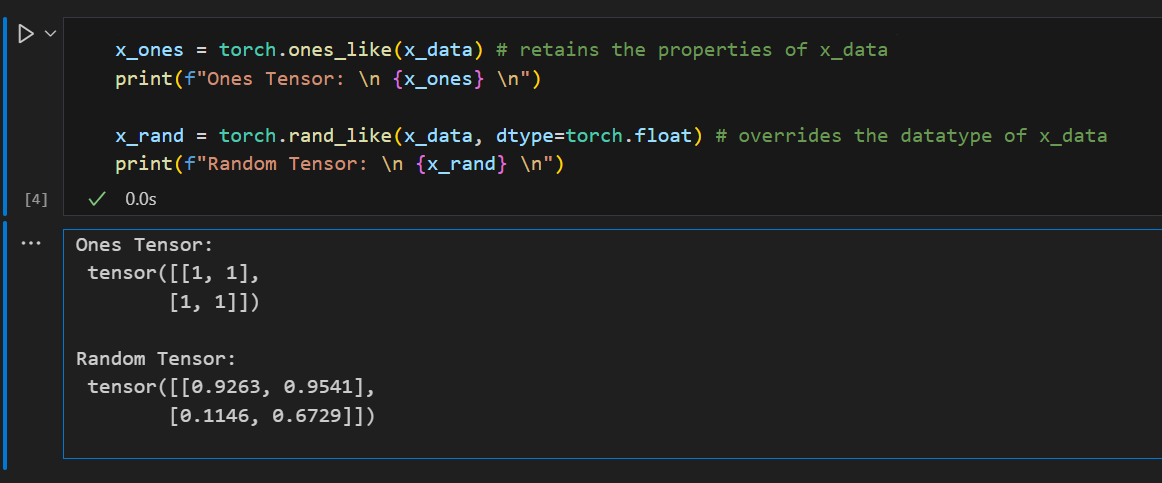
新张量保留参数张量的属性(形状,数据类型),除非显式覆盖。
x_ones = torch.ones_like(x_data) # retains the properties of x_data
print(f"Ones Tensor: \n {x_ones} \n")

x_rand = torch.rand_like(x_data, dtype=torch.float) # overrides the datatype of x_data
print(f"Random Tensor: \n {x_rand} \n")
With random or constant values
具有随机值或常量值
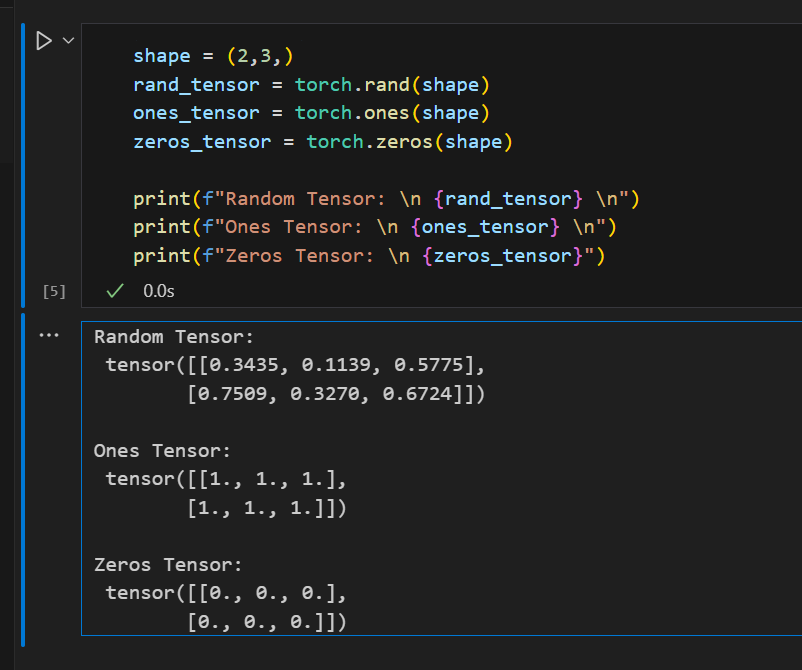
shape 是张量维度的元组。在下面的函数中,它确定输出张量的维数。
shape = (2,3,)
rand_tensor = torch.rand(shape)
ones_tensor = torch.ones(shape)
zeros_tensor = torch.zeros(shape)

print(f"Random Tensor: \n {rand_tensor} \n")
print(f"Ones Tensor: \n {ones_tensor} \n")
print(f"Zeros Tensor: \n {zeros_tensor}")
Attributes of a Tensor 张量的属性
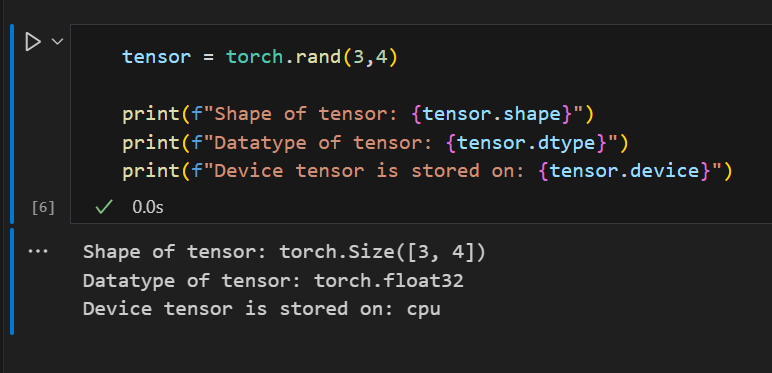
张量属性描述了它们的形状、数据类型以及存储它们的设备。
tensor = torch.rand(3,4)

print(f"Shape of tensor: {tensor.shape}")
print(f"Datatype of tensor: {tensor.dtype}")
print(f"Device tensor is stored on: {tensor.device}")
Standard numpy-like indexing and slicing
标准的numpy式索引和切片
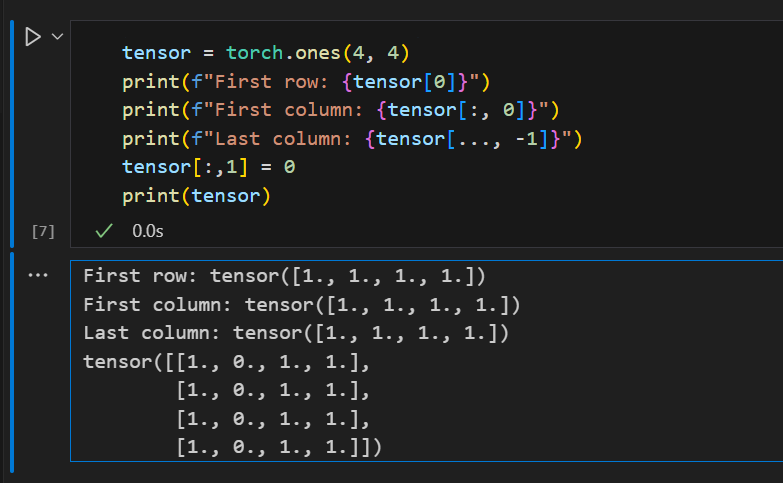
tensor = torch.ones(4, 4)
print(f"First row: {tensor[0]}")
print(f"First column: {tensor[:, 0]}")
print(f"Last column: {tensor[..., -1]}")
tensor[:,1] = 0
print(tensor)
Joining tensors 连接张量
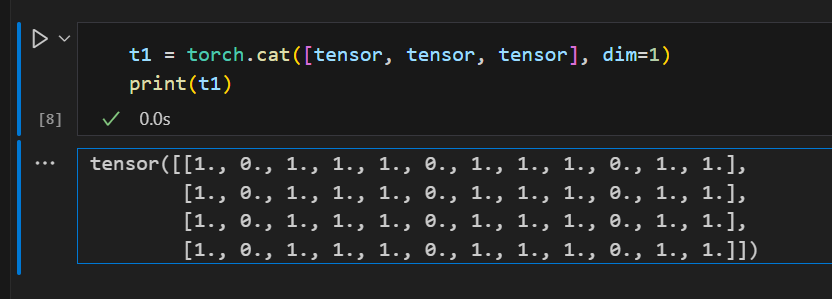
连接张量您可以使用 torch.cat 将一系列张量沿着给定的维度连接起来。另请参见torch.stack,这是另一个与 torch.cat 略有不同的张量连接运算符。
t1 = torch.cat([tensor, tensor, tensor], dim=1)
print(t1)
Arithmetic operations 算术运算
# This computes the matrix multiplication between two tensors. y1, y2, y3 will have the same value
# ``tensor.T`` returns the transpose of a tensor
y1 = tensor @ tensor.T
y2 = tensor.matmul(tensor.T)

y3 = torch.rand_like(y1)
torch.matmul(tensor, tensor.T, out=y3)


# This computes the element-wise product. z1, z2, z3 will have the same value
z1 = tensor * tensor
z2 = tensor.mul(tensor)

z3 = torch.rand_like(tensor)
torch.mul(tensor, tensor, out=z3)
这段代码主要演示了如何在PyTorch中进行矩阵乘法和元素级乘法。
-
矩阵乘法:
y1 = tensor @ tensor.T和y2 = tensor.matmul(tensor.T)这两行代码都在进行矩阵乘法。@操作符和matmul函数都可以用于矩阵乘法。tensor.T返回tensor的转置。y3 = torch.rand_like(y1)创建了一个与y1形状相同,元素为随机数的新tensor。torch.matmul(tensor, tensor.T, out=y3)这行代码也在进行矩阵乘法,但是结果被直接写入了y3,而不是创建新的tensor。 -
元素级乘法:
z1 = tensor * tensor和z2 = tensor.mul(tensor)这两行代码都在进行元素级乘法。*操作符和mul函数都可以用于元素级乘法。z3 = torch.rand_like(tensor)创建了一个与tensor形状相同,元素为随机数的新tensor。torch.mul(tensor, tensor, out=z3)这行代码也在进行元素级乘法,但是结果被直接写入了z3,而不是创建新的tensor。
矩阵乘法与元素级乘法是什么?
矩阵乘法和元素级乘法是两种不同的数学运算。
- 矩阵乘法:也被称为点积,是一种二元运算,将两个矩阵相乘以产生第三个矩阵。假设我们有两个矩阵A和B,A的形状是(m, n),B的形状是(n, p),那么我们可以进行矩阵乘法得到一个新的矩阵C,其形状是(m, p)。C中的每个元素是通过将A的行向量和B的列向量对应元素相乘然后求和得到的。
- 元素级乘法:也被称为Hadamard积,是一种二元运算,将两个矩阵相乘以产生第三个矩阵。假设我们有两个形状相同的矩阵A和B,那么我们可以进行元素级乘法得到一个新的矩阵C,其形状与A和B相同。C中的每个元素是通过将A和B中对应位置的元素相乘得到的。
在Python的NumPy和PyTorch库中,你可以使用@或matmul函数进行矩阵乘法,使用*或mul函数进行元素级乘法。
Single-element tensors
单元素张量
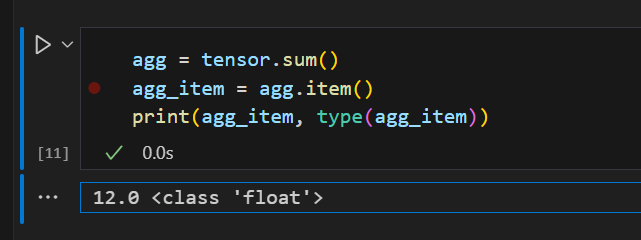
如果你有一个单元素张量,例如通过将张量的所有值聚合为一个值,你可以使用 item() 将它转换为Python数值。
agg = tensor.sum()
agg_item = agg.item()
print(agg_item, type(agg_item))
In-place operations
就地操作
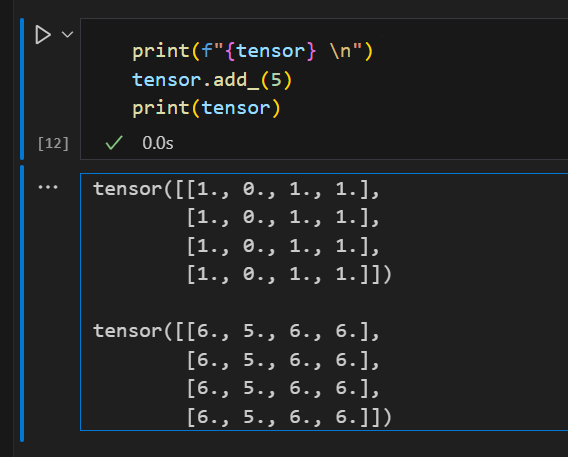
将结果存储到操作数中的操作称为就地操作。它们由 _ 后缀表示。例如: x.copy_(y) , x.t_() ,将更改 x 。
print(f"{tensor} \n")
tensor.add_(5)
print(tensor)
NOTE 注意
就地操作保存一些内存,但是在计算导数时可能会出现问题,因为会立即丢失历史。因此,不鼓励使用它们。
Bridge with NumPy
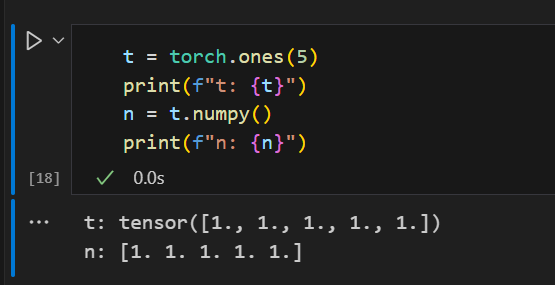
CPU和NumPy数组上的张量可以共享它们的底层内存位置,改变一个就会改变另一个。
张量到NumPy数组
t = torch.ones(5)
print(f"t: {t}")
n = t.numpy()
print(f"n: {n}")
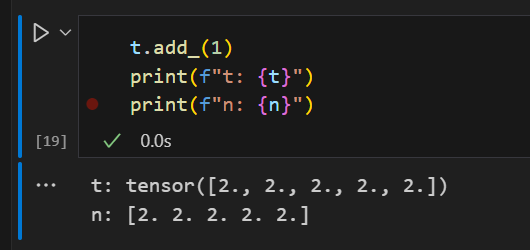
张量的变化反映在NumPy数组中。
t.add_(1)
print(f"t: {t}")
print(f"n: {n}")
NumPy数组到张量
n = np.ones(5)
t = torch.from_numpy(n)
NumPy数组中的变化反映在张量中。
np.add(n, 1, out=n)
print(f"t: {t}")
print(f"n: {n}")

Notebook来源:
Tensors - PyTorch Tuesday 2.3.0+ cu 121文档 --- Tensors — PyTorch Tutorials 2.3.0+cu121 documentation


· DeepSeek “源神”启动!「GitHub 热点速览」
· 微软正式发布.NET 10 Preview 1:开启下一代开发框架新篇章
· C# 集成 DeepSeek 模型实现 AI 私有化(本地部署与 API 调用教程)
· DeepSeek R1 简明指南:架构、训练、本地部署及硬件要求
· NetPad:一个.NET开源、跨平台的C#编辑器