WPF动画教程(PointAnimationUsingPath的使用)
PointAnimationUsingPath的介绍
PointAnimationUsingPath 是 WPF 中的一个类,它用于创建一个动画,该动画会沿着指定的路径移动一个点。

关于 PointAnimationUsingPath这些属性比较重要:
| 属性 | 类型 | 说明 |
|---|---|---|
| PathGeometry | PathGeometry | 这个属性定义了动画的路径。你可以使用 PathGeometry 类来创建复杂的路径,包括直线、曲线和弧线。 |
| Duration | Duration | 这个属性定义了动画的持续时间。你可以使用 TimeSpan 类来设置这个属性。 |
| RepeatBehavior | RepeatBehavior | 这个属性定义了动画的重复行为。例如,你可以设置这个属性为 RepeatBehavior.Forever,这样动画就会无限重复。 |
| AutoReverse | Boolean | 如果这个属性被设置为 true,那么动画在到达路径的终点后会自动反向播放,回到路径的起点。 |
PathGeometry的介绍
PathGeometry 是 WPF 中的一个类,它表示一组连接的线和曲线,这些线和曲线可以组成复杂的形状。
关于PathGeometry 等会我们会接触到的属性为Figures。
Figures属性介绍如下:
| 属性名 | 类型 | 说明 |
|---|---|---|
| Figures | PathFigureCollection | 获取或设置描述路径内容的 PathFigure对象的集合。 |
PathGeometry 的用法示例
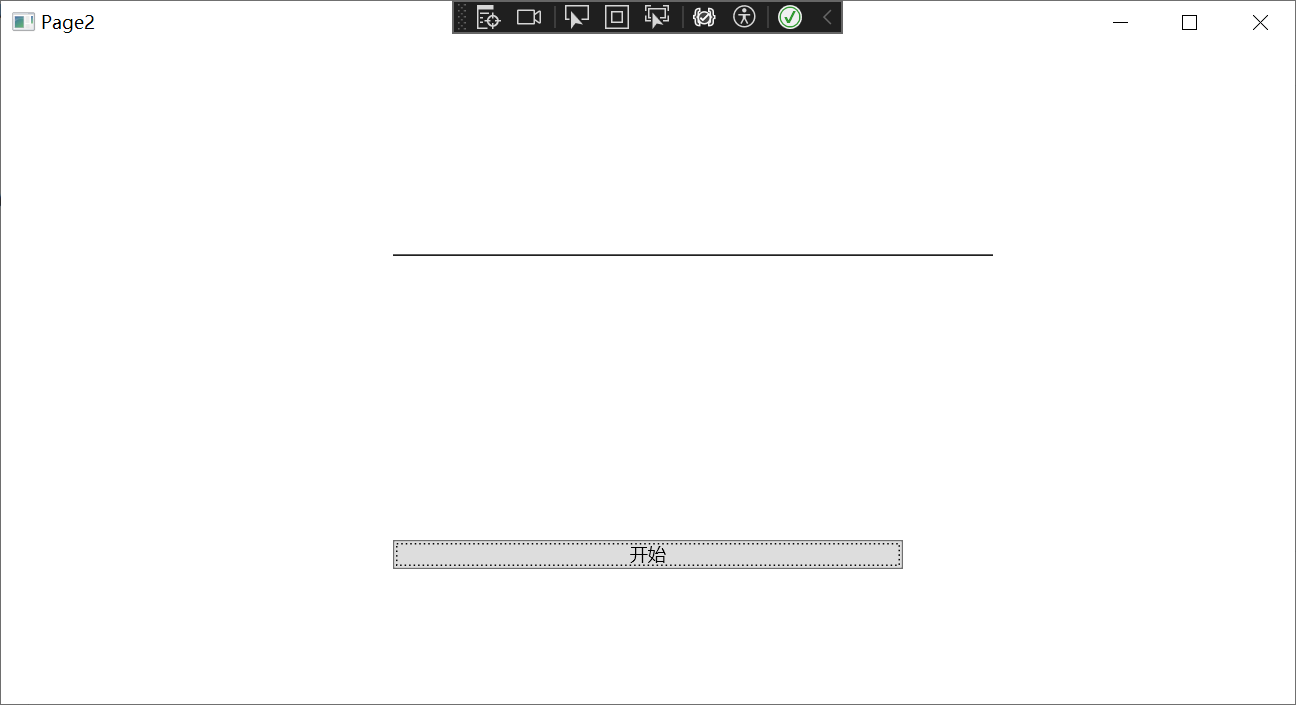
使用PathGeometry绘制一条直线:
PathGeometry pathGeometry = new PathGeometry();

PathFigure figure = new PathFigure();
figure.StartPoint = new Point(0, 50);  // 线的起点

LineSegment lineSegment = new LineSegment();
lineSegment.Point = new Point(400, 50);  // 线的终点

figure.Segments.Add(lineSegment);

pathGeometry.Figures.Add(figure);

Path1.Data = pathGeometry;
效果:
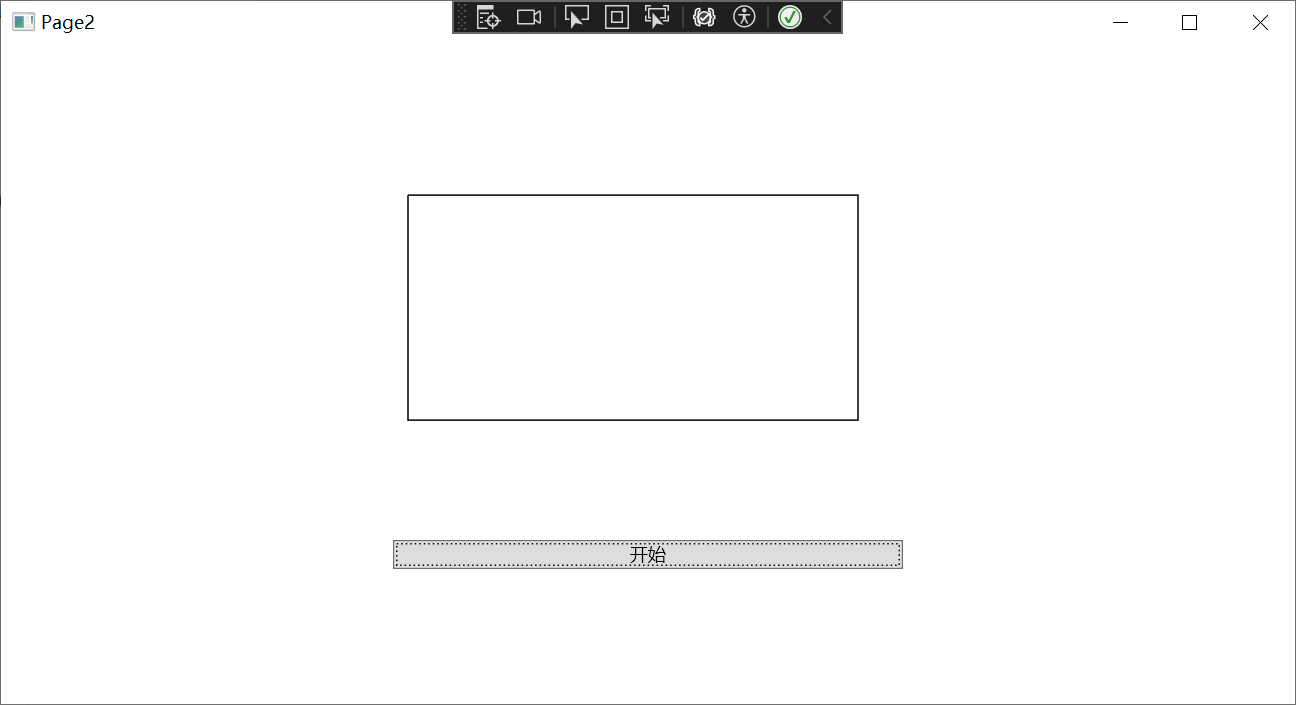
使用PathGeometry绘制一个矩形:
 PathGeometry pathGeometry = new PathGeometry();

 PathFigure figure = new PathFigure();
 figure.StartPoint = new Point(10, 10);  // 矩形的左上角

 LineSegment line1 = new LineSegment();
 line1.Point = new Point(310, 10);  // 矩形的右上角
 figure.Segments.Add(line1);

 LineSegment line2 = new LineSegment();
 line2.Point = new Point(310, 160);  // 矩形的右下角
 figure.Segments.Add(line2);

 LineSegment line3 = new LineSegment();
 line3.Point = new Point(10, 160);  // 矩形的左下角
 figure.Segments.Add(line3);

 LineSegment line4 = new LineSegment();
 line4.Point = new Point(10, 10);  // 矩形的左上角,闭合矩形
 figure.Segments.Add(line4);

 pathGeometry.Figures.Add(figure);

 Path1.Data = pathGeometry;
效果:
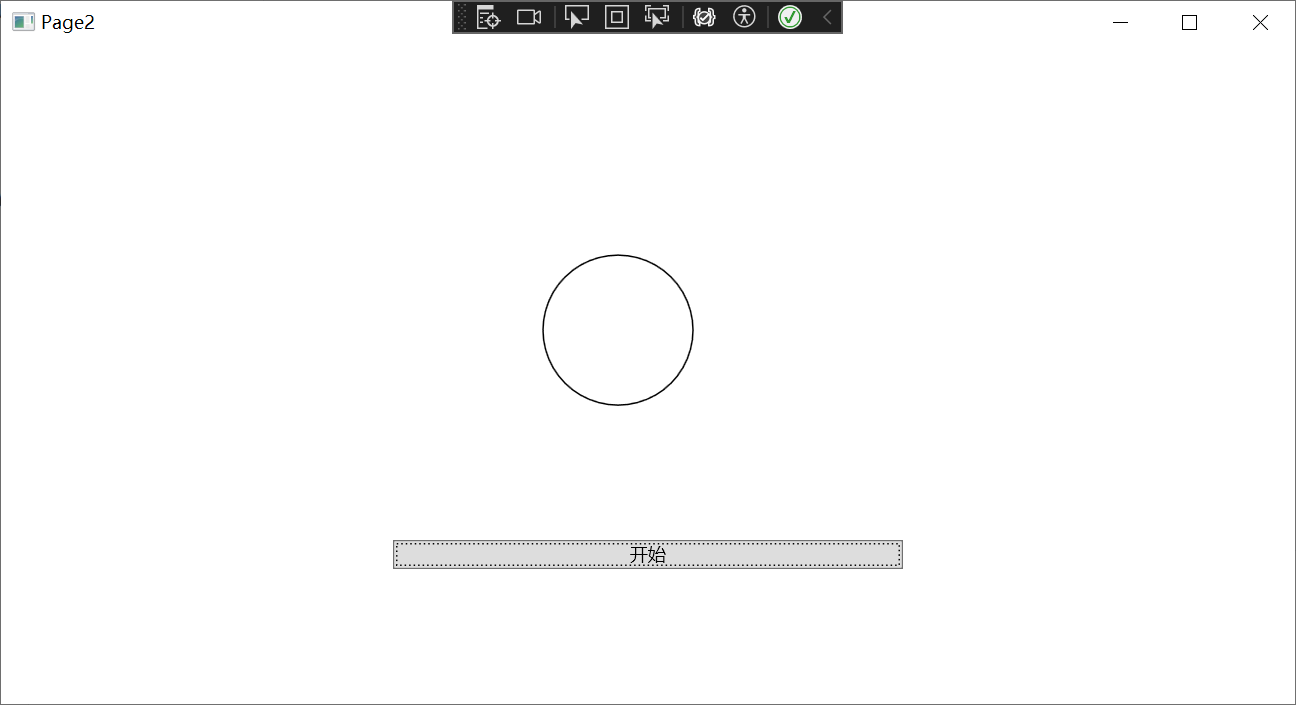
使用PathGeometry绘制一个圆:
 PathFigure figure = new PathFigure();
 figure.StartPoint = new Point(150, 50);  // 圆的顶点

 ArcSegment arc1 = new ArcSegment();
 arc1.Point = new Point(150, 150);  // 圆的底点
 arc1.Size = new Size(50, 50);  // 圆的半径
 arc1.SweepDirection = SweepDirection.Clockwise;
 arc1.IsLargeArc = true;  // 表示这是一个大于或等于180度的弧
 figure.Segments.Add(arc1);

 ArcSegment arc2 = new ArcSegment();
 arc2.Point = new Point(150, 50);  // 圆的顶点,闭合圆
 arc2.Size = new Size(50, 50);  // 圆的半径
 arc2.SweepDirection = SweepDirection.Clockwise;
 arc2.IsLargeArc = true;  // 表示这是一个大于或等于180度的弧
 figure.Segments.Add(arc2);

 PathGeometry pathGeometry = new PathGeometry();
 pathGeometry.Figures.Add(figure);

 Path1.Data = pathGeometry;
效果:
本示例中PathGeometry的用法
PathGeometry pathGeometry = new PathGeometry();
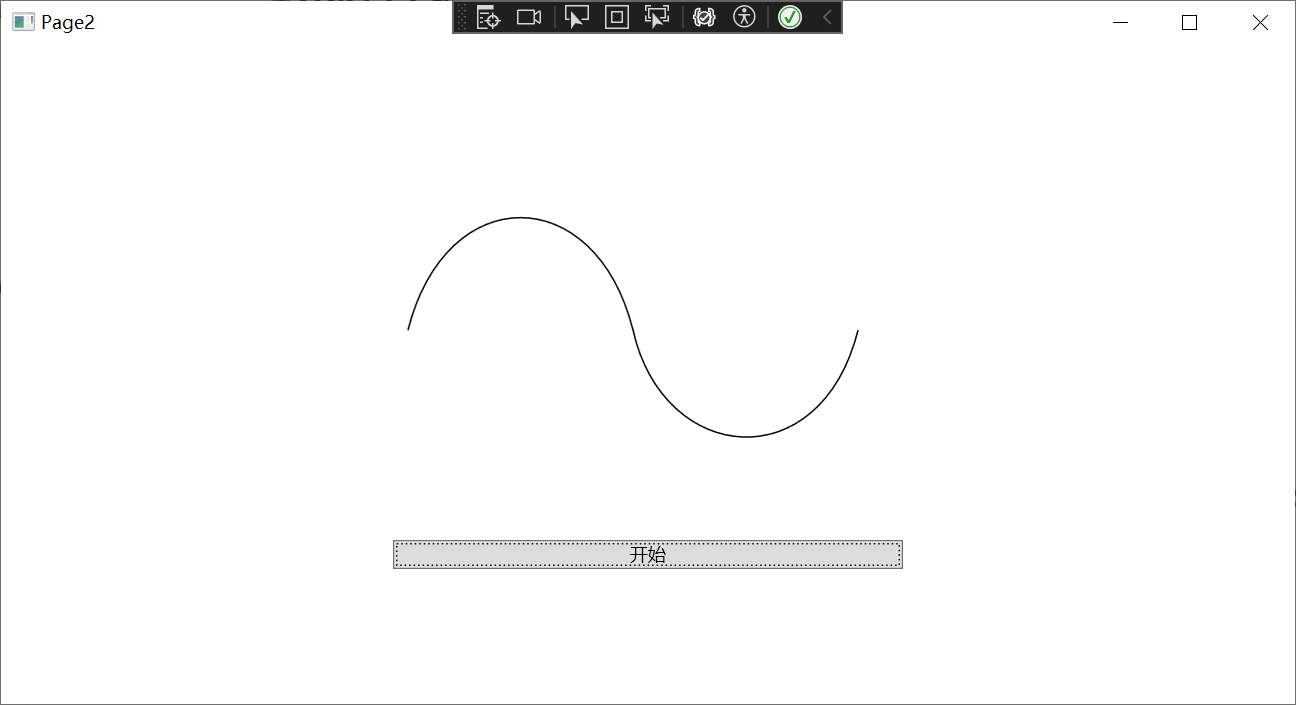
PathFigureCollection figures = PathFigureCollection.Parse("M 10,100 C 35,0 135,0 160,100 180,190 285,200 310,100");
pathGeometry.Figures = figures;

Path1.Data = pathGeometry;
PathFigureCollection figures = PathFigureCollection.Parse("M 10,100 C 35,0 135,0 160,100 180,190 285,200 310,100");
这行代码使用 PathFigureCollection.Parse 方法解析一个包含路径数据的字符串,并返回一个 PathFigureCollection 对象。这个字符串使用的是 SVG 路径数据格式。在这个例子中,字符串 "M 10,100 C 35,0 135,0 160,100 180,190 285,200 310,100" 表示一个开始于 (10,100) 的路径,然后通过三个贝塞尔曲线段(每个曲线段由两个控制点和一个结束点定义)连接到 (160,100)、(310,100) 和 (10,100)。
效果:
Storyboard的介绍
Storyboard 是 WPF 中的一个类,它用于组织和管理一组动画,这些动画可以同时或按照指定的顺序播放。Storyboard 可以用于创建复杂的动画序列,包括并行和顺序动画。
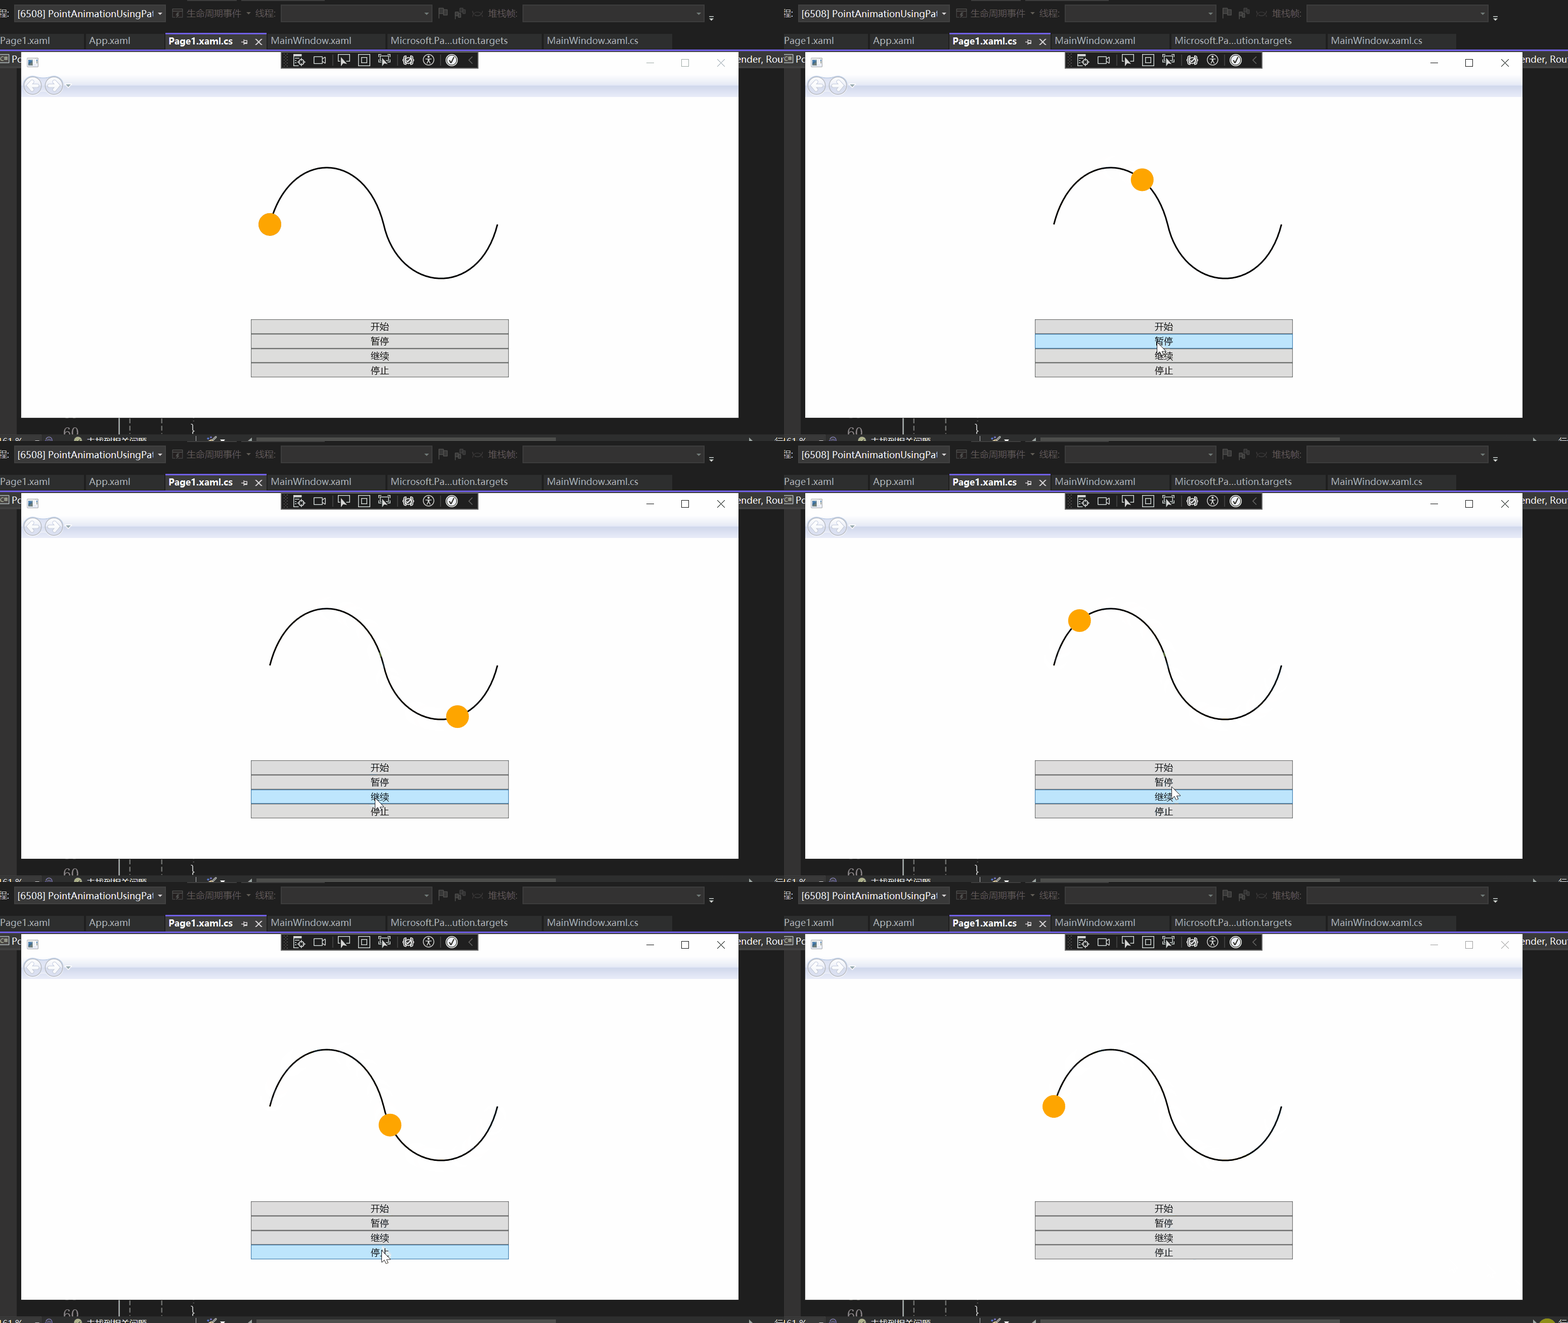
在本示例中,Storyboard 对象被用来存储和控制 PointAnimationUsingPath 对象的播放。你可以调用 Storyboard 的 Begin、Pause、Resume 和 Stop 方法来控制动画的播放。
在本示例中会用到的属性:
| 属性名 | 类型 | 说明 |
|---|---|---|
| Children | TimelineCollection | 这是一个动画集合,包含了 Storyboard 中的所有动画。 |
在本示例中会用到的方法:
| 方法名 | 说明 |
|---|---|
| Begin(FrameworkElement, Boolean) | 将与此 Storyboard 关联的动画应用到其目标并启动它们。 |
| Pause(FrameworkContentElement) | 暂停与此 Storyboard关联的指定 FrameworkContentElement 的Clock。 |
| Resume(FrameworkContentElement) | 恢复为此 Storyboard创建的 Clock。 |
| Stop(FrameworkContentElement) | 停止为此 Storyboard 创建的 Clock。 |
| Storyboard.SetTargetName(DependencyObject, String) | 使指定的 Timeline 面向具有指定名称的依赖属性。 |
| Storyboard.SetTargetProperty(DependencyObject, PropertyPath) | 使指定的 Timeline 目标成为指定的依赖属性。 |
示例
xaml:
<Page x:Class="PointAnimationUsingPathDemo.Page1"
      xmlns="http://schemas.microsoft.com/winfx/2006/xaml/presentation"
      xmlns:x="http://schemas.microsoft.com/winfx/2006/xaml"
      xmlns:mc="http://schemas.openxmlformats.org/markup-compatibility/2006"
      xmlns:d="http://schemas.microsoft.com/expression/blend/2008"
      xmlns:local="clr-namespace:PointAnimationUsingPathDemo"
      mc:Ignorable="d"
      d:DesignHeight="450" d:DesignWidth="800"
      Title="Page1">

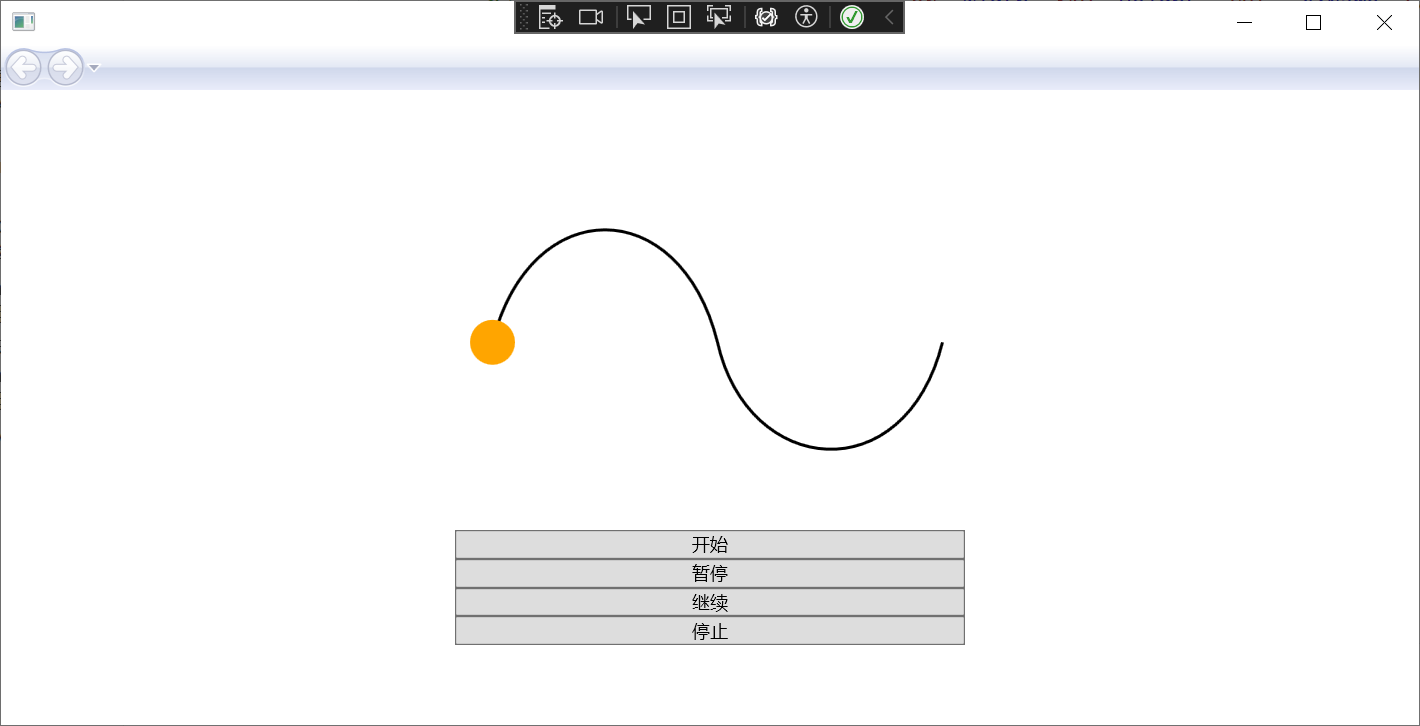
    <StackPanel HorizontalAlignment="Center" VerticalAlignment="Center" x:Name="StackPanel1">
        <Canvas HorizontalAlignment="Center" Width="340" Height="240"  x:Name="Canvas1">
            <Path VerticalAlignment="Top" Margin="15,15,15,15"
    Data="M 10,100 C 35,0 135,0 160,100 180,190 285,200 310,100"
    Stroke="Black" StrokeThickness="2"
    Stretch="None" />
            <Path Fill="Orange" Margin="15,15,15,15">
                <Path.Data>
                    <!-- Describes an ellipse. -->
                    <EllipseGeometry x:Name="MyAnimatedEllipseGeometry"
        Center="10,100" RadiusX="15" RadiusY="15" />
                </Path.Data>
            </Path>
        </Canvas>
        <Button Click="Button_Click_Begin">开始</Button>
        <Button Click="Button_Click_Pause">暂停</Button>
        <Button Click="Button_Click_Resume">继续</Button>
        <Button Click="Button_Click_Stop">停止</Button>
    </StackPanel>
</Page>
效果:
cs:
  PathGeometry pathGeometry = new PathGeometry();
  PathFigureCollection figures = PathFigureCollection.Parse("M 10,100 C 35,0 135,0 160,100 180,190 285,200 310,100");
  pathGeometry.Figures = figures;
创建一个PathGeometry对象并设置Figures属性。
// 创建和配置 PointAnimationUsingPath
PointAnimationUsingPath pointAnimation = new PointAnimationUsingPath();
pointAnimation.Duration = TimeSpan.FromSeconds(5);
pointAnimation.RepeatBehavior = RepeatBehavior.Forever;
pointAnimation.AutoReverse = true;
pointAnimation.PathGeometry = pathGeometry;
这段代码创建并配置了一个 PointAnimationUsingPath 对象,该对象表示一个沿路径移动的点动画。这个动画将在5秒内沿着指定的路径播放,播放完毕后将反向播放,然后无限次重复。
Storyboard.SetTargetName(pointAnimation, "MyAnimatedEllipseGeometry");
这行代码使用 Storyboard.SetTargetName 方法设置了动画的目标对象。在这个例子中,目标对象的名称是 "MyAnimatedEllipseGeometry"。这意味着动画将应用于名为 "MyAnimatedEllipseGeometry" 的对象。
Storyboard.SetTargetProperty(pointAnimation, new PropertyPath(EllipseGeometry.CenterProperty));
这行代码使用 Storyboard.SetTargetProperty 方法设置了动画的目标属性。在这个例子中,目标属性是 EllipseGeometry.CenterProperty,这是一个 PropertyPath 对象。这意味着动画将改变目标对象的 Center 属性。
创建 Storyboard 并添加动画:
storyboard = new Storyboard();
storyboard.Children.Add(pointAnimation);
开始、暂停、继续、停止动画:
  private void Button_Click_Begin(object sender, RoutedEventArgs e)
  {
      storyboard.Begin(this,true);

  }

  private void Button_Click_Pause(object sender, RoutedEventArgs e)
  {
      storyboard.Pause(this);

  }

  private void Button_Click_Resume(object sender, RoutedEventArgs e)
  {
      storyboard.Resume(this);
  }

  private void Button_Click_Stop(object sender, RoutedEventArgs e)
  {
      storyboard.Stop(this);
  }
storyboard.Begin(this,true);
Begin方法选择这种重载形式的原因是这样开启的动画是可控制的,如果直接开始动画不受控制,无法暂停、继续、停止。

示例效果
示例效果如下所示:
总结
通过本示例,我们接触了PointAnimationUsingPath类、PathGeometry类和Storyboard类,并使用了它们的一些属性与方法,以后如果遇到沿着特定路径的动画的需求,可以尝试使用这种方法,希望对你有所帮助。


【推荐】国内首个AI IDE,深度理解中文开发场景,立即下载体验Trae
【推荐】编程新体验,更懂你的AI,立即体验豆包MarsCode编程助手
【推荐】抖音旗下AI助手豆包,你的智能百科全书,全免费不限次数
【推荐】轻量又高性能的 SSH 工具 IShell:AI 加持,快人一步
· 分享4款.NET开源、免费、实用的商城系统
· 全程不用写代码,我用AI程序员写了一个飞机大战
· Obsidian + DeepSeek:免费 AI 助力你的知识管理,让你的笔记飞起来!
· MongoDB 8.0这个新功能碉堡了,比商业数据库还牛
· 白话解读 Dapr 1.15:你的「微服务管家」又秀新绝活了