
WPF中如何使用HandyCotrol控件库
1.通过Demo学WPF—数据绑定(二)2.WPF中值转换器的使用
3.WPF中如何使用HandyCotrol控件库
4.记一次WPF集成SemanticKernel+OneAPI+讯飞星火认知大模型实践5.SemanticKernel如何基于自有数据聊天6.WPF中动画教程(DoubleAnimation的基本使用)7.WPF动画教程(PointAnimationUsingPath的使用)8.WPF基础:在Canvas上绘制图形9.WPF/C#:让绘制的图形可以被选中并将信息显示在ListBox中10.WPF/C#:如何显示具有层级关系的数据11.WPF/C#:ProgressBar的基本使用12.WPF/C#:理解与实现WPF中的MVVM模式13.SemanticKernel:添加插件14.WPF/C#:异常处理15.WPF/C#:程序关闭的三种模式16.wpfui:一个开源免费具有现代化设计趋势的WPF控件库17.WPF/C#:如何将数据分组显示18.WPF/C#:更改界面的样式19.LiveCharts2:简单灵活交互式且功能强大的.NET图表库20.WPF/C#:显示分组数据的两种方式21.WPF/C#:在DataGrid中显示选择框22.WPF/C#:数据绑定到方法23.WPF/C#:BusinessLayerValidation24.WPF/C#:如何实现拖拉元素25.WPF在.NET9中的重大更新:Windows 11 主题26.WPF/C#:在WPF中如何实现依赖注入27.ScreenToGif:一款开源免费且好用的录屏转Gif软件28.WPF/C#:实现导航功能29.SemanticKernel/C#:实现接口,接入本地嵌入模型30.SimpleRAG:基于WPF与Semantic Kernel实现的一个简单的RAG应用31.使用SiliconCloud快速体验SimpleRAG(手把手教程)32.使用Ollama本地离线体验SimpleRAG(手把手教程)33.在SimpleRAG中使用SiliconCloud快速测试Function Calling34.SimpleTranslationAIAgent:基于C#与LLM的翻译AI Agent35.SimpleTranslationAIAgent借助SiliconCloud API 构建自己的专属翻译助手36.SimpleAISearch:C# + DuckDuckGo 实现简单的AI搜索37.SimpleAIAgent:使用免费的glm-4-flash即可开始构建简单的AI Agent应用38.SimpleRAG-v1.0.3:增加文件对话功能39.如何自己动手实现一个图片解答小助手40.WPF Prism 01-BootstrapperShell41.WPF Prism ViewDiscovery42.WPF Prism ViewInjection43.TesseractOCR-GUI:基于WPF/C#构建TesseractOCR简单易用的用户界面44.VLM-OCR-Demo:一个使用VLM用于OCR任务的示例45.C#调用Python脚本的方式(一),以PaddleOCR-GUI为例HandyControl介绍
HandyControl是一个开源的WPF(Windows Presentation Foundation)控件库,旨在简化WPF应用程序的开发过程并提高用户界面的美观程度和易用性。它提供了丰富的控件、样式和模板,可以帮助开发人员快速构建出现代化的桌面应用程序。
查看HandyControl控件效果
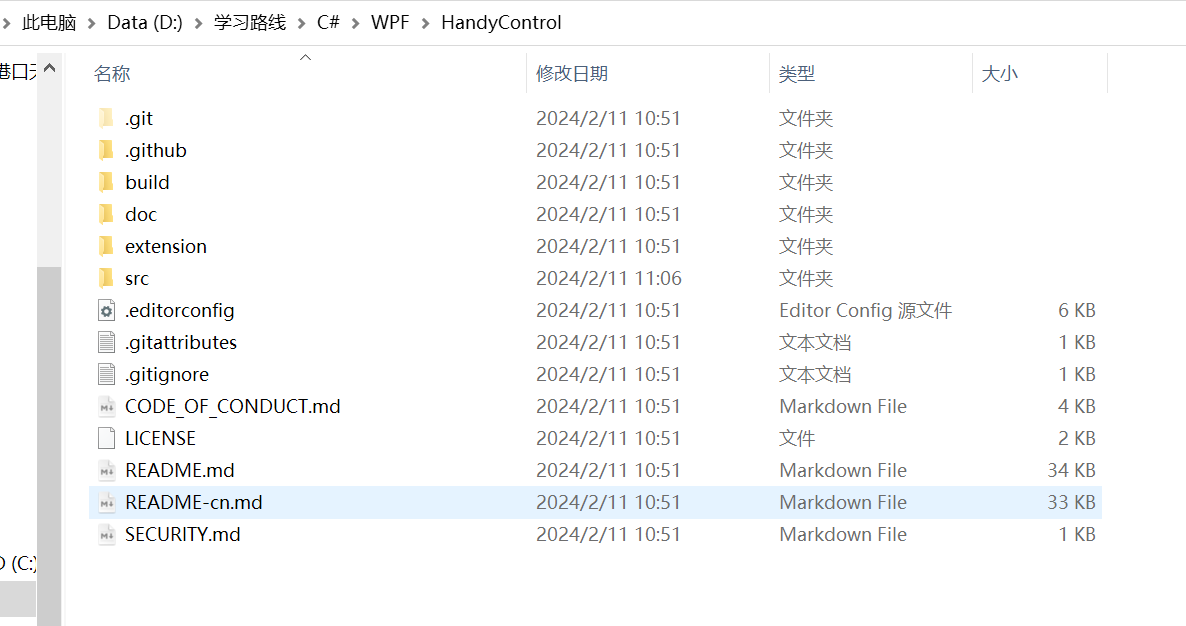
从Github上克隆好源码后,如下所示:
进入src文件夹,如下所示:
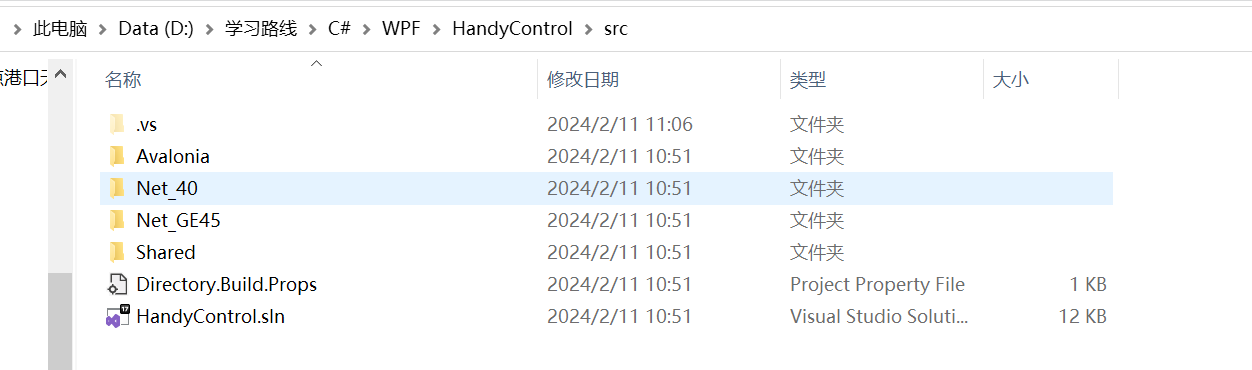
Net_GE45的意思是.NET版本大于等于4.5
打开解决方案,如果要启动示例,查看控件效果,请将HandyControlDemo_[指定的项目类型]作为启动项。
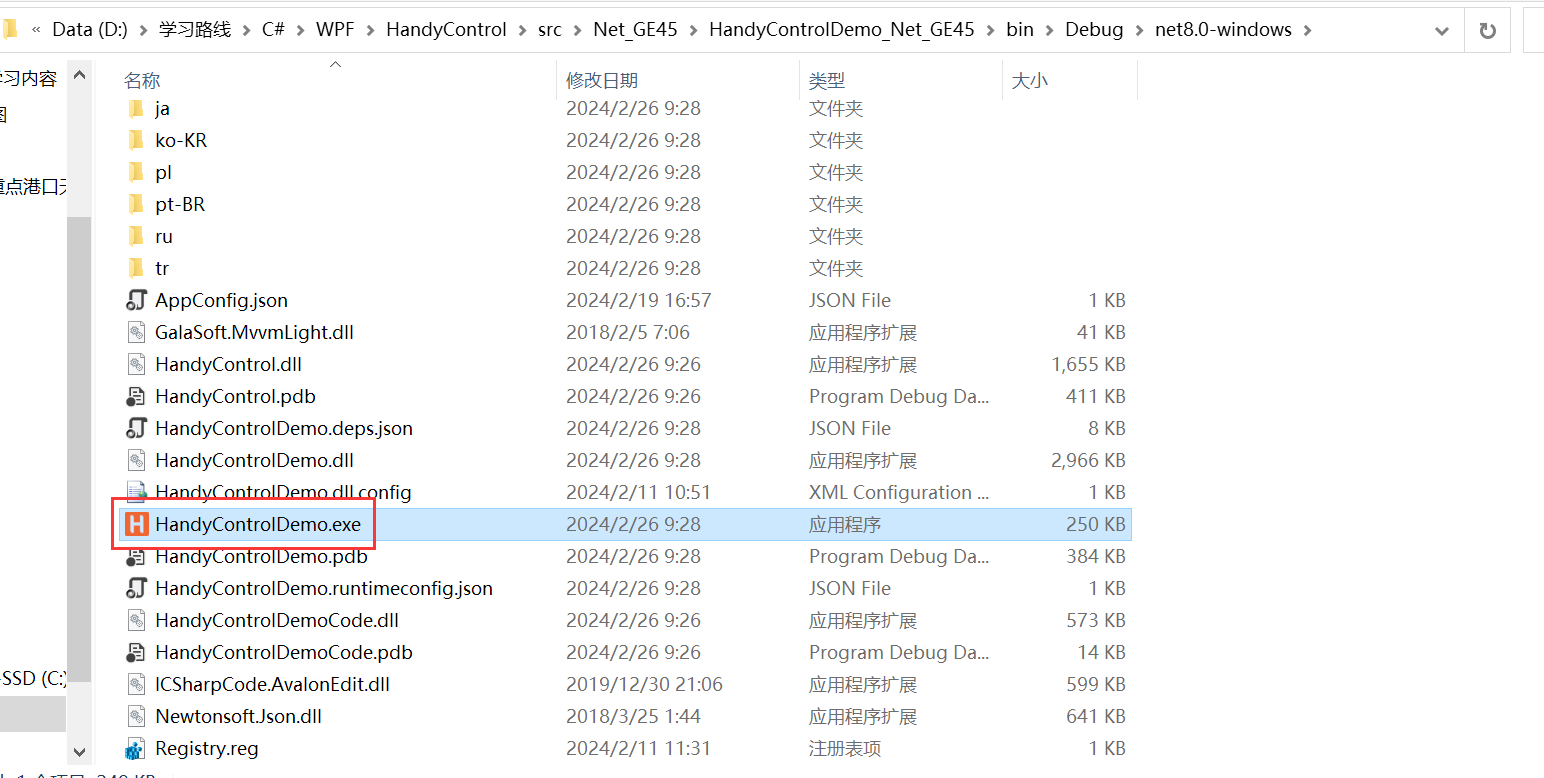
本例将HandyControlDemo_Net_GE45作为启动项。
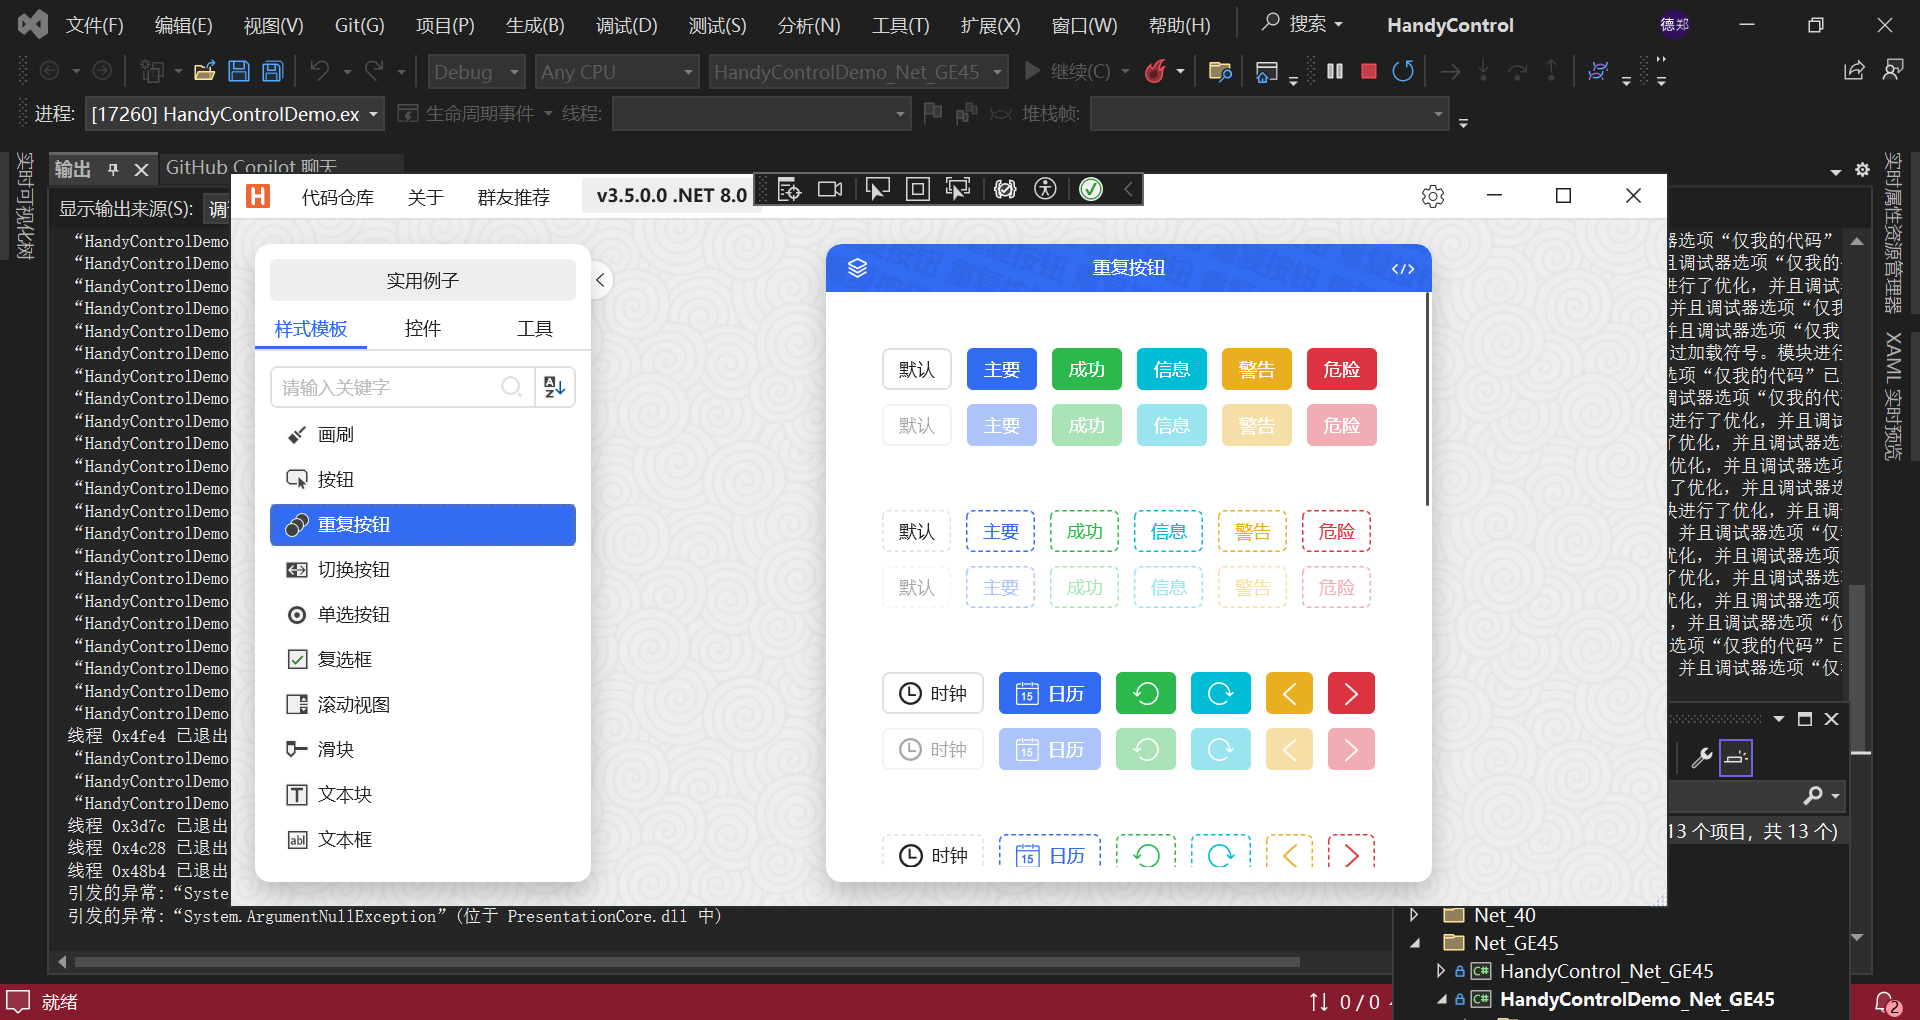
之后当你想查看HandyControl控件的效果时,可以打开下图中的应用程序:
使用HandyControl控件
创建WPF项目,安装HandyControl:

在App.xaml中添加以下代码:
<Application.Resources>
    <ResourceDictionary>
        <ResourceDictionary.MergedDictionaries>
            <ResourceDictionary Source="pack://application:,,,/HandyControl;component/Themes/SkinDefault.xaml"/>
            <ResourceDictionary Source="pack://application:,,,/HandyControl;component/Themes/Theme.xaml"/>
        </ResourceDictionary.MergedDictionaries>
    </ResourceDictionary>
</Application.Resources>
添加命名空间:xmlns:hc="https://handyorg.github.io/handycontrol"
现在以Button按钮控件与Growl 信息通知这个控件的使用为例。
xaml如下所示:
<Window x:Class="HandyControlTest.MainWindow"
        xmlns="http://schemas.microsoft.com/winfx/2006/xaml/presentation"
        xmlns:x="http://schemas.microsoft.com/winfx/2006/xaml"
        xmlns:d="http://schemas.microsoft.com/expression/blend/2008"
        xmlns:mc="http://schemas.openxmlformats.org/markup-compatibility/2006"
        xmlns:hc="https://handyorg.github.io/handycontrol"
        xmlns:local="clr-namespace:HandyControlTest"
        mc:Ignorable="d"
        Title="MainWindow" Height="450" Width="800">
    <Grid>
        <Button Style="{StaticResource ButtonPrimary}" Content="点击显示通知"
                Click="Button_Click"/>
        <ScrollViewer VerticalScrollBarVisibility="Hidden" HorizontalAlignment="Right">
            <StackPanel hc:Growl.GrowlParent="True" VerticalAlignment="Top" Margin="0,10,10,10"/>
        </ScrollViewer>
    </Grid>
</Window>
cs如下:
using HandyControl.Controls;
using System.Text;
using System.Windows;
using System.Windows.Controls;
using System.Windows.Data;
using System.Windows.Documents;
using System.Windows.Input;
using System.Windows.Media;
using System.Windows.Media.Imaging;
using System.Windows.Navigation;
using System.Windows.Shapes;

namespace HandyControlTest
{
    /// <summary>
    /// Interaction logic for MainWindow.xaml
    /// </summary>
    public partial class MainWindow : System.Windows.Window
    {
        public MainWindow()
        {
            InitializeComponent();
        }

        private void Button_Click(object sender, RoutedEventArgs e)
        {
            Growl.Success("显示一条通知!");
        }
    }
}
实现效果如下所示:
最后
HandyControl有很多控件,大家可以根据项目需要实现的效果,按需使用,使用时可以查看Demo的效果,然后去HandyControl的官网查看用法。
HandyControl官网地址:https://handyorg.github.io/


· DeepSeek “源神”启动!「GitHub 热点速览」
· 微软正式发布.NET 10 Preview 1:开启下一代开发框架新篇章
· C# 集成 DeepSeek 模型实现 AI 私有化(本地部署与 API 调用教程)
· DeepSeek R1 简明指南:架构、训练、本地部署及硬件要求
· NetPad:一个.NET开源、跨平台的C#编辑器