Selenium 自动化测试之道--Maven-TestNG
一、环境搭建
使用maven搭建testng测试框架
1.在apache官网下载并安装maven,解压maven压缩包;
2.配置maven的环境变量 M2_HOME D:\Program Files\apache-maven-3.0.5
path %M2_HOME%\bin;
3. 找的.m2文件压缩包(里面有打包好的库文件),解压到这个路径%userprofile%下的(C:\Administrator)
或者在maven安装目录下的/conf/settings.xml中添加maven中央仓库的阿里云镜像:
<mirror>
    <id>nexus-aliyun</id>
    <name>Nexus aliyun</name>
    <url>http://maven.aliyun.com/nexus/content/groups/public/</url>
    <mirrorOf>central</mirrorOf>
</mirror>
4.在eclipse中修改maven的安装路径:window---->preference---->maven----->installation---->add--->找到maven路径--->ok
在eclipse中修改maven的usersetting路径:window---->preference---->maven----->usersetting---->点击Browse--->找到D:\Program Files\apache-maven-3.0.5\conf\settings.xml--->ok
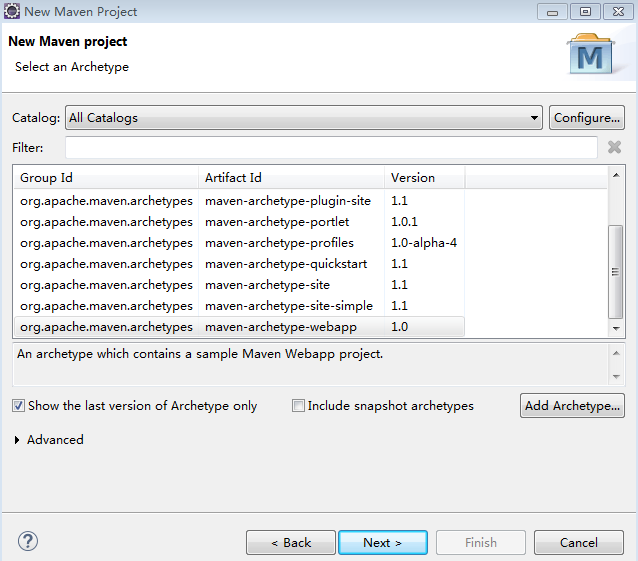
5.在eclipse中创建maven projec,注意选择最后一个
6.在eclipse中安装testNG插件:打开eclipse---->点击help----> install new software,点击ADD
7.输入name:testng ,location: http://beust.com/eclipse
- 等待pending,结束后,编程pending
- 取消复选框:show only the latest of available version
- 展开testng ,选择版本6.9.10(testing,,,testing m2e integration)
- 按照要求点击下一步
- 最后要求重启eclipse
或者: 打开Eclipse,进入 https://marketplace.eclipse.org/content/testng-eclipse,将鼠标放置 Install 处,拖拉至 Eclipse 中---下载进度条---confirm---下载进度条---选择i accept...点击finish---下载进度条---选择yes---进度条---选择ok---eclipse自动重启。
验证:新建一个 “Java Project”,右键 “Build Path” -> “Add Libraries” -> “TestNG”
运行一段测试代码:


import org.testng.annotations.*;

public class SimpleTest {

     @BeforeClass
     public void setUp() {
       // code that will be invoked when this test is instantiated
     }

     @Test(groups = { "fast" })
     public void aFastTest() {
       System.out.println("Fast test");
     }

     @Test(groups = { "slow" })
     public void aSlowTest() {
        System.out.println("Slow test");
     }
}
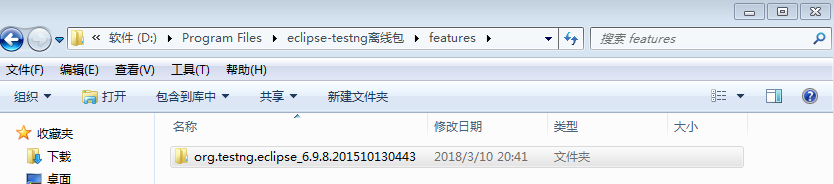
再或者下载testNG的离线包,将其解压后feature中的org文件夹放到eclipse/feature中
8.检查eclipse是否安装了插件:右键点击包名---> new ----->other ----->testng class(没有安装成功的话,找不到testNG)
9.修改pom.xml文件:1.百度maven,选择maven repository;
2.打开maven repository官网,搜selenium,点击selenium java(基于Java语言),选择版本2.53.1
3.复制XML代码
