Directx11教程(46) alpha blend(3)
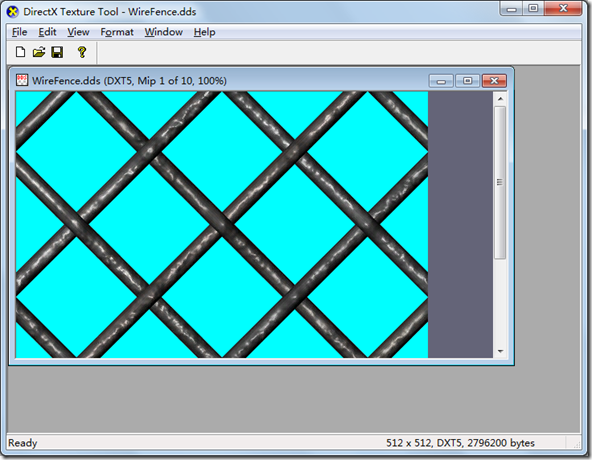
现在我们尝试改变box的贴图,使用一张带alpha的dds文件wirefence.dds,
用directx texture tool打开文件界面如下:
实际上,这幅图中一些像素有alpha值,一些像素alpha值为0,我们点击View-alpha channel only,可以看到下面的图,其中黑色部分的alpha值为0:
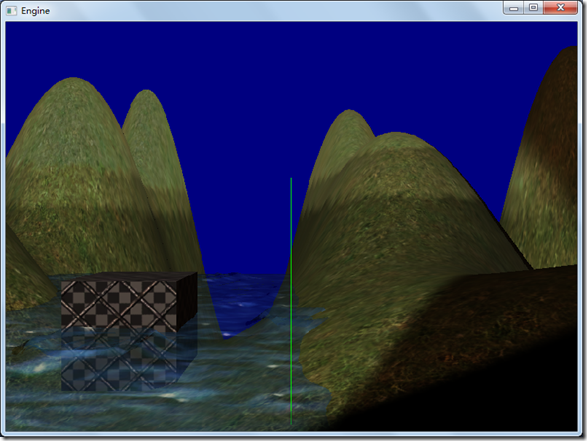
现在我们把这幅图贴到box上,程序运行效果如下:
我们在lighttex.ps中增加以下代码,需要注意clip函数的使用。
float3 N = normalize(input.worldnormal);
float4 textureColor = shaderTexture.Sample(SampleType, input.tex);
//从纹理图中得到alpha值
float alpha = shaderTexture.Sample(SampleType, input.tex).a;
//如果alpha小于0.25就放弃掉当前的像素
clip(alpha-0.25);
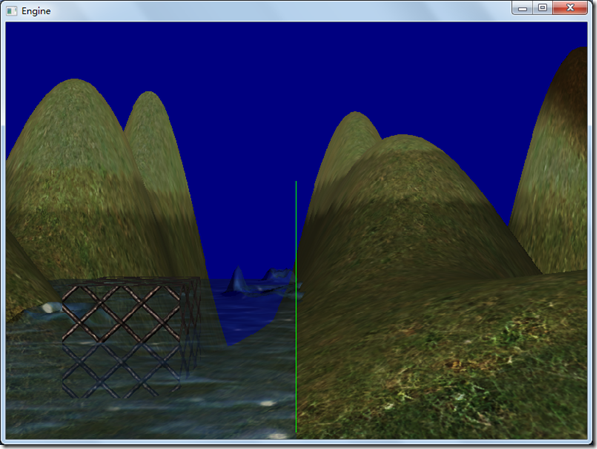
程序执行后的效果如下:
程序运行结果还不错,但是对于篱笆box,它的背面被剔除掉了,下面我们尝试在D3DClass中增加关闭、打开cullmode的函数,在渲染box时候,禁止背面剔除。
void D3DClass::EnableBackCullMode(bool b)
{
D3D11_RASTERIZER_DESC rasterDesc;
HRESULT result;
// 设置光栅化描述,指定多边形如何被渲染.
rasterDesc.AntialiasedLineEnable = false;
if(b)
rasterDesc.CullMode = D3D11_CULL_BACK;
else
rasterDesc.CullMode = D3D11_CULL_NONE;
rasterDesc.DepthBias = 0;
rasterDesc.DepthBiasClamp = 0.0f;
rasterDesc.DepthClipEnable = true;
rasterDesc.FillMode = D3D11_FILL_SOLID; //D3D11_FILL_SOLID
rasterDesc.FrontCounterClockwise = false;
rasterDesc.MultisampleEnable = false;
rasterDesc.ScissorEnable = false;
rasterDesc.SlopeScaledDepthBias = 0.0f;
// 创建光栅化状态
result = m_device->CreateRasterizerState(&rasterDesc, &m_rasterState);
if(FAILED(result))
{
HR(result);
return;
}
//设置光栅化状态,使其生效
m_deviceContext->RSSetState(m_rasterState);
}
在GraphicsClass中渲染box时候,我们增加下面的代码:
//渲染box时候关掉背面剔除
m_D3D->EnableBackCullMode(false);
//用light shader渲染
result = m_LightTexShader->Render(m_D3D->GetDeviceContext(), m_CubeModel->GetIndexCount(), worldMatrix3, viewMatrix, projectionMatrix,
light, material, camera,m_TexManager->createTex(m_D3D->GetDevice(),string("wirefence.dds")));
m_D3D->EnableBackCullMode(true);
//打开背面剔除
m_D3D->EnableBackCullMode(true);
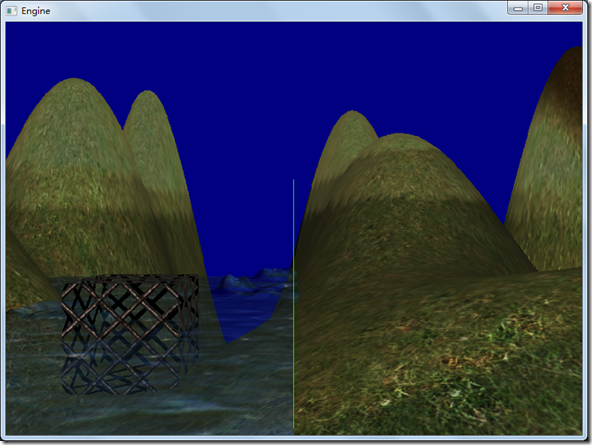
程序最终的运行效果如下:
完整的代码请参考:
工程文件myTutorialD3D11_41
代码下载:
https://files.cnblogs.com/mikewolf2002/d3d1139-49.zip


【推荐】国内首个AI IDE,深度理解中文开发场景,立即下载体验Trae
【推荐】编程新体验,更懂你的AI,立即体验豆包MarsCode编程助手
【推荐】抖音旗下AI助手豆包,你的智能百科全书,全免费不限次数
【推荐】轻量又高性能的 SSH 工具 IShell:AI 加持,快人一步
· 基于Microsoft.Extensions.AI核心库实现RAG应用
· Linux系列:如何用heaptrack跟踪.NET程序的非托管内存泄露
· 开发者必知的日志记录最佳实践
· SQL Server 2025 AI相关能力初探
· Linux系列:如何用 C#调用 C方法造成内存泄露
· 震惊!C++程序真的从main开始吗?99%的程序员都答错了
· 【硬核科普】Trae如何「偷看」你的代码?零基础破解AI编程运行原理
· 单元测试从入门到精通
· 上周热点回顾(3.3-3.9)
· Vue3状态管理终极指南:Pinia保姆级教程