WPF Layout(布局)
1、Window
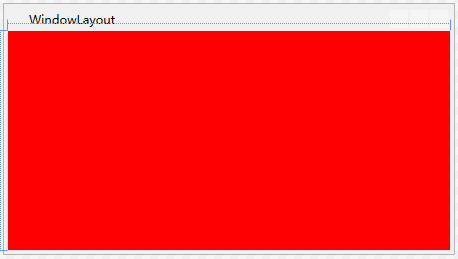
以Window为根目录,其子元素将自动填充整个Window界面,如子元素为:Grid、UniformGrid、StackPanel、WrapPanel、DockPanel、Canvas
Window示例:
<Window ...>
    <Grid Background="Red"></Grid>
</Window>
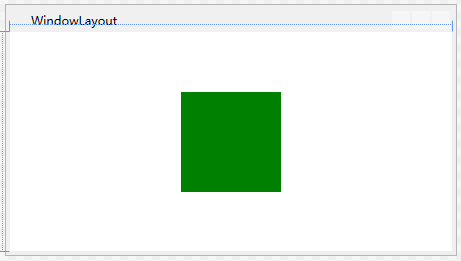
2、以Grid为根元素,其子元素默认为上下居中,左右居中
Grid示例1:
<Window ...>
    <Grid>
        <Border Height="100" Width="100" Background="Red"/>
        <Border Height="100" Width="100" Background="Green"/>
    </Grid>
</Window>
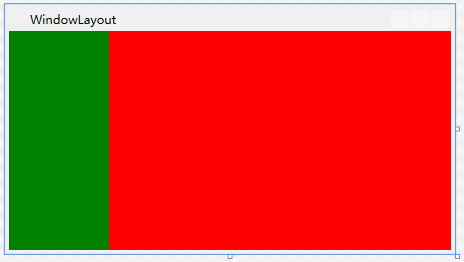
Grid示例2:
<Window ...>
    <Grid>
        <Grid.ColumnDefinitions>
            <ColumnDefinition Width="100"></ColumnDefinition>
            <ColumnDefinition Width="*"></ColumnDefinition>
        </Grid.ColumnDefinitions>
        <Border Grid.Column="0" Background="Green"/>
        <Border Grid.Column="1" Background="Red"/>
    </Grid>
</Window>
Grid使用场景
1)默认作为根元素
2)网格区域,定义由列和行组成的灵活的网格区域。
3)作为控件模板,方便内容居中
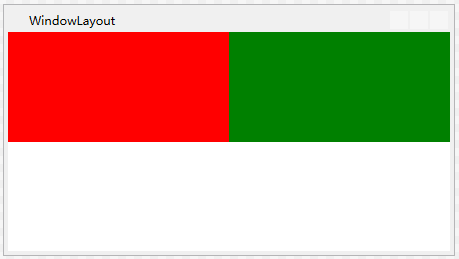
3、以UniformGrid为根元素,其单元格默认分为(子元素个数 X 子元素个数)= 单元格数
UniformGrid示例:
<Window ...>
    <UniformGrid>
        <Border Background="Red"/>
        <Border Background="Green"/>
    </UniformGrid>
</Window>
UniformGrid使用场景:
1)上下或者左右区域内平分空间
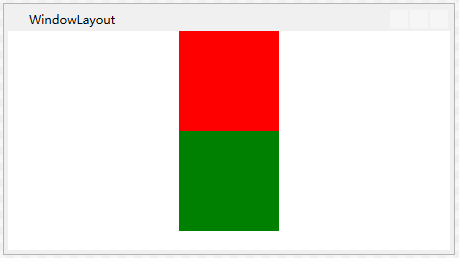
4、以StackPanel为根元素,其子元素进行水平排列或垂直排列,默认为垂直排列(Orientation="Vertical"),不支持换行
StackPanel示例:
<Window ...>
    <StackPanel>
        <Border Height="100" Width="100" Background="Red"/>
        <Border Height="100" Width="100" Background="Green"/>
    </StackPanel>
</Window>
StackPanel使用场景:
1)自上往下排列,相当于网页标签(div)
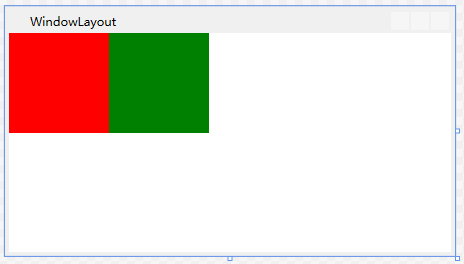
5、以WrapPanel为根元素,其子元素默认从左到右、从上到下的顺序位置定位,在包含框的边缘处将内容切换到下一行
WrapPanel示例
<Window ...>
    <WrapPanel>
        <Border Height="100" Width="100" Background="Red"/>
        <Border Height="100" Width="100" Background="Green"/>
    </WrapPanel>
</Window>
WrapPanel使用场景:
1)多个元素自左往右排列,如图片列表、文字列表
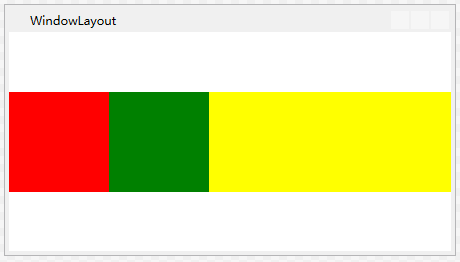
6、以DockPanel为根元素,其子元素拉伸填充整个面板,子元素的停靠使用:Left、Top、Right、Bottom
DockPanel示例:
<Window ...>
    <DockPanel>
        <Border Height="100" Width="100" Background="Red"/>
        <Border Height="100" Width="100" Background="Green"/>
        <Border Height="100" Background="Yellow"/>
    </DockPanel>
</Window>
DockPanel使用场景:
1)左右两列,如:左标题,右本文框
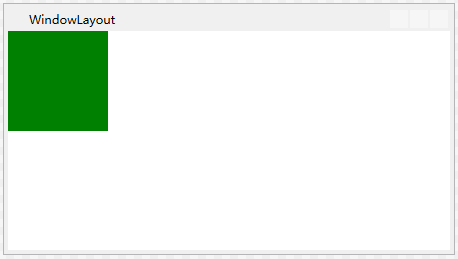
7、以Canvas为根元素,可在其中使用相对于 Canvas 区域的坐标以显式方式来定位子元素、默认坐标为(0,0)
Canvas示例:
<Window ...>
    <Canvas>
        <Border Height="100" Width="100" Background="Red"/>
        <Border Height="100" Width="100" Background="Green"/>
    </Canvas>
</Window>
Canvas使用场景:
1、窗口关闭按钮
8、以ViewBox为根元素,其子元素默认会填充上下内容,宽度会同比放大
ViewBox示例:
<Window ...>
    <Viewbox>
        <StackPanel Background="Yellow">
            <Border Height="100" Width="100" Background="Red"/>
            <Border Height="100" Width="100" Background="Green"/>
        </StackPanel>
    </Viewbox>
</Window>
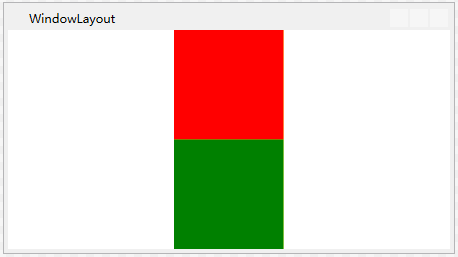
ViewBox常用属性(Stretch):
Stretch = "None":不进行拉伸,按子元素设置的长宽显示
Stretch = "Uniform":按原比例缩放子元素,一边不足,另一边恰好填充
Stretch = "Fill":缩放子元素,子元素的长变为Viewbox的长,宽变为Viewbox的宽
Stretch = "UniformToFill":按原比例缩放子元素,子元素一边恰好填充另一边超出Viewbox的区域
ViewBox使用场景:
1、窗口自适应
9、以ScrollViewer根元素,可以滚动显示子元素超出的部分
ScrollViewer示例:
<Window ...>
    <ScrollViewer>
        <StackPanel Background="Yellow">
            <Border Height="500" Width="100" Background="Red"/>
            <Border Height="500" Width="100" Background="Green"/>
        </StackPanel>
    </ScrollViewer>
</Window>
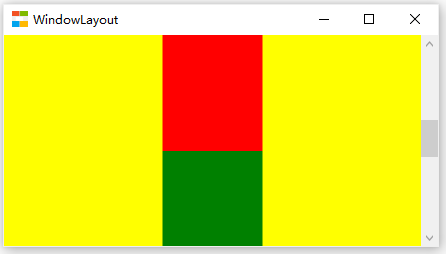
ScrollViewer使用场景:显示滚动条
10、以Border为根元素,可以描绘子元素边框
Border示例
<Window ...>
    <Grid>
        <Border Height="100" Width="100" Background="Green" BorderBrush="Red" BorderThickness="5" CornerRadius="5"/>
    </Grid>
</Window>
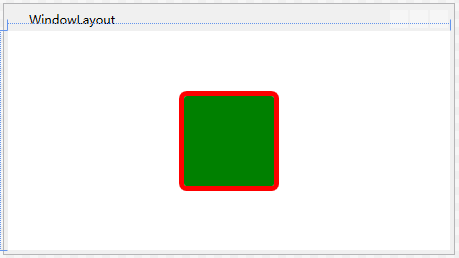
Border常用属性:
Background: 背景色
BorderBrush: 边框色
BorderThickness: 边框宽度
CornerRadius: 各个角 圆的半径
Border使用场景:
1)控件边框
2)控件圆角
3)鼠标经过改变背景色
11、背景图片
| 原图 | 作为 IsHitTestVisible |

|
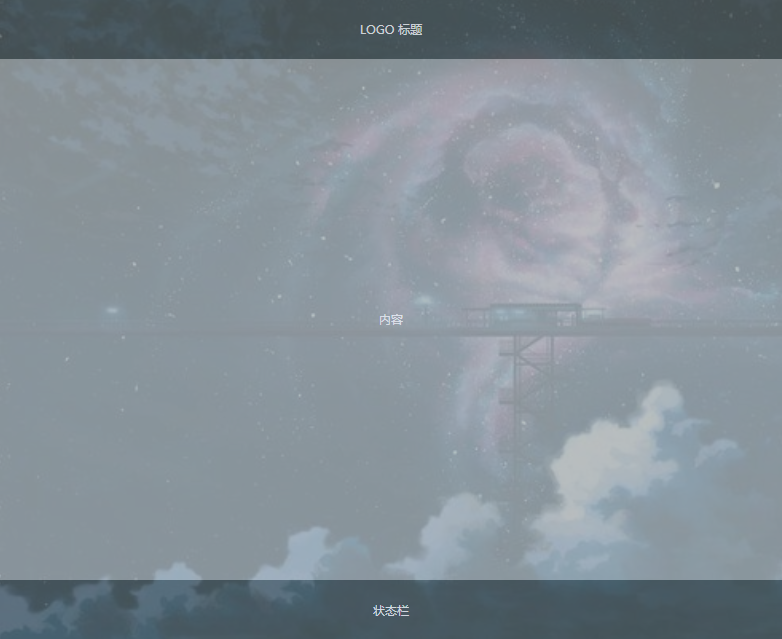 |
XAML实现代码
<Grid>
    <Grid.Resources>
        <Style TargetType="TextBlock">
            <Setter Property="VerticalAlignment" Value="Center"/>
            <Setter Property="HorizontalAlignment" Value="Center"/>
            <Setter Property="Foreground" Value="White"/>
        </Style>
    </Grid.Resources>
    <Grid>
        <Grid.RowDefinitions>
            <RowDefinition Height="60"></RowDefinition>
            <RowDefinition></RowDefinition>
            <RowDefinition Height="60"></RowDefinition>
        </Grid.RowDefinitions>
        <Border Background="#555F5F">
            <TextBlock Text="LOGO 标题"></TextBlock>
        </Border>
        <Grid Grid.Row="1" Background="#AAAFAF">
            <TextBlock Text="内容"/>
        </Grid>
        <Border Grid.Row="2" Background="#555F5F">
            <TextBlock Text="状态栏"></TextBlock>
        </Border>
    </Grid>
    <Image Source="pack://application:,,,/images/bg.png" Stretch="UniformToFill" Opacity="0.2" IsHitTestVisible="False"/>
</Grid>
背景渐变

XAML实现代码
<Grid>
    <Grid.Resources>
        <LinearGradientBrush x:Key="MyBackground" StartPoint="0,0" EndPoint="0,1">
            <GradientStop Offset="0" Color="Red"></GradientStop>
            <GradientStop Offset="01" Color="White"></GradientStop>
        </LinearGradientBrush>
        <Style TargetType="TextBlock">
            <Setter Property="VerticalAlignment" Value="Center"/>
            <Setter Property="HorizontalAlignment" Value="Center"/>
            <Setter Property="Foreground" Value="White"/>
        </Style>
    </Grid.Resources>
    <Grid>
        <Grid.RowDefinitions>
            <RowDefinition Height="60"></RowDefinition>
            <RowDefinition></RowDefinition>
            <RowDefinition Height="60"></RowDefinition>
        </Grid.RowDefinitions>
        <Border Background="#555F5F">
            <TextBlock Text="LOGO 标题"></TextBlock>
        </Border>
        <Grid Grid.Row="1" Background="#AAAFAF">
            <TextBlock Text="内容"/>
        </Grid>
        <Border Grid.Row="2" Background="#555F5F">
            <TextBlock Text="状态栏"></TextBlock>
        </Border>
    </Grid>
    <Border Background="{StaticResource MyBackground}" Opacity="0.2" IsHitTestVisible="False"/>
</Grid>
说明:
StartPoint="0,0" 表示:渐变的起点位置 第一个0为该点的横坐标,第二个0为该点的纵坐标。
EndPoint="0,0" 表示:渐变的终点位置 第一个0为该点的横坐标,第二个0为该点的纵坐标。
从上到下线性渐变:
StartPoint="0,0"
EndPoint="0,1"
从左上角到右下角渐变:
StartPoint="0,0"
StartPoint="1,1"
从右上角到左下角渐变:
StartPoint="1,0"
StartPoint="0,1"


