

vue记事1
1.组件引入css。
例:test.vue引入swiper.min.css
| -- src
| | -- components
| | -- test
| | -- test.vue
| | -- css
| | -- swiper.min.css
<script>
  import '../../css/swiper.min.css';
</script>
组件所在处为相对位置。
2.全局安装vue-cli
首先确保安装node,检查node-v;.
在node目录下输入:
npm install - g vue-cli
3.不要使用编辑器自带的代码格式整理
4.请求本地数据配置
5.修改代码规范
.eslintrc.js文件内的rules(好像没效果?)
6.移动端设备访问
移动端设备必须和计算机处于局域网内。
config>>index.js文件内修改dev属性值host为本机IP地址。
然后把网址生成二维码通过手机微信或QQ扫描。
二维码可通过firebox或草料二维码生成
dev: {
    host: '192.168.31.129',
}
7.vue-resource
前后端数据调用.
首先在package.json里“dependencies”引入"vue-router": "^3.0.1"
然后npm install vue-resource
例:使用data数据seller
HTML调用组件,传递值
<v-header :seller="seller"></v-header>
js

import header from './components/header/header'
const ERR_OK = 0
export default {
  name: 'App',
  data () {
    return {
      seller: {}
    }
  },
  created () {
    // vue-resourse use
    this.$http.get('/api/seller').then((response) => {
      response = response.body
      if (response.errno === ERR_OK) {
        this.seller = response.data
        console.log(this.seller)
      }
    })
  },
  components: {
    'v-header': header
  }
}
header组件
HMTL
<template>
    <div class="header">
        我是{{msg}}
      <div class="content-wrapper">
        <div class="avatar">
          <img width="64" height="64" :src="seller.avatar"/>
        </div>
        <div class="content">
          <div class="title">
            <span class="brand"></span>
            <span class="name">{{seller.name}}</span>
          </div>
          <div class="description">
            {{seller.description}}/{{seller.deliveryTime}}分钟送达
          </div>
        </div>
      </div>
    </div>
</template>
JS
<script type="text/ecmascript-6">
export default {
  name: 'header',
  data () {
    return {
      msg: 'this is header!'
    }
  },
  props: {
    seller: {
      type: ''
    }
  }
}
</script>
8.stylus使用
package.json内“devDependencies” 添加属性
{
  "devDependencies": {
     "stylus": "^0.54.5",
     "stylus-loader": "^3.0.2",
  }
}
npm
npm install stylus -g
src下common内创建文件夹stylus,存放styl文件
调用minxin.styl文件,并使用border-1px函数
minxin.styl文件
border-1px($color)
  position : relative
  &:after
    display: block
    position: absolute
    left: 0
    bottom: 0
    border-top 1px solid $color
    width: 100%
    content: ' '
引用
<style lang="stylus" rel="stylesheet/stylus">
@import "common/stylus/mixin.styl";
   .tab
      // border-bottom: 1px solid rgba(7, 17, 27, 0.1)
      border-1px(rgba(7, 17, 27, 0.1))
</style>
9.没有找到相应的模块。
These relative modules were not found
例:引用图标字体路径不对。
大多都是路径的引用出了问题。
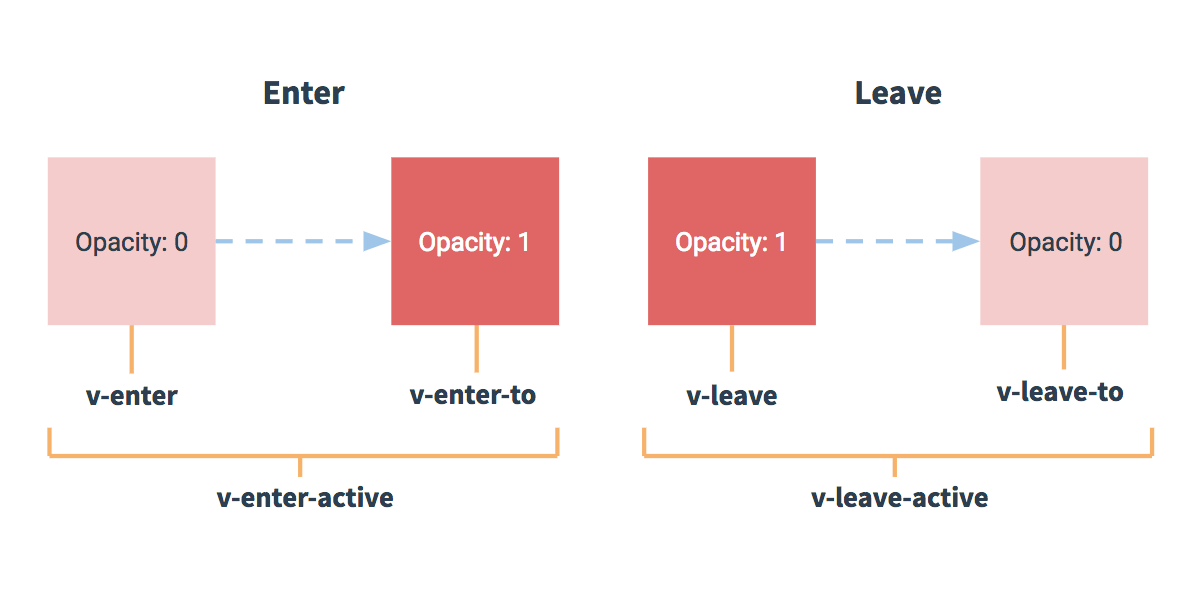
10.过渡和v-for
transition
一定要使用<transition name="abc"></transition>包裹。
使用transition="abc",方法不行
v-for
<div v-for="(value, key, index) in object">
  {{ index }}. {{ key }}: {{ value }}
</div>
new Vue({
  el: '#v-for-object',
  data: {
    object: {
      firstName: 'John',
      lastName: 'Doe',
      age: 30
    }
  }
})
11. this.nextTick()
DOM更新后的回调函数,
操作DOM在这个回调函数里比较好
12.watch和computed属性
compute属性可以更改data的值。要设置set属性
computed: {
    msgChange: {
      get: function () {
        return this.msg.split('').reverse().join('')
      },
      set: function (abc) {
        this.msg = abc
      }
    }
  },
可以使用watch监听事件来更改data属性值
watch: {
    // 总数发生变化时,show属性值更改为false
    count: function () {
        this.show = false
    }
},
13.事件修饰符:stop,prevent
prevent.stop
.prevent
.capture
.self
.once
.passive
<!-- 阻止单击事件继续传播 -->
<a v-on:click.stop="doThis"></a>

<!-- 提交事件不再重载页面 -->
<form v-on:submit.prevent="onSubmit"></form>

<!-- 修饰符可以串联 -->
<a v-on:click.stop.prevent="doThat"></a>

<!-- 只有修饰符 -->
<form v-on:submit.prevent></form>

<!-- 添加事件监听器时使用事件捕获模式 -->
<!-- 即元素自身触发的事件先在此处处理,然后才交由内部元素进行处理 -->
<div v-on:click.capture="doThis">...</div>

<!-- 只当在 event.target 是当前元素自身时触发处理函数 -->
<!-- 即事件不是从内部元素触发的 -->
<div v-on:click.self="doThat">...</div>
使用修饰符时,顺序很重要;相应的代码会以同样的顺序产生。因此,用 v-on:click.prevent.self 会阻止所有的点击,而 v-on:click.self.prevent 只会阻止对元素自身的点击。
14.父组件调用子组件的方法 ref="children"
15.prop是单向绑定,不能更改数据的解决方案
use a data or computed property based on the prop's value.
https://blog.csdn.net/a_bet_of_three_years/article/details/78470757
16.$emit,$on的使用详解
主要介绍了vue2.0 中#$emit,$on的使用详解
vue1.0中 vm.$dispatch 和 vm.$broadcast 被弃用,改用$emit,$on
vm.$on( event, callback )
监听当前实例上的自定义事件。事件可以由vm.$emit触发。回调函数会接收所有传入事件触发函数的额外参数。
vm.$emit( event, […args] )
触发当前实例上的事件。附加参数都会传给监听器回调。
例子:
//父组件
<template>
  <ratingselect @select-type="onSelectType"></ratingselect>
</template>
<script>
  data () {
   return {
    selectType: 0,
  },
  methods: {
   onSelectType (type) {
    this.selectType = type
   }
  }
</script>
父组件使用@select-type="onSelectType"@就是v-on的简写,监听由子组件vm.$emit触发的事件,通过onSelectType()接受从子组件传递过来的数据,通知父组件数据改变了。
// 子组件
<template>
 <div>
  <span @click="select(0, $event)" :class="{'active': selectType===0}"></span>
  <span @click="select(1, $event)" :class="{'active': selectType===1}"></span>
  <span @click="select(2, $event)" :class="{'active': selectType===2}"></span>
 </div>
</template>
<script>
  data () {
   return {
    selectType: 0,
  },
  methods: {
    select (type, event) {
      this.selectType = type
      this.$emit('select-type', type)
   }
  }
</script>
子组件通过$emit来触发事件,将参数传递出去。
17.缓存组件状态keep-alive
<!-- 失活的组件将会被缓存!-->
<keep-alive>
  <component v-bind:is="currentTabComponent"></component>
</keep-alive>


【推荐】国内首个AI IDE,深度理解中文开发场景,立即下载体验Trae
【推荐】编程新体验,更懂你的AI,立即体验豆包MarsCode编程助手
【推荐】抖音旗下AI助手豆包,你的智能百科全书,全免费不限次数
【推荐】轻量又高性能的 SSH 工具 IShell:AI 加持,快人一步
· 基于Microsoft.Extensions.AI核心库实现RAG应用
· Linux系列:如何用heaptrack跟踪.NET程序的非托管内存泄露
· 开发者必知的日志记录最佳实践
· SQL Server 2025 AI相关能力初探
· Linux系列:如何用 C#调用 C方法造成内存泄露
· Manus爆火,是硬核还是营销?
· 终于写完轮子一部分:tcp代理 了,记录一下
· 别再用vector<bool>了!Google高级工程师:这可能是STL最大的设计失误
· 单元测试从入门到精通
· 震惊!C++程序真的从main开始吗?99%的程序员都答错了