图像二值化的指令集加速例子(二)
以下代码基于VS2019和OpenCV430,CPU型号是Intel Core i5-7400。功能是对图像进行二值化。经过我的苦思冥想找到了比第一篇文章更好的方法,既简单又好用。在我这个电脑的测试下几乎总比OpenCV快,不同电脑的测试结果可能不同知悉。如果想继续提升效率,可以用OpenCV的parallel_for_()函数启用多线程加速。
英特尔指令集里对1字节整数的处理只有char,而没有uchar。所以在对二值化范围thres1和thres2(uchar范围是0~255,且thres1<thres2)处理时需要先加一个数把thres1加成-128(char的最小值,对应的uchar是128),而thres2加了之后就是新阈值。这样就可以用这个新阈值作比较,一次性区分黑白像素。其实就是把uchar型的像素值变成char型数据计算。下面直接上代码,用于展示效果下方代码没有处理图像边界处的二值化:
//---------------------------------------------------------------------------------------
// 二值化,灰度值在[thres1, thres2]之间的变白色
//---------------------------------------------------------------------------------------
void myThreshold(const Mat& image, Mat& output, int thres1, int thres2)
{
    output.create(image.size(), image.type());
    if (thres1 == 0 && thres2 == 255)
    {
        output = 255; // 这是特殊情况,下面的方法无法处理,所以直接全白返回
        return;
    }
    char diff = 127 - thres1 + 1;
    char thres = -128 + (thres2 - thres1) + 1;
    __m128i diepi = _mm_set1_epi8(diff);
    __m128i thepi = _mm_set1_epi8(thres);
    for (int i = 0; i < image.rows; i++)
    {
        const uchar* iptr = image.ptr<uchar>(i);
        uchar* optr = output.ptr<uchar>(i);
        for (int j = 0; j < image.cols; j += 16)
        {
            __m128i srci = _mm_loadu_si128((__m128i*)&iptr[j]);
            __m128i addi = _mm_add_epi8(srci, diepi);
            __m128i resi = _mm_cmplt_epi8(addi, thepi);
            _mm_storeu_si128((__m128i*)&optr[j], resi);
        }
    }
}

int main()
{
    Mat image = imread("R-C2.jpg", IMREAD_GRAYSCALE);
    Mat output1, output2;

    int64 t1 = getTickCount();

    myThreshold(image, output1, 0, 27);

    int64 t2 = getTickCount();
    cout << "time1= " << (t2 - t1) / getTickFrequency() << endl;

    t1 = getTickCount();

    threshold(image, output2, 27, 255, THRESH_BINARY_INV);

    t2 = getTickCount();
    cout << "time2= " << (t2 - t1) / getTickFrequency() << endl;

    imshow("sa", output1);
    imshow("sb", output2);
    waitKey(10000);
}
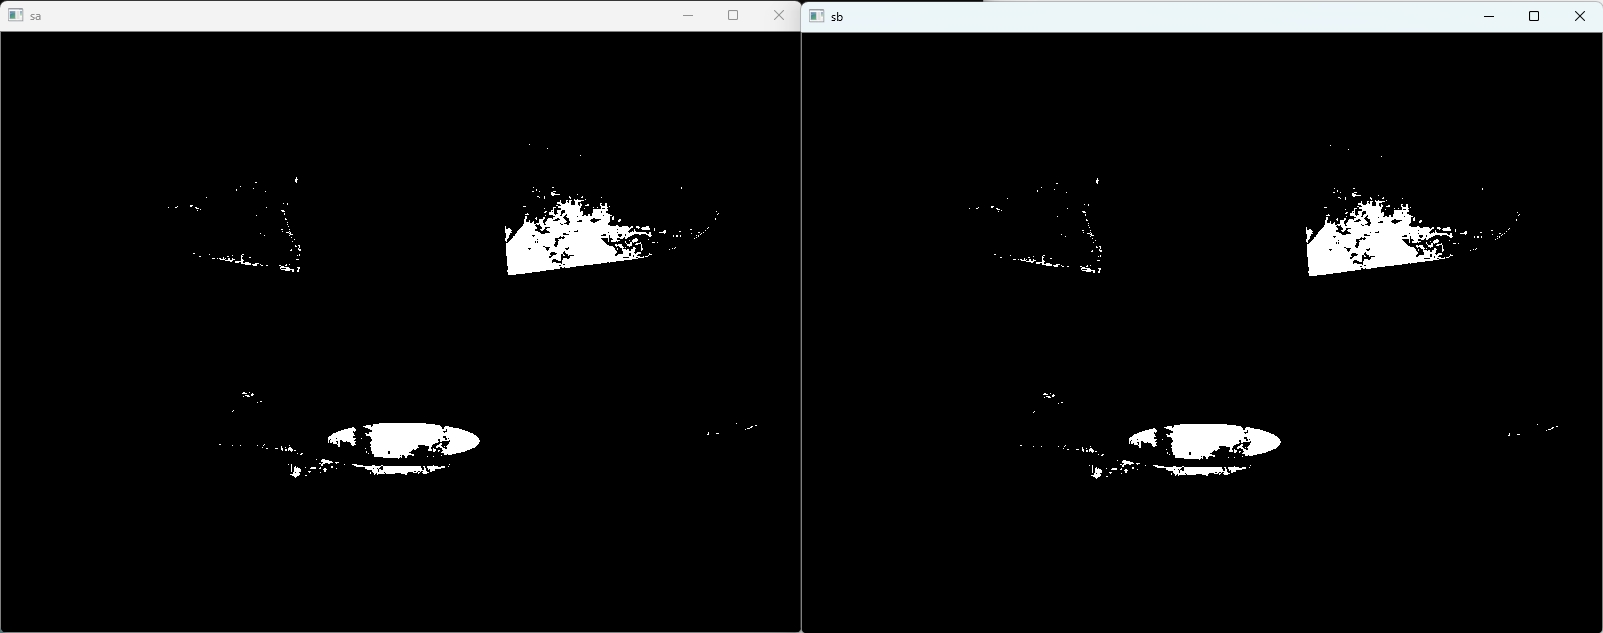
程序运行结果截图如下。我试了几组值结果和OpenCV是一样的。下图左侧窗口是我写的二值化结果,右侧是OpenCV的结果。
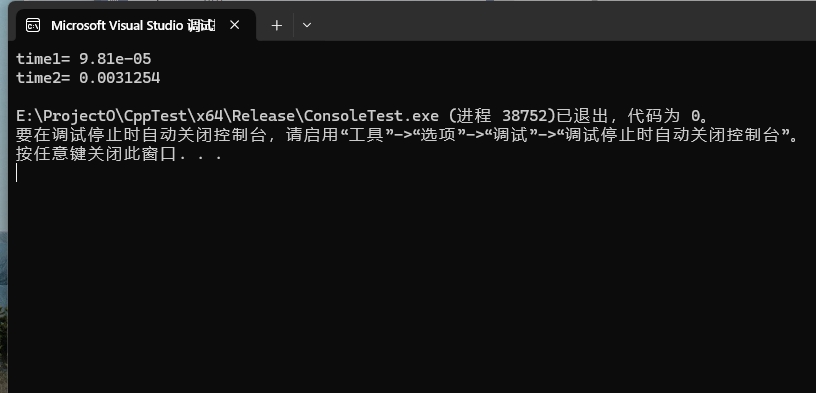
耗时截图,单位是秒。这个测试用的图片比较小,我的方法显著的快。当图片很大的时候效率和OpenCV就差不多了: