vscode开发springboot入门
1. vscode创建springboot项目
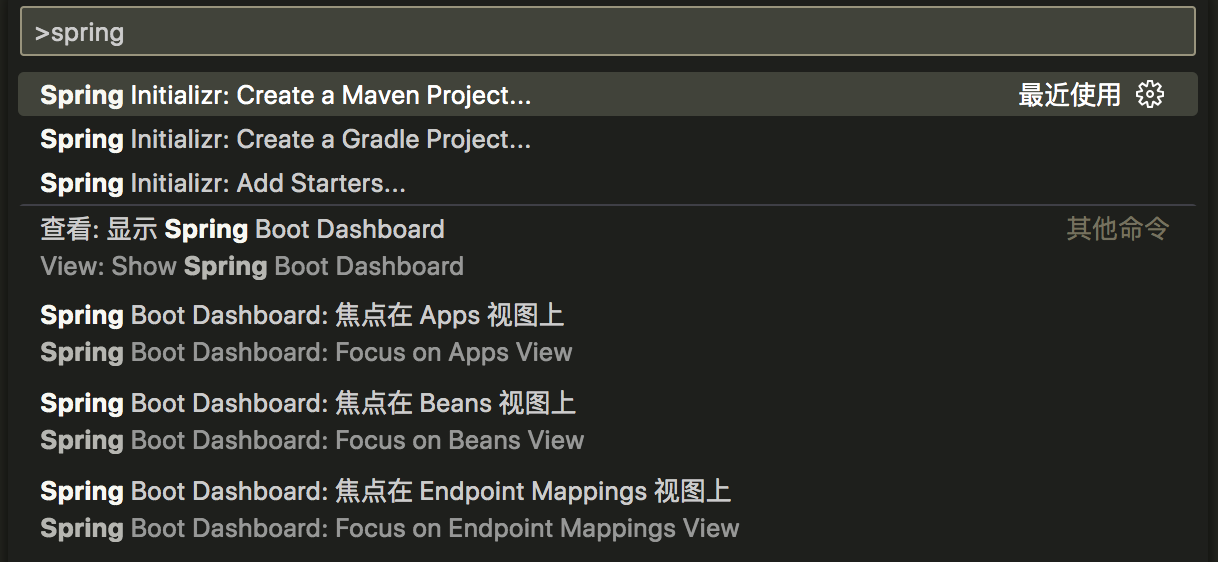
使用快捷键(Ctrl+Shift+P)命令窗口,输入 Spring 选择创建 Maven 项目
中间涉及到版本(jdk版本可以选择8,能运行),语言,包名等,按需选择即可
选择依赖这块要特别注意
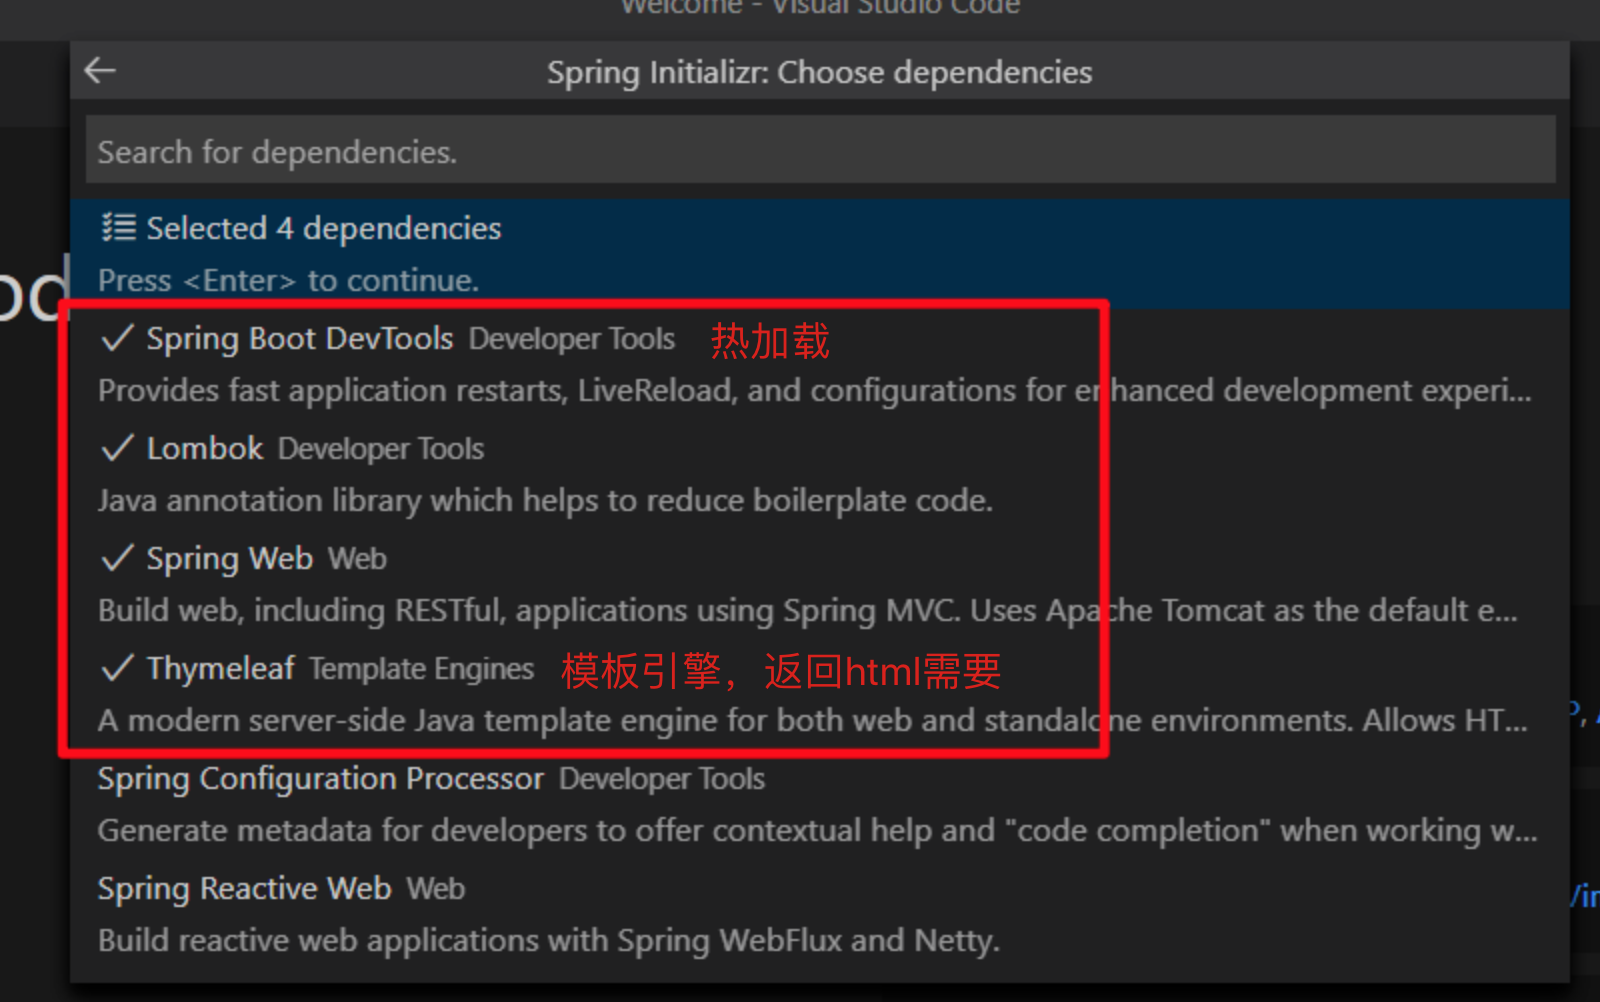
依赖包功能简介:
Spring Boot DevTools: 支持代码修改热更新,无需重启
Spring Web: 集成Tomcat SpringMVC
Lombok: 智能生成 setter getter toString等
Thymeleaf: 模板引擎
2. vscode的java相关配置
maven配置使用/Users/用户名/.m2/settings.xml,没有.m2文件夹,则新建,没有settings.xml文件,可参考 maven中没找到settings.xml文件怎么办
"java.home": "/Library/Java/JavaVirtualMachines/jdk-17.0.1.jdk/Contents/Home",
"java.configuration.runtimes": [
    {
        "name": "JavaSE-1.8",
        "path": "/Library/Java/JavaVirtualMachines/jdk1.8.0_261.jdk/Contents/Home",
        "default": true
    },
    {
        "name": "JavaSE-11",
        "path": "/Library/Java/JavaVirtualMachines/jdk-17.0.1.jdk/Contents/Home"
    }
],
"java.configuration.maven.userSettings": "/Users/mengff/.m2/settings.xml",
"maven.executable.path": "/usr/local/maven/bin/mvn",
"maven.terminal.useJavaHome": true,
"maven.terminal.customEnv": [
    {
        "environmentVariable": "JAVA_HOME",
        "value": "/Library/Java/JavaVirtualMachines/jdk1.8.0_261.jdk/Contents/Home"
    }
],
"maven.executable.preferMavenWrapper": false,
"java.maven.downloadSources": true,
"java.maven.updateSnapshots": true,
"maven.excludedFolders": [
    "**/.*",
    "**/node_modules",
    "**/target",
    "**/bin"
],
"files.exclude": {
    "**/.classpath": true,
    "**/.project": true,
    "**/.settings": true,
    "**/.factorypath": true
}
3. vscode切换maven镜像
切换maven镜像为阿里云,否则很难安装依赖成功,项目起不来
<mirror>
    <id>alimaven</id>
    <mirrorOf>central</mirrorOf>
    <name>aliyun maven</name>
    <url>http://maven.aliyun.com/nexus/content/repositories/central/</url>
</mirror>
<mirror>
    <id>nexus-aliyun</id>
    <mirrorOf>*</mirrorOf>
    <name>Nexus aliyun</name>
    <url>http://maven.aliyun.com/nexus/content/groups/public</url>
</mirror>
<!-- 中央仓库1 -->
<mirror>
    <id>repo1</id>
    <mirrorOf>central</mirrorOf>
    <name>Human Readable Name for this Mirror.</name>
    <url>http://repo1.maven.org/maven2/</url>
</mirror>
<!-- 中央仓库2 -->
<mirror>
    <id>repo2</id>
    <mirrorOf>central</mirrorOf>
    <name>Human Readable Name for this Mirror.</name>
    <url>http://repo2.maven.org/maven2/</url>
</mirror>
</mirrors>
4. 在Springboot启动项同级添加controller

5. controller添加代码
package com.example.demo.controller;

import java.util.HashMap;

import org.springframework.stereotype.Controller;
import org.springframework.web.bind.annotation.RequestMapping;

@Controller
public class HomeController{

    @RequestMapping("/hello")
    public String getPage(HashMap<String, String> map){
        map.put("title", "欢迎来到Spring Boot!");
        return "/index";
    }
}
package com.example.demo.controller;

import org.springframework.web.bind.annotation.RequestMapping;
import org.springframework.web.bind.annotation.RestController;
import org.springframework.web.servlet.ModelAndView;

@RestController
public class TestController{

    @RequestMapping("/test")
    public String testRest(){
        return "欢迎使用VS Code 和 Spring Boot";
    }

    @RequestMapping("/page")
    public ModelAndView page(){
        ModelAndView mvAndView = new ModelAndView("index");
        return mvAndView;
    }
}
6. 启动项目
在默认地址
http://localhost:8080/test 查看接口
http://localhost:8080/hello 查看页面
http://localhost:8080/page 查看页面
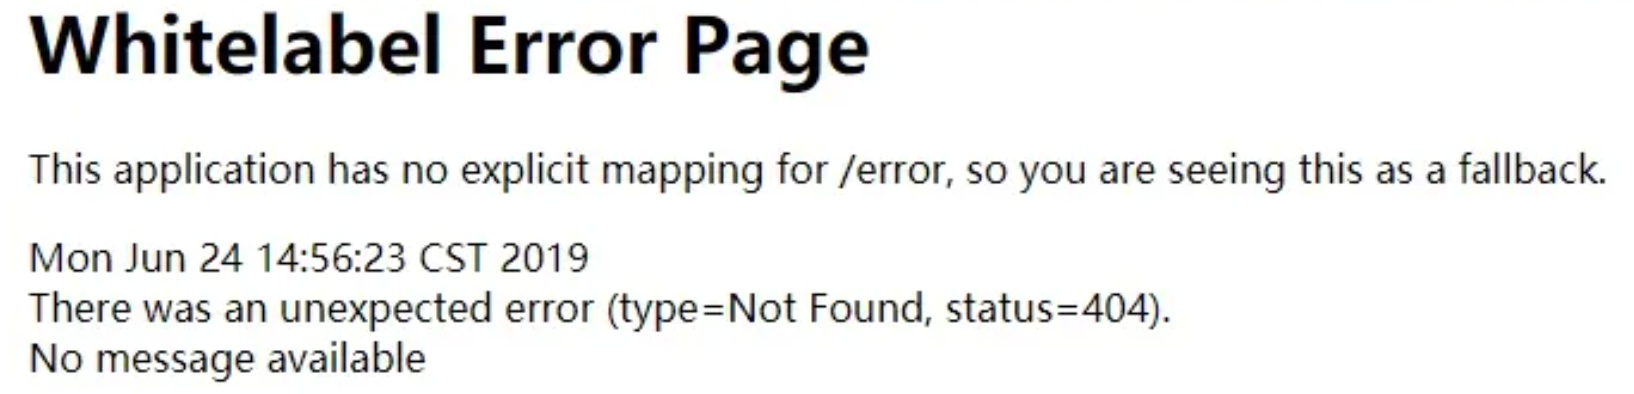
7. 页面路由404问题
springboot项目启动后,可能会出现 非页面接口 访问正常,页面接口 404 问题。
解决方法:
1. 必要配置
pom文件
<dependency>
  <groupId>org.springframework.boot</groupId>
  <artifactId>spring-boot-starter-thymeleaf</artifactId>
</dependency>
全局配置文件application.properties
#视图层控制
spring.mvc.view.prefix=classpath:/templates/
spring.mvc.view.suffix=.html
spring.mvc.static-path-pattern=/static/**
2. 重启vscode
可能是vscode某些依赖安装不成功,或者vscode的java插件bug,导致某些东西没有刷新过来,重启之后,vscode会自动安装依赖,自动装载一些东西,就可用了
详细步骤可参考:VsCode搭建springboot 并配置maven环境

 浙公网安备 33010602011771号