

二、接口自动化测试(2)
二、pymysql+requests+pytest
接着上篇(1)中内容继续更新
(三)、pytest
1、类名 TestXxx、方法名test_xxx

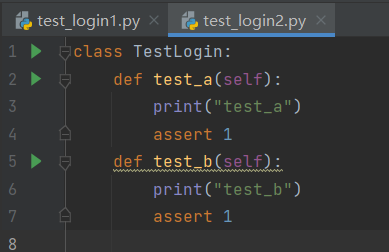
class TestLogin:

    def test_a(self):   # 以 test 开头的测试函数
        print("test_a")
        assert 1    # 断言成功

    def test_b(self):
        print("test_b")
        assert 0    # 断言失败

# 运行方式, 终端命令行中 输入 pytest 文件名
# 如果想让命令行支持打印 需要使用 -s 参数, 具体用法: pytest -s 文件名
# 运行结果: .表示通过  F表示失败

2、setup和teardown
class TestLogin:
    # 函数级初始化方法
    def setup(self):
        print("---setup---")
    # 函数级结束
    def teardown(self):
        print("---teardown---")

    def test_a(self):
        print("test_a")
        assert 1    # 断言成功
    def test_b(self):
        print("test_b")
        assert 0    # 断言失败
# -------------------结果-----------------------------------
test_setup和teardown[39].py ---setup---    # 第1次运行 setup
test_a
.---teardown---    # 第1次运行 teardown
---setup---    # 第2次运行 setup
test_b
F---teardown---    # 第2次运行 teardown
3、配置文件
-
-
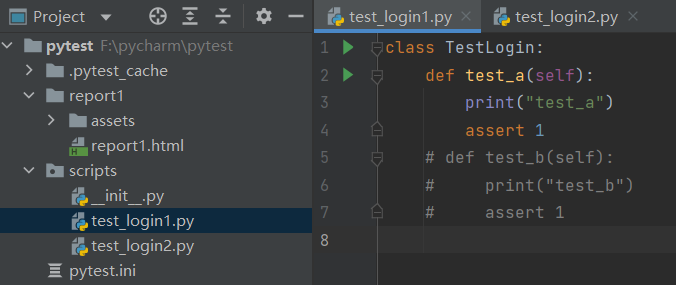
将测试脚本放到 scripts 中
-
pytest 的配置文件放在自动化项目目录下
-
配置文件名称为 pytest.ini
-
pytest.ini 第一行的内容为 [pytest] , 后面逐行写具体的配置参数
-
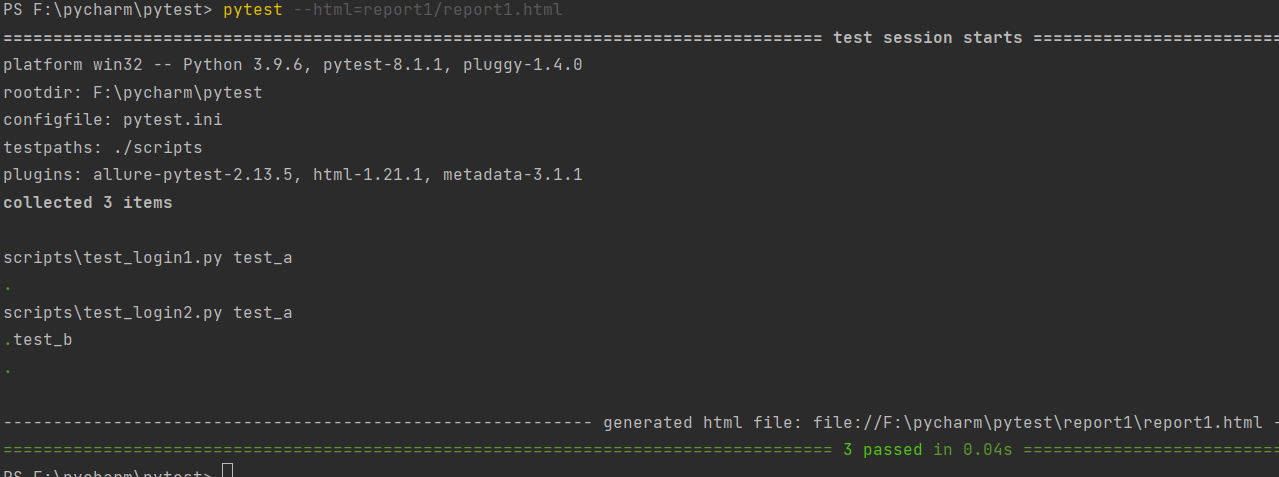
[pytest]
addopts = -s --html=report1/report1.html
testpaths = ./scripts
python_files = test_*.py
python_classes = Test*
python_functions = test_*
[pytest]:这是配置文件的头部,表示这是 pytest 的配置部分。

addopts = -s --html=report1/report1.html:

addopts 表示添加额外的选项。
-s:表示输出所有的 print 语句,方便在运行测试时可以看到输出信息。
--html=report1/report1.html:表示生成 HTML 格式的测试报告,保存在 report1 目录下的 report1.html 文件中。这个选项是通过 pytest-html 插件提供的功能来生成 HTML 报告的。
testpaths = ./scripts:指定测试脚本所在的路径为当前目录下的 scripts 文件夹。这意味着 pytest 将在 ./scripts 目录中查找测试文件来运行测试用例。

python_files = test_*.py:指定测试文件的命名规则,只有符合 test_*.py 格式的文件才会被 pytest 当做测试文件执行其中的测试用例。

python_classes = Test*:指定测试类的命名规则,只有以 Test 开头的测试类才会被 pytest 当做测试类执行其中的测试用例。

python_functions = test_*:指定测试函数的命名规则,只有以 test_ 开头的测试函数才会被 pytest 当做测试用例执行。
4、数据参数化
@pytest.mark.parametrize("参数名", 参数值)
参数对应的值: 类型必须为可迭代的类型, 一般使用 list
import pytest

class TestLogin:

    @pytest.mark.parametrize("params", [{"username": "zhangsan", "password": "111"}, {"username": "lisi", "password": "222"}])
    def test_a(self, params):
        print(params)
        print(params["username"])
        print(params["password"])
#----------------------结果-------------------------------------------
test_login[43].py {'username': 'zhangsan', 'password': '111'}
zhangsan
111
.{'username': 'lisi', 'password': '222'}
lisi
222
.
参数化后, 有几组参数, 测试函数就好执行几次。
5、测试报告插件
# [推荐安装1.21.1的版本]命令行输入
pip install pytest-html==1.21.1

校验方式 pip list

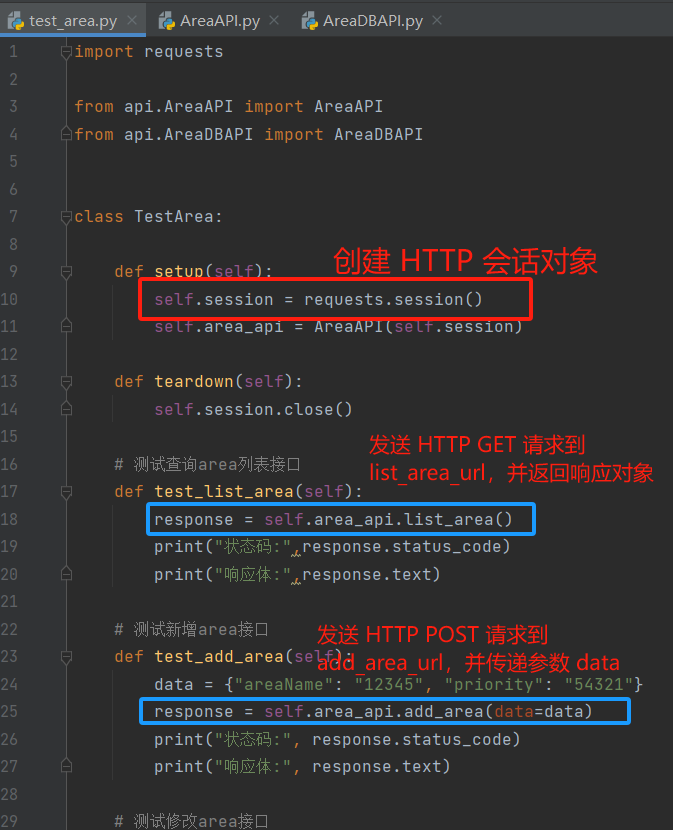
三、接口自动化框架实现
--api            # 封装请求
--scripts        # 编写测试脚本
--data            # 存放测试数据
--utils            # 存放工具类
--report        # 存放生成的测试报告
--app.py        # 存放常量
--pytest.ini    # pytest的配置


【推荐】国内首个AI IDE,深度理解中文开发场景,立即下载体验Trae
【推荐】编程新体验,更懂你的AI,立即体验豆包MarsCode编程助手
【推荐】抖音旗下AI助手豆包,你的智能百科全书,全免费不限次数
【推荐】轻量又高性能的 SSH 工具 IShell:AI 加持,快人一步
· 无需6万激活码!GitHub神秘组织3小时极速复刻Manus,手把手教你使用OpenManus搭建本
· C#/.NET/.NET Core优秀项目和框架2025年2月简报
· 什么是nginx的强缓存和协商缓存
· 一文读懂知识蒸馏
· Manus爆火,是硬核还是营销?