关于端口,我也不知道怎么解释,就用joint官网的这句话先打个头。
Many diagramming applications deal with the idea of elements with ports. Ports are often displayed as circles inside diagram elements.
They are not only used as "sticky" points for connected links, but they also further structure the linking information.
It is common that certain elements have lists of input and output ports. A link might not then point to an element as a whole, but to a certain port instead.许多图表应用程序处理带有端口的元素的概念。端口通常在图表元素中显示为圆形。
它们不仅被用作连接链接的“粘性”点,还可以进一步构造链接信息。
某些元素通常有输入和输出端口列表。链接可能不会指向整个元素,而是指向某个端口。
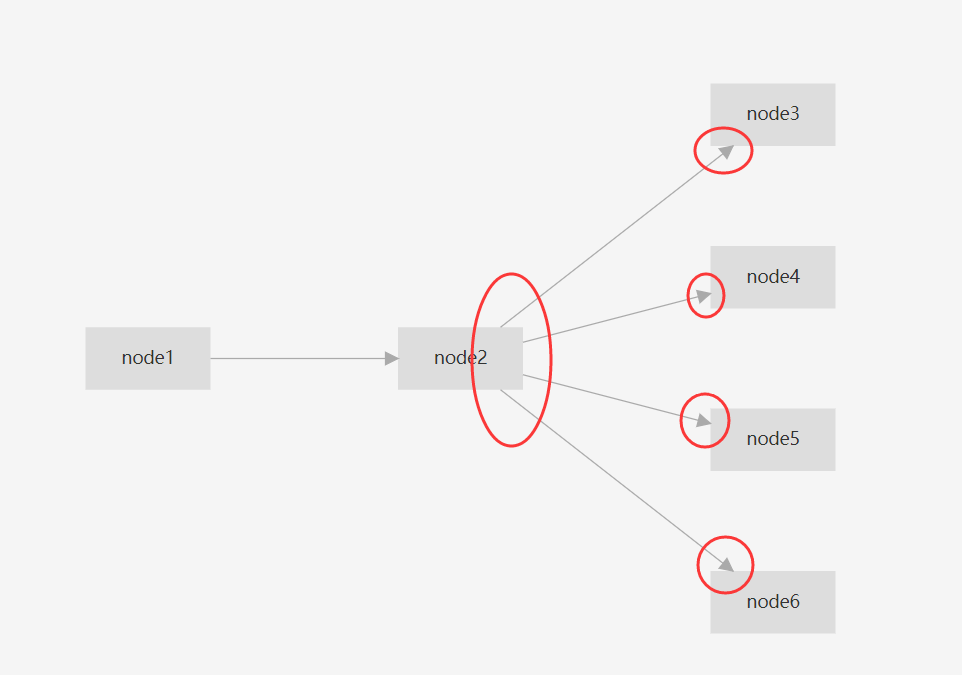
大概意思就是,例如一个源节点连接了多个目标元素,此时他们之间的连线是从源节点的任意位置连接到目标元素的任意位置的,例如这样:

可以看到,从node2出发的线围绕着node2的边缘,连接到的node3/4/5/6箭头也是在节点的边缘;
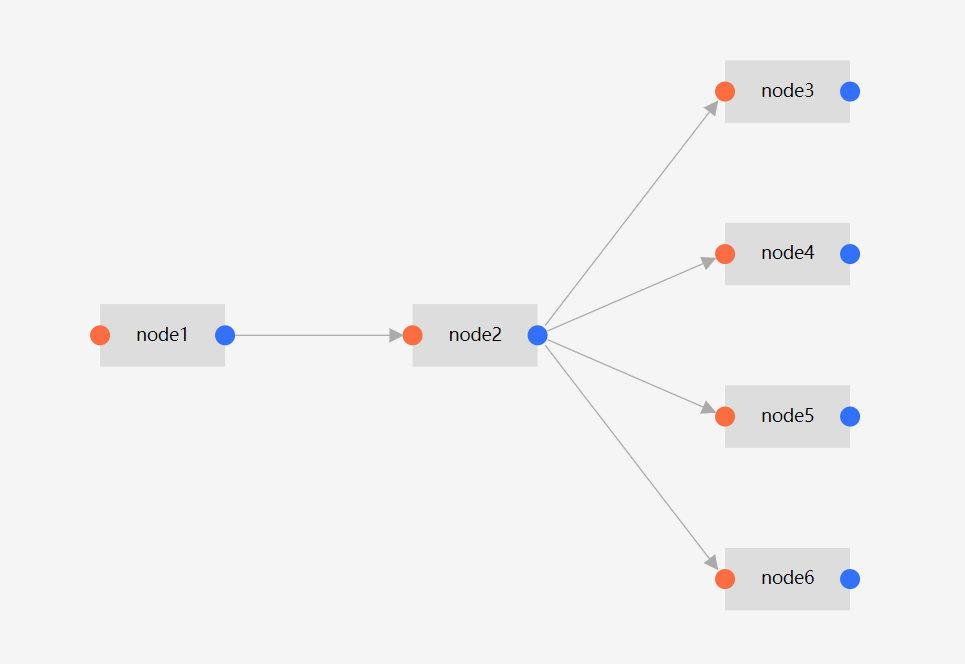
如果我们有了端口,将端口设置在节点的某些固定位置,通过一定的配置,实现连线是从node2的端口指向node3/4/5/6的端口,例如:

看见了吗兄弟们er。对就是这个意思!!
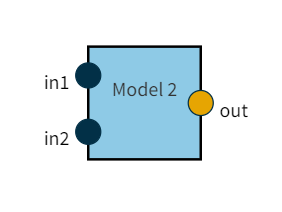
joint中是内置有一个Model类型的,joint.shapes.devs.Model,包含了端口,可以直接使用,但是我觉得太丑啦,默认长这样:

当时想直接基于Model把样式成自己需要的样子,忘记因为什么原因放弃了,不过结果应该是没弄好,菜是原罪。。。
后来扒拉了下jointjs的源码,根据Model的定义,给自定义的shape增加了渲染端口的代码,成了成了!
所以这篇文章是在自定义shape的基础上增加了自定义端口。自定义shape在自定义shape
如下是实现方式:
-
首先是shape.js中在自定义shape基础上增加对于port样式结构的定义:
let customShape = joint.shapes.basic.Generic.extend({ markup: `<g class="rotatable"> <rect class="body" /> <text class="text"></text> </g>`, /** 在这里进行对port结构的定义,在这里定义成了圆形 */ portMarkup: `<g class="port-body"> <circle></circle> </g>`, /** option的定义见下方 */ defaults: joint.util.defaultsDeep(option, joint.shapes.basic.Generic.prototype.defaults), initialize: function() { this.on( 'change:label', function() { this.updateRectangles(); }, this ); this.updateRectangles(); joint.shapes.basic.Generic.prototype.initialize.apply(this, arguments); /** 初始化里添加关于端口属性改变的监听以及方法调用 */ this.on('change:inPorts change:outPorts', this.updatePortItems, this); this.updatePortItems(); }, updateRectangles() { const attrs = this.get('attrs'); const rect = { label: this.get('label') }; attrs['.text'].text = rect.label; }, /** 端口的相关函数 */ updatePortItems(model, changed, opt) { /** 确保每个端口都是唯一的 */ const inPorts = joint.util.uniq(this.get('inPorts')); const outPorts = joint.util.difference(joint.util.uniq(this.get('outPorts')), inPorts); const inPortItems = this.createPortItems('in', inPorts); const outPortItems = this.createPortItems('out', outPorts); this.prop('ports/items', inPortItems.concat(outPortItems), joint.util.assign({ rewrite: true }, opt)); }, createPortItem(group, port) { return { id: port, group }; }, createPortItems(group, ports) { return joint.util.toArray(ports).map(this.createPortItem.bind(this, group)); } }); -
其次是option的配置,主要是port的样式:
let option = { type: 'basic.customShape', size: { width: 100, height: 50 }, attrs: { '.body': { width: 100, height: 50, fill: '#ddd' }, '.text': { fill: '#000', textVerticalAnchor: 'middle', textAnchor: 'middle', refX: '50%', refY: '50%' } }, /** 对于端口的样式配置 */ ports: { groups: { in: { /** 端口相对于元素的位置 */ position: { name: 'left' }, /** 端口样式 */ attrs: { '.port-body circle': { r: 8, fill: '#fd6d42' } } }, out: { position: { name: 'right' }, attrs: { '.port-body circle': { r: 8, fill: '#3371FC' } } } } }, }; -
做完这些你会发现页面上并没有出现左右两个port,还需要在定义节点的时候,增加你对与端口的传值:
/** 创建节点 */ createNode(){ this.nodes.forEach(ele => { let node = new customShape({ id: ele.id, size: { width: 100, height: 50 }, /** 增加你需要的端口,端口是数组,可以传多个值,位置会默认均匀分布在你所规定的边上 */ inPorts: ['in'], outPorts: ['out'], attrs: { text: { text: ele.label } } }); this.nodeList.push(node); }) this.graph.addCell(this.nodeList); } -
搞完这个你发现还是不对,这线还是没有跟端口连在一起啊。。。创建连线时,需要指定连线的位置,如下:
/** 创建连线 */
createLink(){
    this.links.forEach(ele => {
        let link = new joint.shapes.standard.Link({
            source: {
                id: ele.from,
                /** 从out端口连出线 */
                port: ['out']
            },
            target: {
                id: ele.to,
                /** 从in端口入线 */
                port: ['in']
            },
            attrs: {
                line: {
                    stroke: '#aaa',
                    strokeWidth: 1
                }
            }
        });
        this.linkList.push(link);
    })
    this.graph.addCell(this.linkList);
}
此时就实现了第二张图的效果了,端口的样式是完全可以自定义的,需要其他形状,只需要通过svg绘制对应的元素就可以了,如果不需要也可以设置大小给隐藏掉,使得整体更美观。
例如,我可以将圆形端口的半径设置为0,将端口隐藏:

over~


