
Spring Boot 集成 Redis 实现数据缓存
Spring Boot 集成 Redis 实现缓存主要分为以下三步:
- 加入 Redis 依赖
- 加入 Redis 配置
- 演示 Redis 缓存
加入依赖
首先创建一个项目,在项目中加入 Redis 依赖,项目依赖如下所示(由于使用 Redis 连接池,需额外引入 commons-pool2):
<dependency>
    <groupId>org.springframework.boot</groupId>
    <artifactId>spring-boot-starter-web</artifactId>
</dependency>
<dependency>
    <groupId>org.springframework.boot</groupId>
    <artifactId>spring-boot-starter-data-redis</artifactId>
</dependency>
<dependency>
    <groupId>org.apache.commons</groupId>
    <artifactId>commons-pool2</artifactId>
</dependency>
在 spring-boot-starter-data-redis 1.X 版本默认使用 Jedis 客户端,在 2.X 版本默认开始使用 Lettuce 客户端,如果习惯使用 Jedis 的话,可以从 spring-boot-starter-data-redis 中排除 Lettuce 并引入 Jedis。
加入配置
在配置文件 application.properties 中配置 Redis 的相关参数,具体内容如下:
#Redis 索引(0~15,默认为 0)
spring.redis.database=0
spring.redis.host=127.0.0.1
#Redis 密码,如果没有就默认不配置此参数
spring.redis.password=
spring.redis.port=6379
#Redis 连接的超时时间
spring.redis.timeout=1000
#连接池最大连接数(使用负值表示没有限制)
spring.redis.lettuce.pool.max-active=20
#连接池最大阻塞等待时间(使用负值表示没有限制)
spring.redis.lettuce.pool.max-wait=-1
#连接池中的最大空闲连接
spring.redis.lettuce.pool.max-idle=10
#连接池中的最小空闲连接
spring.redis.lettuce.pool.min-idle=0
接下来在 config 包下创建一个 Redis 配置类 RedisConfig,在配置类上加入注解 @Configuration,注入一个 CacheManager 来配置一些相关信息,代码如下:
@Configuration
public class RedisConfig {

    @Bean
    public CacheManager cacheManager(RedisConnectionFactory factory) {
    // 有管理端可以缓存分开 生成两套默认配置,通过 Config 对象即可对缓存进行自定义配置 @CacheConfig(cacheNames = "user")
RedisCacheConfiguration redisCacheConfiguration = RedisCacheConfiguration.defaultCacheConfig() .entryTtl(Duration.ofMinutes(30)) .prefixKeysWith("cache:user:") .disableCachingNullValues() .serializeKeysWith(keySerializationPair()) .serializeValuesWith(valueSerializationPair()); return RedisCacheManager.builder(factory) .withCacheConfiguration("user", redisCacheConfiguration).build(); } private RedisSerializationContext.SerializationPair<String> keySerializationPair() { return RedisSerializationContext.SerializationPair.fromSerializer(new StringRedisSerializer()); } private RedisSerializationContext.SerializationPair<Object> valueSerializationPair() { return RedisSerializationContext.SerializationPair.fromSerializer(new GenericJackson2JsonRedisSerializer()); } } 首先通过 RedisCacheConfiguration 生成默认配置,然后对缓存进行自定义化配置,比如过期时间、缓存前缀、key/value 序列化方法等,然后构建出一个 RedisCacheManager,其中通过 keySerializationPair 方法为 key 配置序列化,valueSerializationPair 为 value 配置序列化。
定义用户实体类
在 domain 包下创建一个用户实体类:
public class User {

    private Long id;

    private String name;

    private String password;
    // 省略 getter/setter
}
在服务中使用 SpringCache 注解
在 service 包下定义用户接口,分别包含添加用户、查询用户、更新用户以及删除用户四个接口,具体代码如下:
public interface UserService {

    void addUser(User user);

    User getUserById(Long id);

    User updateUser(User user);

    void deleteById(Long id);
}
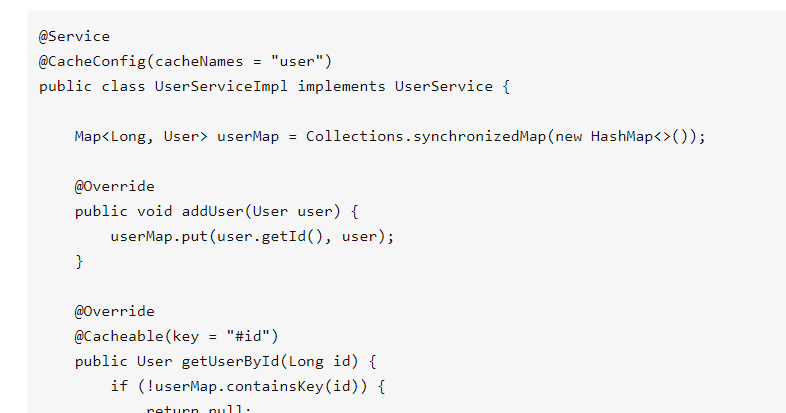
然后编写实现类,为了方便演示,在这里使用 Map<Long, User> userMap,没有去连接数据库,其中用到的注解有 @CacheConfig、@Cacheable、@CachePut 以及 @CacheEvict,具体代码如下:
@Service
@CacheConfig(cacheNames = "user")
public class UserServiceImpl implements UserService {

    Map<Long, User> userMap = Collections.synchronizedMap(new HashMap<>());

    @Override
    public void addUser(User user) {
        userMap.put(user.getId(), user);
    }

    @Override
    @Cacheable(key = "#id")
    public User getUserById(Long id) {
        if (!userMap.containsKey(id)) {
            return null;
        }
        return userMap.get(id);
    }

    @Override
    @CachePut(key = "#user.id")
    public User updateUser(User user) {
        if (!userMap.containsKey(user.getId())) {
            throw new RuntimeException("不存在该用户");
        }
        User newUser = userMap.get(user.getId());
        newUser.setPassword(user.getPassword());
        userMap.put(newUser.getId(), newUser);
        return newUser;
    }

    @Override
    @CacheEvict(key = "#id")
    public void deleteById(Long id) {
        userMap.remove(id);
    }
}
在这里说下这几个注解:
@CacheConfig 类级别的缓存注解,允许共享缓存名称
@Cacheable 触发缓存入口
一般用于查询操作,根据 key 查询缓存.
- 如果 key 不存在,查询 db,并将结果更新到缓存中。
- 如果 key 存在,直接查询缓存中的数据。
@CacheEvict 触发移除缓存
根据 key 删除缓存中的数据。
@CacahePut 更新缓存
一般用于更新和插入操作,每次都会请求 db,通过 key 去 Redis 中进行操作。
- 如果 key 存在,更新内容
- 如果 key 不存在,插入内容。
最后,在 controller 包下创建一个 UserController 类,提供用户 API 接口(未使用数据库),代码如下:
@RestController
@RequestMapping("/user")
public class UserController {

    @Autowired
    private UserService userService;

    @GetMapping("/{id}")
    public ResponseEntity<User> getUser(@PathVariable Long id) {
        return ResponseEntity.status(HttpStatus.CREATED).body(userService.getUserById(id));
    }

    @PostMapping
    public ResponseEntity<String> createUser(@RequestBody User user) {
        userService.addUser(user);
        return ResponseEntity.status(HttpStatus.CREATED).body("SUCCESS");
    }

    @PutMapping
    public ResponseEntity<User> updateUser(@RequestBody User user) {
        return ResponseEntity.status(HttpStatus.CREATED).body(userService.updateUser(user));
    }

    @DeleteMapping("/{id}")
    public ResponseEntity<String> deleteUser(@PathVariable Long id) {
        userService.deleteById(id);
        return ResponseEntity.status(HttpStatus.CREATED).body("SUCCESS");
    }
}
启动类添加开启缓存注解
@SpringBootApplication
@EnableCaching
public class RedisCacheApplication {

    public static void main(String[] args) {
        SpringApplication.run(RedisCacheApplication.class, args);
    }
}
@EnableCaching 表明开启缓存,Spring Boot 会自动配置 Redis 缓存的 CacheManager。
到此为止,我们就完成了 Spring Boot 与 Redis 的集成实现数据缓存。

 浙公网安备 33010602011771号