创建 Eureka- Server
- 新建 Eureka Server 模块,添加 Eureka Server 依赖
<properties>
    <java.version>1.8</java.version>
    <spring-cloud.version>Hoxton.SR4</spring-cloud.version>
</properties>

<dependencyManagement>
    <dependencies>
        <dependency>
            <groupId>org.springframework.cloud</groupId>
            <artifactId>spring-cloud-dependencies</artifactId>
            <version>${spring-cloud.version}</version>
            <type>pom</type>
            <scope>import</scope>
        </dependency>
    </dependencies>
</dependencyManagement>

<dependencies>
    <dependency>
        <groupId>org.springframework.cloud</groupId>
        <artifactId>spring-cloud-starter-netflix-eureka-server</artifactId>
    </dependency>
    <dependency>
        <groupId>org.springframework.boot</groupId>
        <artifactId>spring-boot-starter-test</artifactId>
        <scope>test</scope>
    </dependency>
</dependencies>
- 在配置文件
resources/application. yml 中添加 EurekaServer 相关配置
# 指定运行端口
server:
  port: 9000
spring:
  application:
	# 指定服务名称
    name: eureka-server
eureka:
  instance:
    # 指定主机地址
    hostname: localhost
  client:
    # 指定是否从注册中心获取服务(注册中心不需要开启)
    fetch-registry: false
    # 指定是否将自身注册到注册中心(注册中心不需要开启)
    register-with-eureka: false
- 在启动类上添加
@EnableEurekaServer 注解来启用 Euerka 注册中心功能
@EnableEurekaServer
@SpringBootApplication
public class EurekaServerApplication {

    public static void main(String[] args) {
        SpringApplication.run(EurekaServerApplication.class, args);
    }

}
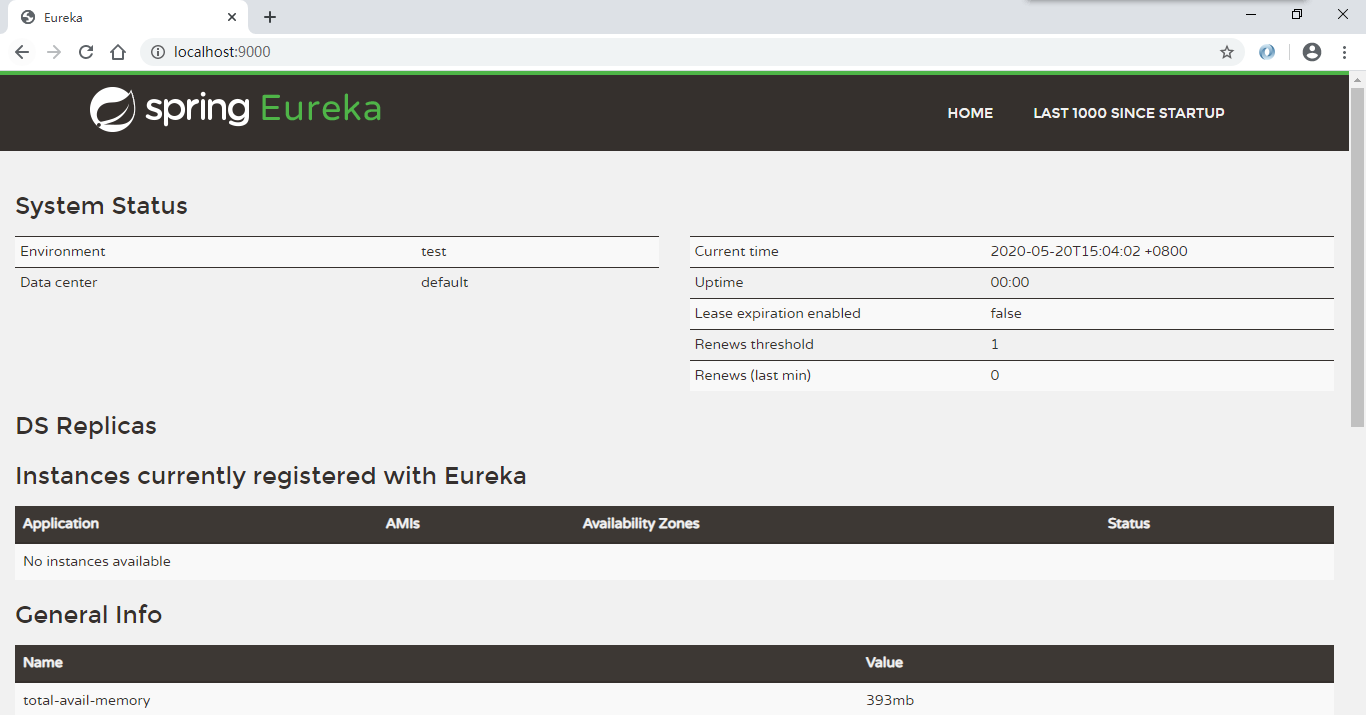
- 启动项目,访问 http://localhost:9000 ,可以看到
Eureka 注册中心界面:
创建 PriceService 模块
- 添加依赖
<properties>
    <java.version>1.8</java.version>
    <spring-cloud.version>Hoxton.SR4</spring-cloud.version>
</properties>

<dependencyManagement>
    <dependencies>
        <dependency>
            <groupId>org.springframework.cloud</groupId>
            <artifactId>spring-cloud-dependencies</artifactId>
            <version>${spring-cloud.version}</version>
            <type>pom</type>
            <scope>import</scope>
        </dependency>
    </dependencies>
</dependencyManagement>

<dependencies>
    <dependency>
        <groupId>org.springframework.boot</groupId>
        <artifactId>spring-boot-starter-web</artifactId>
    </dependency>
    <dependency>
        <groupId>org.springframework.cloud</groupId>
        <artifactId>spring-cloud-starter-netflix-eureka-client</artifactId>
    </dependency>
    <dependency>
        <groupId>org.springframework.boot</groupId>
        <artifactId>spring-boot-starter-test</artifactId>
        <scope>test</scope>
    </dependency>
</dependencies>
- 在配置文件
resources/application. yml 添加相关配置
spring:
  application:
    # 指定服务名称
    name: price-service

eureka:
  client:
    # 注册到 Eureka 的注册中心
    register-with-eureka: true
    # 获取注册实例列表
    fetch-registry: true
    service-url:
      # 指定注册中心
      defaultZone: http://localhost:9000/eureka
- 在启动类上添加 @EnableDiscoveryClient 注解
@EnableDiscoveryClient
@SpringBootApplication
public class PriceServiceApplication {

    public static void main(String[] args) {
        SpringApplication.run(PriceServiceApplication.class, args);
    }

}
- 创建 PriceController,实现根据商品Id 获取价格功能
@RestController
@RequestMapping("/price")
public class PriceController {

    @GetMapping("/getPrice/{productId}")
    public BigDecimal getPrice(@PathVariable("productId") String productId) {
        System.out.println("productId=" + productId);
        return new BigDecimal("100");
    }

}
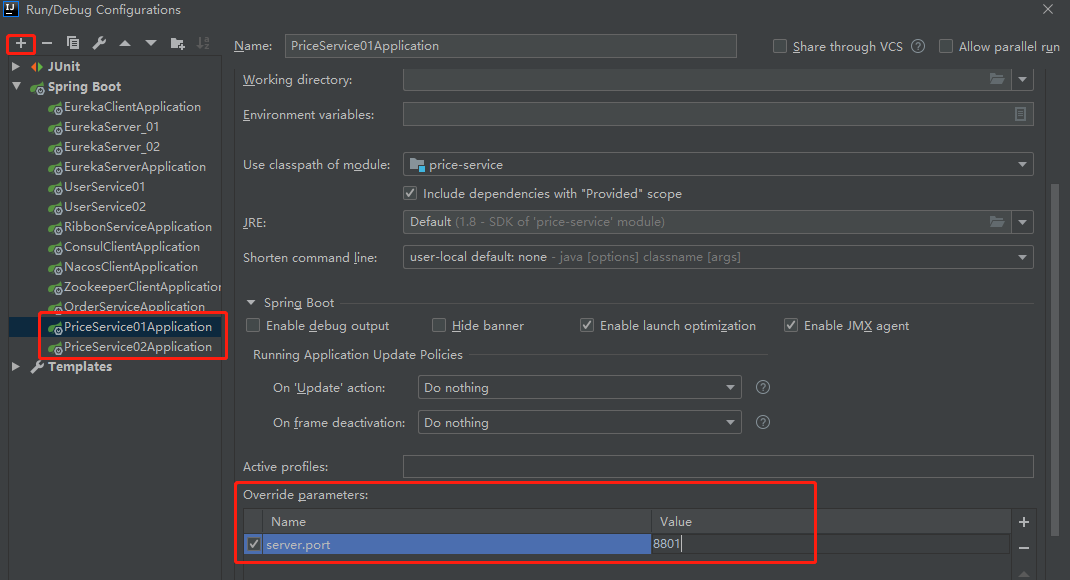
- 启动两个 PriceService 服务
创建 OrderService 模块
- 添加依赖
<properties>
    <java.version>1.8</java.version>
    <spring-cloud.version>Hoxton.SR4</spring-cloud.version>
</properties>

<dependencyManagement>
    <dependencies>
        <dependency>
            <groupId>org.springframework.cloud</groupId>
            <artifactId>spring-cloud-dependencies</artifactId>
            <version>${spring-cloud.version}</version>
            <type>pom</type>
            <scope>import</scope>
        </dependency>
    </dependencies>
</dependencyManagement>

<dependencies>
    <dependency>
        <groupId>org.springframework.boot</groupId>
        <artifactId>spring-boot-starter-web</artifactId>
    </dependency>
    <dependency>
        <groupId>org.springframework.cloud</groupId>
        <artifactId>spring-cloud-starter-netflix-eureka-client</artifactId>
    </dependency>
    <dependency>
        <groupId>org.springframework.boot</groupId>
        <artifactId>spring-boot-starter-test</artifactId>
        <scope>test</scope>
    </dependency>
</dependencies>
- 在配置文件
resources/application. yml 添加相关配置
server:
  # 指定运行端口
  port: 8005
spring:
  application:
    # 指定服务名称
    name: order-service

eureka:
  client:
    # 注册到 Eureka 的注册中心
    register-with-eureka: true
    # 获取注册实例列表
    fetch-registry: true
    service-url:
      # 指定注册中心
      defaultZone: http://localhost:9000/eureka
- 在启动类上添加 @EnableDiscoveryClient 注解
@EnableDiscoveryClient
@SpringBootApplication
public class OrderServiceApplication {

    public static void main(String[] args) {
        SpringApplication.run(OrderServiceApplication.class, args);
    }

}
- 新建 OrderController 用于访问 PriceService 获取价格
@RestController
@RequestMapping("/order")
public class OrderController {

    private final RestTemplate restTemplate;

    public OrderController(RestTemplate restTemplate) {
        this.restTemplate = restTemplate;
    }

    @GetMapping("/getPrice")
    public BigDecimal getPrice(String productId) {
        // TODO 方法待实现
		return null;
    }

}

 浙公网安备 33010602011771号