鸿蒙开发ArkUI沉浸式导航
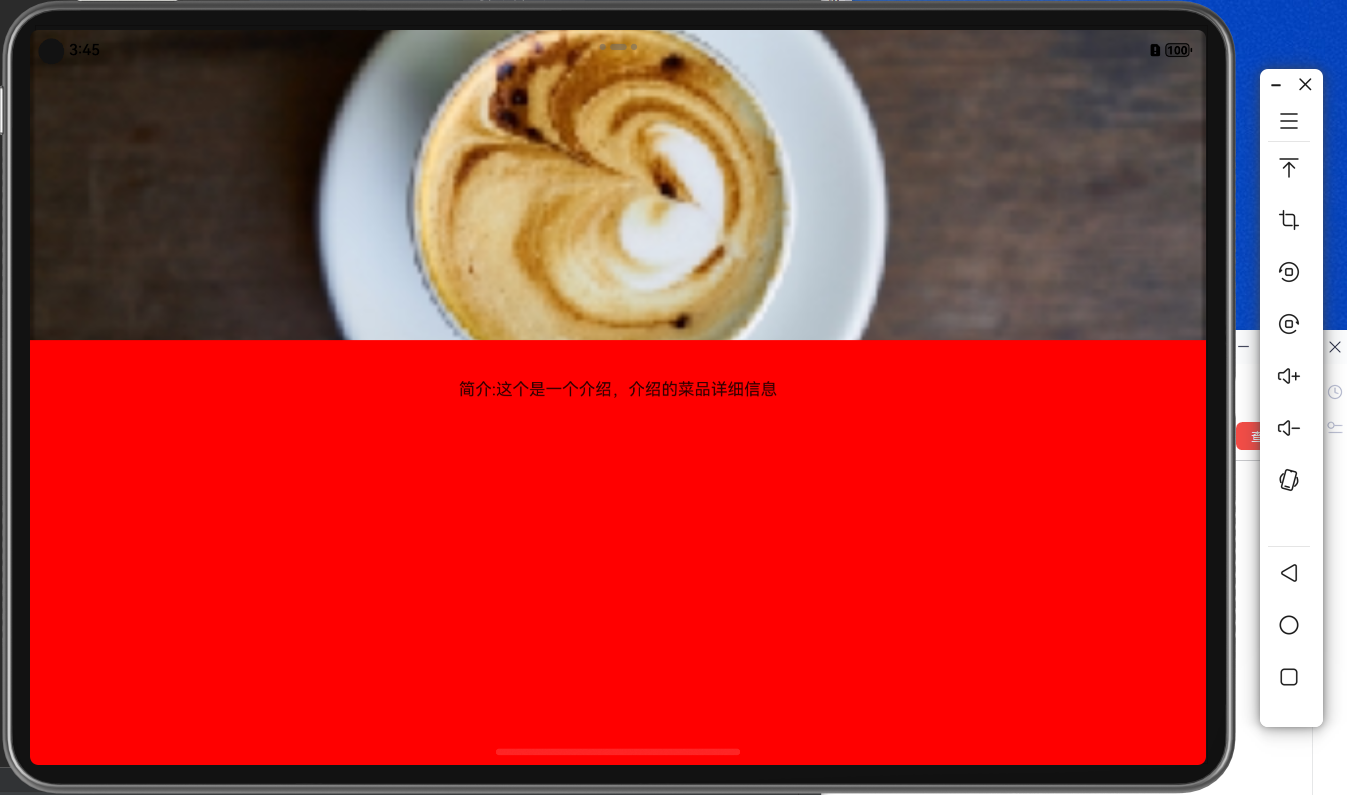
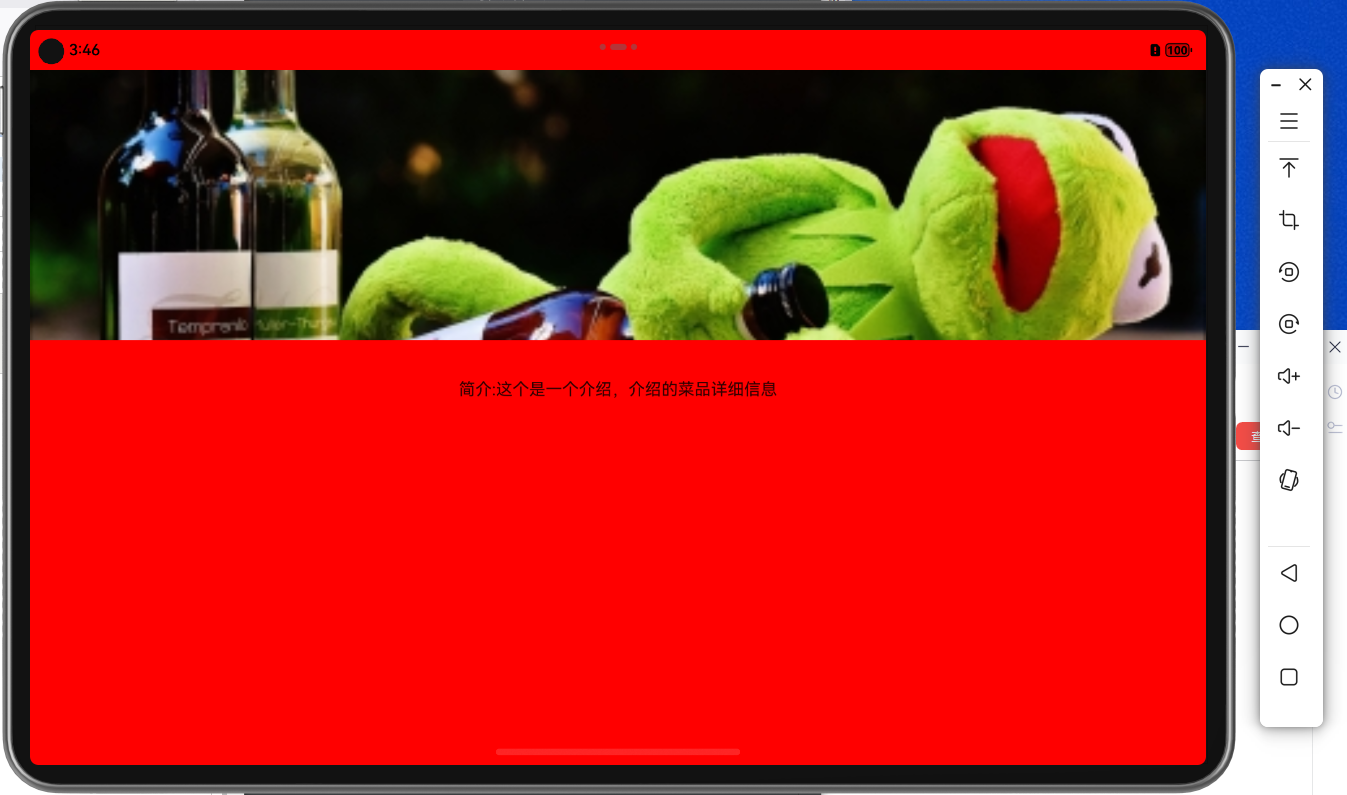
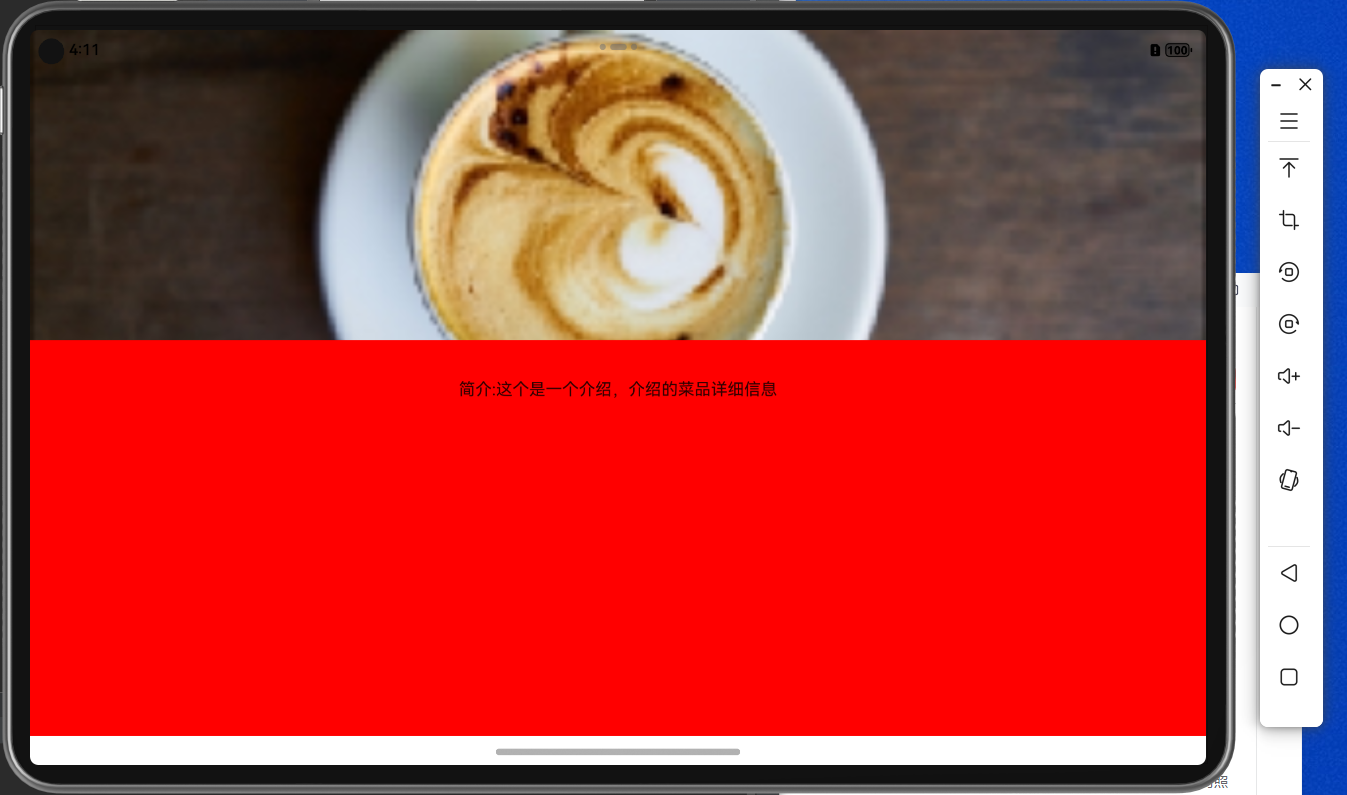
1.沉浸式导航的效果是占用底部顶部或者其他挖孔区域的位置
沉浸式的样式

非沉浸式的样式

2.实现方式
有三种实现放
1.全局(Ability)
2.页面
3.指定元素
全局的实现方式(Ability)
在你的Ability 中设置 在页面创建完成后 (onWindowStageCreate) 中
 onWindowStageCreate(windowStage: window.WindowStage): void {
    // Main window is created, set main page for this ability
    hilog.info(0x0000, 'testTag', '%{public}s', 'Ability onWindowStageCreate');

    windowStage.loadContent('pages/Index', (err) => {
      if (err.code) {
        hilog.error(0x0000, 'testTag', 'Failed to load the content. Cause: %{public}s', JSON.stringify(err) ?? '');
        return;
      }
      hilog.info(0x0000, 'testTag', 'Succeeded in loading the content.');

      let window = windowStage.getMainWindow ().then((window)=>{
         //沉浸式,取消所有留白
         window.setWindowLayoutFullScreen(true)

      })


    });
  }
2.在单个页面中
  // 页面打开的时候触发
  onPageShow() {

   window.getLastWindow(getContext()).then(win => {

      //启用沉浸式导航
      win.setWindowLayoutFullScreen(true)
      //
      // //获取安全区的大小,获取到的是px
      // //px2vp 将像素(px)转成vp
      // this.TopHeight = px2vp(win.getWindowAvoidArea(window.AvoidAreaType.TYPE_SYSTEM).topRect.height);
      // this.BottomHeight =
      //   px2vp(win.getWindowAvoidArea(window.AvoidAreaType.TYPE_NAVIGATION_INDICATOR).bottomRect.height);

    })
  }
3.指定某个元素
需要使用expandSafeArea ,有两个传入参数
 扩大安全区

  第一个参数 安全区域的类型。传入一个枚举数组  SafeAreaType
     包含的值有
     (SYSTEM 系统默认区域,包括状态栏和导航栏)
     (CUTOUT  缺口或打孔。)
     (KEYBOARD 键盘)
  第二个参数 安全区域的边缘。传入一个枚举数组  SafeAreaEdge
     包含的值有
   (TOP 安全区域的顶部边缘。)
     (CUTOUT  安全区域的底部边缘。)
     (START 从安全区域边缘开始。)
   (END安全区域的末端边缘。)
  Row() {
        Swiper() {

          Image(this.product.Images)
            .width("100%").height("100%")
            .interpolation(ImageInterpolation.Medium)
            .alt($r("app.media.avatar"))
//使用 expandSafeArea
            .expandSafeArea([SafeAreaType.SYSTEM], [SafeAreaEdge.TOP,SafeAreaEdge.BOTTOM])


          ForEach(this.product.Pictures, (picture: ProductPictureDto, index) => {
            Image(picture.CompleteImageFormet)
              .width("100%").height("100%")
              .interpolation(ImageInterpolation.Medium)
          })
        }
        .loop(true).autoPlay(true)
        .interval(3000)

        //使用 expandSafeArea
        .expandSafeArea([SafeAreaType.SYSTEM], [SafeAreaEdge.TOP,SafeAreaEdge.BOTTOM]).height(300)


      } .height(300)


