
Harbar搭建
这里准备了一个新的服务器,我们先按照docker
下载Centos的yum文件,到/etc.yum.repo.d/
http://mirrors.aliyun.com/repo/Centos-7.repo
这里我们可以参考一下阿里云的教程,先要登陆后访问
https://developer.aliyun.com/article/110806
按照教程执行依赖包的安装
[root@localhost yum.repos.d]# sudo yum install -y yum-utils device-mapper-persistent-data lvm2
添加信息源
sudo yum-config-manager --add-repo http://mirrors.aliyun.com/docker-ce/linux/centos/docker-ce.repo
查看历史版本
[root@localhost yum.repos.d]# yum list docker-ce --showduplicates | sort -r
更新并安装docker-ce
sudo yum makecache fast
[root@localhost yum.repos.d]# sudo yum -y install docker-ce-18.03.1.ce-1.el7.centos
查看版本
[root@localhost yum.repos.d]# docker version
Client:
 Version:      18.03.1-ce
 API version:  1.37
 Go version:   go1.9.5
 Git commit:   9ee9f40
 Built:        Thu Apr 26 07:20:16 2018
 OS/Arch:      linux/amd64
 Experimental: false
 Orchestrator: swarm
Cannot connect to the Docker daemon at unix:///var/run/docker.sock. Is the docker daemon running?
设置开机启动
[root@localhost yum.repos.d]# systemctl enable docker
Created symlink from /etc/systemd/system/multi-user.target.wants/docker.service to /usr/lib/systemd/system/docker.service.
[root@localhost yum.repos.d]# systemctl start docker
安装docker-compose
mv docker-compose-linux-x86_64 /usr/local/bin/docker-compose
chmod +x /usr/local/bin/docker-compose
查看版本
[root@localhost ~]# docker-compose -v
Docker Compose version v2.3.3
下载harbor
https://github.com/goharbor/harbor/releases/tag/v1.9.4
上传解压
[root@localhost data]# tar -zxvf harbor-offline-installer-v1.9.4.tgz
harbor/harbor.v1.9.4.tar.gz
harbor/prepare
harbor/LICENSE
harbor/install.sh
harbor/harbor.yml
[root@localhost data]# ls
harbor  harbor-offline-installer-v1.9.4.tgz
[root@localhost data]# cd harbor
[root@localhost harbor]# ls
harbor.v1.9.4.tar.gz  harbor.yml  install.sh  LICENSE  prepare
修改配置文件harbor.yml ,修改四个地方
hostname: 192.168.43.12


# http related config
http:
  # port for http, default is 80. If https enabled, this port will redirect to https port
  port: 5000


harbor_admin_password: admin


data_volume: /root/data/harbor-volume
执行安装:
[root@localhost harbor]# ./install.sh

[Step 0]: checking installation environment ...

Note: docker version: 18.03.1

Note: docker-compose version: 2.3.3

[Step 1]: loading Harbor images ...
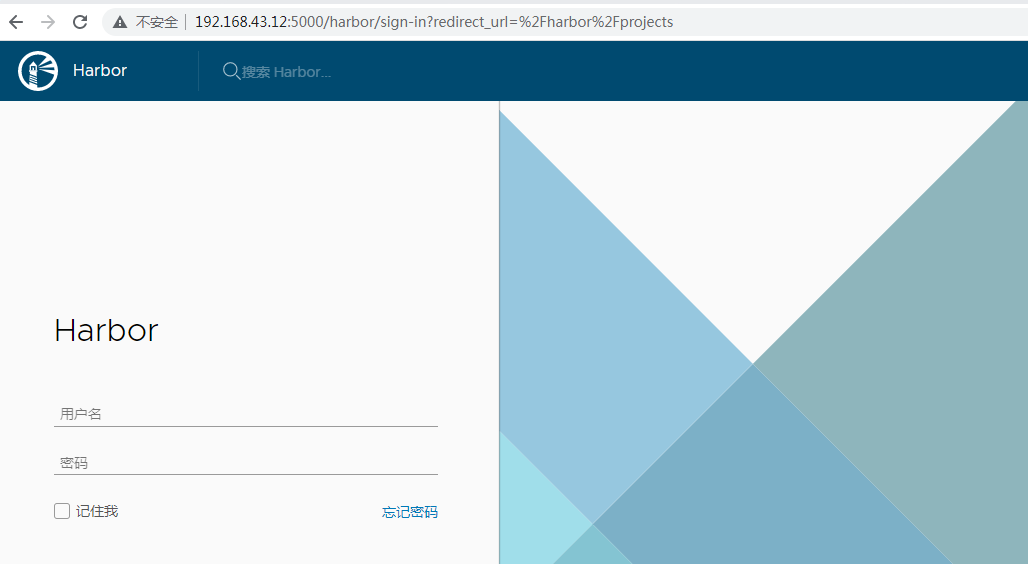
测试页面 admin admin
在另外一台主机上配置harbor地址,这样可以让镜像上传到镜像服务器,实验主机是192.168.43.5
[root@localhost ~]# vi /etc/docker/daemon.json
{
      "registry-mirrors": ["https://j75wwuc0.mirror.aliyuncs.com"],
      "insecure-registries":["192.168.43.12:5000"]
}
重启docker服务
[root@localhost ~]# systemctl daemon-reload
[root@localhost ~]# systemctl restart docker
在上登陆192.168.43.5
[root@localhost ~]# docker login -u admin -p admin 192.168.43.12:5000
WARNING! Using --password via the CLI is insecure. Use --password-stdin.
WARNING! Your password will be stored unencrypted in /root/.docker/config.json.
Configure a credential helper to remove this warning. See
https://docs.docker.com/engine/reference/commandline/login/#credentials-store

Login Succeeded
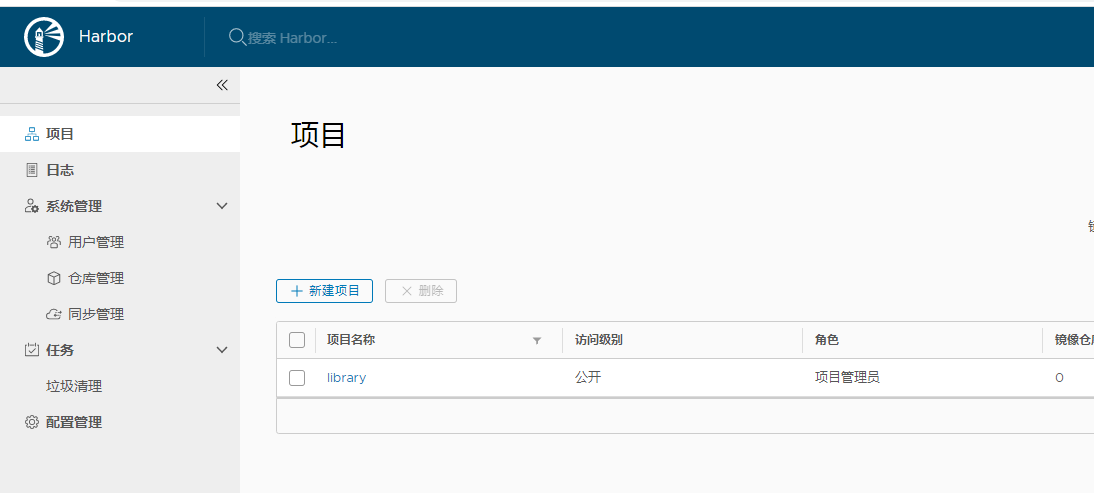
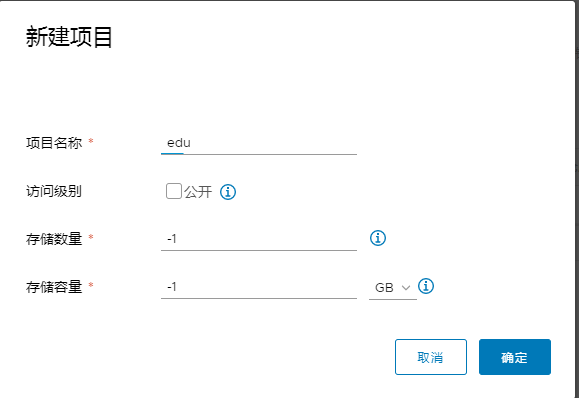
在镜像服务器新建一个项目
在192.168.43.5上给需要上传的镜像打标
[root@localhost ~]# docker tag nginx:1.19.3-alpine 192.168.43.12:5000/edu/mynginx
上传镜像
[root@localhost ~]# docker push 192.168.43.12:5000/edu/mynginx:latest
The push refers to repository [192.168.43.12:5000/edu/mynginx]
8d6d1951ab0a: Pushed
d0e26daf1f58: Pushed
835f5b67679c: Pushed
4daeb7840e4d: Pushed
ace0eda3e3be: Pushed
latest: digest: sha256:a411d06ab4f5347ac9652357ac35600555aeff0b910326cc7adc36d471e0b36f size: 1360
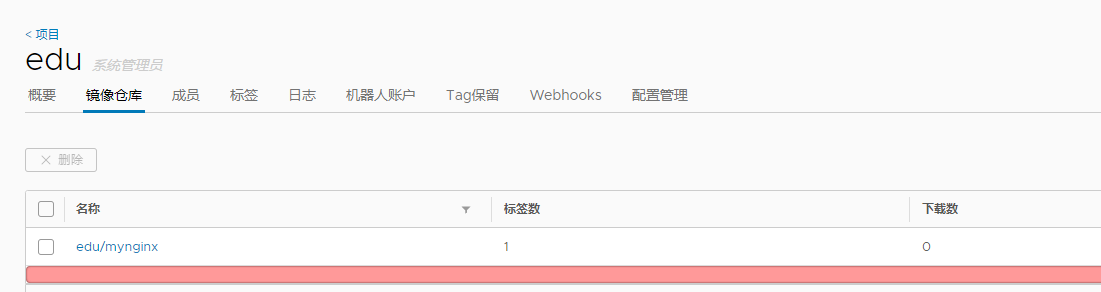
到镜像服务器查看

 浙公网安备 33010602011771号