
LNMP搭建
一、Nginx安装
1.1查看操作系统版本
[root@localhost ~]# cat  /etc/redhat-release
CentOS Linux release 7.7.1908 (Core)
1.2 创建管理用户
[root@localhost ~]# useradd -M -s /sbin/nologin www
-M 不创建用户的主目录 -s 新账户的登陆shell
1.3 安装 nginx依赖包
[root@localhost ~]# yum install pcre-devel openssl-devel
1.4 下载nginx
[root@localhost soft]# wget http://nginx.org/download/nginx-1.10.2.tar.gz
1.5 解压安装
[root@localhost soft]# cd nginx-1.10.2/
[root@localhost nginx-1.10.2]# ls
auto  CHANGES  CHANGES.ru  conf  configure  contrib  html  LICENSE  man  README  src
[root@localhost nginx-1.10.2]# ./configure --prefix=/application/nginx-1.10.2 --user=www --group=www --with-http_stub_status_module --with-http_ssl_module
查看编译过程是否正确:
[root@localhost nginx-1.10.2]# echo $?
0
参数说明:
--prefix            表示指定软件安装到哪个目录中,指定目录不存在会自动创建

--user/--group        nginx工作进程由哪个用户运行管理

--with-http_stub_status_module    启动nginx状态模块功能

--with-http_ssl_module            启动https功能模块
[root@localhost nginx-1.10.2]# make
[root@localhost nginx-1.10.2]# make install
修改nginx的用户:
[root@localhost ~]# cd /application/nginx-1.10.2/
[root@localhost nginx-1.10.2]# ls
conf  html  logs  sbin
[root@localhost nginx-1.10.2]# cd conf/
[root@localhost conf]# vi nginx.conf

user  www;
worker_processes  1;
启动nginx:
[root@localhost nginx-1.10.2]# cd sbin/
[root@localhost sbin]# ls
nginx
[root@localhost sbin]# ./nginx
从浏览器查看:
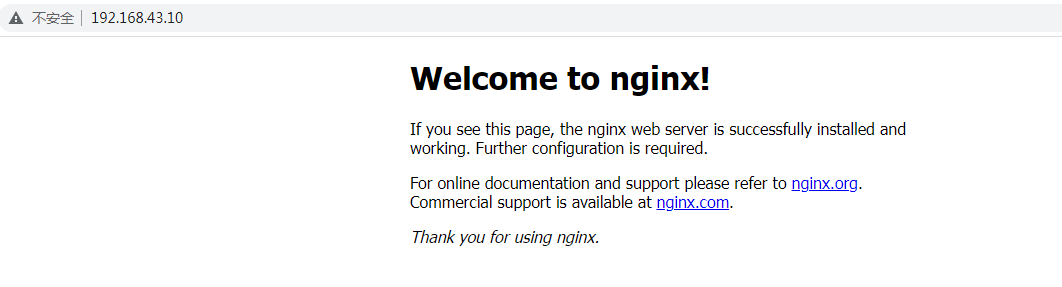
查看运行的端口:
[root@localhost sbin]# netstat -ntlp | grep nginx
tcp        0      0 0.0.0.0:80              0.0.0.0:*               LISTEN      7972/nginx: master
nginx的停止命令:
[root@localhost sbin]# ./nginx -s stop
nginx重启命令:
[root@localhost sbin]# ./nginx -s reload
二、安装MySQL数据库
https://www.cnblogs.com/mancheng/articles/16698162.html
https://www.cnblogs.com/mancheng/articles/16702362.html
三、安装PHP服务
3.1 安装依赖包
yum install zlib-devel libxml2-devel libjpeg-devel libjpeg-turbo-devel libiconv-devel freetype-devel libpng-devel gd-devel libcurl-devel libxslt-devel libxslt-devel -y
3.2 下载依赖软件libiconv
[root@localhost soft]# wget http://ftp.gnu.org/pub/gnu/libiconv/libiconv-1.14.tar.gz
--2022-11-19 17:35:52--  http://ftp.gnu.org/pub/gnu/libiconv/libiconv-1.14.tar.gz
正在解析主机 ftp.gnu.org (ftp.gnu.org)... 209.51.188.20, 2001:470:142:3::b
正在连接 ftp.gnu.org (ftp.gnu.org)|209.51.188.20|:80... 已连接。
已发出 HTTP 请求,正在等待回应... 200 OK
长度:4984397 (4.8M) [application/x-gzip]
正在保存至: “libiconv-1.14.tar.gz”

100%[===============================================>] 4,984,397   1.98MB/s 用时 2.4s

2022-11-19 17:36:00 (1.98 MB/s) - 已保存 “libiconv-1.14.tar.gz” [4984397/4984397])
3.3 安装依赖软件libiconv
[root@localhost soft]# tar -zxvf libiconv-1.14.tar.gz
[root@localhost libiconv-1.14]# cd libiconv-1.14/
[root@localhost libiconv-1.14]# ./configure --prefix=/usr/local/libiconv
make 报错
In file included from progname.c:26:0:
./stdio.h:1010:1: 错误:‘gets’未声明(不在函数内)
 _GL_WARN_ON_USE (gets, "gets is a security hole - use fgets instead");
 ^
make[2]: *** [progname.o] 错误 1
make[2]: 离开目录“/root/soft/libiconv-1.14/srclib”
make[1]: *** [all] 错误 2
make[1]: 离开目录“/root/soft/libiconv-1.14/srclib”
make: *** [all] 错误 2
解决办法:
vi srclib/stdio.h

注释
//_GL_WARN_ON_USE (gets, "gets is a security hole - use fgets instead");
重新make
make install
3.4 安装php软件
[root@localhost soft]# wget https://www.php.net/distributions/php-5.5.32.tar.gz
[root@localhost soft]# tar -zxvf php-5.5.32.tar.gz
安装依赖软件
[root@localhost ~]# yum install epel-release
root@localhost ~]# yum -y install  libmcrypt libmcrypt-devel mcrypt mhash
防止报错配置文件
[root@localhost lib64]# ln -s /mysql/app/mysql/lib/libmysqlclient.so.20 /usr/lib64

[root@localhost soft]# cd php-5.5.32/
[root@localhost php-5.5.32]# touch ext/phar/phar.phar
配置php
./configure \
--prefix=/application/php-5.5.32 \
--with-mysql=mysqlnd \
--with-pdo-mysql=mysqlnd \
--with-iconv-dir=/usr/local/libiconv \
--with-freetype-dir \
--with-jpeg-dir \
--with-png-dir \
--with-zlib \
--with-libxml-dir=/usr \
--enable-xml \
--disable-rpath \
--enable-bcmath \
--enable-shmop \
--enable-sysvsem \
--enable-inline-optimization \
--with-curl \
--enable-mbregex \
--enable-fpm \
--enable-mbstring \
--with-mcrypt \
--with-gd \
--enable-gd-native-ttf \
--with-openssl \
--with-mhash \
--enable-pcntl \
--enable-sockets \
--with-xmlrpc \
--enable-soap \
--enable-short-tags \
--enable-static \
--with-xsl \
--with-fpm-user=www \
--with-fpm-group=www \
--enable-ftp \
--enable-opcache=no
创建软连接
[root@localhost ~]# ln -s /application/php-5.5.32/ /application/php
复制参数文件:
[root@localhost ~]# cp /root/soft/php-5.5.32/php.ini-production /application/php/lib/php.ini
[root@localhost php-5.5.32]#  cd /application/php/etc/
[root@localhost etc]# cp php-fpm.conf.default php-fpm.conf
修改参数文件:
[root@localhost lib]# vi php.ini

将
;session.save_path = "/tmp"
改为:
session.save_path = "/tmp"
启动php
[root@localhost ~]# /application/php/sbin/php-fpm
[root@localhost ~]# netstat -ntlp | grep 9000
tcp 0 0 127.0.0.1:9000 0.0.0.0:* LISTEN 2562/php-fpm: maste
3.5 nginx与php建立连接关系
备份nginx配置文件:
[root@localhost ~]# cd /application/nginx/conf
[root@localhost conf]# ls
fastcgi.conf            koi-utf             nginx.conf           uwsgi_params
fastcgi.conf.default    koi-win             nginx.conf.default   uwsgi_params.default
fastcgi_params          mime.types          scgi_params          win-utf
fastcgi_params.default  mime.types.default  scgi_params.default
[root@localhost conf]# cp nginx.conf nginx.conf.bak
修改server的内容:
server {
listen 80;
server_name localhost;
location / {
root html;
index index.php index.html index.htm;
}
location ~* .*\.(php|php5)?$ {
root html;
fastcgi_pass 127.0.0.1:9000;
fastcgi_index index.php;
include fastcgi.conf;
}
}
重启nginx服务:
-t 参数是检查配置
[root@localhost sbin]# ./nginx  -t
nginx: the configuration file /application/nginx-1.10.2/conf/nginx.conf syntax is ok
nginx: configuration file /application/nginx-1.10.2/conf/nginx.conf test is successful
[root@localhost sbin]# ./nginx  -s reload
编写php文件测试:
[root@localhost ~]# cd /application/nginx/html/
[root@localhost html]# ls
50x.html  index.html
[root@localhost html]# echo "<?php echo '<p>Hello World</p>'; ?>" >test.php
测试页面
[root@localhost ~]# curl http://192.168.43.10/test.php
<p>Hello World</p>[root@localhost ~]#

四、部署wordpress
4.1 下载wordpress
下载地址:https://cn.wordpress.org
4.2 上传解压
[root@localhost soft]# tar -zxvf wordpress-4.7.3-zh_CN.tar.gz
[root@localhost soft]# mv wordpress /application/nginx/html/
4.3 修改权限
[root@localhost soft]# cd /application/nginx/html/
[root@localhost html]# chow -R www.www  wordpress/
4.4 数据库创建用户
mysql> create user 'wordpress'@'%';
Query OK, 0 rows affected (0.02 sec)

mysql> grant all privileges on *.* to 'wordpress'@'%' identified by 'wordpress';
Query OK, 0 rows affected, 1 warning (0.01 sec)
4.5 创建数据库
mysql> create database workpress;
Query OK, 1 row affected (0.07 sec)
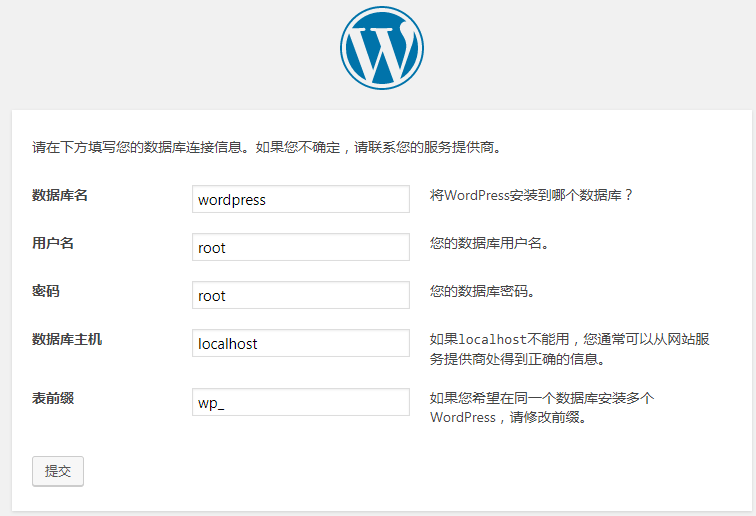
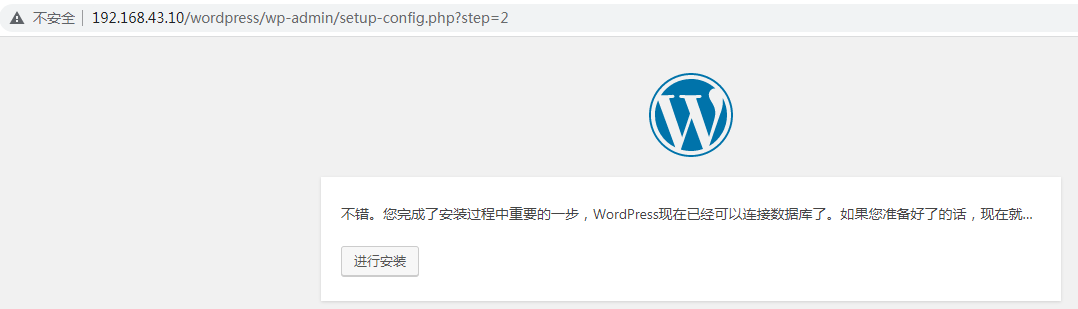
4.6 打开界面,开始安装
http://192.168.43.10/wordpress/index.php


参考资料:
https://www.bilibili.com/video/BV18z4y1R7pQ?p=7&spm_id_from=pageDriver&vd_source=a152087dca674715707126502292f55b
https://www.cnblogs.com/clsn/p/8025324.html

 浙公网安备 33010602011771号