
uni-app 中使用组件
在uni-app中,可以通过创建一个后缀名为vue的文件,即创建一个组件成功,其他组件可以将该组件通过impot的方式导入,在通过components进行注册即可
使用方式和生命周期跟vue一样,具体参考
使用:https://www.cnblogs.com/makalochen/p/13870097.html
单文件组件:https://cn.vuejs.org/v2/guide/single-file-components.html#ad
生命周期:https://cn.vuejs.org/v2/api/#选项-生命周期钩子
这里给出一个示例
基本使用示例
创建组件
创建test组件,在component中新建test.vue文件,内容如下
<template>
<view>
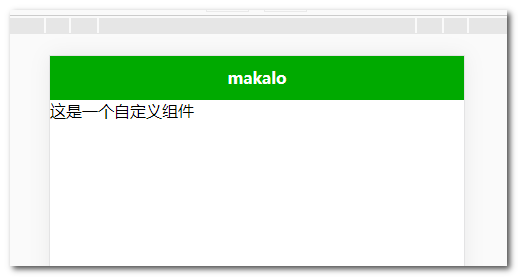
这是一个自定义组件
</view>
</template>
<script>
</script>
<style>
</style>
其他组件中导入该组件并注册和使用
导入
import test from '../../components/test.vue';
注册
comments:{
	test : test
}
使用
<test></test>
完整示例
<template>
	<view>
		<test></test>
	</view>
</template>
<script>
	import test from '../../components/test.vue';

	export default{
		components:{
			test:test
		}
	}
</script>
<style>
</style>
效果
组件之间传值
https://cn.vuejs.org/v2/guide/components-props.html
父组件给子组件传值
https://cn.vuejs.org/v2/guide/components-props.html#传递静态或动态-Prop
组件定义中,通过props来接受外界传递到组件内部的值
<template>
<view>
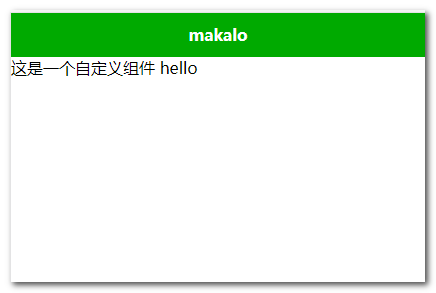
这是一个自定义组件 {{msg}}
</view>
</template>
<script>
export default {
props: ['msg']
}
</script>
<style>
</style>
其他组件在使用test组件的时候,使用属性绑定,传递值
<template>
	<view>
		<!-- 属性绑定 -->
		<test :msg="msg"></test>
	</view>
</template>

<script>
	import test from "../../components/test.vue"
	export default {
		data() {
			return {
				msg: 'hello'
			}
		},
		//组件注册
		components: {
			test
		}
	}
</script>
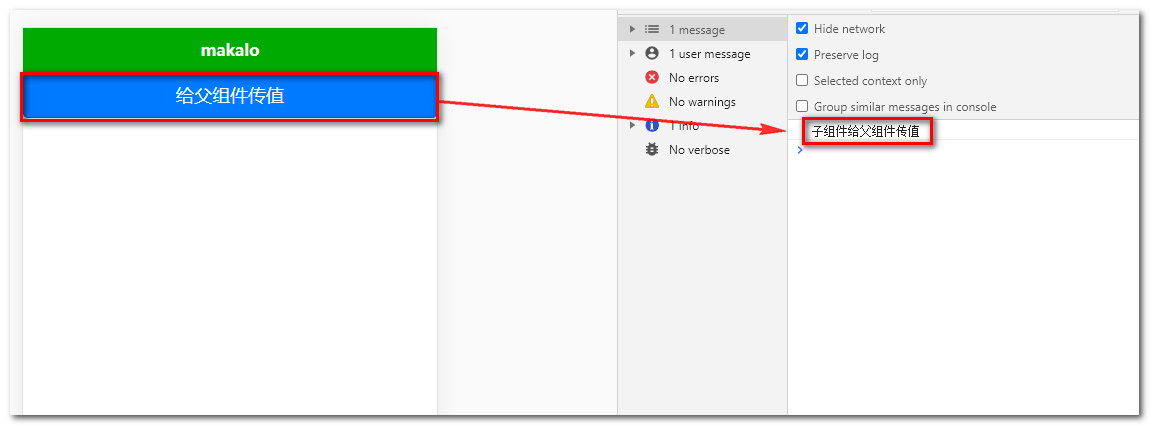
子组件给父组件传值
https://cn.vuejs.org/v2/guide/components.html#监听子组件事件
定义组件通过$emit触发事件进行传递参数
<template>
	<view>
		<button type="primary" @click="sendMsg">给父组件传值</button>
	</view>
</template>

<script>
	export default {
		data () {
			return {
				status: '子组件给父组件传值'
			}
		},
		methods: {
			sendMsg () {
				this.$emit('myEvent',this.status)
			}
		}
	}
</script>
父组件中定义自定义事件并接收参数
<template>
	<view>
		<test @myEvent="getMsg"></test>
	</view>
</template>
<script>
	import test from "../../components/test.vue"
	export default {
		methods: {
			getMsg (res) {
				console.log(res)
			}
		},

		components: {test}
	}
</script>
兄弟组件之间的传值
uni-app的页面通讯
https://uniapp.dcloud.io/collocation/frame/communication
vue的实现
https://cn.vuejs.org/v2/api/#实例方法-事件
这里因为是uni-app,所以还是使用uni-app官方的
定义a组件
<template>
	<view>
		这是a组件:<button @click="addNum">修改b组件的数据</button>
	</view>
</template>

<script>
	export default {
		data() {
			return {

			};
		},
		methods: {
			addNum () {
				//触发全局的updateNum事件
				uni.$emit('updateNum',10);
			}
		}
	}
</script>

<style>

</style>
定义b组件
<template>
	<view>
		这是b组件的数据:{{num}}
	</view>
</template>

<script>
	export default {
		data() {
			return {
				num: 0
			};
		},
		//组件创建的时候触发
		created(){
			//监听全局的updateNum事件
			uni.$on('updateNum', num => {
				this.num += num
			})
		}
	}
</script>

<style>

</style>

实现了点击修改b组件数据的功能
