Smarty基本应用
Smarty框架的优点就不用多说,本文只讨论Smarty框架的搭建和使用
准备工作:先下载Smarty(本文用的是Smarty-3.0b8)
开发环境:WIN 7+ EasyPHP 5.3.0
一、 基本环境搭建步骤:
1. 将下载到的压缩包中lib文件夹复制到你网站目录下,然后起个你自己的名字,如:smarty(我在根目录下创建了一个test目录,就把smarty放在test下);
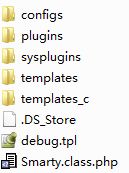
2. 在smarty目录下创建3个文件夹:
templates:存放模板文件
templates_c:存放编译后的文件
configs:存放配置文件(可不创建)
\www\test\smarty目录的结果如:
3. 在test目录下创建index.php文件,代码如:
 代码
代码

<?php
require_once('smarty/Smarty.class.php');//引入smarty类文件
$smarty = new Smarty;
$smarty->template_dir='smarty/templates';
$smarty->compile_dir='smarty/templates_c';
$smarty->config_dir='smarty/configs/';
$smarty->cache_dir='smarty/cache/';
$smarty->assign('title','测试标题');
$smarty->assign('content','HELLO,地球');//给模板中的变量赋值
$smarty->display('index.tpl');//模板文件
?>
4. 在smarty目录下的templates目录下创建一个模板文件index.tpl,代码如:
<html>
<head>
<title>{$title}</title>
</head>
<body>
{$content}
</body>
</html>
<head>
<title>{$title}</title>
</head>
<body>
{$content}
</body>
</html>
注意变量名要和php文件中的一致,并且要用{}括起来
5. 在浏览器中访问:http://127.0.0.1/test/如果发现显示了“HELLO,地球 ”说明全部配置正确
二、留言本实例:
通过上面的准备,我们从留言本实例开始着手(某位大师的话:学习语言最佳实践就是写留言本,反复的写,反反复复的写)
1. 留言列表页面,效果如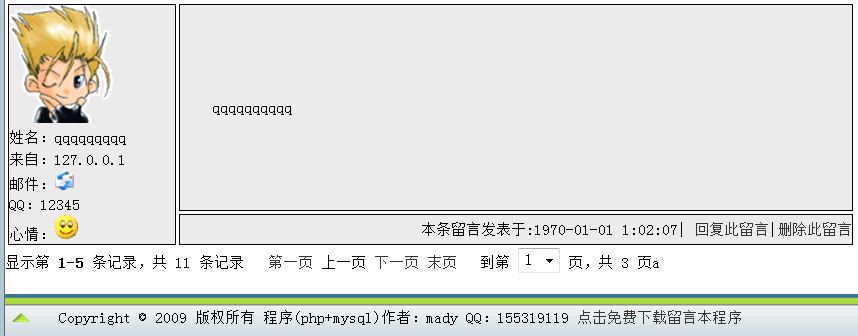
模板编写主要代码如下:
代码
<!-- 留言内容循环开始 -->
{section name=n loop=$arr}
<div>姓名:{$arr[n].G_Author}</div>
<div>来自:{$arr[n].G_IP}</div>
<div>邮件:<a href="mailto:{$arr[n].G_email}"></div>
<div>心情:<img border=0 src=images/face/face{$arr[n].G_FellingId}.gif></div>
本条留言发表于:{date("Y-m-d G:i:s",$arr[n].G_IP)}
/section}
<!-- 留言内容循环结束 -->
{section name=n loop=$arr}
<div>姓名:{$arr[n].G_Author}</div>
<div>来自:{$arr[n].G_IP}</div>
<div>邮件:<a href="mailto:{$arr[n].G_email}"></div>
<div>心情:<img border=0 src=images/face/face{$arr[n].G_FellingId}.gif></div>
本条留言发表于:{date("Y-m-d G:i:s",$arr[n].G_IP)}
/section}
<!-- 留言内容循环结束 -->
使用到了模板的循环,PHP部分代码如:
代码
while ($item=mysql_fetch_array($result))
{
$array[] = array("G_ID"=>$item['G_ID'],"G_Content"=>$item['G_Content'],'G_Author'=>$item['G_Author'],'G_AddTime'=>$item['G_AddTime'],…… ……
}
$smarty->assign("arr",$array);
$smarty->display('index.htm');
unset($array);
{
$array[] = array("G_ID"=>$item['G_ID'],"G_Content"=>$item['G_Content'],'G_Author'=>$item['G_Author'],'G_AddTime'=>$item['G_AddTime'],…… ……
}
$smarty->assign("arr",$array);
$smarty->display('index.htm');
unset($array);
使用数组传递全部数据到模板,这个就是最复杂的部分了,其他的如登陆,发表等界面只需要接收参数进行数据库操作即可。
学习代码下载/Files/madyina/GuestBook_smarty.rar

 浙公网安备 33010602011771号