Vue笔记(六):路由(vue-router)
时间:2022/01/17
一.步骤
1.构建一个vue的webpack项目
vue init webpack myvue
2.切换到项目目录并下载npm依赖
cd myvue
npm install
3.在项目中安装vue-router
npm install vue-router --save-dev
4.在src的component目录下编写vue文件(通过路由要加载的vue文件)
Content.vue:
<template>
    <h1>内容页</h1>
</template>
<script>
    export default{
        name: "Content"
    }

</script>
<style scoped>

</style>
Main.vue:
<template>
    <h1>主页</h1>
</template>
<script>
export default {
    name: "Main"
}
</script>
<style scoped>

</style>
4.在src下新建一个router目录,在router目录下新建一个index.js文件(主配置文件),在里面编写路由信息。
import Vue from 'vue'
import VueRouter from 'vue-router'
import Content from '../components/Content'
import Main from '../components/Main'

// 安装路由
Vue.use(VueRouter)

// 配置导出路由,导出VueRouter对象,在VueRouter对象内配置路由
export default new VueRouter({
    routes: [
        {
            path: '/content',
            name: "content",
            // 注意:这里不加双引号
            component: Content
        },
        {
            path: '/main',
            name: "main",
            // 注意:这里不加双引号
            component: Main
        }
    ]
});
5.在入口文件main.js中导入并配置路由信息
需要导入vue-router和编写的路由信息router,然后显示声明使用vue-router,并在Vue对象中使用编写路由信息router。
// The Vue build version to load with the `import` command
// (runtime-only or standalone) has been set in webpack.base.conf with an alias.
import Vue from 'vue'
import App from './App'
// 引入vue-router
import VueRouter from 'vue-router'
// 自动扫描里面的路由配置
import router from './router'

Vue.config.productionTip = false

// 显示声明使用vue-router
Vue.use(VueRouter);

/* eslint-disable no-new */
new Vue({
  el: '#app',
  // 配置路由
  router,
  components: { App },
  template: '<App/>'
})
6.在模版文件App.vue中编写页面
router-link标签起到路由的作用,router-view标签用来显示模版。
<template>
  <div id="app">
    <h1>Vue-Router</h1>
    <router-link to="/content">内容页</router-link>
    <router-link to="/main">首页</router-link>
    <router-view></router-view>
  </div>
</template>

<script>

export default {
  name: 'App',
}
</script>

<style>
#app {
  font-family: 'Avenir', Helvetica, Arial, sans-serif;
  -webkit-font-smoothing: antialiased;
  -moz-osx-font-smoothing: grayscale;
  text-align: center;
  color: #2c3e50;
  margin-top: 60px;
}
</style>
6.运行服务
npm run dev
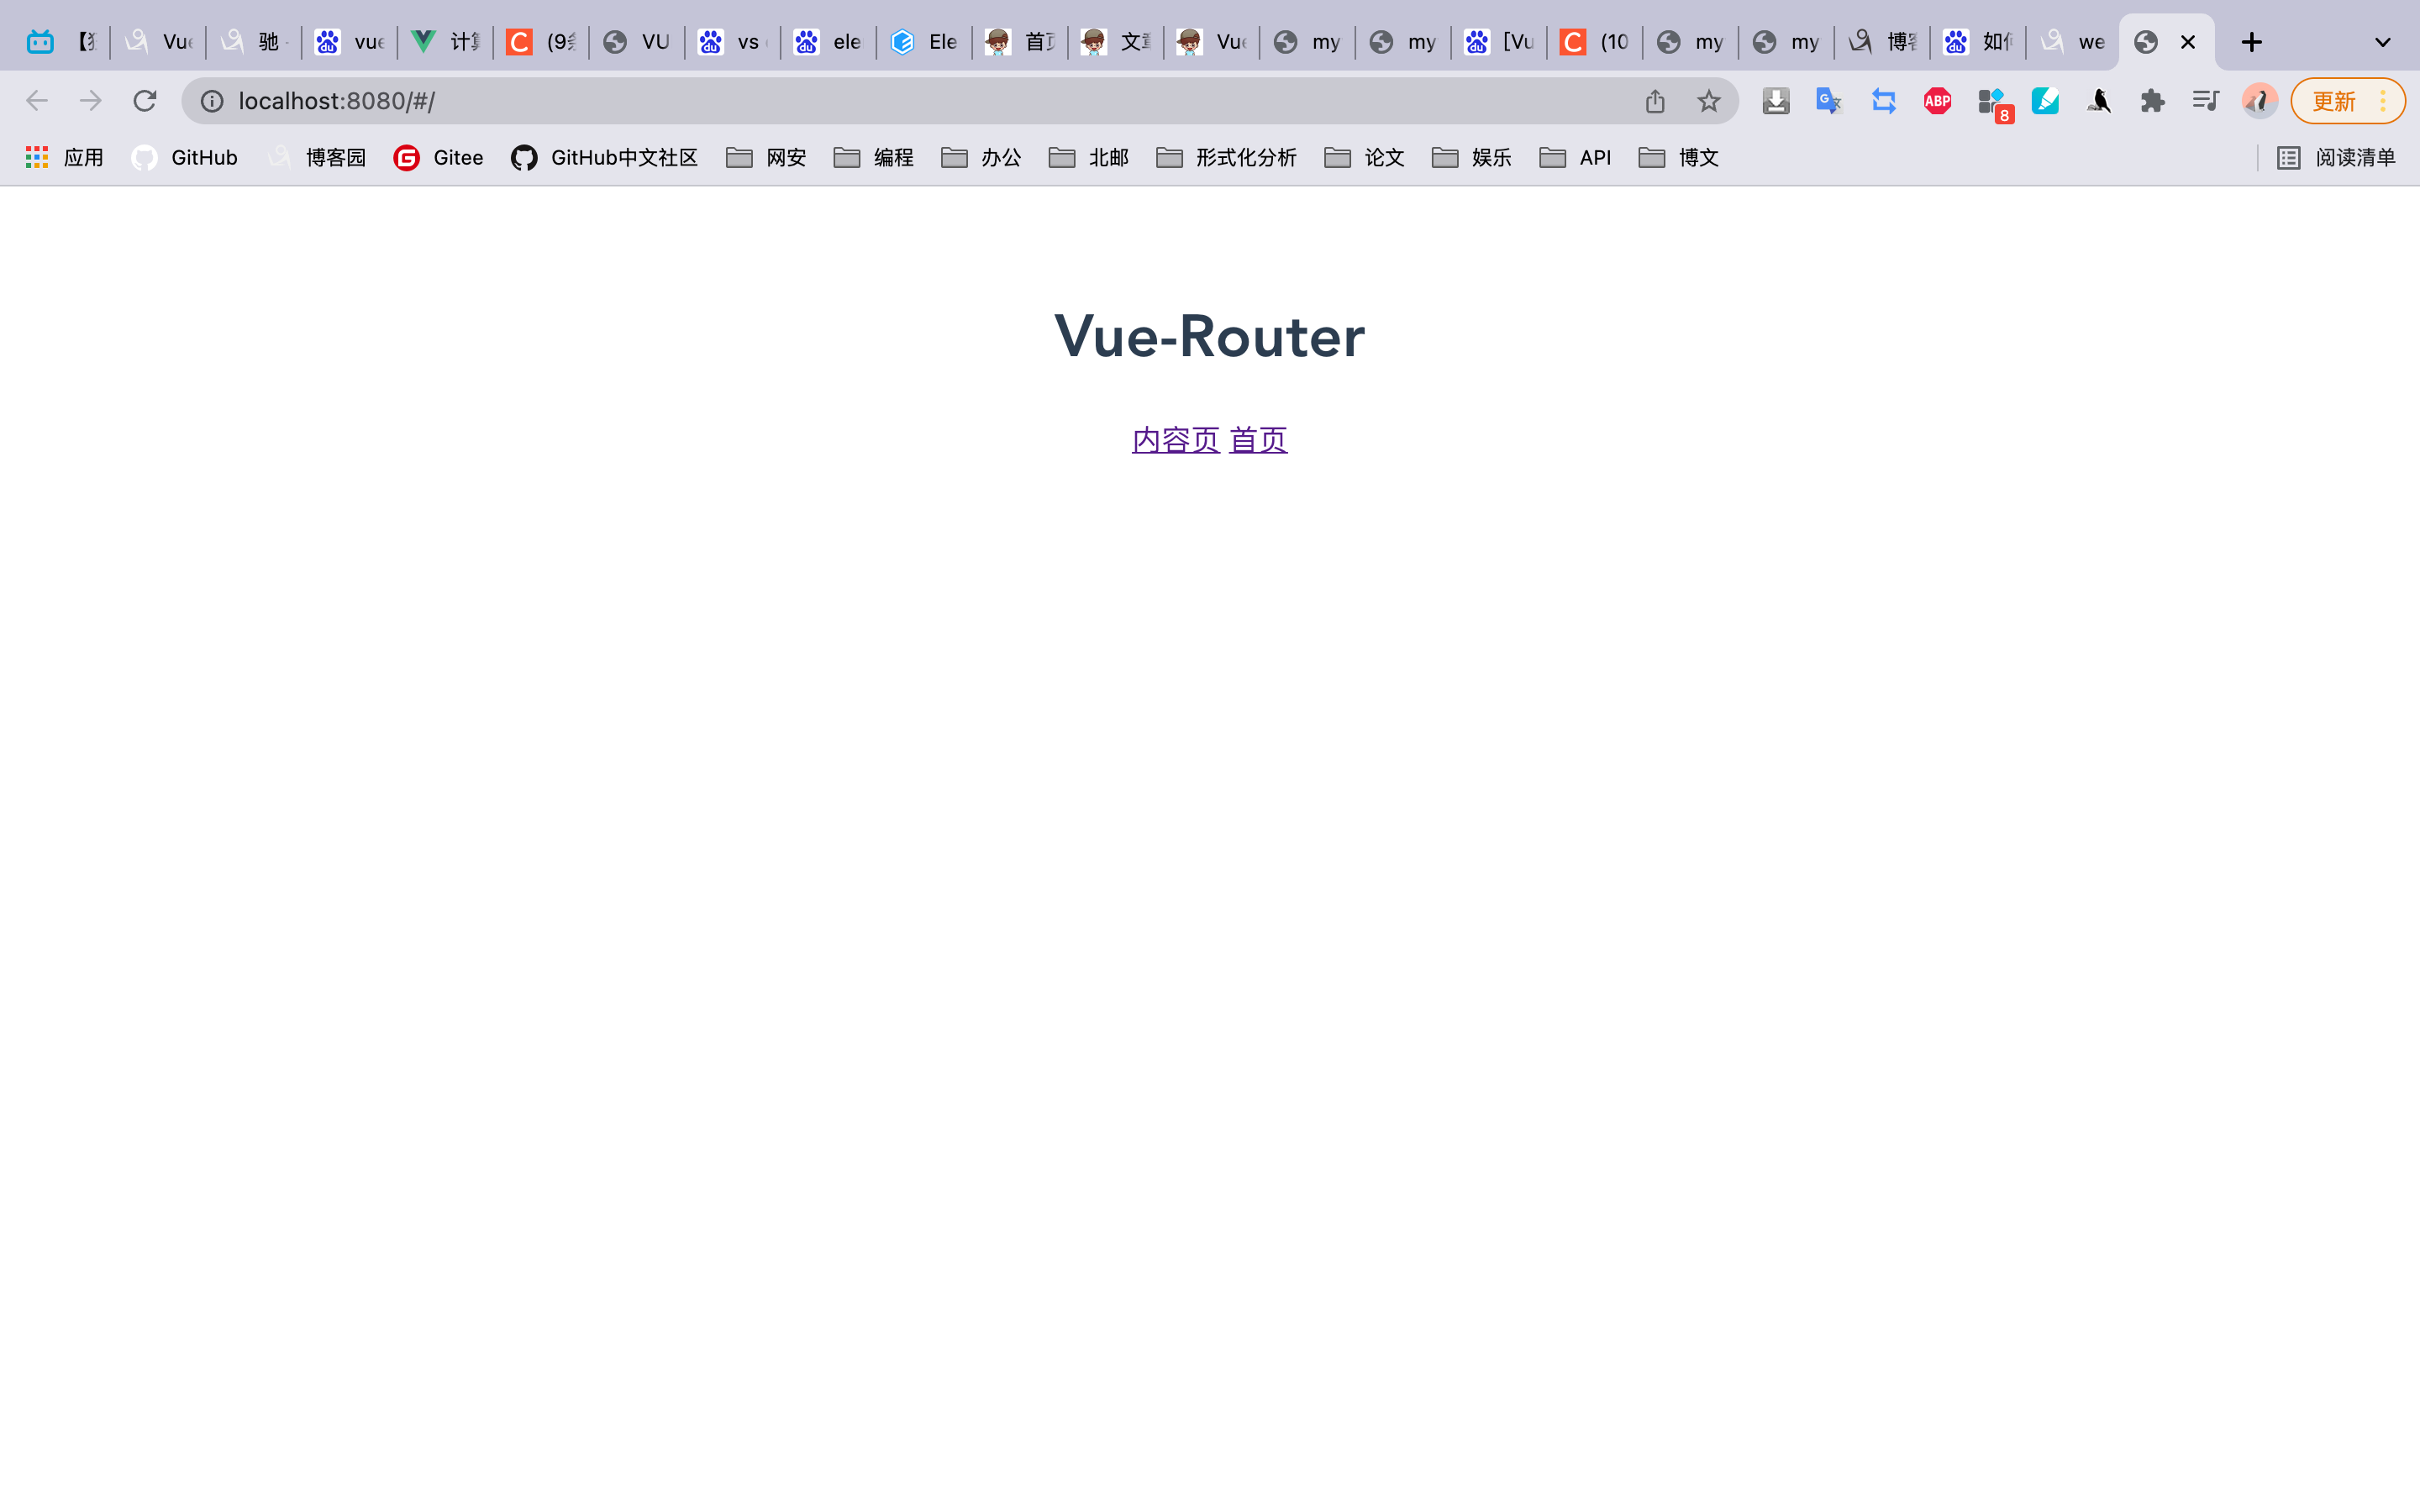
二.效果
1.开始:
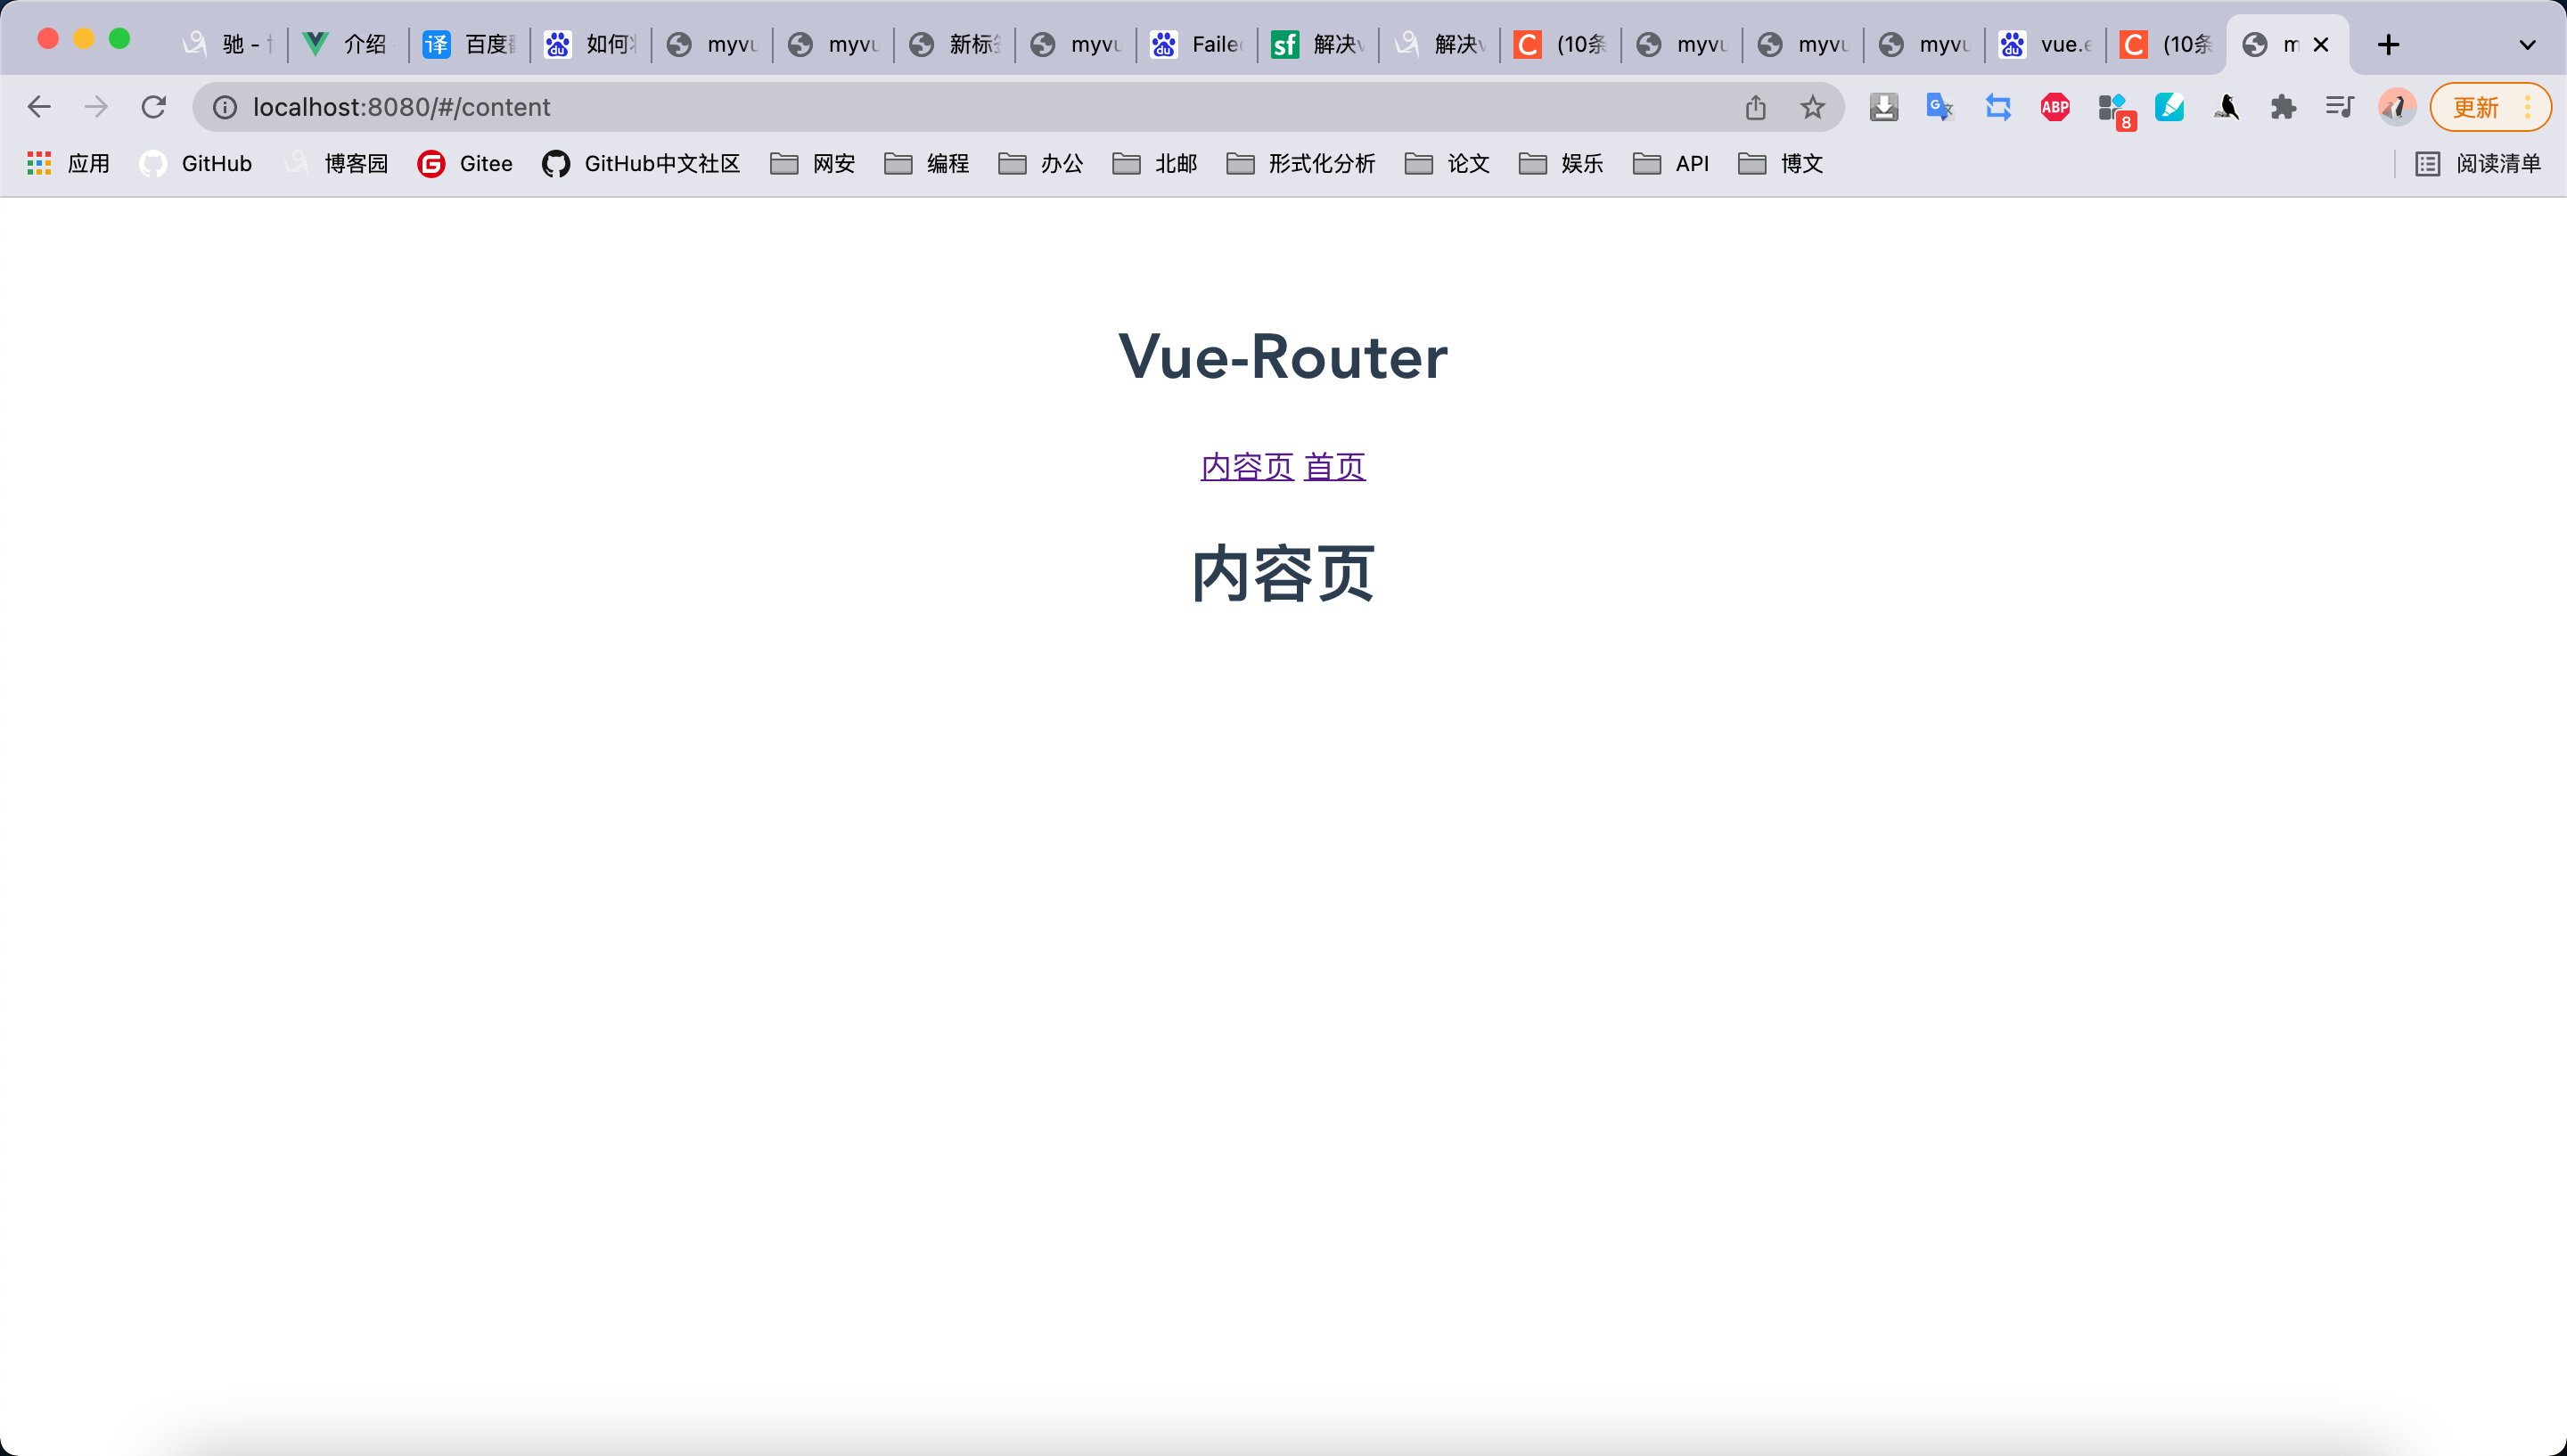
2.点击内容页
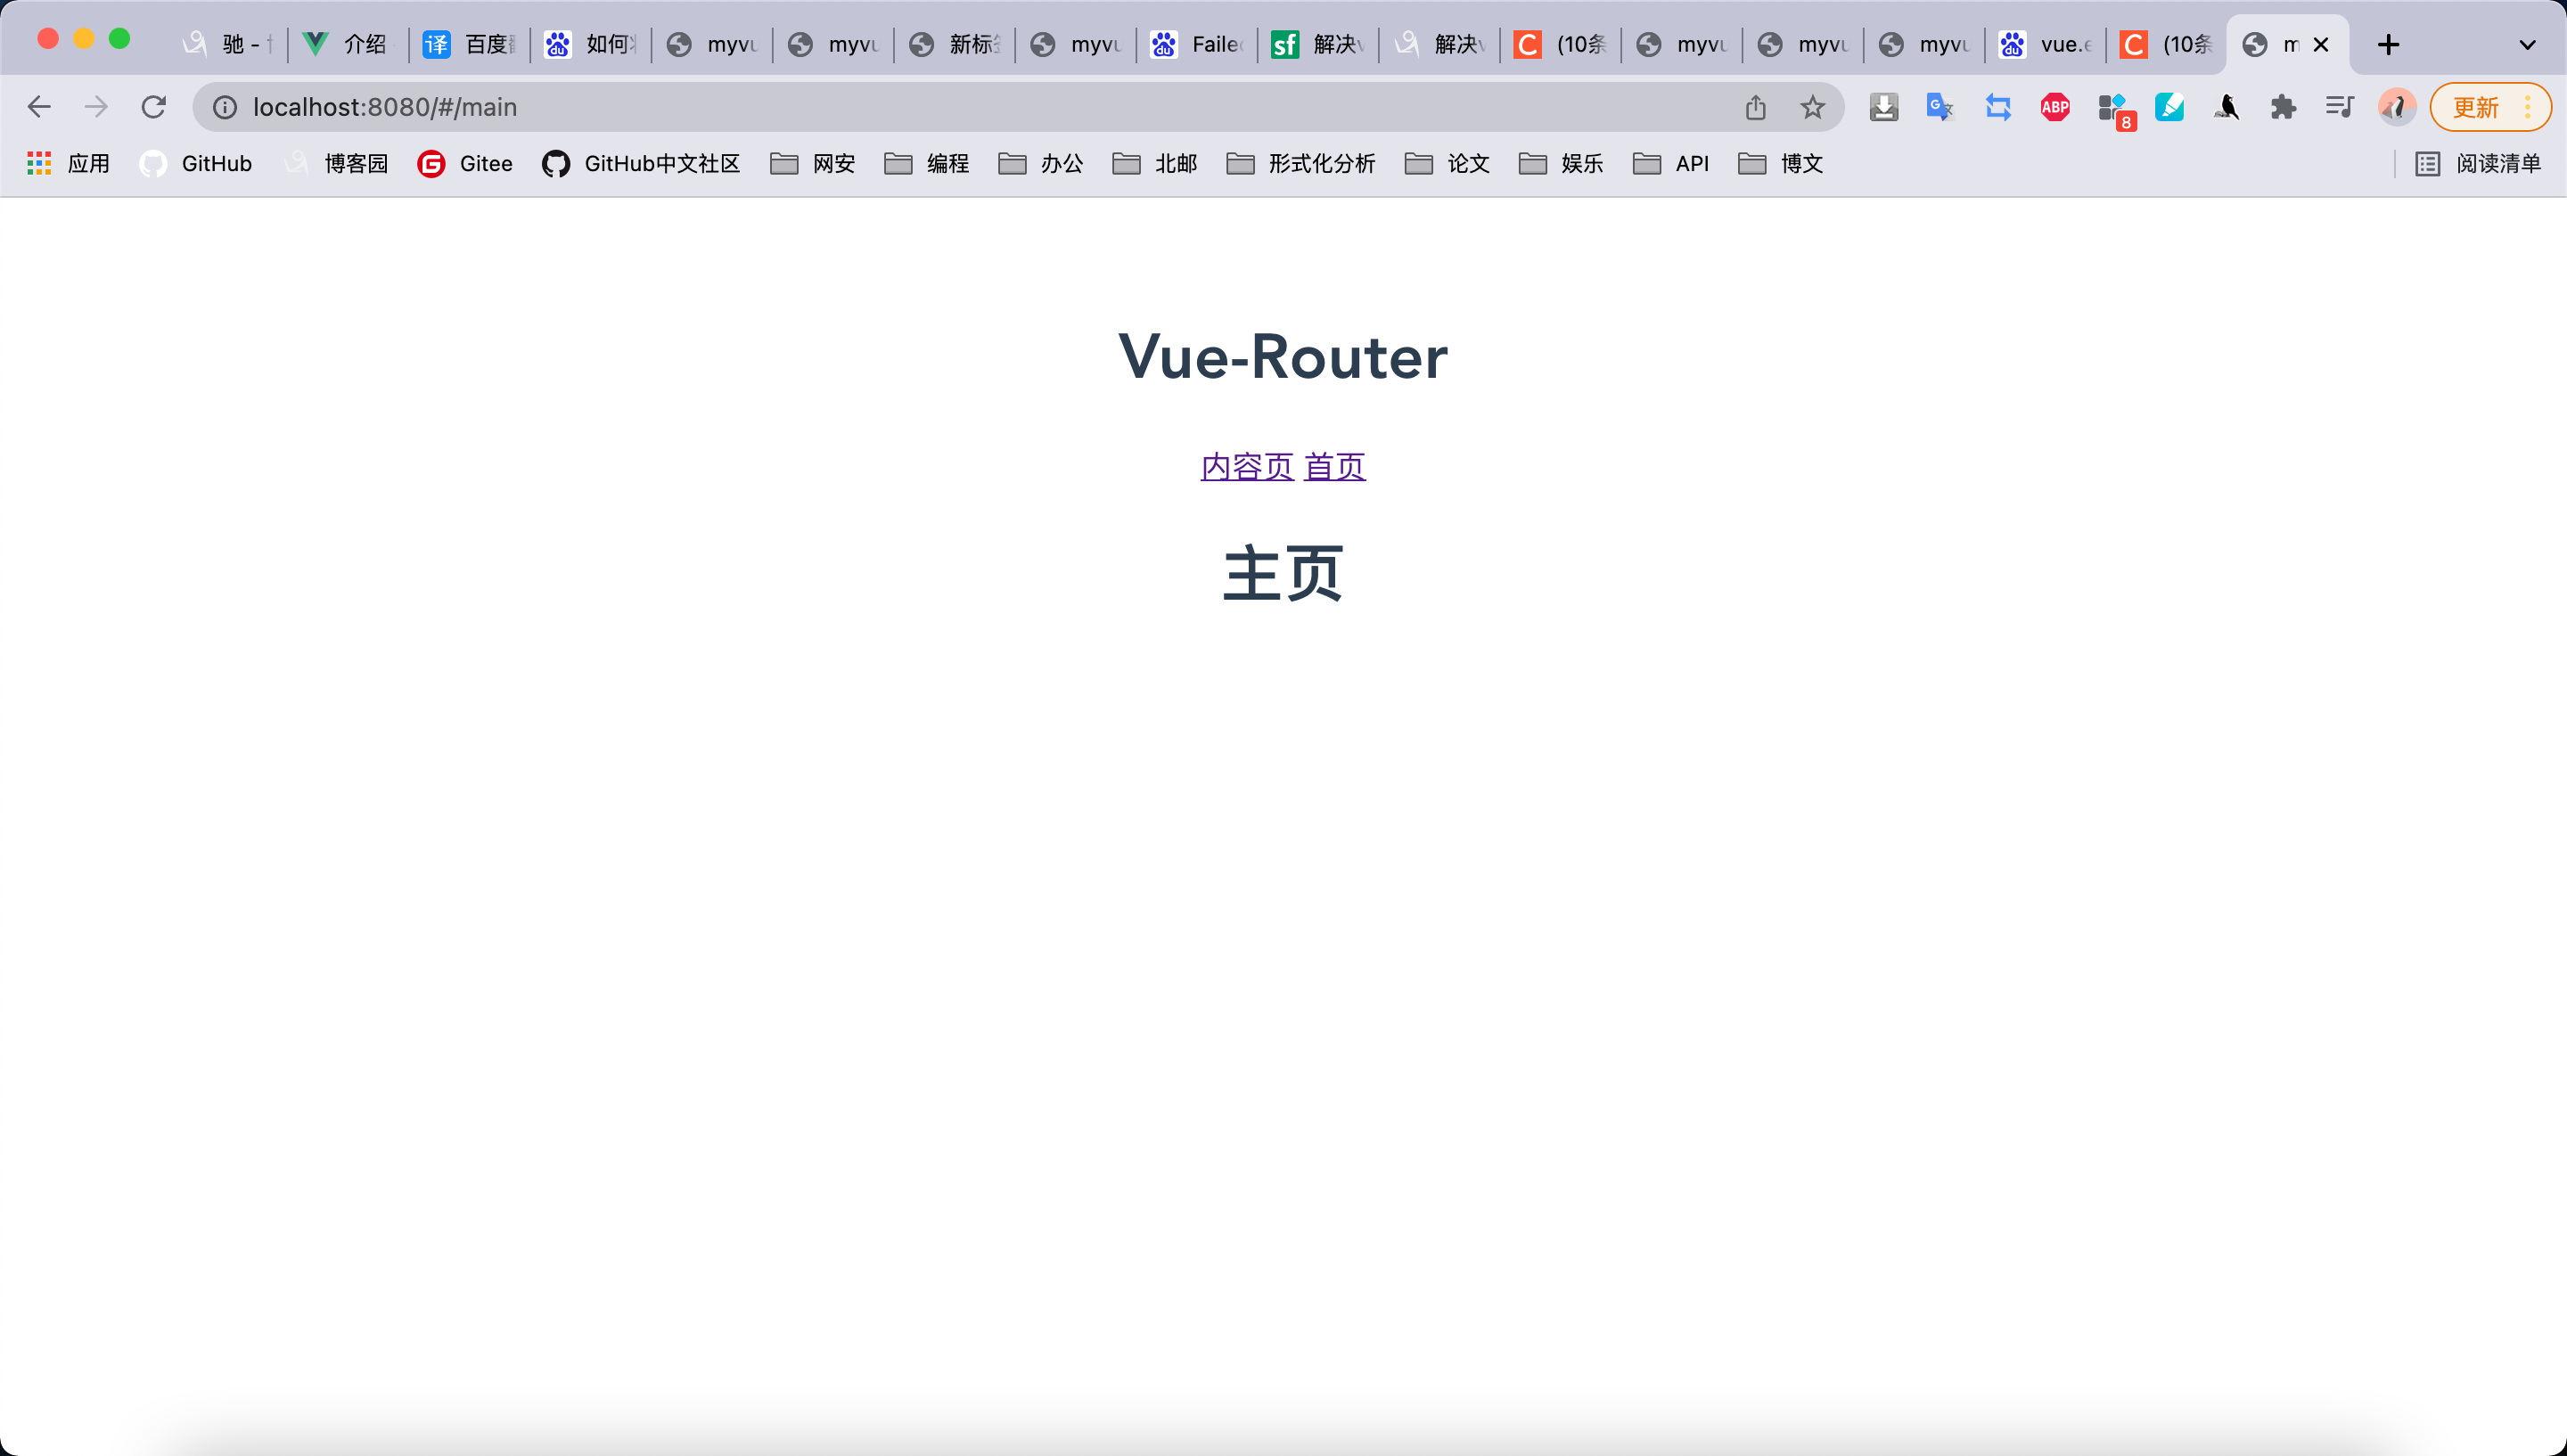
3.点击首页
努力,向上,自律

 浙公网安备 33010602011771号