Springboot2.0 + OAuth2.0之授权码模式
综述:上两回讲了密码模式,应该是浅显易懂。如有补充,不足或者是有误之处还请多多指出。现在重头戏,授权码模式开始。
一、具体操作流程
- 用户访问客户端,后者将前者导向认证服务器,认证服务器返回认证页面(账号密码或者其他认证方式)

- 用户选择是否给予客户端授权。

- 假设用户给予授权,认证服务器将用户导向客户端事先指定的"重定向URI"(redirection URI),同时附上一个授权码。

- 客户端收到授权码,附上早先的"重定向URI",向认证服务器申请令牌。这一步是在客户端的后台的服务器上完成的,对用户不可见。

- 认证服务器核对了授权码和重定向URI,确认无误后,向客户端发送访问令牌(access token)和更新令牌(refresh token)。
二、实践测试
同样是使用上回使用的认证服务器。记得将资源配置注释掉。
(1)在浏览器访问认证服务器获取 code:http://localhost:8001/oauth/authorize?client_id=client&response_type=code&scope=all&redirect_uri=http://www.baidu.com (get), 结果如下:
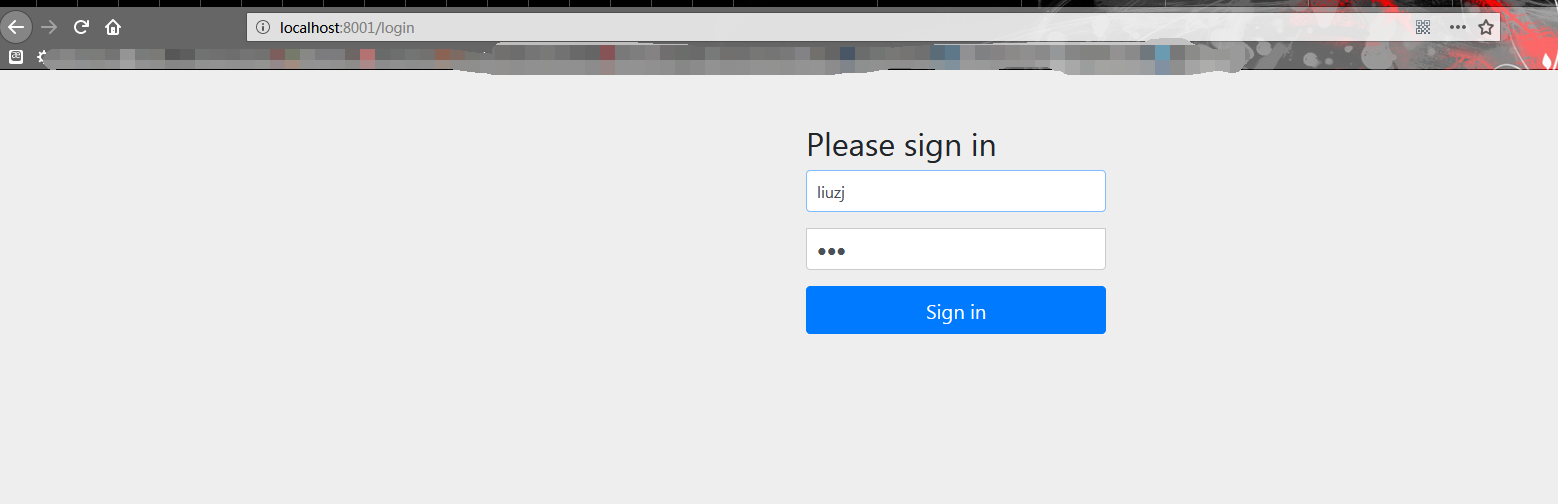
认证服务器会重定向到 login 页面让用户进行登录授权。此时用户输入用户名和密码进行授权。成功之后认证服务器重定向到指定的 url (这里为 www.baidu.com):
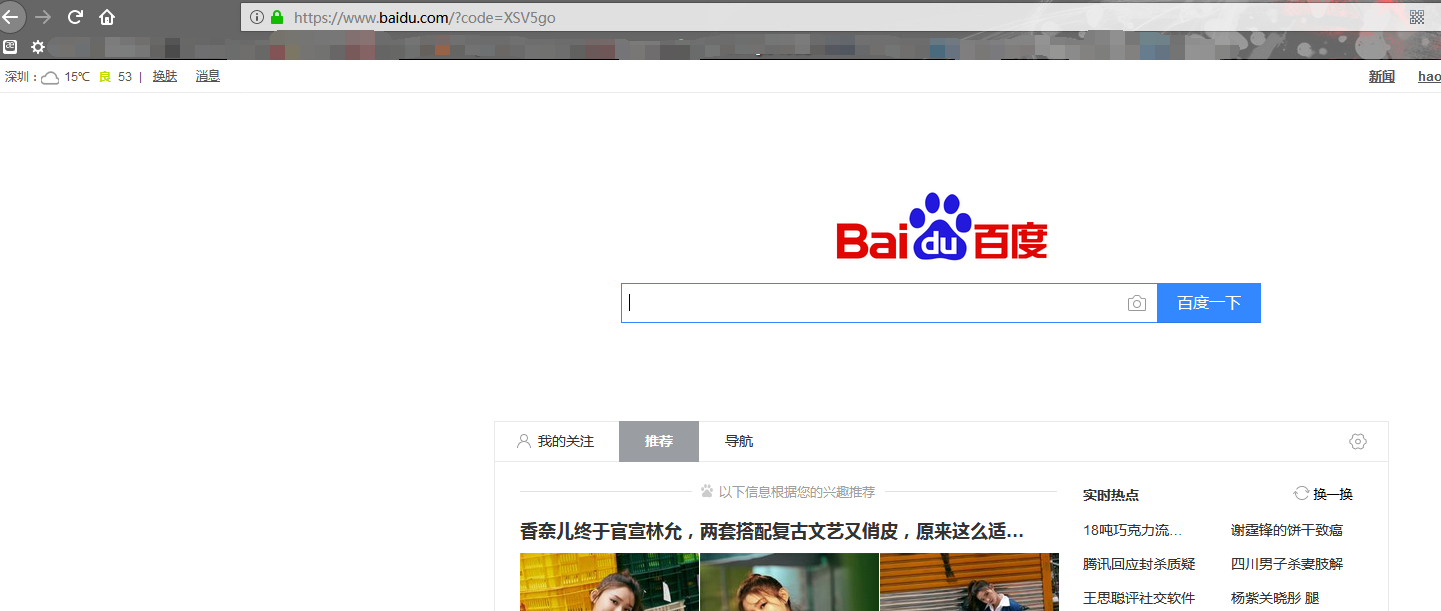
(2)在重定向的 url 后面会带上 code,此时客户端则可以拿这个 code 去换取 token,换取连接:http://localhost:8001/oauth/token?client_id=client&client_secret=123456&grant_type=authorization_code&redirect_uri=http://www.baidu.com&code=AKAQUe (post)

(3)跟上回说的那样,拿到 token 即可访问资源了
问题总结:
(1)Java.io.NotSerializableException Problem (UserDetails的实现类没有实现Serializable接口导致 )
(2)User account is locked (isAccountNonLocked 属性设置为了false,应该设置为true)
(3)解决Spring Security OAuth在访问/oauth/token时候报401 authentication is required(解决参考:https://blog.csdn.net/u012040869/article/details/80140515)
参考资料:
(1)四中模式概述:https://blog.csdn.net/weixin_42033269/article/details/80086422
(2)userDetailsService:https://www.journaldev.com/2736/spring-security-example-userdetailsservice
(3)spring security Oauth 2.0 authentication server example: https://javadeveloperzone.com/spring-boot/spring-security-oauth-2-0-authentication-server/#26_Demo
(4)OAuth2 tables: https://stackoverflow.com/questions/34170281/spring-boot-oauth2-with-jdbc-token-store-gives-oauth-access-token-relation-doesn
(5)授权码模式:https://blog.csdn.net/qq_27828675/article/details/82466599
(6)Spring Boot OAuth2.0密码模式:https://blog.csdn.net/qq_34873338/article/details/80218212
后续:由此史上最简洁Springboot2.0 + OAuth2.0 暂时告一段落。。。

