Springboot运行原理探究
我们之前写的HelloSpringBoot是怎么运行的,Manven项目我们从pom.xml文件探究
1.Pom.xml
1.父依赖
springboot主要依赖一个父项目,主要是管理项目的资源过滤及插件
1 <parent>
2      <groupId>org.springframework.boot</groupId>
3      <artifactId>spring-boot-starter-parent</artifactId>
4      <version>2.3.3.RELEASE</version>
5      <relativePath/> <!-- lookup parent from repository -->
6 </parent>
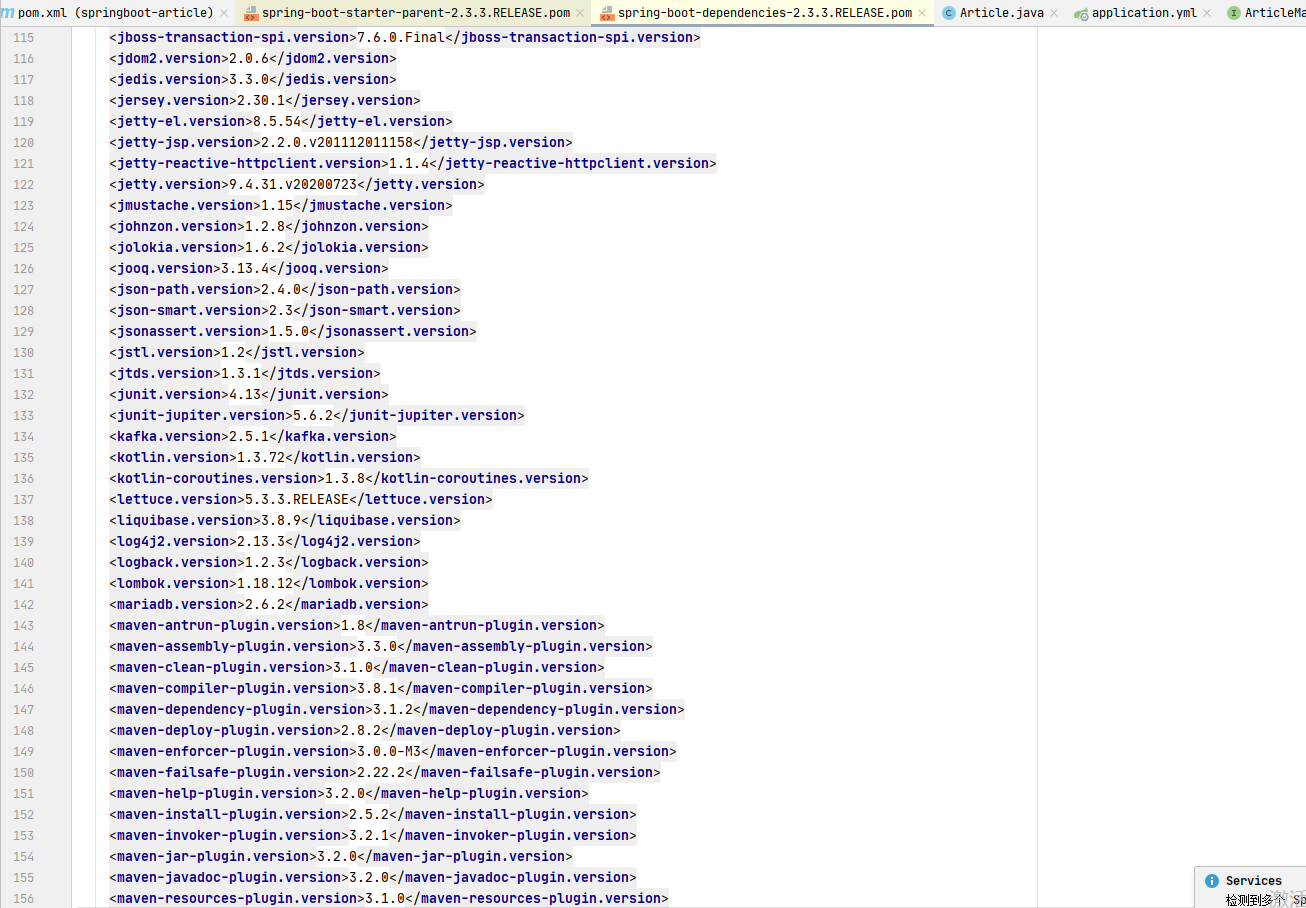
点击去发现还有一个父依赖
1   <parent>
2     <groupId>org.springframework.boot</groupId>
3     <artifactId>spring-boot-dependencies</artifactId>
4     <version>2.3.3.RELEASE</version>
5   </parent>

这才是真正管理springboot应用里面所有依赖版本的地方,springboot的版本控制中心
以后我们导入依赖默认是不需要写版本的,但是如果导入的包没有在依赖中管理,需要手动配置版本。
2.启动器spring-boot-starter
1 <dependency>
2      <groupId>org.springframework.boot</groupId>
3      <artifactId>spring-boot-starter-web</artifactId>
4 </dependency>
springboot-boot-starter-xxx:就是spring-boot的场景启动器
springboot-starter-web:帮我们导入了web模块正常运行所依赖的组件
springboot将所有的功能场景都抽出来,做成一个个的starter(启动器),只需要在项目中引入这些starter即可,所有相关的
依赖都会导入进来,我们要什么功能就导入什么样的场景启动器即可,我们未来也可以自己自定义starter
2.主启动类
1.默认启动类
1 @SpringBootApplication    //@springBootApplication来标注一个主程序类,说明这是一个springboot应用
2 public class Springbootstudy01Application {
3
4     public static void main(String[] args) {
5         SpringApplication.run(Springbootstudy01Application.class, args);  //以为是启动一个方法,没想到启动一个服务
6     }
7
8 }
一个简单的启动类并不简单,我们来分析一下这些注解都是干什么的
2.@SpringBootApplication
作用:标注在某个类上说明这个类是SpringBoot的主配置类,SpringBoot就应该运行这个类的main方法,来启动SpringBoot应用
进入这个注解可以看到其他的许多注解
 1 @Target({ElementType.TYPE})
 2 @Retention(RetentionPolicy.RUNTIME)
 3 @Documented
 4 @Inherited
 5 @SpringBootConfiguration
 6 @EnableAutoConfiguration
 7 @ComponentScan(
 8     excludeFilters = {@Filter(
 9     type = FilterType.CUSTOM,
10     classes = {TypeExcludeFilter.class}
11 ), @Filter(
12     type = FilterType.CUSTOM,
13     classes = {AutoConfigurationExcludeFilter.class}
14 )}
15 )
16 public @interface SpringBootApplication {
17     @AliasFor(
18         annotation = EnableAutoConfiguration.class
19     .......
20     )
3.@ComponentScan
这个注解在Spring很重要,它对应XML配置中的元素
作用:自动扫描并加载符合条件的组件和bean,将这个bean定义加载到IOC容器中
4.@SpringBootConfiguration
作用:SpringBoot的配置类,标注在某个类上,表示这是一个SpringBoot的配置类
进入这个注解
 1 @Target({ElementType.TYPE})
 2 @Retention(RetentionPolicy.RUNTIME)
 3 @Documented
 4 @Configuration
 5 public @interface SpringBootConfiguration {
 6     @AliasFor(
 7         annotation = Configuration.class
 8     )
 9     boolean proxyBeanMethods() default true;
10 }
@configuration说明这个是一个配置类,配置类对应Spring的xml配置文件
点击进入@Configuration
 1 @Target({ElementType.TYPE})
 2 @Retention(RetentionPolicy.RUNTIME)
 3 @Documented
 4 @Component
 5 public @interface Configuration {
 6     @AliasFor(
 7         annotation = Component.class
 8     )
 9     String value() default "";
10
11     boolean proxyBeanMethods() default true;
12 }
@Component说明启动类本身也是Spring中的一个组件而已,负责启动应用
回到SpringBootApplication注解中继续看
5.@EnableAutoConfiguration
@EnableAutoConfiguration:开启自动配置功能
以前我们需要自己配置的东西,现在springboot可以自动帮我们配置
@EnableAutoConfiguration告诉springboot开启自动配置功能,这样自动配置才能生效
点击进入@EnableAutoConfiguration查看
里面有@AutoConfigurationPackage注解,点击查看
@AutoConfigurationPackage:自动配置包
1 @Import(AutoConfigurationPackages.Registrar.class)
2 public @interface AutoConfigurationPackage {
3 ......
4 }
@import:Spring底层注解@import,给容器中导入一个组件
Registrat.class作用:将主启动类的所在包及包下面所有子包里面的所有组件扫描到spring容器
退到上一步继续看
1 @Import(AutoConfigurationImportSelector.class)
2 public @interface EnableAutoConfiguration {
3 ......
4 }
@Import(AutoConfigurationImportSelector.class):给容器导入组件
AutoConfigurationImportSelector:自动配置导入选择器,那么它会导入那些组件的选择器呢?
点击进入AutoConfigurationImportSelector,我们看一下源码:
1 protected List<String> getCandidateConfigurations(AnnotationMetadata metadata, AnnotationAttributes attributes) {
2         List<String> configurations = SpringFactoriesLoader.loadFactoryNames(getSpringFactoriesLoaderFactoryClass(),
3                 getBeanClassLoader());
4         Assert.notEmpty(configurations, "No auto configuration classes found in META-INF/spring.factories. If you "
5                 + "are using a custom packaging, make sure that file is correct.");
6         return configurations;
7     }
代补充....

