Phoenix安装
前言:已经安装了ZK、HADOOP、HBASE
一、下载tar包
http://phoenix.apache.org/download.html
二、安装
1.解压
tar -zxvf phoneix-4.14.0-hbase-1.13.1-bin-tar.gz -C /opt/module/
2.拷贝jar包
将phoenix目录下的phoenix-4.14.0-hbase1.13.1-server.jar、phoenix-core-4.14.0-hbase1.13.1.jar拷贝到各个 hbase的lib目录下。
将hbase的配置文件hbase-site.xml、 hadoop/etc/hadoop下的core-site.xml 、hdfs-site.xml放到phoenix/bin/下,替换phoenix原来的配置文件。
重启hbase集群,使Phoenix的jar包生效。
三、启动服务
1.启动zk (bin/start-zk.sh)
2.启动hadoop (sbin/start-dfs.sh)
3.启动hbase (bin/start-hbase.sh)
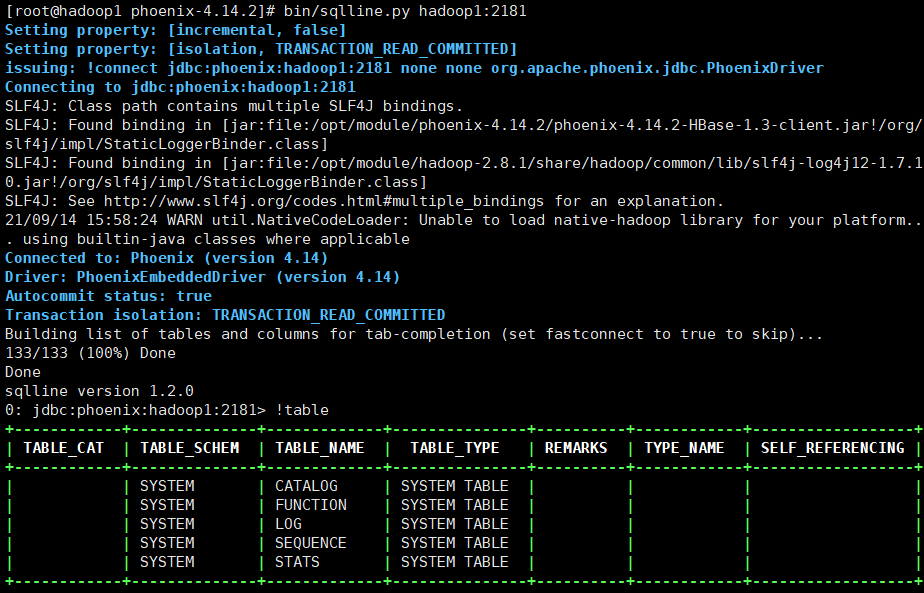
4.启动phoenix
cd /phoenix

bin/sqlline.py hadoop1:2181
四、
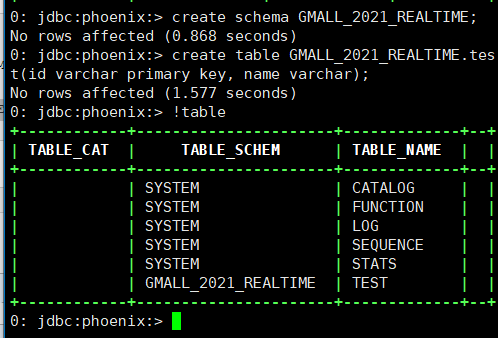
1.查看表
!table
2.退出
!quit
3.创建表
# 创建库
create schema GMALL_2021_REALTIME;
# 创建表
create table GMALL_2021_REALTIME.test(id varchar primary key, name varchar);
五、附件
hbase-site.xml
<?xml version="1.0"?>
<?xml-stylesheet type="text/xsl" href="configuration.xsl"?>
<!--
/**
 *
 * Licensed to the Apache Software Foundation (ASF) under one
 * or more contributor license agreements.  See the NOTICE file
 * distributed with this work for additional information
 * regarding copyright ownership.  The ASF licenses this file
 * to you under the Apache License, Version 2.0 (the
 * "License"); you may not use this file except in compliance
 * with the License.  You may obtain a copy of the License at
 *
 *     http://www.apache.org/licenses/LICENSE-2.0
 *
 * Unless required by applicable law or agreed to in writing, software
 * distributed under the License is distributed on an "AS IS" BASIS,
 * WITHOUT WARRANTIES OR CONDITIONS OF ANY KIND, either express or implied.
 * See the License for the specific language governing permissions and
 * limitations under the License.
 */
-->
<configuration>
    <property>
        <name>hbase.rootdir</name>
        <value>hdfs://hadoop1:9000/hbase</value>
    </property>

    <property>
        <name>hbase.cluster.distributed</name>
        <value>true</value>
    </property>
    <!-- Phoenix配置 -->
    <property>
        <name>phoenix.schema.mapSystemTablesToNamespace</name>
        <value>true</value>
    </property>
    <property>
        <name>phoenix.schema.isNamespaceMappingEnabled</name>
        <value>true</value>
    </property>
    <!-- hbase二级索引配置 -->
    <property>
        <name>hbase.regionserver.wal.codec</name>
        <value>org.apache.hadoop.hbase.regionserver.wal.IndexedWALEditCodec</value>
    </property>
    <!-- 0.98后的新变动,之前版本没有.port,默认端口为60000 -->
    <property>
        <name>hbase.master.port</name>
        <value>16000</value>
    </property>

    <property>
        <name>hbase.zookeeper.quorum</name>
        <value>hadoop1:2181,hadoop2:2181,hadoop3:2181</value>
    </property>

    <property>
        <name>hbase.zookeeper.property.dataDir</name>
        <value>/opt/module/zookeeper-3.4.10/zkData</value>
    </property>
</configuration>
不要为了追逐,而忘记当初的样子。

 浙公网安备 33010602011771号