numpy库和matplotlib库的使用
 1 import matplotlib.pyplot as plt
 2 import numpy as np
 3 x=np.linspace(0,10,100)
 4 y=np.cos(2*np.pi*x)*np.exp(-x)+0.8
 5 plt.plot(x,y,'k',color='r',label="$exp-decay$",linewidth=3)
 6 plt.axis([0,6,0,1.8])
 7 ix=(x>0.8)&(x<3)
 8 plt.fill_between(x,y,where=ix,facecolor='grey',alpha=0.25)
 9 plt.text(0.5*(0.8+3),0.2,r"$\int_a^b f(x)\mathrm{d}x$",horizontalalignment='center')
10 plt.legend()
11 plt.show()
1.带阴影部分的坐标系

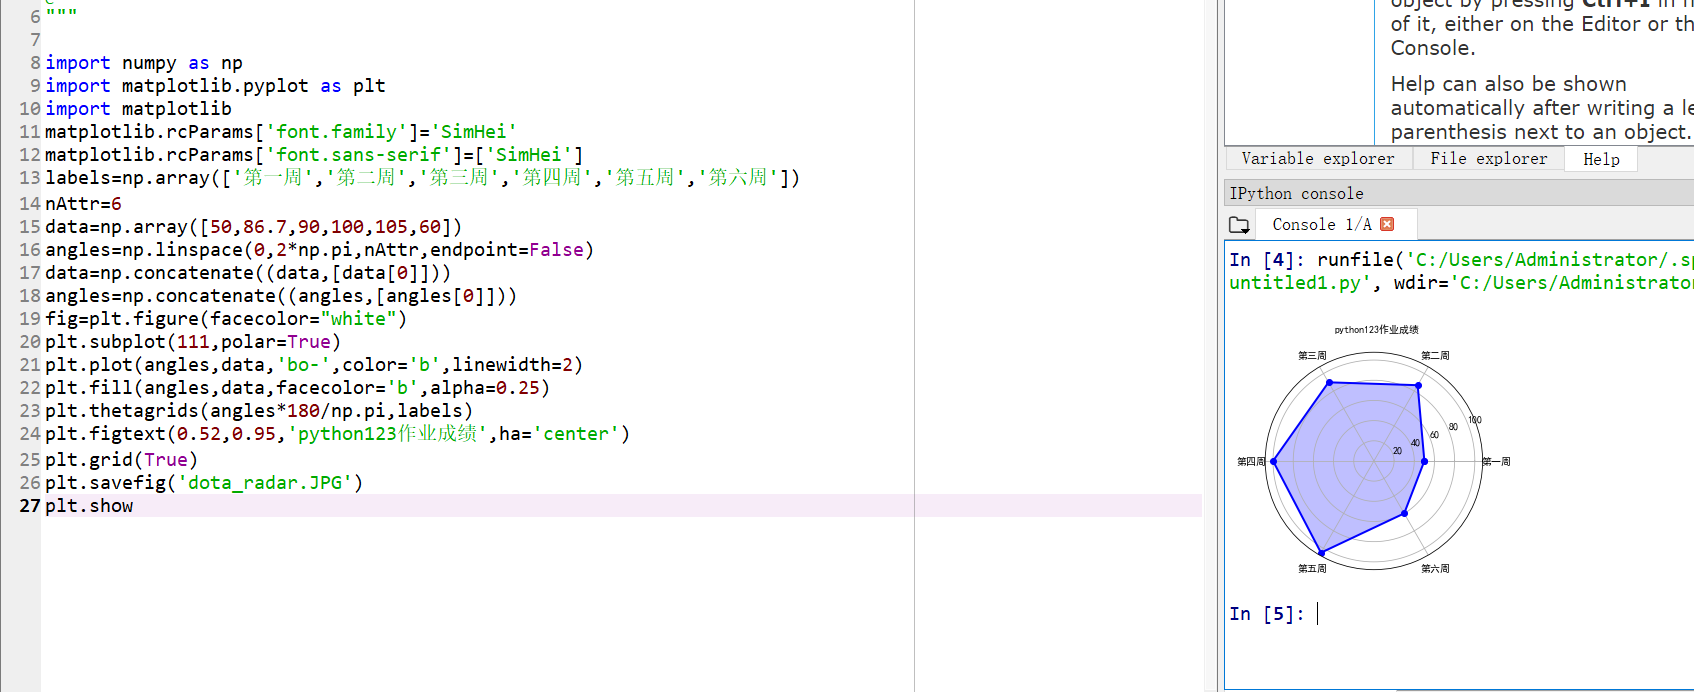
2.成绩雷达图
 1 import numpy as np
 2 import matplotlib.pyplot as plt
 3 import matplotlib
 4 matplotlib.rcParams['font.family']='SimHei'
 5 matplotlib.rcParams['font.sans-serif']=['SimHei']
 6 labels=np.array(['第一周','第二周','第三周','第四周','第五周','第六周'])
 7 nAttr=6
 8 data=np.array([50,86.7,90,100,105,60])
 9 angles=np.linspace(0,2*np.pi,nAttr,endpoint=False)
10 data=np.concatenate((data,[data[0]]))
11 angles=np.concatenate((angles,[angles[0]]))
12 fig=plt.figure(facecolor="white")
13 plt.subplot(111,polar=True)
14 plt.plot(angles,data,'bo-',color='b',linewidth=2)
15 plt.fill(angles,data,facecolor='b',alpha=0.25)
16 plt.thetagrids(angles*180/np.pi,labels)
17 plt.figtext(0.52,0.95,'python123作业成绩',ha='center')
18 plt.grid(True)
19 plt.savefig('dota_radar.JPG')
20 plt.show

3.手绘
 1 from PIL import Image
 2 import numpy as np
 3 vec_el=np.pi/2.2
 4 vec_az=np.pi/4
 5 depth=10
 6 im=Image.open("manhua.jpg").convert('L')
 7 a=np.asarray(im).astype('float')
 8 grad=np.gradient(a)
 9 grad_x,grad_y=grad
10 grad_x=grad_x*depth/100
11 grad_y=grad_y*depth/100
12 dx=np.cos(vec_el)*np.cos(vec_az)
13 dy=np.cos(vec_el)*np.sin(vec_az)
14 dz=np.sin(vec_el)
15 A=np.sqrt(grad_x**2+grad_y**2+1)
16 uni_x=grad_x/A
17 uni_y=grad_y/A
18 uni_z=1/A
19 a2=255*(dx*uni_x+dy*uni_y+dz*uni_z)
20 a2=a2.clip(0,255)
21 im2=Image.fromarray(a2.astype('uint8'))
22 im2.save('shouhui.jpg')


 浙公网安备 33010602011771号