
python+adb+uiautomator2实现无线连接手机设备
一、adb安装与环境配置
具体安装步骤可百度查找,安装配置好之后可以命令查看是否安装成功,如下图情况表示安装成功

二、安装uiautomator2
pip3 install --pre uiautomator2
三、uiautomator2安装成功后使用数据线连接电脑在终端输入如下命令进行初始化,手机(连接多个手机都可以)会统一安装atx 和com.github.uiautomator.test
python3 -m uiautomator2 init
四、wifi连接adb需要tcpip连接模式,所以在数据线连接时我们需要设定端口,使用如下命令(每台手机都需要这样设置,可以写个脚本批量设置也是OK的)
adb tcpip 5566
五、连接测试
手机需要与电脑连接同一个局域网,比如手机连接wifi后ip为 192.168.0.102,使用adb连接手机设备,如下图:

六、连接脚本
import uiautomator2 as u
import os
from devices import getDevicesAll


# 无线连接手机
def wifi_connect_phone():
    devices_list = getDevicesAll()
    # 设置多个手机连接
    adress_list = ['192.168.xxx.xxx:xxxx']
    for ip in adress_list:
        if ip not in devices_list:
          # 给每个手机设定端口
          os.system('adb -s {} tcpip 5566'.format(ip))
          d = u.connect(ip)
          print(d.info)
          print('连接成功!')
        else:
          print('手机已连接,无需重新连接!')


wifi_connect_phone()
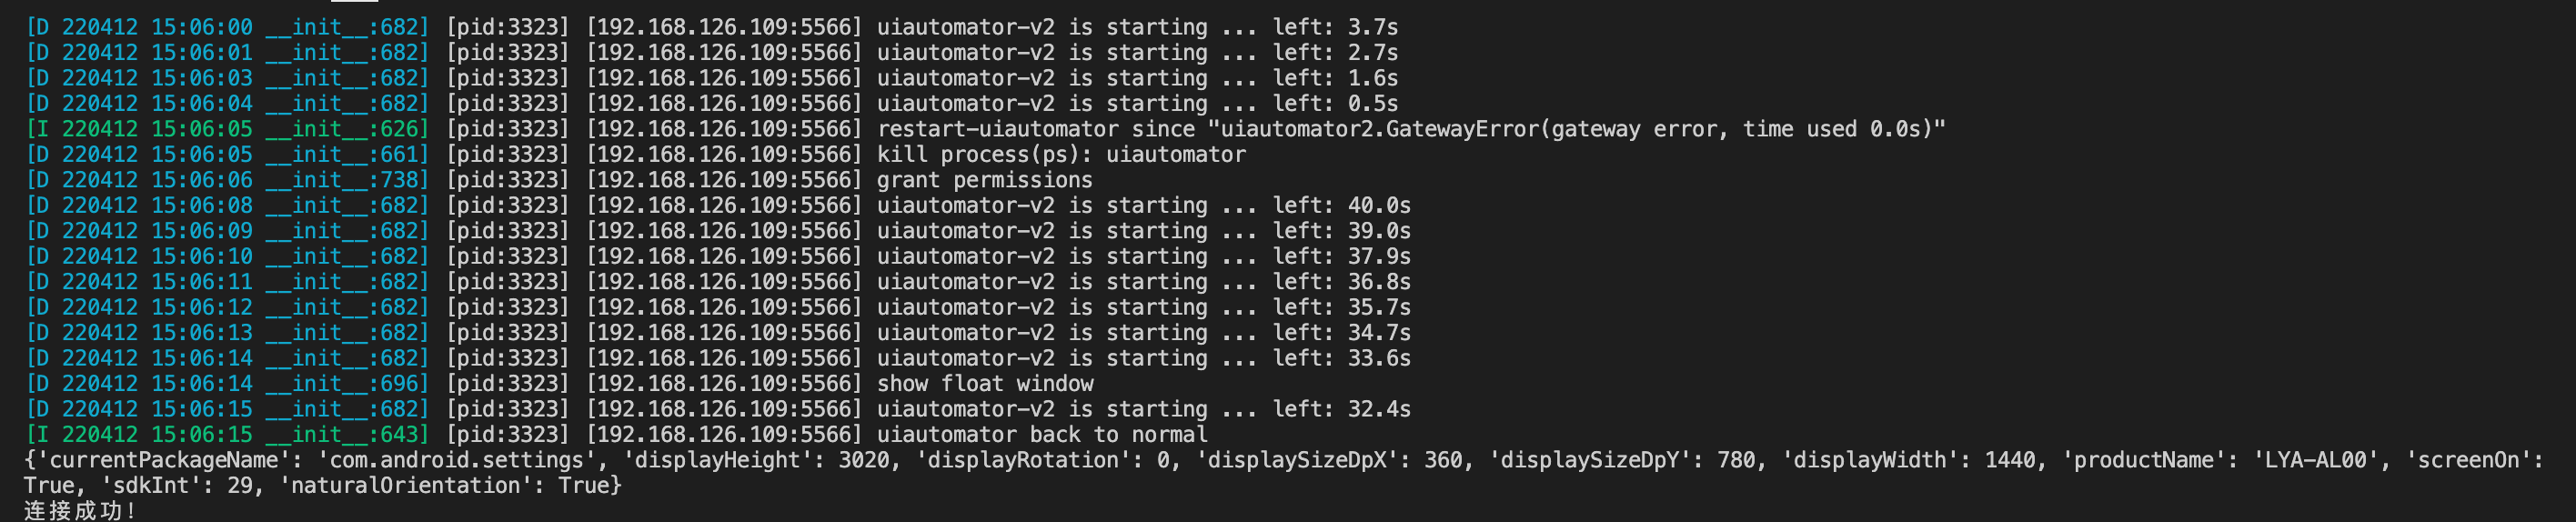
执行结果:

 浙公网安备 33010602011771号