搭建Spring 源码工程
1、下载gradle
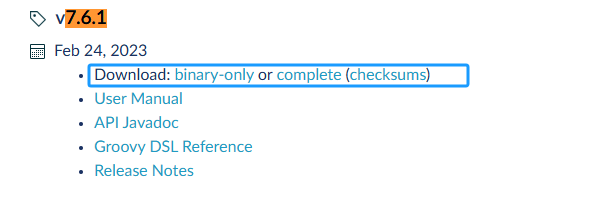
解压到磁盘
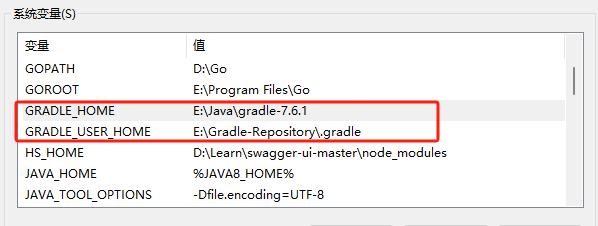
2、配置环境变量
GRADLE_HOME、PATH、GRADLE_USER_HOME 【可以指向安装目录自己创建的。gradle文件夹,这样可以避免自动在系统C盘用户目录下生成gradle文件及下载依赖】
3、配置下载加速(国外则可以忽略此步骤)
因为github下载的源码中maven仓库路径是国外地址,此处可更改为阿里云仓库,gradle编译时下载jar包速度会极大提升
Gradle还是从maven仓库下载的
给gradle安装目录下init.d文件夹,放一个init.gradle文件,内容如下:
1 2 3 4 5 6 7 8 9 10 11 12 13 14 15 16 17 18 19 20 21 22 23 24 25 26 27 28 29 30 31 32 33 34 35 36 37 38 39 40 41 42 43 44 45 46 47 48 49 50 51 52 53 54 55 56 57 58 59 60 61 62 63 64 65 66 67 68 69 70 71 72 73 74 | gradle.projectsLoaded { rootProject.allprojects { buildscript { repositories { def JCENTER_URL = 'https://maven.aliyun.com/repository/jcenter' def GOOGLE_URL = 'https://maven.aliyun.com/repository/google' def NEXUS_URL = 'http://maven.aliyun.com/nexus/content/repositories/jcenter' all { ArtifactRepository repo -> if (repo instanceof MavenArtifactRepository) { def url = repo.url.toString() if (url.startsWith('https://jcenter.bintray.com/')) { project.logger.lifecycle "Repository ${repo.url} replaced by $JCENTER_URL." println("buildscript ${repo.url} replaced by $JCENTER_URL.") remove repo } else if (url.startsWith('https://dl.google.com/dl/android/maven2/')) { project.logger.lifecycle "Repository ${repo.url} replaced by $GOOGLE_URL." println("buildscript ${repo.url} replaced by $GOOGLE_URL.") remove repo } else if (url.startsWith('https://repo1.maven.org/maven2')) { project.logger.lifecycle "Repository ${repo.url} replaced by $REPOSITORY_URL." println("buildscript ${repo.url} replaced by $REPOSITORY_URL.") remove repo } } } jcenter { url JCENTER_URL } google { url GOOGLE_URL } maven { url NEXUS_URL } } } repositories { def JCENTER_URL = 'https://maven.aliyun.com/repository/jcenter' def GOOGLE_URL = 'https://maven.aliyun.com/repository/google' def NEXUS_URL = 'http://maven.aliyun.com/nexus/content/repositories/jcenter' all { ArtifactRepository repo -> if (repo instanceof MavenArtifactRepository) { def url = repo.url.toString() if (url.startsWith('https://jcenter.bintray.com/')) { project.logger.lifecycle "Repository ${repo.url} replaced by $JCENTER_URL." println("buildscript ${repo.url} replaced by $JCENTER_URL.") remove repo } else if (url.startsWith('https://dl.google.com/dl/android/maven2/')) { project.logger.lifecycle "Repository ${repo.url} replaced by $GOOGLE_URL." println("buildscript ${repo.url} replaced by $GOOGLE_URL.") remove repo } else if (url.startsWith('https://repo1.maven.org/maven2')) { project.logger.lifecycle "Repository ${repo.url} replaced by $REPOSITORY_URL." println("buildscript ${repo.url} replaced by $REPOSITORY_URL.") remove repo } } } jcenter { url JCENTER_URL } google { url GOOGLE_URL } maven { url NEXUS_URL } } }} |
即可进行加速下载
4、配置idea整合
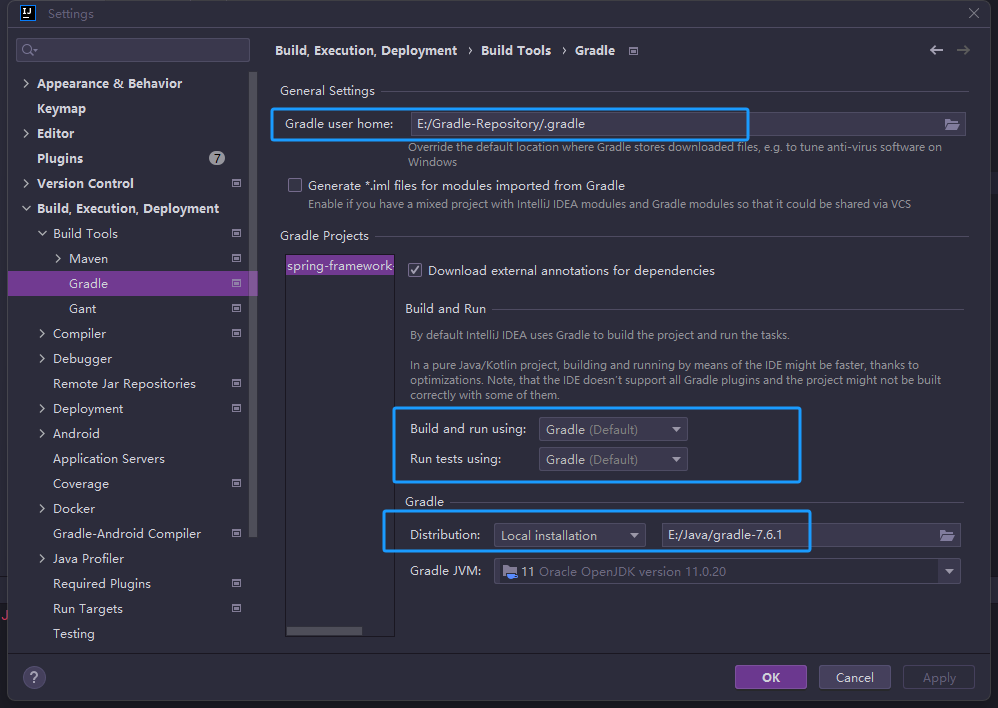
注意:这里有一个坑,此时idea会为源码项目创建工作空间,等待创建完成后会立即开始构建项目,我们不要着急构建项目,还需要在IDEA中为spring源码项目配置gradle和JDK,点击停止按钮打断构建;一定要使用自己本地的gradle,否则会自动去下载默认gradle。
5、下载Spring源码
Spring在github上的仓库地址:https://github.com/spring-projects/spring-framework
Spring在码云上的仓库地址:https://gitee.com/mirrors/spring-framework
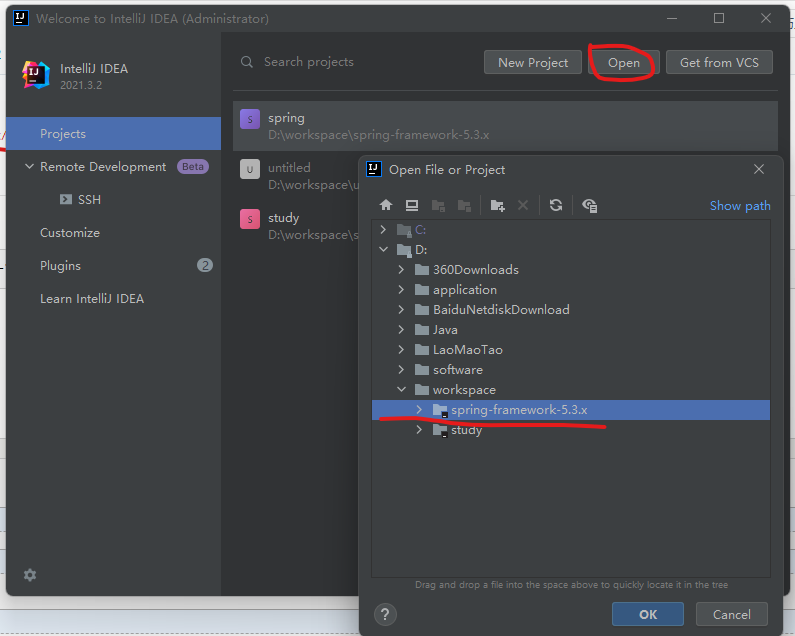
6、将Spring源码导入idea
注意:下载仓库的过程中中断下载可能导致一些插件下载一半,但是重新下载钱必须清空本地仓库的文件,否则会自动跳过这个插件导致环境一致跑步下去。
7、构建Spring源码
7.1、Build(构建)
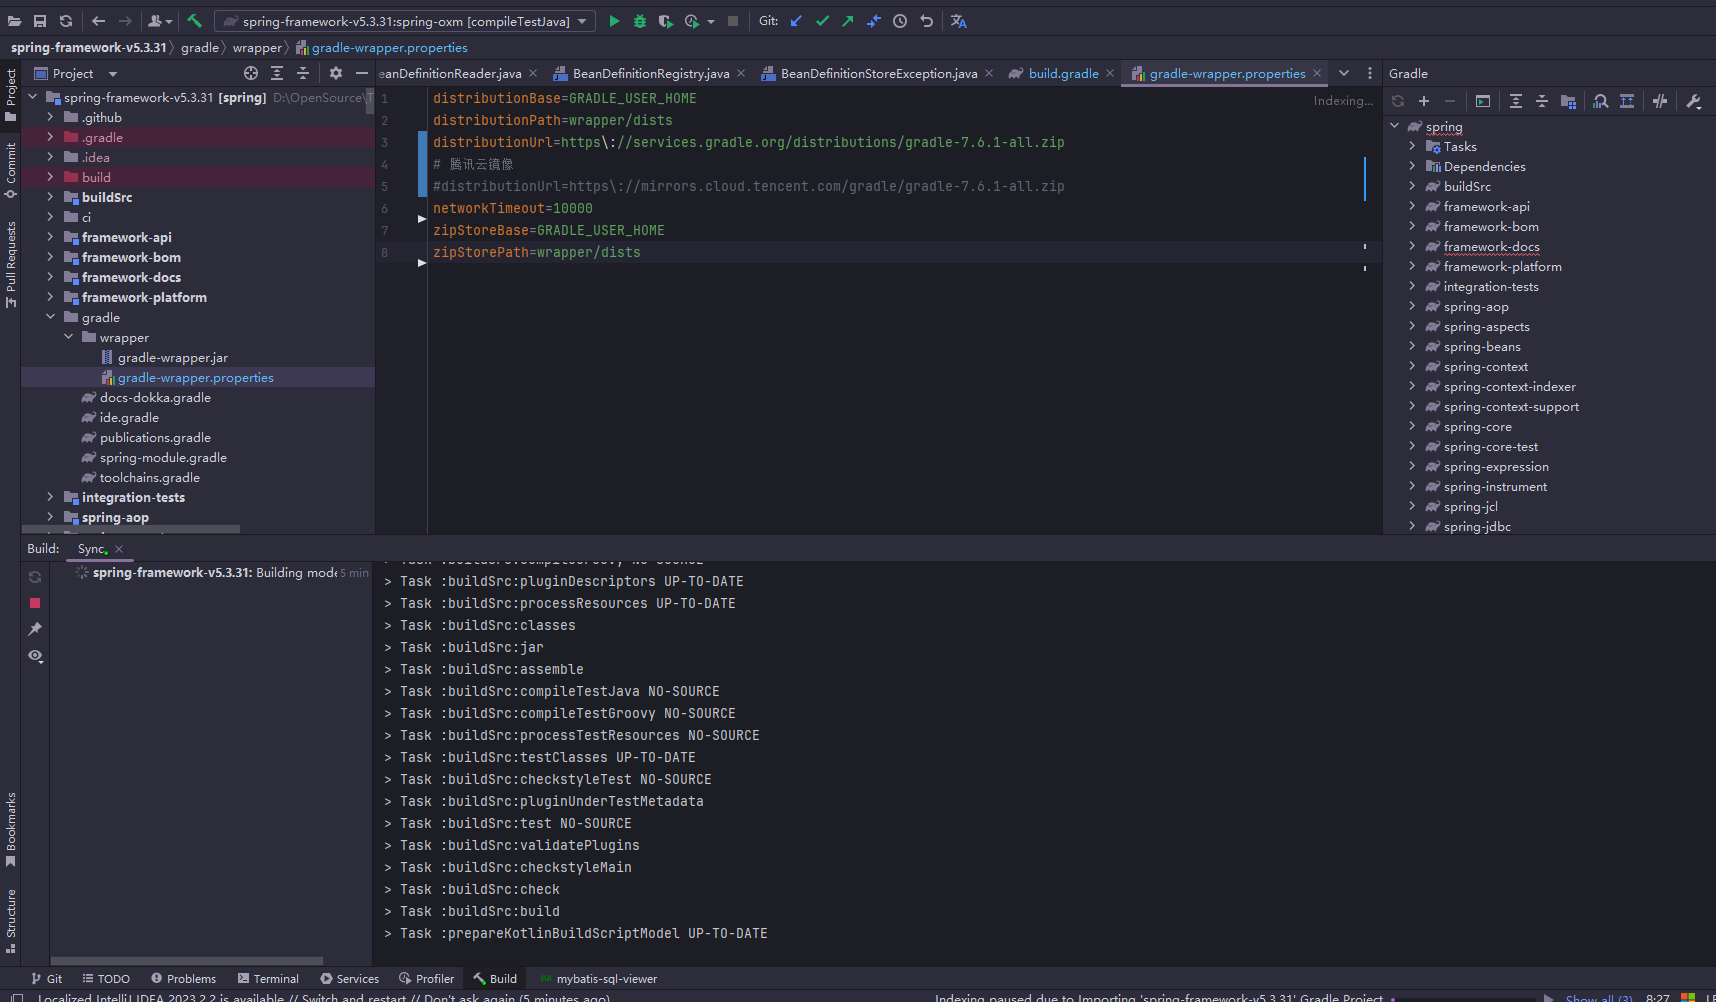
上一步配置完idea中的gradle后,点击确认会自动开始构建,当所有模块build完成后,提示finished表示成功
7.2、编译Spring-oxml模块
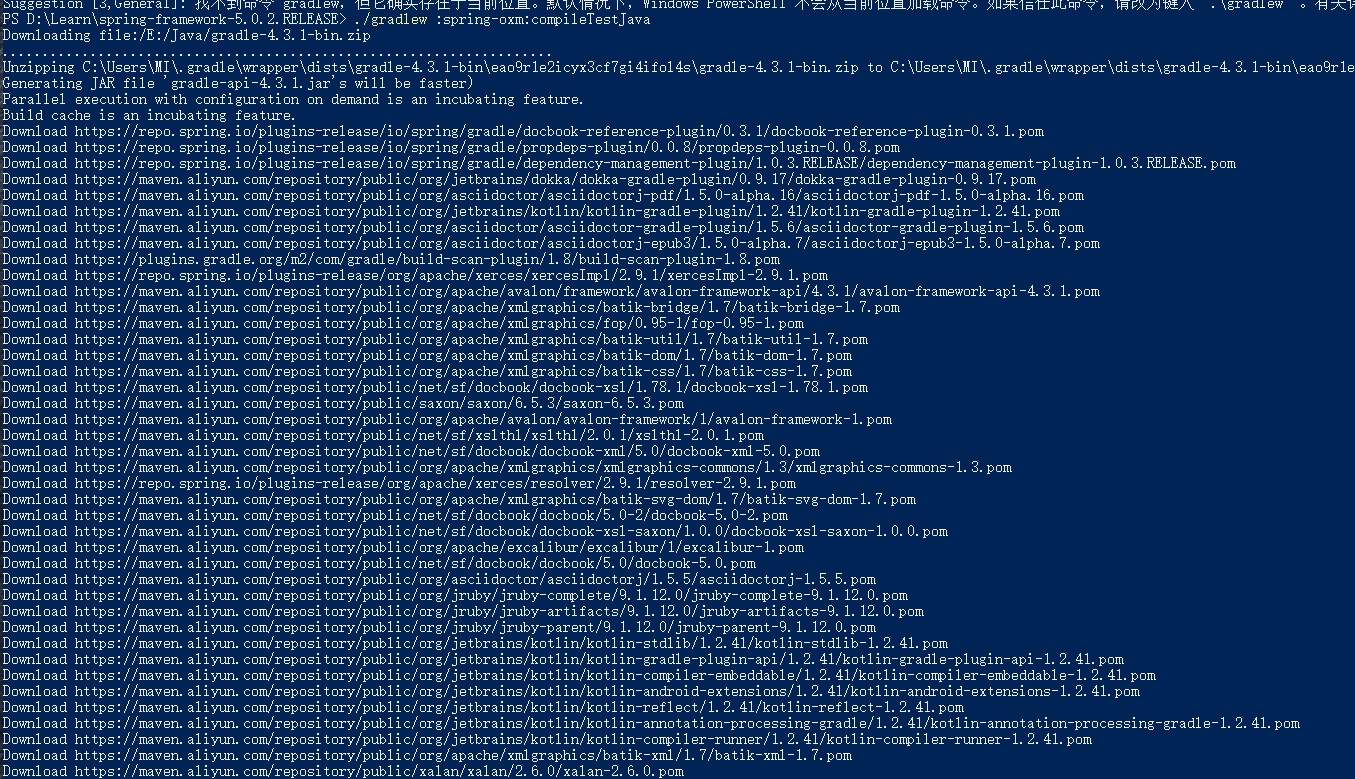
为确保所有模块都构建成功,这里可以参考官方spring源码工程中的 import-into-idea.md文档描述:先编译spring-oxm模块
7.3、预编译 Spring-core
1 | $ ./gradlew :spring-core:compileTestJava |

至此,spring源码编译就成功了


【推荐】国内首个AI IDE,深度理解中文开发场景,立即下载体验Trae
【推荐】编程新体验,更懂你的AI,立即体验豆包MarsCode编程助手
【推荐】抖音旗下AI助手豆包,你的智能百科全书,全免费不限次数
【推荐】轻量又高性能的 SSH 工具 IShell:AI 加持,快人一步
· 25岁的心里话
· 闲置电脑爆改个人服务器(超详细) #公网映射 #Vmware虚拟网络编辑器
· 零经验选手,Compose 一天开发一款小游戏!
· 通过 API 将Deepseek响应流式内容输出到前端
· AI Agent开发,如何调用三方的API Function,是通过提示词来发起调用的吗