OPENCV入门学习(一)--------OPENCV入门实用函数介绍
OPENCV入门学习即opencv基本函数介绍(一)
示例代码以及资源包如下
1、基础功能
imread函数从文件夹中读取图片,imshow函数将图片显示
img = cv.imread('../Resources/Photos/park.jpg')
cv.imshow('Park', img)
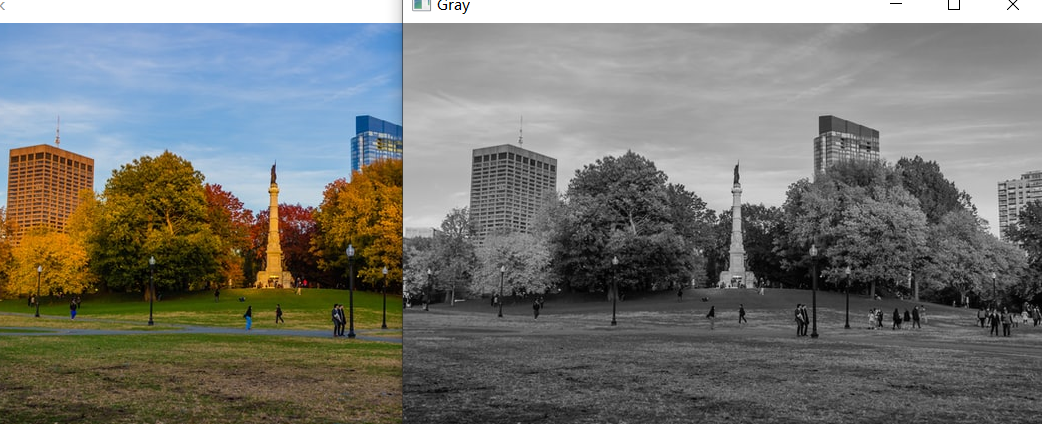
cv.cvtColor(img, cv.COLOR_BGR2GRAY)将img图片转化为灰度图
gray = cv.cvtColor(img, cv.COLOR_BGR2GRAY)
cv.imshow('Gray', gray)
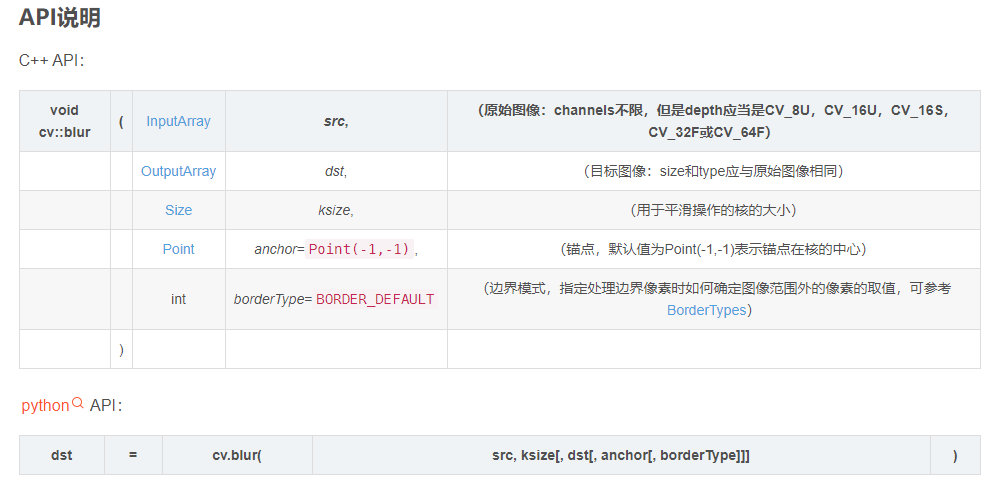
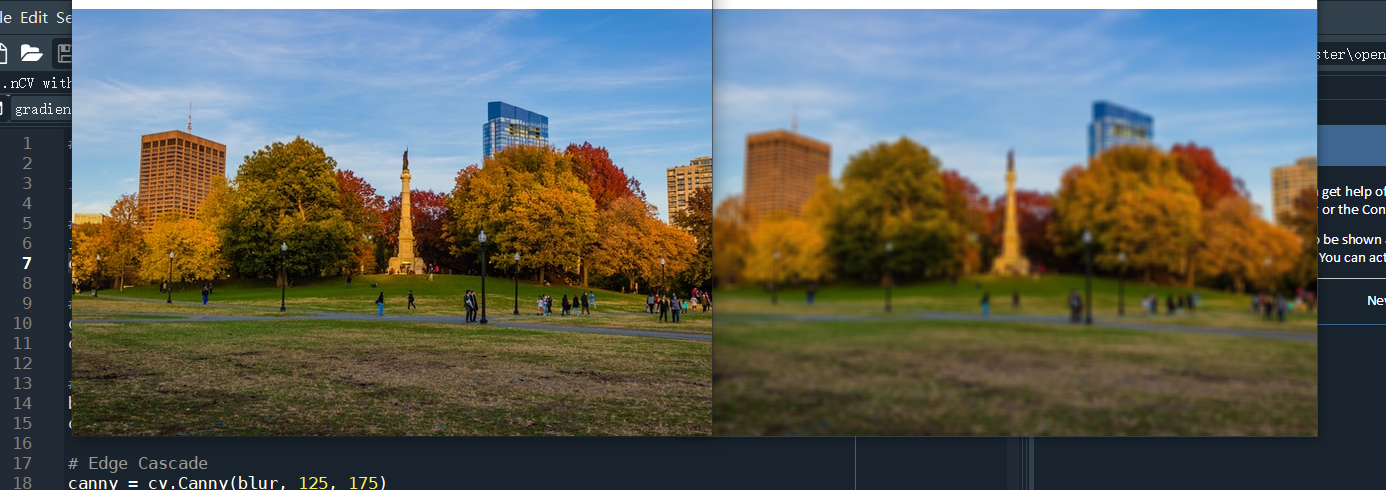
blur()函数可以用标准化的盒式过滤器来平滑图像。
blur = cv.GaussianBlur(img, (7,7), cv.BORDER_DEFAULT)
cv.imshow('Blur', blur)
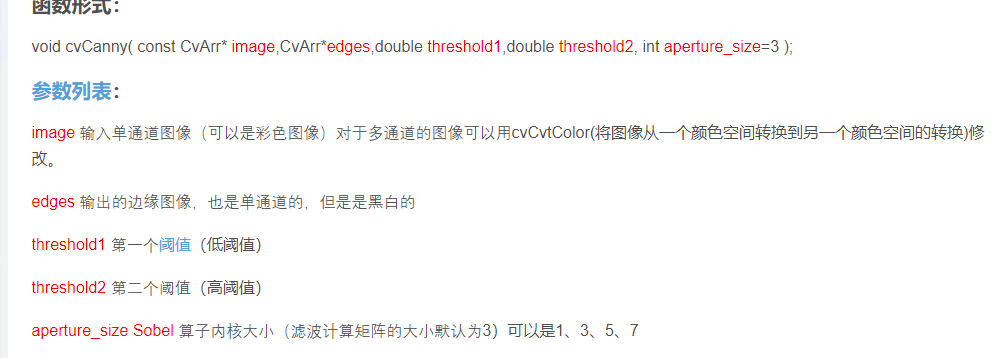
Canny函数将图片按照颜色进行过滤输出边缘图像
canny = cv.Canny(blur, 125, 175)
cv.imshow('Canny Edges', canny)

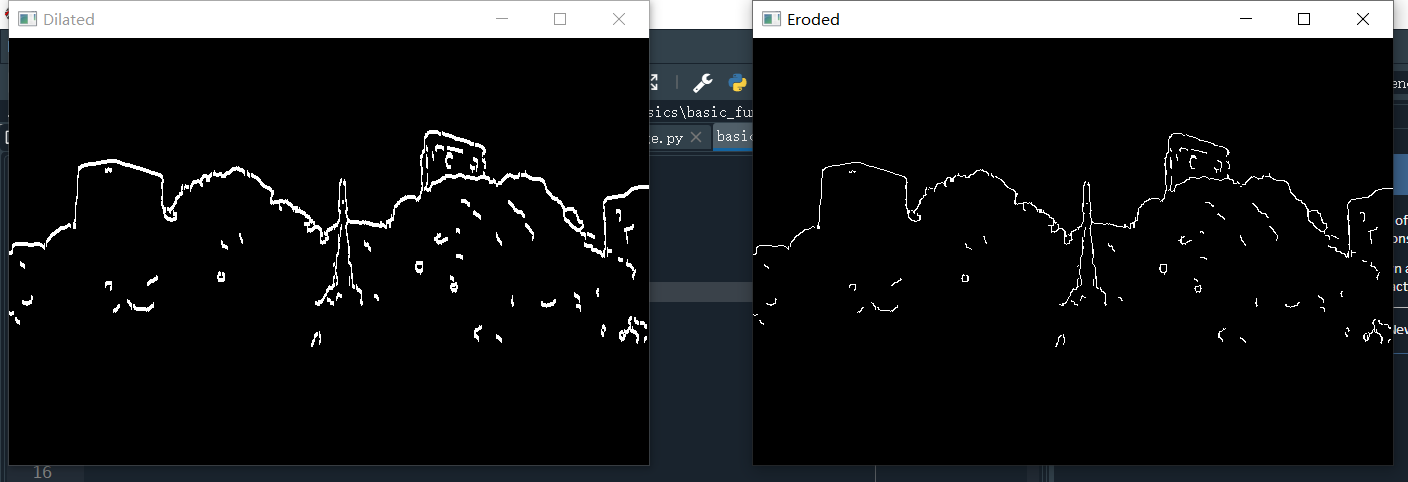
dilate()函数可以对输入图像用特定结构元素进行膨胀操作,eroded()对图像进行腐蚀操作
dilated = cv.dilate(canny, (7,7), iterations=3)
cv.imshow('Dilated', dilated)

eroded = cv.erode(dilated, (7,7), iterations=3)
cv.imshow('Eroded', eroded)
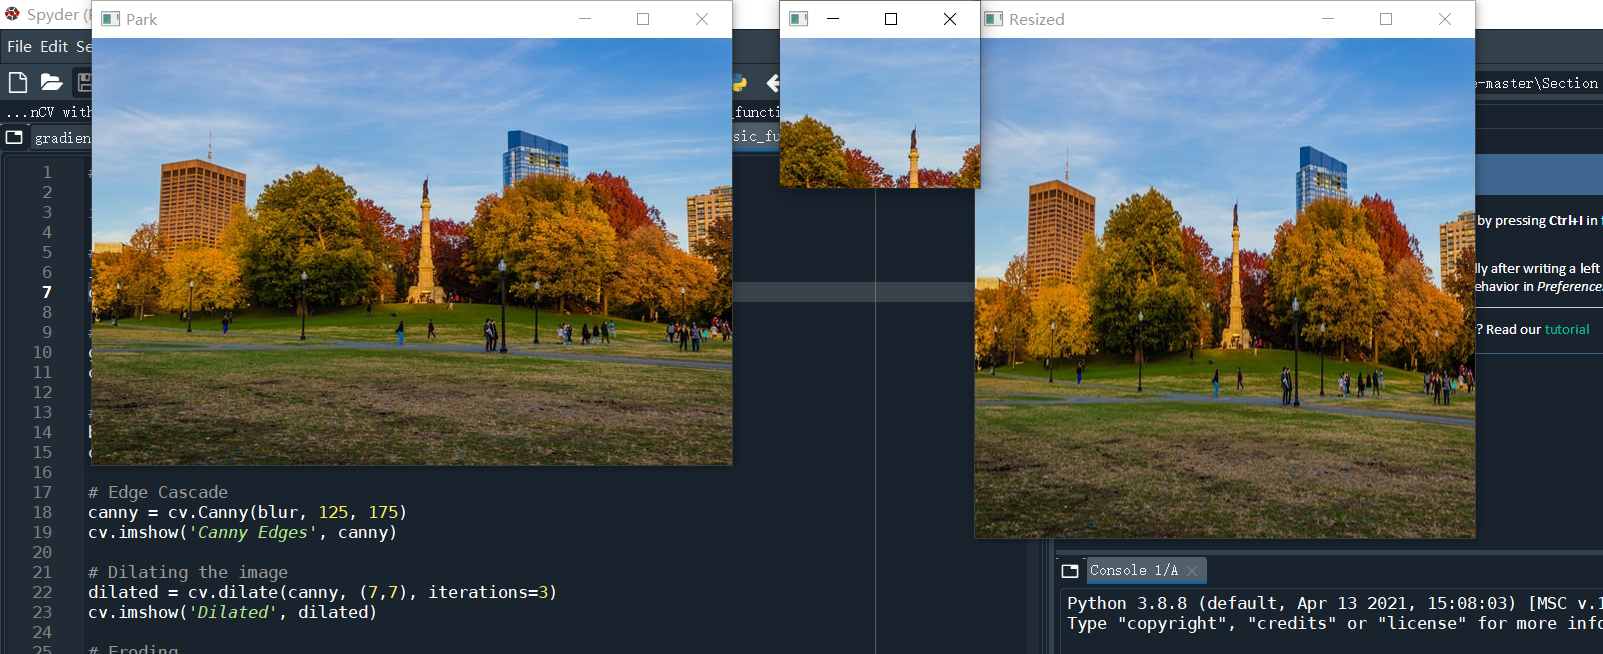
resize函数将原本的图片大小进行改变,将图片按比例缩放,cropped = img[50:200, 200:400]將img图片的这个数组直接切割就是将图片那一小部分切下了
resized = cv.resize(img, (500,500), interpolation=cv.INTER_CUBIC)
cv.imshow('Resized', resized)

cropped = img[50:200, 200:400]
cv.imshow('Cropped', cropped)

2、检测边缘
在一个图像检测边缘一般分为如下几个步骤:
首先用上面的基础的几个方法使用将图片进行处理,先进行转化为灰度图,再使用高斯模糊进行处理,再使用颜色过滤出轮廓边缘,最后可以使用findContours函数获取轮廓的长度
代码如下
#pylint:disable=no-member

import cv2 as cv
import numpy as np

img = cv.imread('../Resources/Photos/cats.jpg')
cv.imshow('Cats', img)

blank = np.zeros(img.shape, dtype='uint8')
cv.imshow('Blank', blank)

gray = cv.cvtColor(img, cv.COLOR_BGR2GRAY)
cv.imshow('Gray', gray)

blur = cv.GaussianBlur(gray, (5,5), cv.BORDER_DEFAULT)
cv.imshow('Blur', blur)

canny = cv.Canny(blur, 125, 175)
cv.imshow('Canny Edges', canny)

# ret, thresh = cv.threshold(gray, 125, 255, cv.THRESH_BINARY)
# cv.imshow('Thresh', thresh)

contours, hierarchies = cv.findContours(canny, cv.RETR_LIST, cv.CHAIN_APPROX_SIMPLE)
print(f'{len(contours)} contour(s) found!')

cv.drawContours(blank, contours, -1, (0,0,255), 1)
cv.imshow('Contours Drawn', blank)

cv.waitKey(0)

3、使用opencv进行绘图
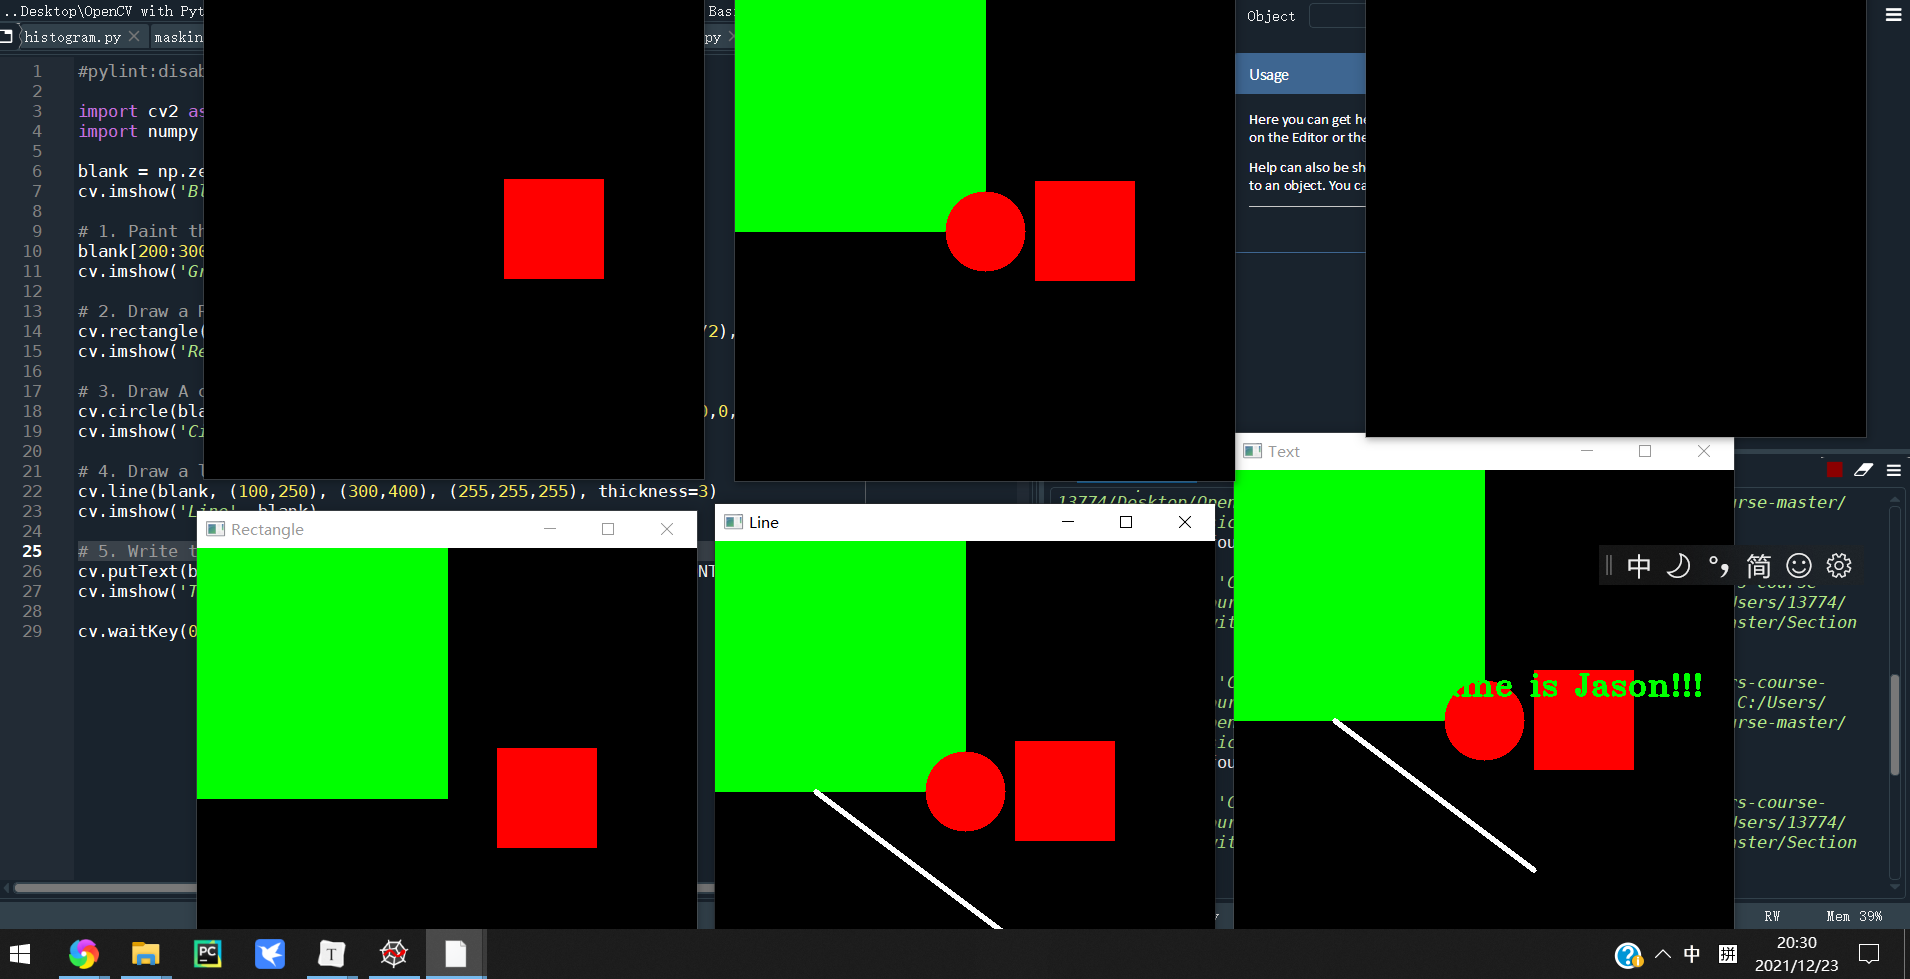
画矩形,圆形等简单图形的代码通过一个函数便可以完成,代码如下
import cv2 as cv


import numpy as np


#先创建一个黑色的画布在一个这样的数组里面填充满黑色
blank = np.zeros((500,500,3), dtype='uint8')


cv.imshow('Blank', blank)


# 1.在200-300,和300-400的区域内部填充上红色


blank[200:300, 300:400] = 0,0,255


cv.imshow('RED', blank)


# 2.画一个举行,后面两个参数分别为左上角点的坐标以及右下角点的坐标,最后一个值为他的颜色


cv.rectangle(blank, (0,0), (blank.shape[1]//2, blank.shape[0]//2), (0,255,0), thickness=-1)


cv.imshow('Rectangle', blank)


# 3.画一个圆,后面参数分别为圆心点的坐标以及半径,和填充的颜色


cv.circle(blank, (blank.shape[1]//2, blank.shape[0]//2), 40, (0,0,255), thickness=-1)


cv.imshow('Circle', blank)


# 4. 画一条直线,分别为两点的坐标以及线的颜色,最后应该是宽度


cv.line(blank, (100,250), (300,400), (255,255,255), thickness=3)


cv.imshow('Line', blank)


# 5. 在图片上面输出字,参数分别为要放上去的字符串,字体,字符的颜色以及字体大小


cv.putText(blank, 'Hello, my name is Jason!!!', (0,225), cv.FONT_HERSHEY_TRIPLEX, 1.0, (0,255,0), 2)


cv.imshow('Text', blank)


cv.waitKey(0)
4、读取视频
代码如下
#pylint:disable=no-member

import cv2 as cv

#cv.imread()后面参数为读取的图片地址
img = cv.imread('../Resources/Photos/cats.jpg')
cv.imshow('Cats', img)

cv.waitKey(0)

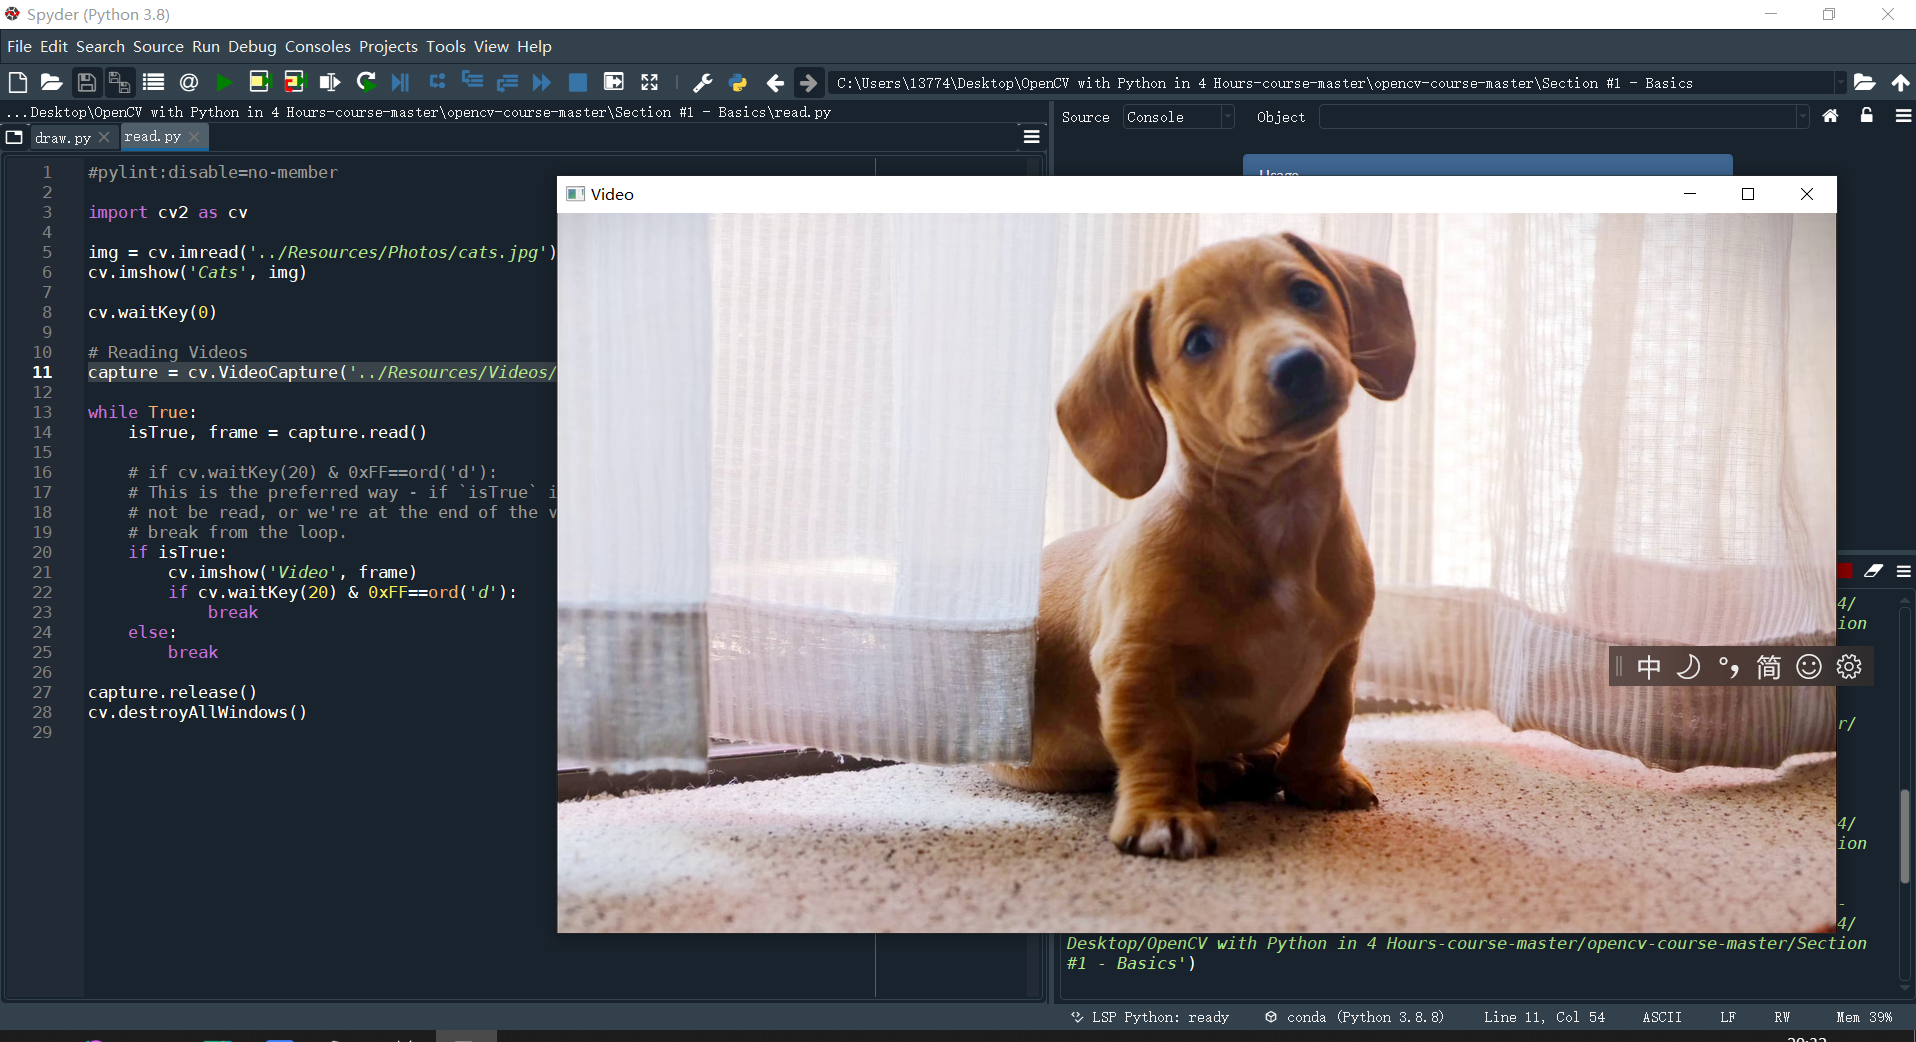
# cv.VideoCapture()后面参数为读取的视频,也可以适时读取摄像头信息
capture = cv.VideoCapture('../Resources/Videos/dog.mp4')

while True:
    isTrue, frame = capture.read()

    # if cv.waitKey(20) & 0xFF==ord('d'):
    # This is the preferred way - if `isTrue` is false (the frame could
    # not be read, or we're at the end of the video), we immediately
    # break from the loop.
    if isTrue:
        cv.imshow('Video', frame)
        if cv.waitKey(20) & 0xFF==ord('d'):
            break
    else:
        break

capture.release()
cv.destroyAllWindows()
5、对图片降噪
#pylint:disable=no-member

import cv2 as cv

img = cv.imread('../Resources/Photos/cats.jpg')
cv.imshow('Cats', img)

gray = cv.cvtColor(img, cv.COLOR_BGR2GRAY)
cv.imshow('Gray', gray)

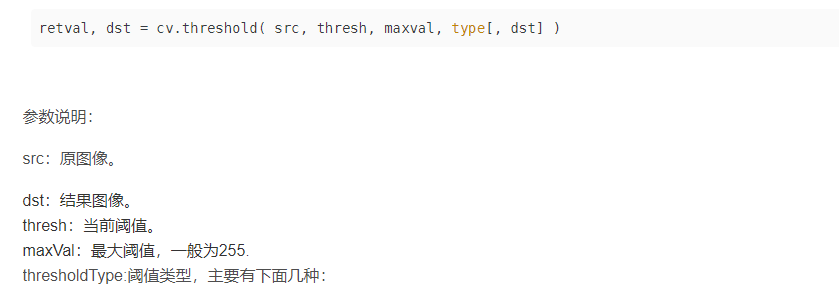
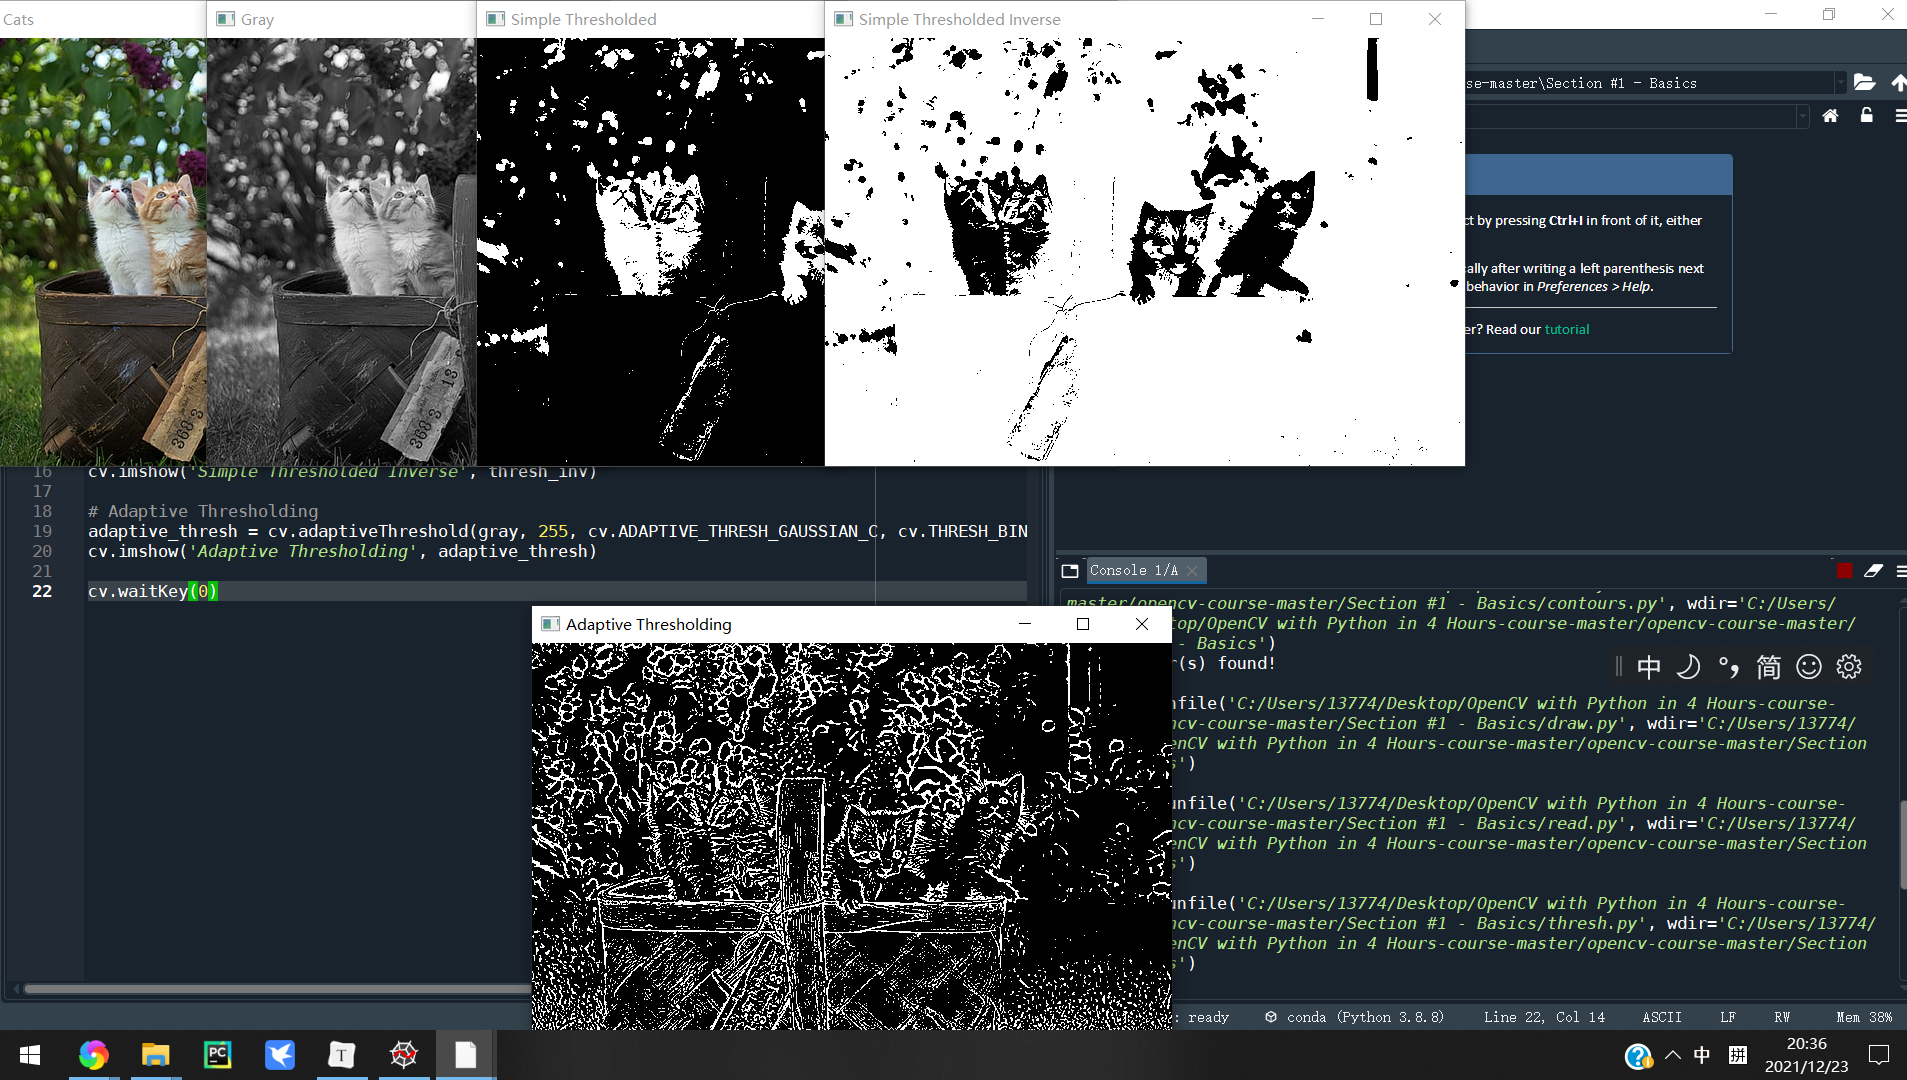
# 简单降噪
threshold, thresh = cv.threshold(gray, 150, 255, cv.THRESH_BINARY )
cv.imshow('Simple Thresholded', thresh)
#将降噪的图片黑白反转
threshold, thresh_inv = cv.threshold(gray, 150, 255, cv.THRESH_BINARY_INV )
cv.imshow('Simple Thresholded Inverse', thresh_inv)

"""
自适应阈值化操作:adaptiveThreshold()函数
在图像阈值化操作中,更关注的是从二值化图像中,分离目标区域和背景区域,但是仅仅通过设定固定阈值很难达到理想的分割效果。而自适应阈值,则是根据像素的邻域块的像素值分布来确定该像素位置上的二值化阈值。这样做的好处:
"""
adaptive_thresh = cv.adaptiveThreshold(gray, 255, cv.ADAPTIVE_THRESH_GAUSSIAN_C, cv.THRESH_BINARY_INV, 11, 9)
cv.imshow('Adaptive Thresholding', adaptive_thresh)

cv.waitKey(0)
6、对图片进行变形
#pylint:disable=no-member

import cv2 as cv
import numpy as np

img = cv.imread('../Resources/Photos/park.jpg')
cv.imshow('Park', img)

#对图片进行变形
def translate(img, x, y):
    transMat = np.float32([[1,0,x],[0,1,y]])
    dimensions = (img.shape[1], img.shape[0])
    return cv.warpAffine(img, transMat, dimensions)

# -x --> Left
# -y --> Up
# x --> Right
# y --> Down

translated = translate(img, -100, 100)
cv.imshow('Translated', translated)

# Rotation
def rotate(img, angle, rotPoint=None):
    (height,width) = img.shape[:2]

    if rotPoint is None:
        rotPoint = (width//2,height//2)

    rotMat = cv.getRotationMatrix2D(rotPoint, angle, 1.0)
    dimensions = (width,height)

    return cv.warpAffine(img, rotMat, dimensions)
#旋转了45度
rotated = rotate(img, -45)
cv.imshow('Rotated', rotated)
#旋转了90度
rotated_rotated = rotate(img, -90)
cv.imshow('Rotated Rotated', rotated_rotated)

# 改变图片的大小,将图片按比例缩放到500*500
resized = cv.resize(img, (500,500), interpolation=cv.INTER_CUBIC)
cv.imshow('Resized', resized)

# 将图片反转即旋转了180度
flip = cv.flip(img, -1)
cv.imshow('Flip', flip)

# 将图片切割,也就是直接切割图片数组
cropped = img[200:400, 300:400]
cv.imshow('Cropped', cropped)


cv.waitKey(0)
