
ffmpeg实现直播
第一章 安装ffmpeg
首先安装h264 视频编解码库:
|
sudo apt-get update
sudo apt-get install libx264-dev
|
安装ffmpeg ,依次输入以下命令:
|
wget http://ffmpeg.org/releases/ffmpeg-3.0.9.tar.bz2
sudo tar jxvf ffmpeg-3.0.9.tar.bz2
cd ffmpeg-3.0.9/
sudo ./configure --enable-shared --enable-pthreads --enable-gpl --enable-avresample --enable-libx264 --enable-libtheora --disable-yasm
sudo make
sudo make install
|
第二章 安装nginx
1、到nginx.org 下载稳定版本的nginx。
2、到 https://github.com/arut/nginx-rtmp-module 下载rtmp模块(git clone https://github.com/arut/nginx-rtmp-module.git)
3、解压nginx的tar包;nginx 和trmp模块在同一目录。 nginx-1.12.2 nginx-1.12.2.tar.gz nginx-rtmp-module
4、到nginx解压目录配置编译参数。 ./configure --prefix=/usr/local/nginx --add-module=../nginx-rtmp-module.1.1.4 --with-http_ssl_module
5、make && make install 安装
6、在nginx的config文件中添加以下配置。
|
server { listen 8080; #配置RTMP状态一览HTTP页面========================================= location /stat { rtmp_stat all; rtmp_stat_stylesheet stat.xsl; } location /stat.xsl { root /usr/local/nginx/nginx-rtmp-module/; } #配置RTMP状态一览界面结束==========================HTTP协议访问直播流文件配置 location /hls { #添加视频流存放地址。 types { application/vnd.apple.mpegurl m3u8; video/mp2t ts; } #访问权限开启,否则访问这个地址会报403 autoindex on; alias /usr/share/nginx/html/hls; #视频流存放地址,与下面的hls_path相对应,这里root和alias的区别可自行百度 expires -1; add_header Cache-Control no-cache; #防止跨域问题 add_header 'Access-Control-Allow-Origin' '*'; add_header 'Access-Control-Allow-Credentials' 'true'; add_header 'Access-Control-Allow-Methods' 'GET, POST, OPTIONS'; add_header 'Access-Control-Allow-Headers' 'DNT,X-CustomHeader,Keep-Alive,User-Agent,X-Requested-With,If-Modified-Since,Cache-Control,Content-Type'; } }
rtmp { server { listen 1935; chunk_size 4000; application vod { play /usr/share/nginx/html/vod/flvs/; } application live { live on; } application hls { live on; hls on; hls_path /usr/share/nginx/html/hls; hls_fragment 5s; hls_playlist_length 15s; hls_continuous on; #连续模式。 hls_cleanup on; #对多余的切片进行删除。 hls_nested on; #嵌套模式。 } } }
|
其中rtmp就是rtmp服务器模块,端口是1935,application我理解为一个路径。可以通过访问rtmp://localhost/live来访问live这个资源。live on 表示这是实时的传输,这不同于点播,点播就好比我在某视频网站上想看一个视频,无论我什么时候去点击,它会从头开始播放。而实时传输(直播),就是好比看电视,我在19:20去打开电视(打开直播路),视频不会从头开始播放,而是从当前(19:20)的视频数据开始播放。
第三章 ffmpeg实现直播推流
1.推流MP4文件
l 视频文件地址:/Desktop/bangbangbang.mp4
l 推流拉流地址:rtmp://localhost:1935/rtmplive/home
l acc:RTMP的音频格式
l flv: RTMP的视频格式
ffmpeg -re -i /Users/xu/Desktop/bangbangbang.mp4 -vcodec libx264 -acodec aac -f flv rtmp://localhost:1935/rtmplive/home
2.本地拉流MP4文件
l 打开VCL播放器
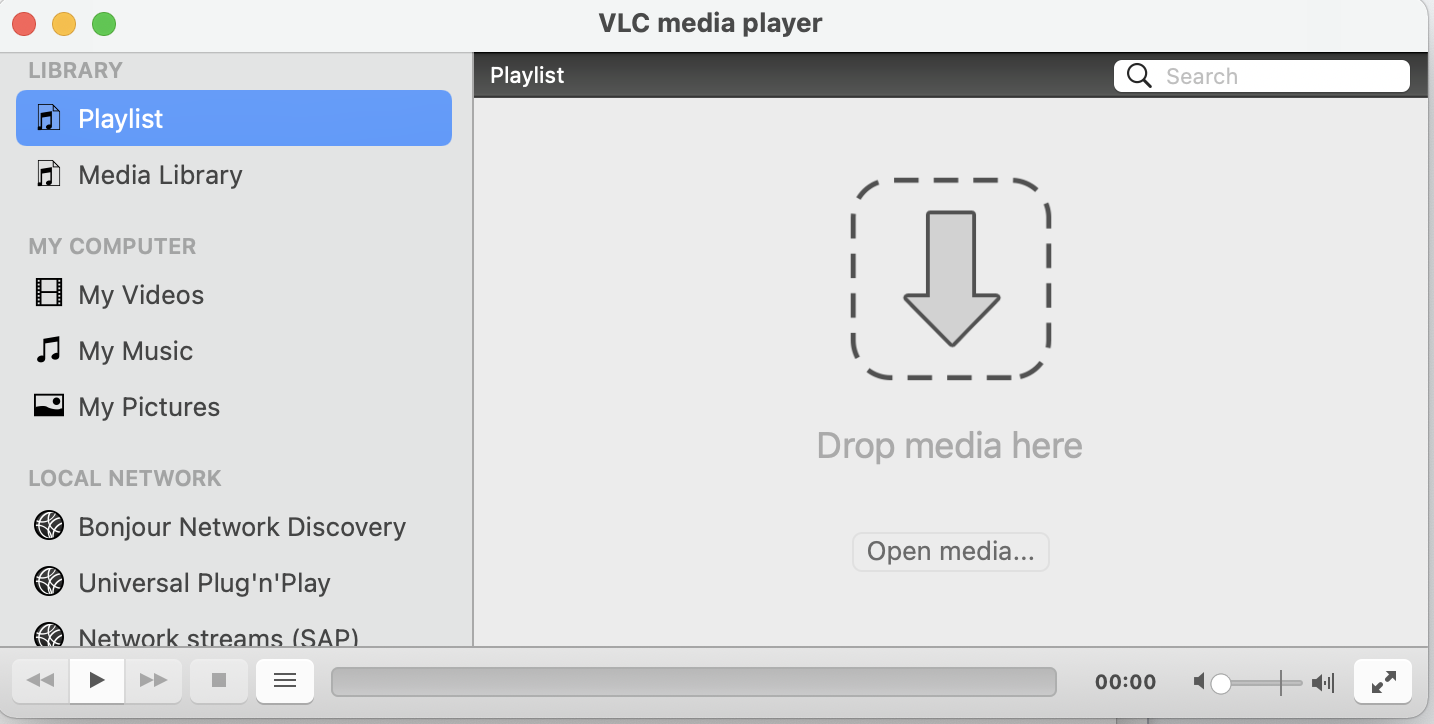
l 设置播放地址
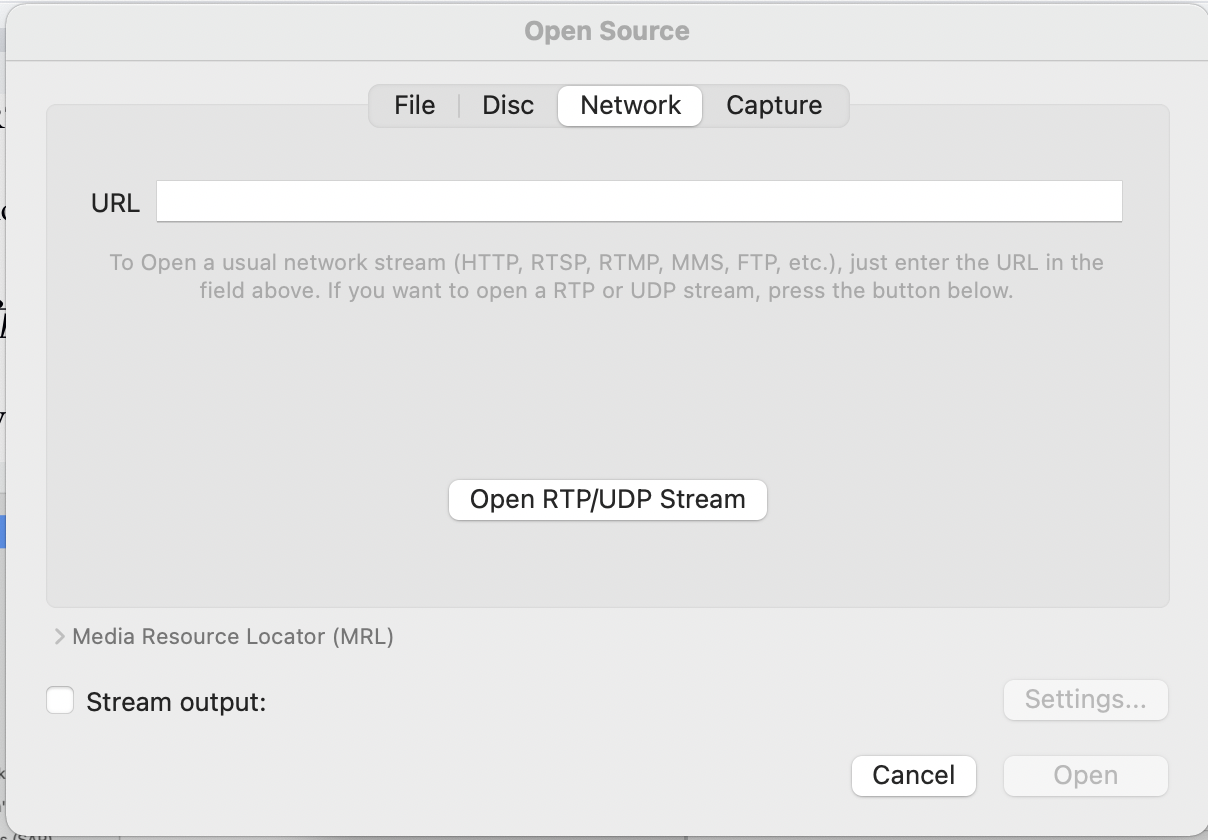
l 设置推流地址并播放

附录:
出现问题:
问题1:
ERROR: libtheora not found
If you think configure made a mistake, make sure you are using the latest
version from Git. If the latest version fails, report the problem to the
ffmpeg-user@ffmpeg.org mailing list or IRC #ffmpeg on irc.libera.chat.
Include the log file "ffbuild/config.log" produced by configure as this will help
solve the problem.
解决方案:
sudo apt-get install libtheora-dev
本文来自博客园,作者:jkbolck,转载请注明原文链接:https://www.cnblogs.com/lwjblogs/p/15871058.html


【推荐】国内首个AI IDE,深度理解中文开发场景,立即下载体验Trae
【推荐】编程新体验,更懂你的AI,立即体验豆包MarsCode编程助手
【推荐】抖音旗下AI助手豆包,你的智能百科全书,全免费不限次数
【推荐】轻量又高性能的 SSH 工具 IShell:AI 加持,快人一步
· 震惊!C++程序真的从main开始吗?99%的程序员都答错了
· 别再用vector<bool>了!Google高级工程师:这可能是STL最大的设计失误
· 单元测试从入门到精通
· 【硬核科普】Trae如何「偷看」你的代码?零基础破解AI编程运行原理
· 上周热点回顾(3.3-3.9)