springboot-springsecurity:注销和权限控制
承接:springboot-springsecurity:用户认证和授权
1 账户注销
1.1 在SecurityConfig中加入开启注销功能的代码
src/main/java/com/lv/config/SecurityConfig.java
package com.lv.config;

import org.springframework.security.config.annotation.authentication.builders.AuthenticationManagerBuilder;
import org.springframework.security.config.annotation.web.builders.HttpSecurity;
import org.springframework.security.config.annotation.web.configuration.EnableWebSecurity;
import org.springframework.security.config.annotation.web.configuration.WebSecurityConfigurerAdapter;
import org.springframework.security.crypto.bcrypt.BCryptPasswordEncoder;

//AOP : 拦截器!
@EnableWebSecurity
public class SecurityConfig extends WebSecurityConfigurerAdapter {
    //授权
    @Override
    public void configure(HttpSecurity http) throws Exception {
        //首页所有人都可以访问,功能页只有对应的有权限的人才能访问
        //请求授权的规则~(链式编程)
        http.authorizeRequests()
                .antMatchers("/").permitAll()
                .antMatchers("/level1/**").hasRole("vip1")
                .antMatchers("/level2/**").hasRole("vip2")
                .antMatchers("/level3/**").hasRole("vip3");

        //没有权限默认会跳转到登录页,需要开启登录页面
        http.formLogin();

        //注销,开启了注销功能,跳到首页
        http.logout().logoutSuccessUrl("/");

        //防止跨站工具, get,post
        http.csrf().disable();//关闭csrf功能,注销失败可能的原因
    }
    //认证,springboot 2.1.x 可以直接使用
    //密码编码:PasswordEncoder
    //在Spring Security 5.0+ 新增了很多加密方法~
    @Override
    protected void configure(AuthenticationManagerBuilder auth) throws Exception {
        //这些数据正常应该从数据库中读
        auth.inMemoryAuthentication().passwordEncoder(new BCryptPasswordEncoder())
                .withUser("lv").password(new BCryptPasswordEncoder().encode("123456")).roles("vip2","vip3")
                .and()
                .withUser("root").password(new BCryptPasswordEncoder().encode("123456")).roles("vip1","vip2","vip3")
                .and()
                .withUser("guest").password(new BCryptPasswordEncoder().encode("123456")).roles("vip1");
    }
}
1.2 在index.html 添加注销的按钮
src/main/resources/templates/index.html
<!--登录注销-->
<div class="right menu">
    <div>
        <a class="item" th:href="@{/toLogin}">
            <i class="address card icon"></i>登录
        </a>
    </div>
    <div>
        <a class="item" th:href="@{/logout}">
            <i class="sign-out icon"></i>注销
        </a>
    </div>
</div>
1.3 启动项目测试
访问登录页面,登录 guest 账户,该账户可以访问 level1的页面

登录成功后,点击 level1的链接,成功跳转到 level 页面,然后点击注销按钮
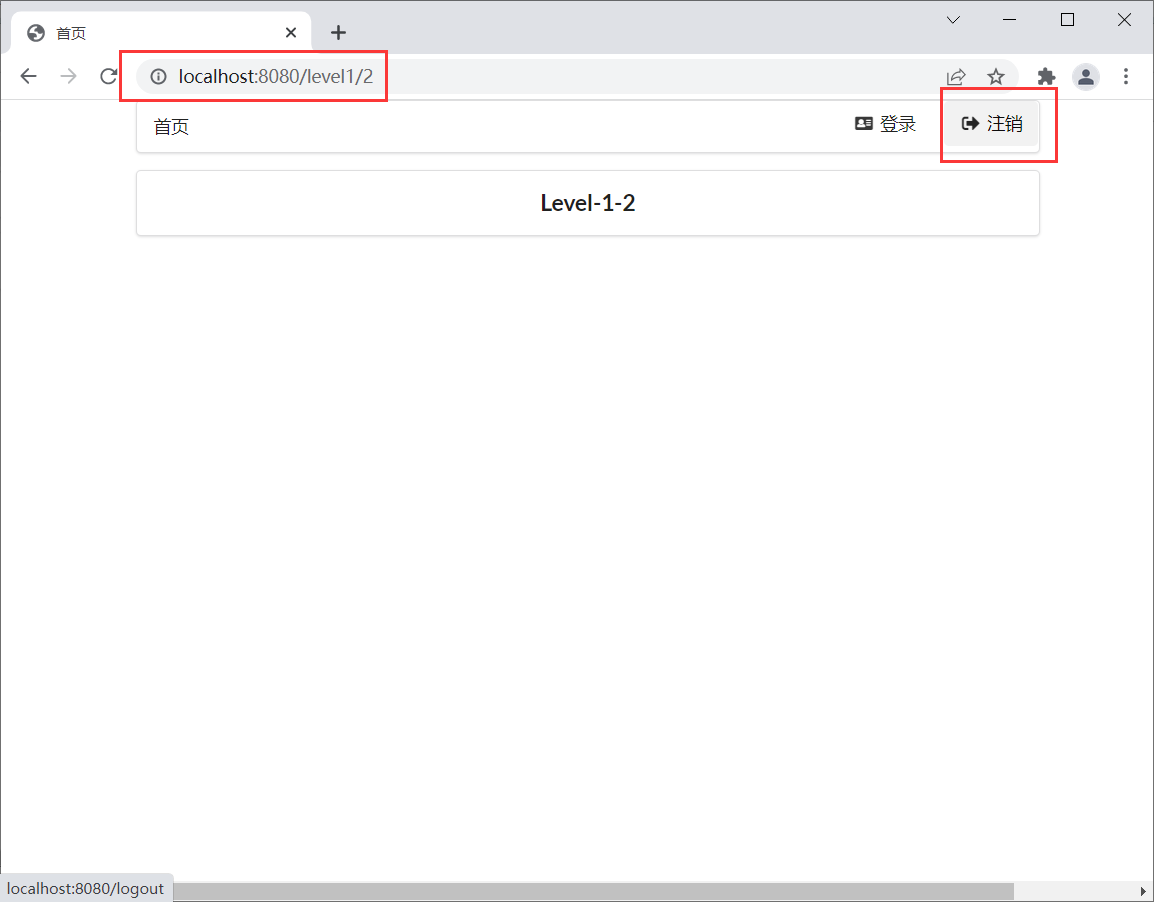
弹回到首页,再次点击点击 level1 页面

跳转到了登录页面

说明账户注销成功
2 权限控制
2.1 导入springsecurity和thymeleaf的整合依赖
pom.xml
<!-- springSecurity和thymeleaf整合包 -->
<dependency>
    <groupId>org.thymeleaf.extras</groupId>
    <artifactId>thymeleaf-extras-springsecurity4</artifactId>
    <version>3.0.2.RELEASE</version>
</dependency>
2.2 springboot版本降级
pom.xml
<parent>
    <groupId>org.springframework.boot</groupId>
    <artifactId>spring-boot-starter-parent</artifactId>
    <version>2.0.9.RELEASE</version>
    <relativePath/> <!-- lookup parent from repository -->
</parent>
必须将springboot的版本降到2.0.9以下,否则 sec:authorize="isAuthenticated()" 不会生效.版本降低后,需要手动导入junit依赖,否则测试类会报错
<dependency>
    <groupId>org.junit.jupiter</groupId>
    <artifactId>junit-jupiter</artifactId>
    <version>RELEASE</version>
    <scope>test</scope>
</dependency>
2.3 引入约束
在index.html的头文件中添加springsecurity和thymeleaf的整合约束
src/main/resources/templates/index.html
<html xmlns:th="http://www.thymeleaf.org"
      xmlns:sec="http://www.thymeleaf.org/thymeleaf-extras-springsecurity4">
2.4 修改页面代码
主要修改两部分,一部分是登录状态下显示用户名,和注销按钮,未登录显示登录按钮 通过 sec:authorize="isAuthenticated()" 实现.另一部分是根据登录用户的权限显示不同的页面菜单,通过 sec:authorize="hasRole('vip1')" 实现.
src/main/resources/templates/index.html
<!--登录注销-->
<div class="right menu">
    <!--如果未登录:显示登录按钮-->
    <div sec:authorize="!isAuthenticated()">
        <a class="item" th:href="@{/toLogin}">
            <i class="address card icon"></i>登录
        </a>
    </div>
    <!--如果已登录:显示用户名和注销按钮-->
    <div sec:authorize="isAuthenticated()">
        <a class="item">
            用户名:<span sec:authentication="name"></span>
        </a>
    </div>
    <div sec:authorize="isAuthenticated()">
        <a class="item" th:href="@{/logout}">
            <i class="sign-out icon"></i>注销
        </a>
    </div>
</div>
<!--菜单根据用户的角色动态实现-->
<div class="column" sec:authorize="hasRole('vip1')">
<div class="ui raised segment">
<div class="ui">
<div class="content">
<h5 class="content">Level 1</h5>
<hr>
<div><a th:href="@{/level1/1}"><i class="bullhorn icon"></i> Level-1-1</a></div>
<div><a th:href="@{/level1/2}"><i class="bullhorn icon"></i> Level-1-2</a></div>
<div><a th:href="@{/level1/3}"><i class="bullhorn icon"></i> Level-1-3</a></div>
</div>
</div>
</div>
</div>
<div class="column" sec:authorize="hasRole('vip2')">
<div class="ui raised segment">
<div class="ui">
<div class="content">
<h5 class="content">Level 2</h5>
<hr>
<div><a th:href="@{/level2/1}"><i class="bullhorn icon"></i> Level-2-1</a></div>
<div><a th:href="@{/level2/2}"><i class="bullhorn icon"></i> Level-2-2</a></div>
<div><a th:href="@{/level2/3}"><i class="bullhorn icon"></i> Level-2-3</a></div>
</div>
</div>
</div>
</div>
<div class="column" sec:authorize="hasRole('vip3')">
<div class="ui raised segment">
<div class="ui">
<div class="content">
<h5 class="content">Level 3</h5>
<hr>
<div><a th:href="@{/level3/1}"><i class="bullhorn icon"></i> Level-3-1</a></div>
<div><a th:href="@{/level3/2}"><i class="bullhorn icon"></i> Level-3-2</a></div>
<div><a th:href="@{/level3/3}"><i class="bullhorn icon"></i> Level-3-3</a></div>
</div>
</div>
</div>
</div>2.5 重启程序测试
未登录页面

登录 lv 用户的页面

登录 geust 用户的页面

登录 root 用户的页面

页面显示都不同,权限控制成功实现

 浙公网安备 33010602011771号