springboot-项目实战:展示员工列表
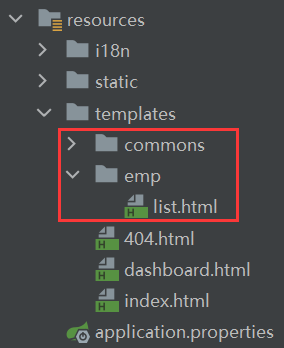
1 修改templates目录
在templates目录下新建两个文件夹,一个是 commons 用来存放页面的公共部分,另个一是 emp 用来存放和员工相关的页面,然后将 list.html 页面移动到 emp文件夹下
2 编写员工控制器
在controller包下创建一个员工的控制类,并添加一个获取所有员工后跳转到员工列表页面的方法
EmployeeController.java
package com.lv.controller;

import com.lv.dao.EmployeeDao;
import com.lv.pojo.Employee;
import org.springframework.beans.factory.annotation.Autowired;
import org.springframework.stereotype.Controller;
import org.springframework.ui.Model;
import org.springframework.web.bind.annotation.RequestMapping;

import java.util.Collection;

@Controller
public class EmployeeController {
    @Autowired
    EmployeeDao employeeDao;

    @RequestMapping("/getAllEmployee")
    public String getAllEmployee(Model model){
        Collection<Employee> allEmployee = employeeDao.getAllEmployee();
        model.addAttribute("allEmployee",allEmployee);
        return "/emp/list";
    }
}
3 提取页面公共部分
员工页 list.html 和首页 dashboard.html 的导航栏和侧边栏是相同的,所以将这两部分提取出来放到一个公共页面.在commnos包下创建一个 commons.html作为公共页面,这个公共页面相当于一个组件
commons.html
<!DOCTYPE html>
<html lang="en" xmlns:th="http://www.thymeleaf.org">
<!--顶部导航栏,提取为公共部分-->
<nav class="navbar navbar-dark sticky-top bg-dark flex-md-nowrap p-0" th:fragment="topbar">
<!--没有修改,所以里面的内容省略了-->
</nav>
<!--侧边栏,提取为公共部分-->
<nav class="col-md-2 d-none d-md-block bg-light sidebar" th:fragment="sidebar">
<!--没有修改,所以里面的内容省略了-->
</nav>
</html>
4 插入公共页面组件
将 list.html 和 dashboard.html 原有的导航栏和侧边栏代码删除,改为使用插入公共组件的方式将公共页面的导航栏和侧边栏代码引入,这里只粘贴了页面修改部分的代码
list.html
<!--替换为公共部分中的首页-->
<div th:replace="~{commons/commons::topbar}"></div>
   <div class="container-fluid">
      <div class="row">
         <!--替换为公共部分中的侧边栏-->
         <div th:replace="~{commons/commons::sidebar}"></div>
dashboard.html
<!--替换为公共部分中的首页-->
<div th:replace="~{commons/commons::topbar}"></div>
<div class="container-fluid">
   <div class="row">
      <!--替换为公共部分中的侧边栏-->
      <div th:replace="~{commons/commons::sidebar}"></div>
5 修改侧边栏按钮的链接
修改公共页侧边栏中首页的跳转链接为 main.html
commons.html
<li class="nav-item">
    <a class="nav-link active" th:href="@{/main.html}">
        <svg xmlns="http://www.w3.org/2000/svg" width="24" height="24" viewBox="0 0 24 24" fill="none" stroke="currentColor" stroke-width="2" stroke-linecap="round" stroke-linejoin="round" class="feather feather-home">
            <path d="M3 9l9-7 9 7v11a2 2 0 0 1-2 2H5a2 2 0 0 1-2-2z"></path>
            <polyline points="9 22 9 12 15 12 15 22"></polyline>
        </svg>
        Dashboard <span class="sr-only">(current)</span>
    </a>
</li>
修改公共页侧边栏中员工页面的跳转链接为员工控制器中的getAllEmployee请求
commons.html
<li class="nav-item">
    <a class="nav-link" th:href="@{/getAllEmployee}">
        <svg xmlns="http://www.w3.org/2000/svg" width="24" height="24" viewBox="0 0 24 24" fill="none" stroke="currentColor" stroke-width="2" stroke-linecap="round" stroke-linejoin="round" class="feather feather-users">
            <path d="M17 21v-2a4 4 0 0 0-4-4H5a4 4 0 0 0-4 4v2"></path>
            <circle cx="9" cy="7" r="4"></circle>
            <path d="M23 21v-2a4 4 0 0 0-3-3.87"></path>
            <path d="M16 3.13a4 4 0 0 1 0 7.75"></path>
        </svg>
        Employee
    </a>
</li>
6 启动程序测试
登录成功后,点击Employee按钮后
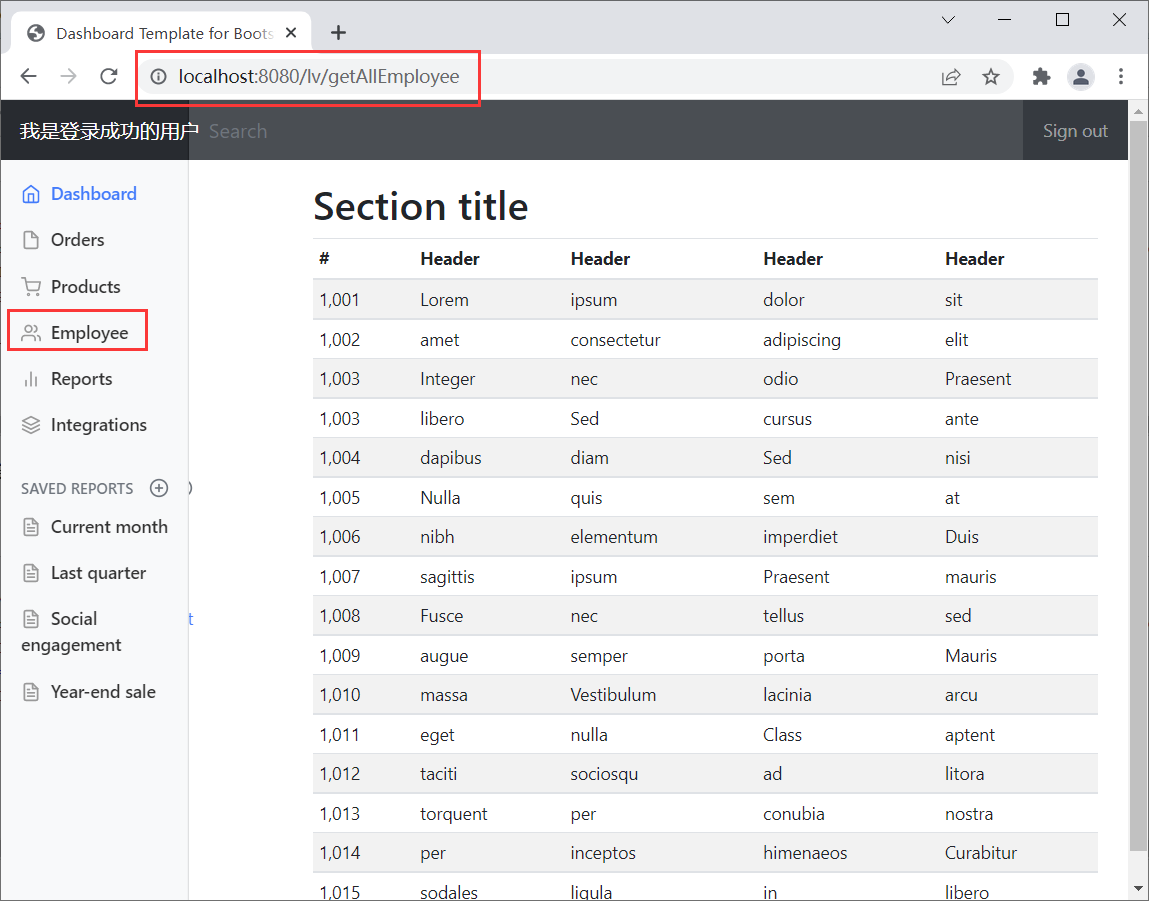
主页地址栏请求,的确成功了,接下来在点击Dashboard切换回首页
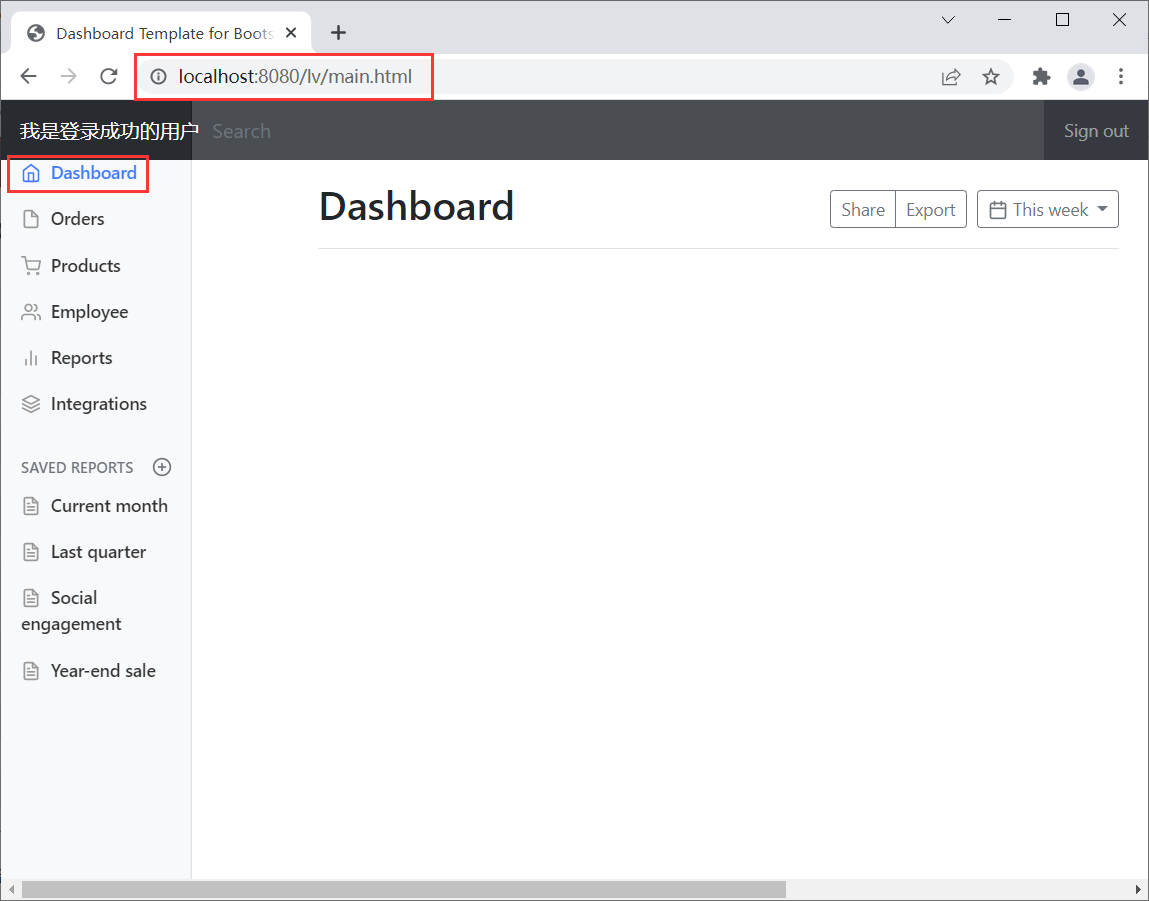
同样切换成功了,虽然页面跳转了,但是按钮的高亮效果并没有实现.接下来实现这个效果
7 在首页和员工页中给公共组件传递参数
在插入公共组件的代码中,添加一个active参数,如果是首页就传入'main.html'这个值,如果是员工页就传入'list.html'这个值
dashboard.html
<!--替换为公共部分中的侧边栏-->
<!--传递参数给组件-->
<div th:replace="~{commons/commons::sidebar(active='main.html')}"></div>
list.html
<!--替换为公共部分中的侧边栏-->
<!--传递参数给组件-->
<div th:replace="~{commons/commons::sidebar(active='list.html')}"></div>
8 修改公共组件
在公共的页面中接收参数并增加判断
commons.html
首页按钮的位置
<li class="nav-item">
    <a th:class="${active=='main.html'?'nav-link active':'nav-link'}" th:href="@{/main.html}">
        <svg xmlns="http://www.w3.org/2000/svg" width="24" height="24" viewBox="0 0 24 24" fill="none" stroke="currentColor" stroke-width="2" stroke-linecap="round" stroke-linejoin="round" class="feather feather-home">
            <path d="M3 9l9-7 9 7v11a2 2 0 0 1-2 2H5a2 2 0 0 1-2-2z"></path>
            <polyline points="9 22 9 12 15 12 15 22"></polyline>
        </svg>
        Dashboard <span class="sr-only">(current)</span>
    </a>
</li>
员工按钮的位置
<li class="nav-item">
    <a th:class="${active=='list.html'?'nav-link active':'nav-link'}" th:href="@{/getAllEmployee}">
        <svg xmlns="http://www.w3.org/2000/svg" width="24" height="24" viewBox="0 0 24 24" fill="none" stroke="currentColor" stroke-width="2" stroke-linecap="round" stroke-linejoin="round" class="feather feather-users">
            <path d="M17 21v-2a4 4 0 0 0-4-4H5a4 4 0 0 0-4 4v2"></path>
            <circle cx="9" cy="7" r="4"></circle>
            <path d="M23 21v-2a4 4 0 0 0-3-3.87"></path>
            <path d="M16 3.13a4 4 0 0 1 0 7.75"></path>
        </svg>
        Employee
    </a>
</li>
9 重启程序测试,
登录成功后,点击Employee按钮后
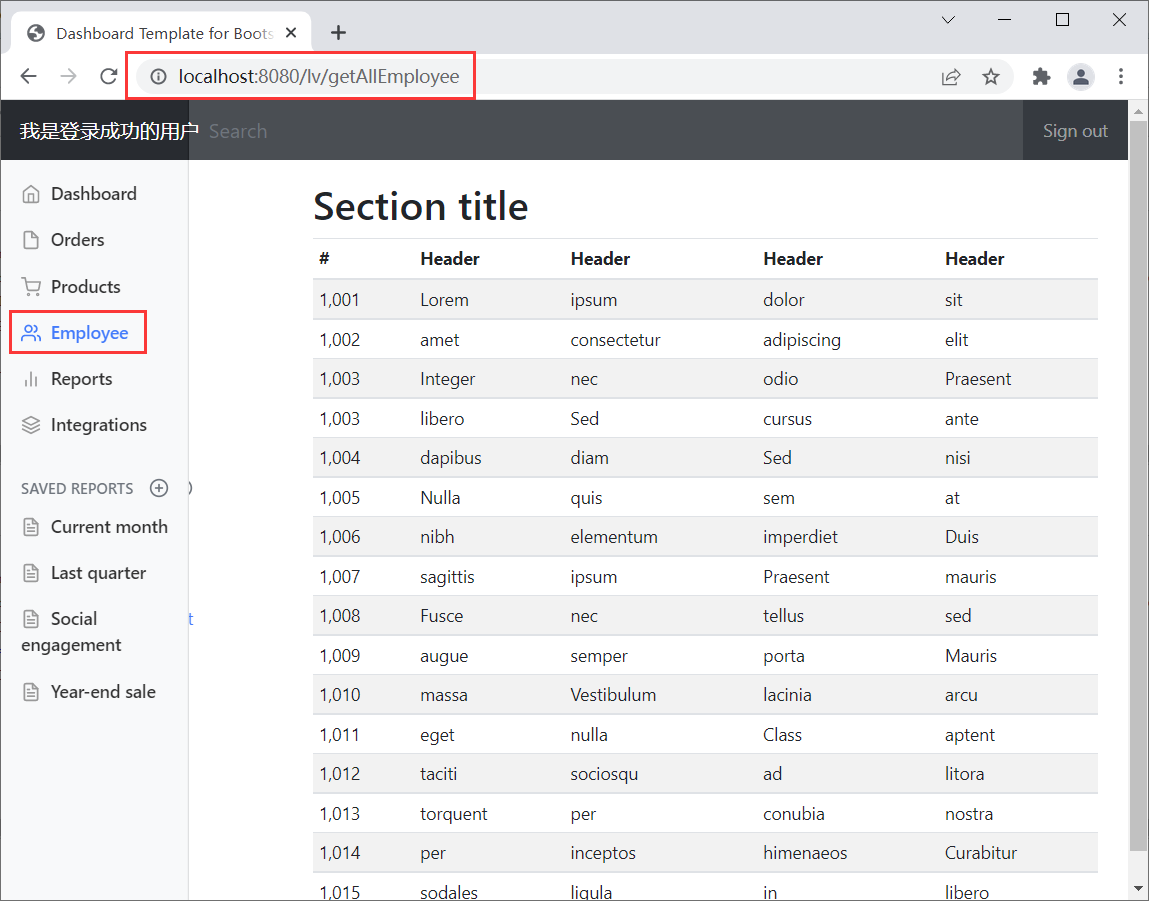
按钮高光效果实现了,接下来切换回首页

也切换成功,按钮高光的功能实现了,接下来要将用户数据在列表展示出来
10 修改员工列表
要修改的内容有如下五部分:
- 将员工列表的展示的数据更改为后台获取到的员工数据
- 展示的性别字段需要加判断
- 日期展示需要格式化
- 员工的部门字段,应该展示部门的名字,先获取到部门
- 添加两个操作按钮
找到原来的员工列表大概在 list.html 的173行左右,然后对展示的列表进行修改
list.html
<table class="table table-striped table-sm">
   <thead>
      <tr>
         <th>id</th>
         <th>lastName</th>
         <th>email</th>
         <th>gender</th>
         <th>department</th>
         <th>date</th>
         <th>操作</th>
      </tr>
   </thead>
   <tbody>
      <tr th:each="employee:${allEmployee}">
         <td>[[${employee.getId()}]]</td>
         <td th:text="${employee.getLastName()}"></td>
         <td th:text="${employee.getEmail()}"></td>
         <td th:text="${employee.getGender()==0?'女':'男'}"></td>
         <td th:text="${employee.department.getDepartmentName()}"></td>
         <td th:text="${#dates.format(employee.getDate(),'yyyy-MM-dd HH:mm:ss')}"></td>
         <td>
            <button class="btn btn-sm btn-primary">编辑</button>
            <button class="btn btn-sm btn-danger">删除</button>
         </td>
      </tr>
   </tbody>
</table>
11 重启程序,测试
登录成功后进入员工页面
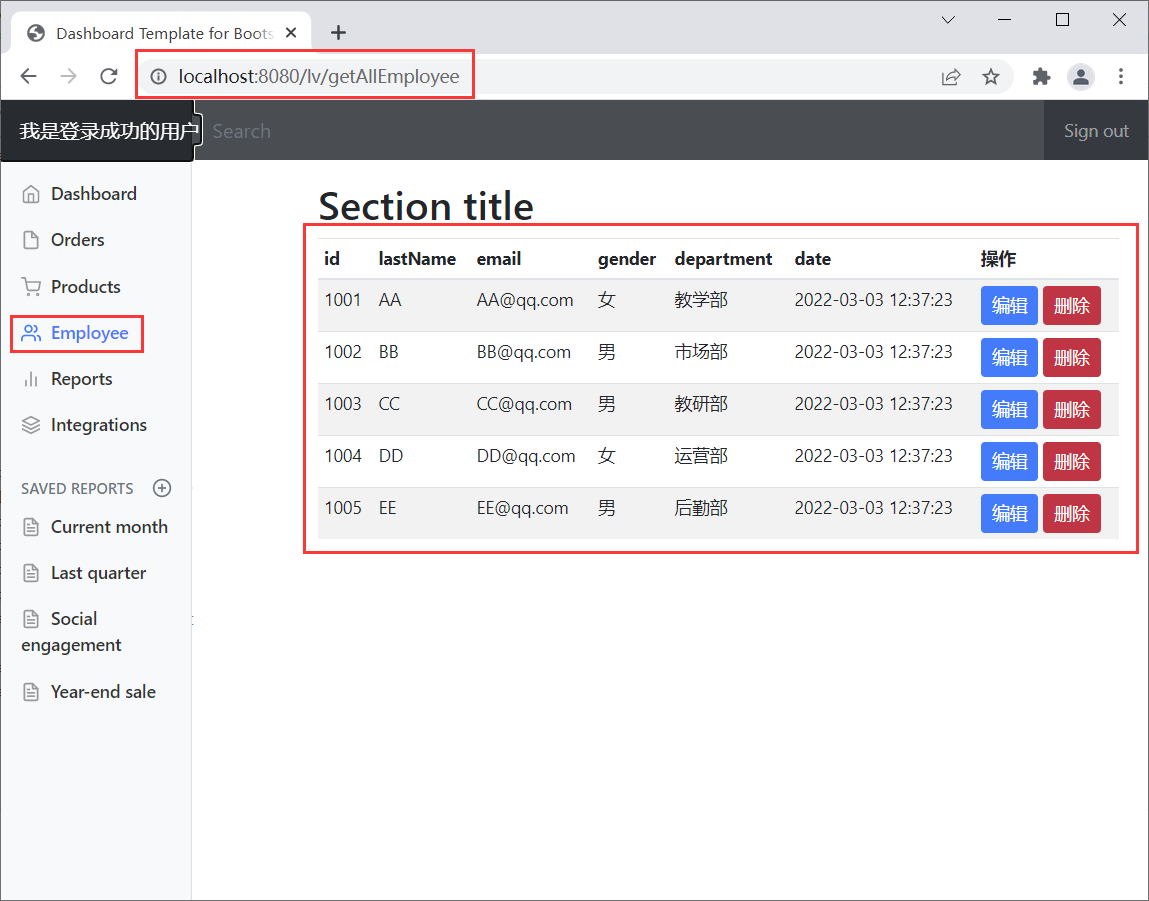
数据展示成功
12 总结
- 组件复用在前端开发中很重要
- 提取组件 th:fragment="topbar"
- 插入组件 th:replace="~{commons/commons::topbar}
- 如果要传递参数,直接使用()传参,接收使用即可
- 列表循环数据展示
- teymeleaf语法中对日期格式化的处理:#dates.format(employee.getDate(),'yyyy-MM-dd HH:mm:ss')

 浙公网安备 33010602011771号