微信的应用学习
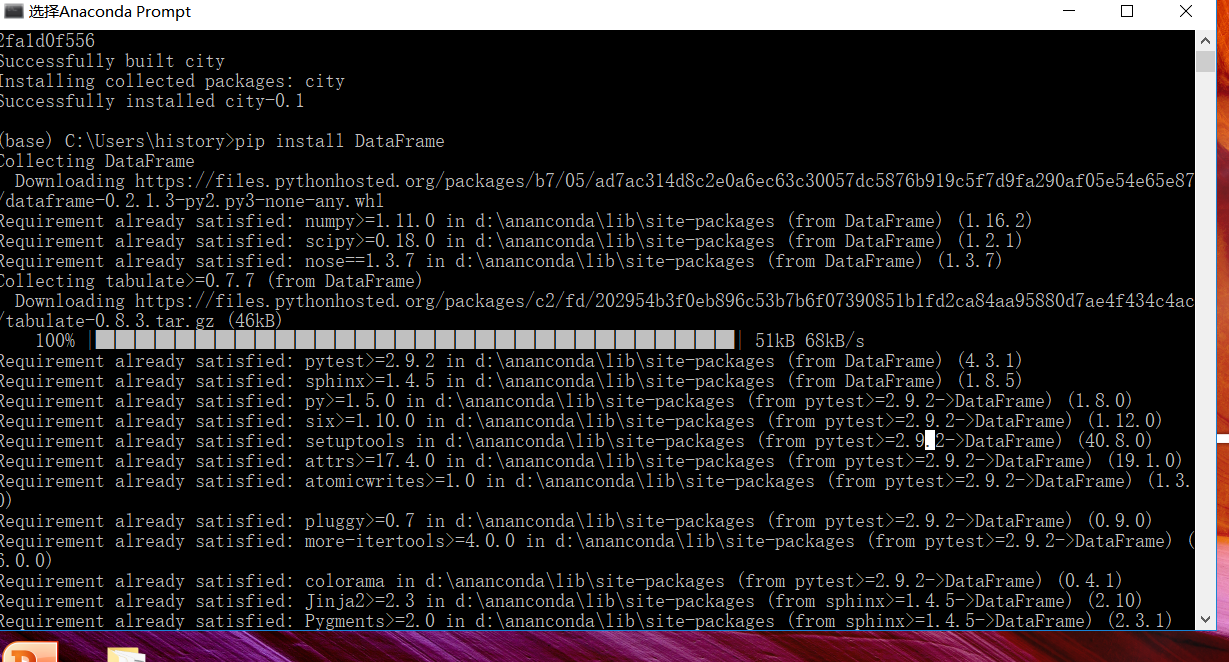
首先,有完成这个东西,我们要安装以下这麽多的库。于是乎,我学会了如何在anaconda里装各种各样的库:

现在,我们来认识一下如何在anaconda中安装各种库:
https://jingyan.baidu.com/article/495ba841bcc11c38b30ede32.html
在网上找的教程。
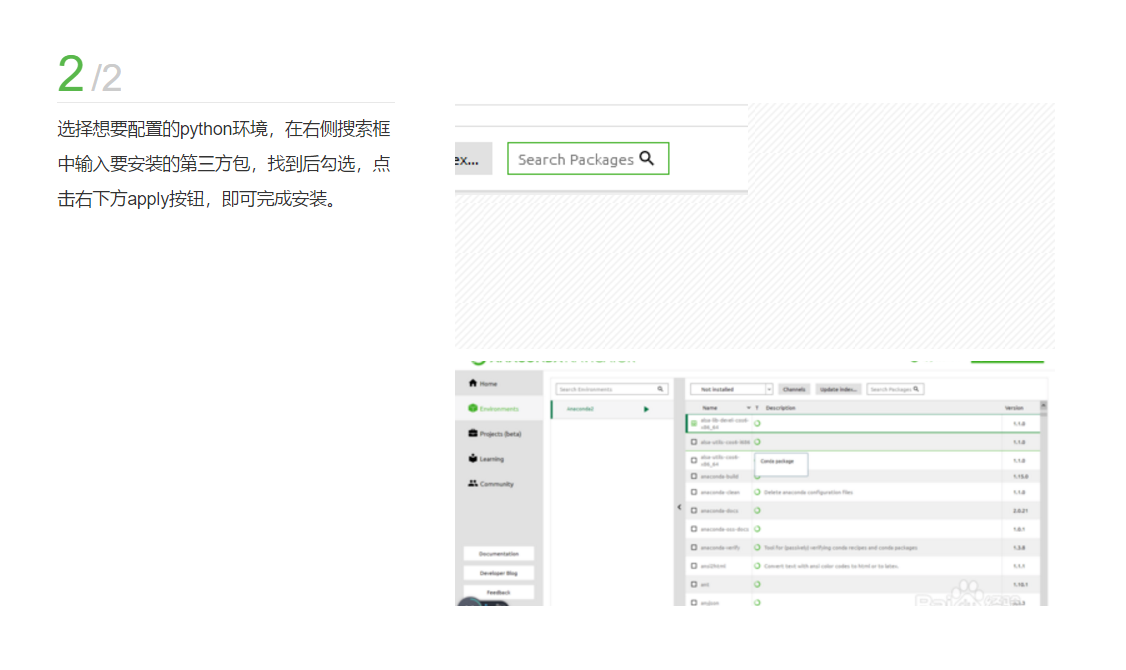
双击打开Anaconda Navigator,选择Environments界面
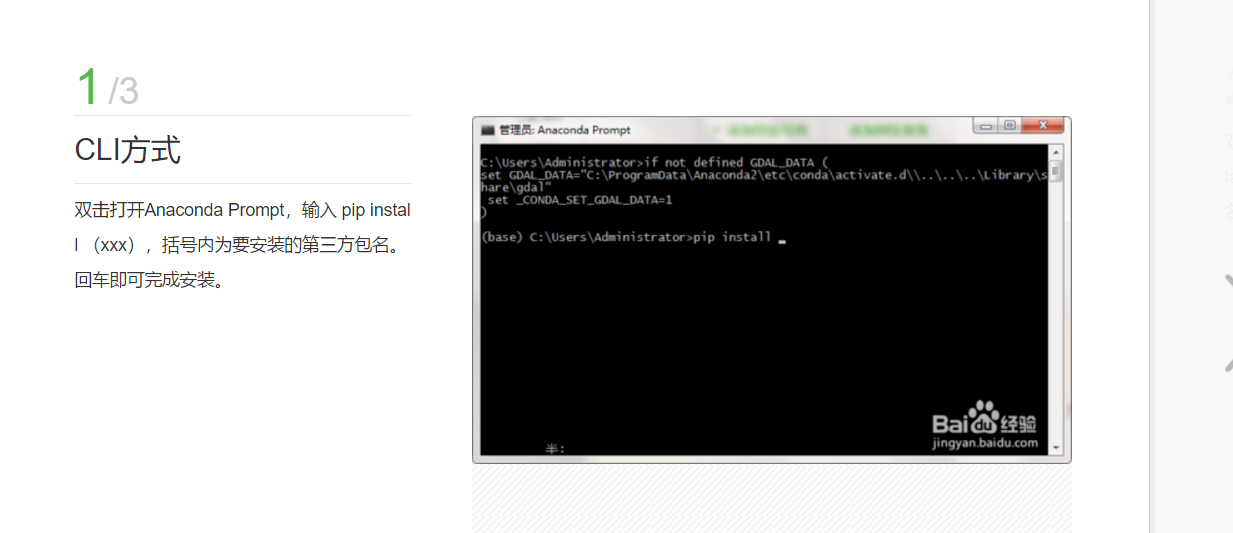
选择想要配置的python环境,在右侧搜索框中输入要安装的第三方包,找到后勾选,点击右下方apply按钮,即可完成安装。

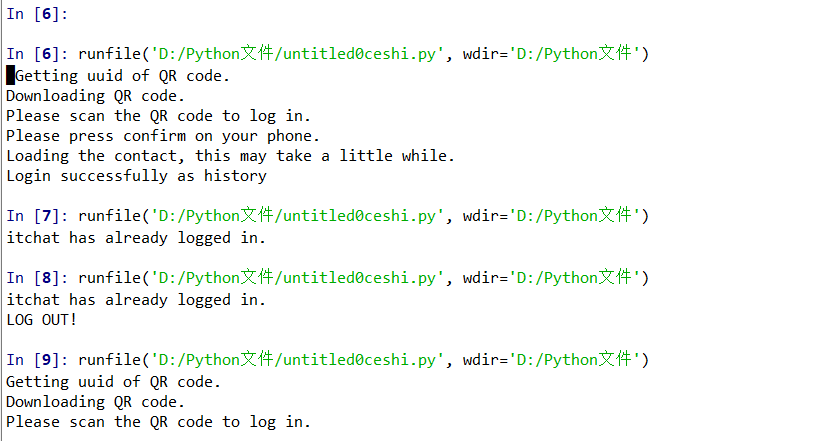
然后,在我安装完那么多的库后,我学习了itchat这个库,还运行了一个小测试:
这个也是itchat库的一个学习:
import itchat

itchat.auto_login()

itchat.send('Hello, filehelper', toUserName='filehelper')
结果如下:


对此,我只能感慨一句“太特么神奇了,仿佛打开了新世界大门”
现在让我们来学习一下各个库:
pillow:
一个图像处理库:
from PIL import Image

# 打开一个jpg图像文件,注意是当前路径:
im = Image.open('test.jpg')
# 获得图像尺寸:
w, h = im.size
print('Original image size: %sx%s' % (w, h))
# 缩放到50%:
im.thumbnail((w//2, h//2))
print('Resize image to: %sx%s' % (w//2, h//2))
# 把缩放后的图像用jpeg格式保存:
im.save('thumbnail.jpg', 'jpeg')

Pycharts这个库嘛:
(这个库我去学习了一下,找了个简单的代码运行时出不来结果,我就去请问了别人。然后我感觉我被虐成了渣渣,短期之内,我不想见到他,但他真的很厉害)

from pyecharts.charts import Bar
from pyecharts import options as opts

# V1 版本开始支持链式调用
bar = (
    Bar()
    .add_xaxis(["衬衫", "毛衣", "领带", "裤子", "风衣", "高跟鞋", "袜子"])
    .add_yaxis("商家A", [114, 55, 27, 101, 125, 27, 105])
    .add_yaxis("商家B", [57, 134, 137, 129, 145, 60, 49])
    .set_global_opts(title_opts=opts.TitleOpts(title="某商场销售情况"))
)
print(bar)
bar.render("D:/Python文件/文字文稿1.wps.html")
print(bar)

# 不习惯链式调用的开发者依旧可以单独调用方法
bar = Bar()
bar.add_xaxis(["衬衫", "毛衣", "领带", "裤子", "风衣", "高跟鞋", "袜子"])
bar.add_yaxis("商家A", [114, 55, 27, 101, 125, 27, 105])
bar.add_yaxis("商家B", [57, 134, 137, 129, 145, 60, 49])
bar.set_global_opts(title_opts=opts.TitleOpts(title="某商场销售情况"))
bar.render("D:/Python文件/文字文稿1.wps.html")
print(bar)


# encoding=utf-8
import jieba

seg_list = jieba.cut("我来到北京清华大学", cut_all=True)
print("Full Mode: " + "/ ".join(seg_list))  # 全模式

seg_list = jieba.cut("我来到北京清华大学", cut_all=False)
print("Default Mode: " + "/ ".join(seg_list))  # 精确模式

seg_list = jieba.cut("他来到了网易杭研大厦")  # 默认是精确模式
print(", ".join(seg_list))

seg_list = jieba.cut_for_search("小明硕士毕业于中国科学院计算所,后在日本京都大学深造")  # 搜索引擎模式
print(", ".join(seg_list))

- 用法: jieba.load_userdict(file_name) # file_name 为文件类对象或自定义词典的路径
三个库以前学过了。
现在进入正题:按照论文一步步实操:
#导入模块
from wxpy import *
#初始化机器人,选择缓存模式(扫码)登录
bot = Bot(cache_path=True)
#获取我的所有微信好友信息
friend_all = bot.friends()

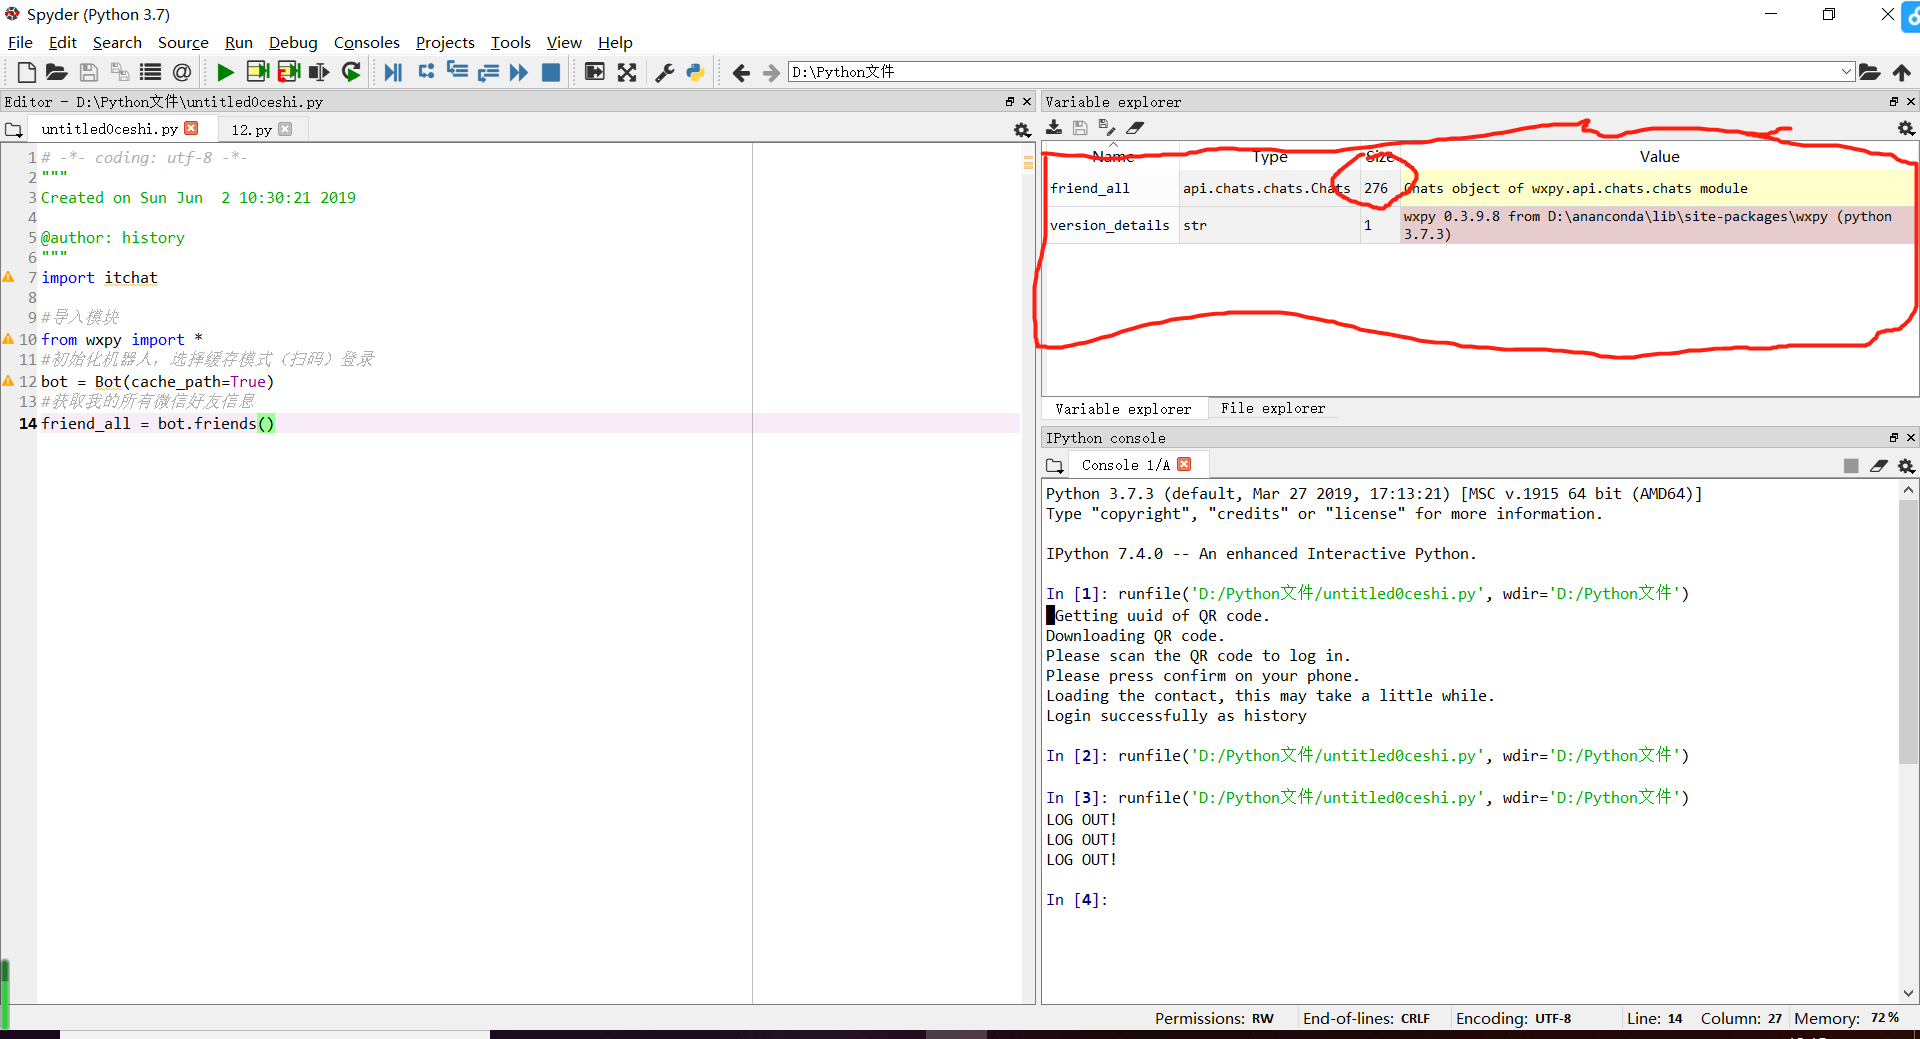
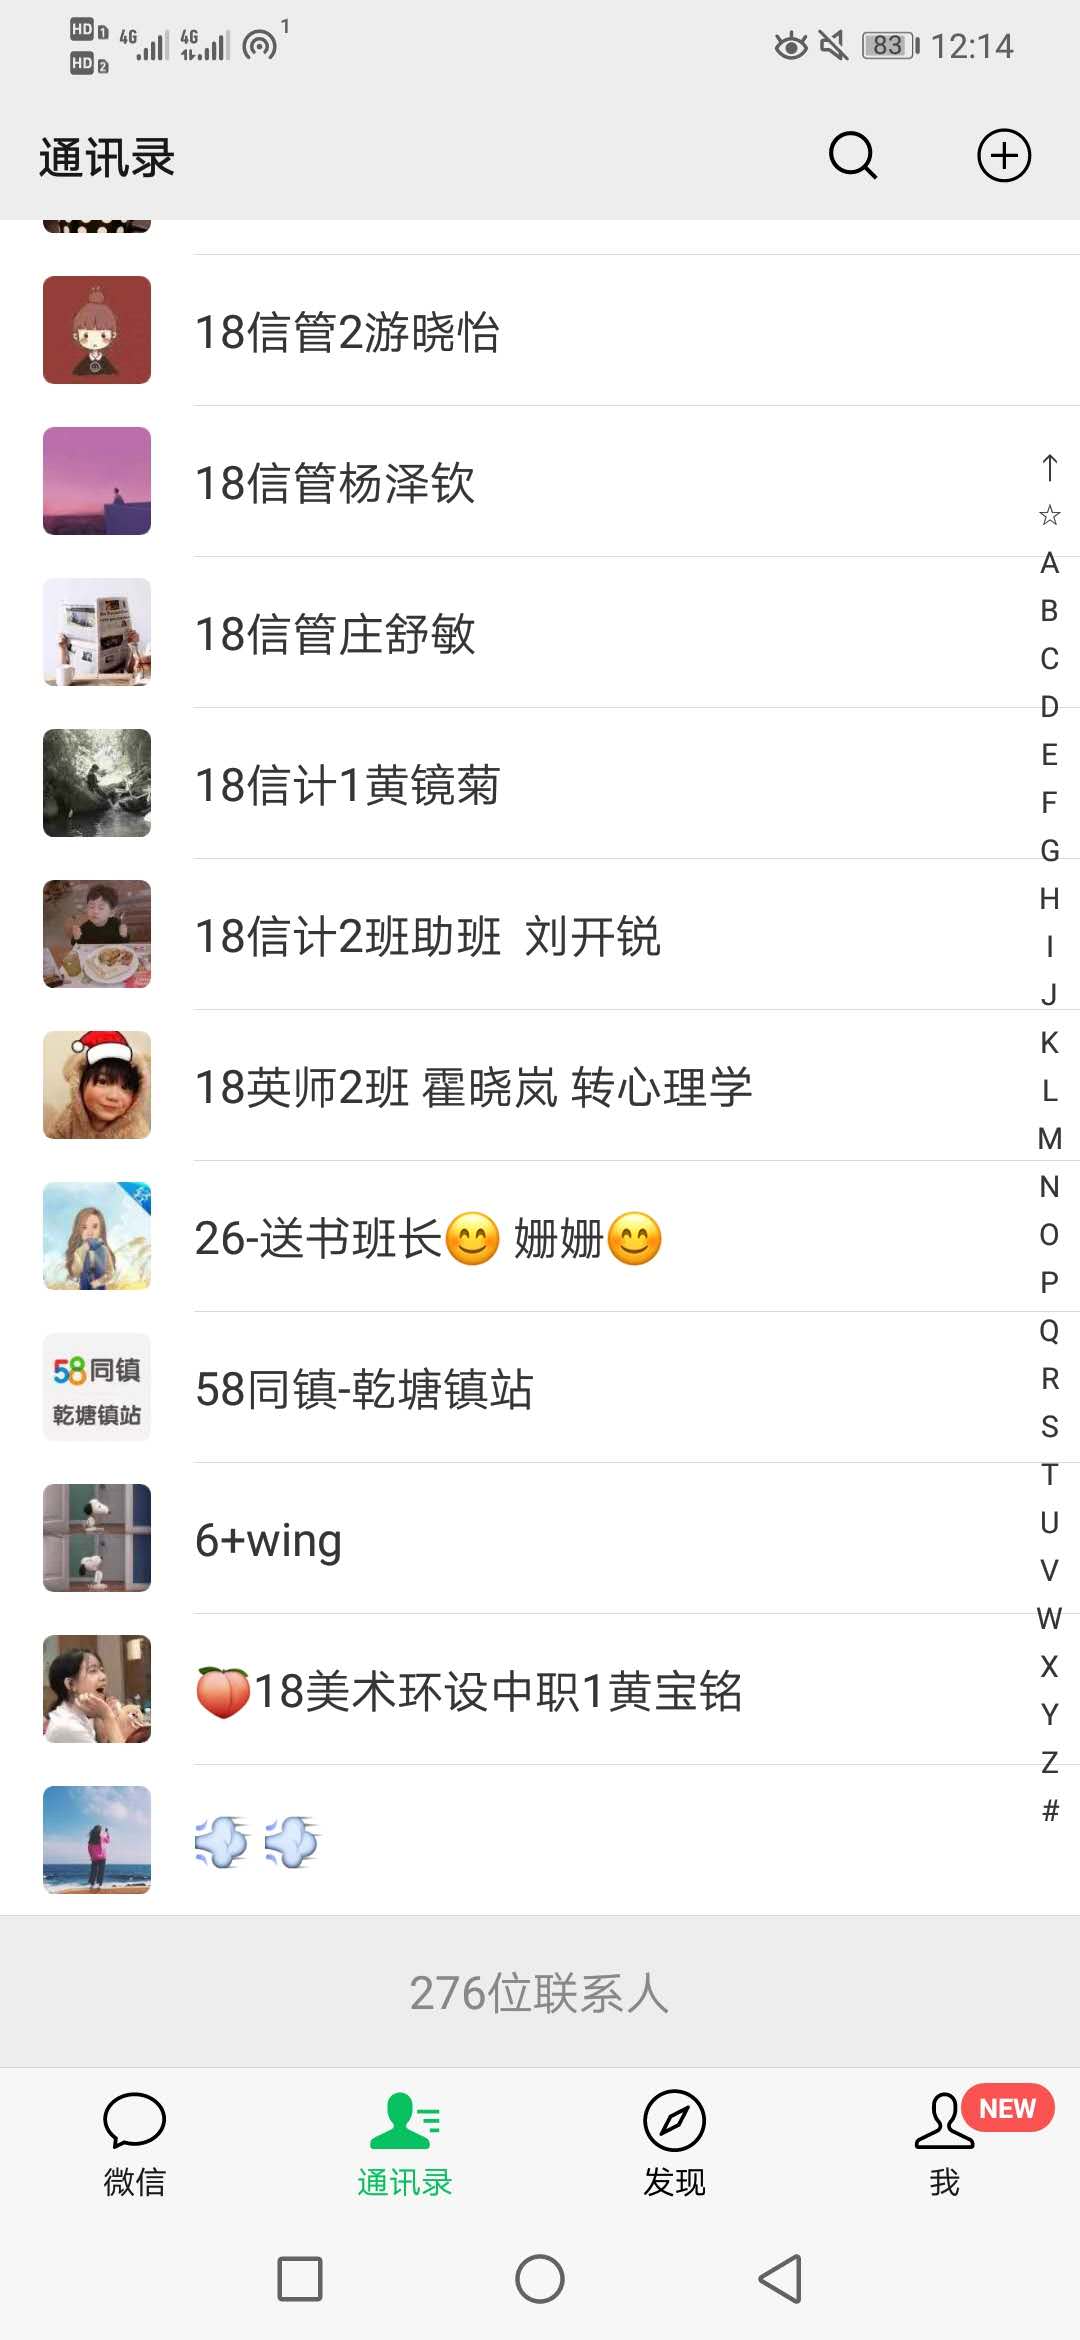
我的确只有276位联系人!!
# -*- coding: utf-8 -*-
"""
Created on Sun Jun  2 10:30:21 2019

@author: history
"""
import itchat

#导入模块
from wxpy import *
#初始化机器人,选择缓存模式(扫码)登录
bot = Bot(cache_path=True)
#获取我的所有微信好友信息
friend_all = bot.friends()
print(friend_all)
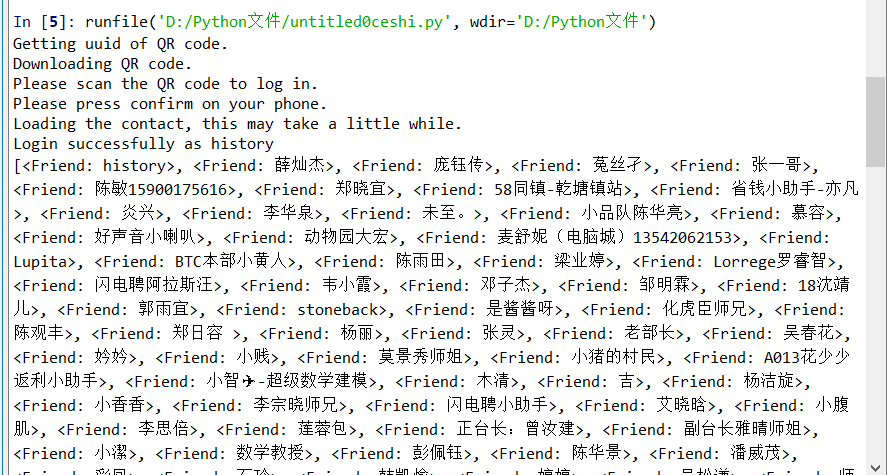
对此,我只能说牛逼
以下是真正的代码及运行的结果:
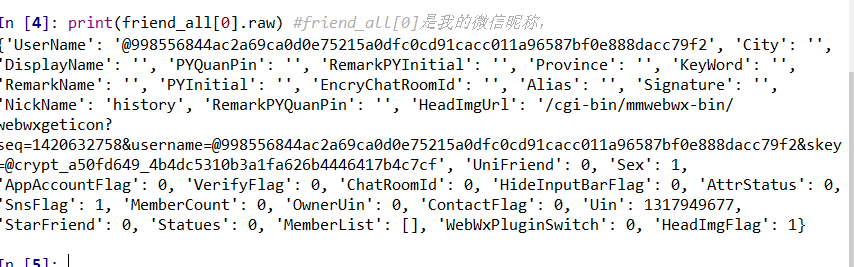
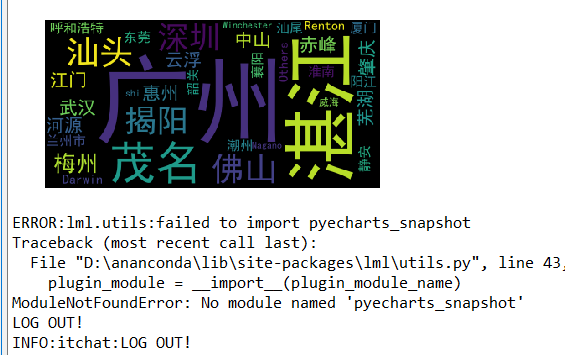
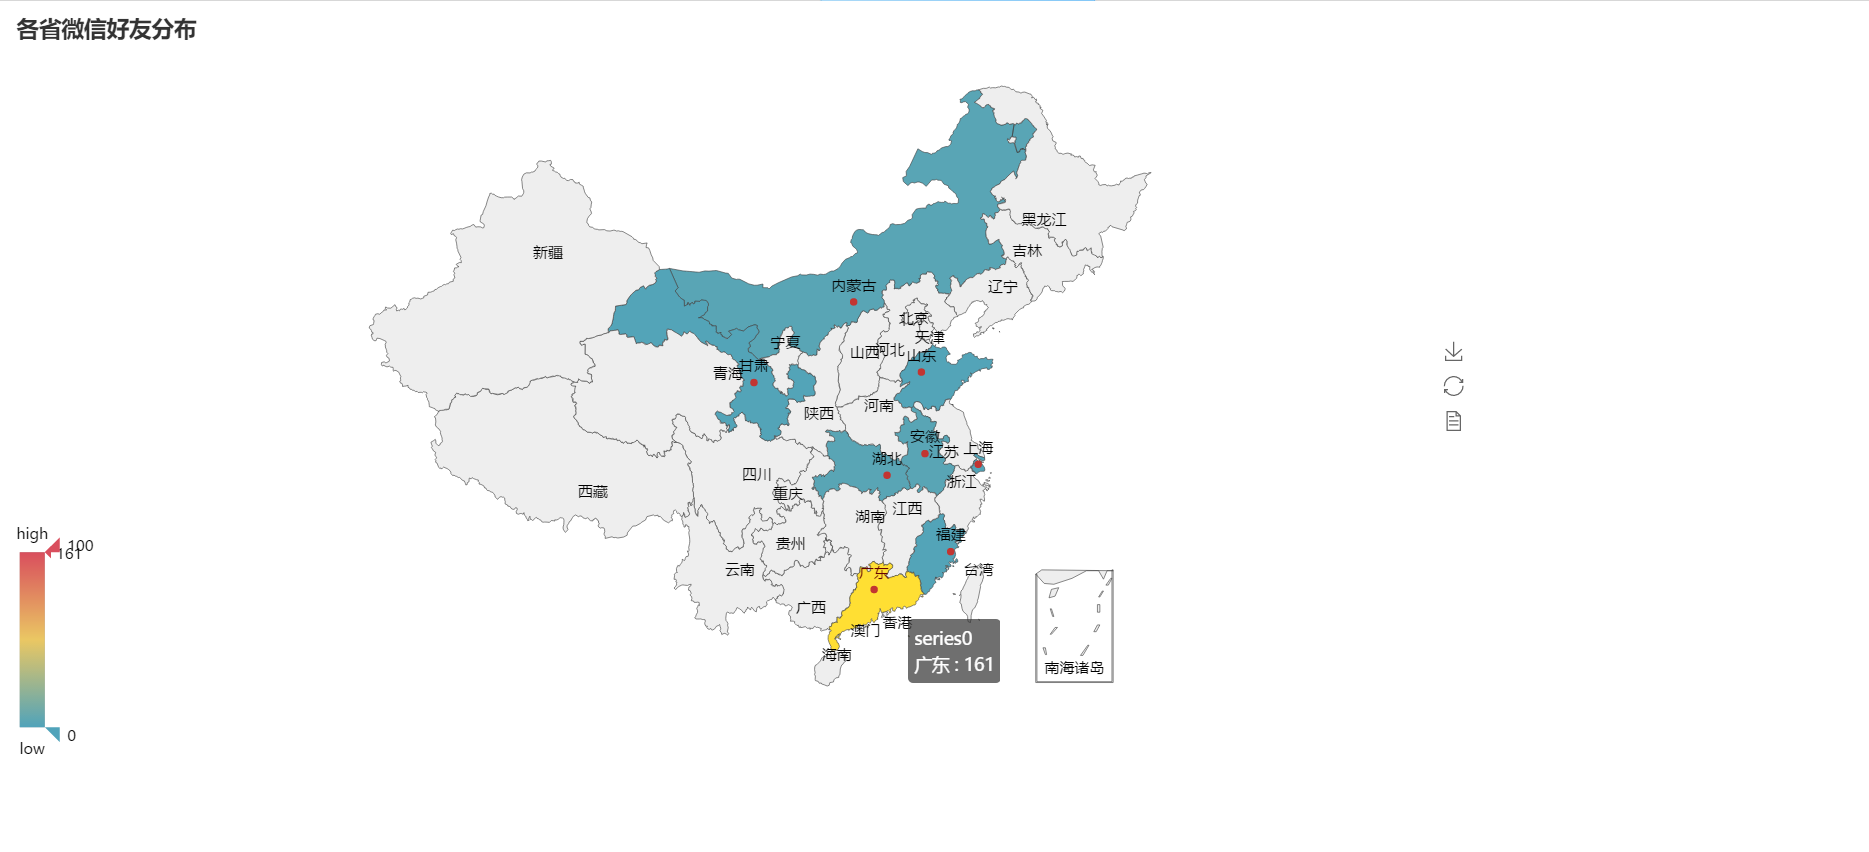
# -*- coding: utf-8 -*-
"""
Created on Sun Jun  2 15:10:33 2019

@author: history
"""

# -*- coding: utf-8 -*-
#导入模块
# 1. ================================此处可优化=======================================================
from wxpy import Bot
#初始化机器人,选择缓存模式(扫码)登录
bot = Bot(cache_path=True)
#获取我的所有微信好友信息
friend_all = bot.friends()
#查看好友信息都记录了哪些字段
print(friend_all[0].raw) #friend_all[0]是我的微信昵称,.raw 则是获取我的全部信息
print(len(friend_all))
#获取好友信息中的部分需要的信息
lis=[]
for a_friend in friend_all:
    NickName = a_friend.raw.get('NickName',None)
    #Sex = a_friend.raw.get('Sex',None)
    Sex ={1:"男",2:"女",0:"其它"}.get(a_friend.raw.get('Sex',None),None)
    City = a_friend.raw.get('City',None)
    Province = a_friend.raw.get('Province',None)
    Signature = a_friend.raw.get('Signature',None)
    HeadImgUrl = a_friend.raw.get('HeadImgUrl',None)
    HeadImgFlag = a_friend.raw.get('HeadImgFlag',None)
    list_0=[NickName,Sex,City,Province,Signature,HeadImgUrl,HeadImgFlag]
    lis.append(list_0)

#将列表信息存储到 xlsx 格式中
def lis2e07(filename,lis):
    '''
    将列表写入 07 版 excel 中,其中列表中的元素是列表.
    filename:保存的文件名(含路径)
    lis:元素为列表的列表,如下:
    lis = [["名称", "价格", "出版社", "语言"],
           ["暗时间", "32.4", "人民邮电出版社", "中文"],
           ["拆掉思维里的墙", "26.7", "机械工业出版社", "中文"]]
    '''
    import openpyxl
    wb = openpyxl.Workbook()
    sheet = wb.active
    sheet.title = 'list2excel07'
    # 2. 定义列表题 ==========================================================================================
    title = ['NickName','Sex','City','Province','Signature','HeadImgUrl','HeadImgFlag']
    for i in range(len(title)):
        sheet.cell(row=1, column=i+1, value=title[i])
    # ============================================================================================修改部分
    for i in range(len(lis)):
        for j in range(len(lis[i])):
            # 3. ======修改1处================================================================================
            sheet.cell(row=i+2, column=j+1, value=str(lis[i][j]))
    wb.save(filename)
    print("写入数据成功!")
# 4. 我改了路径,你自己改回去吧==================================================================================
lis2e07('D:/Python文件/微信朋友.xlsx',lis)

#■■■■■■■■■■■■■■
#用“city”数据做成词云
#方法一
#粗略获取好友的统计信息
Friends = bot.friends()
data = Friends.stats_text(total=True, sex=True,top_provinces=30, top_cities=500)
print(data)

#方法二
#读取数据
from pandas import read_excel
df = read_excel('D:/Python文件/微信朋友.xlsx',sheetname='list2excel07')
df.tail(10)
#词云图 plt+wordcloud
from wordcloud import WordCloud
import matplotlib.pyplot as plt
import pandas as pd

word_list= df['City'].fillna('').tolist()
#将 dataframe 的列转化为 list,其中的 nan 用“0”替换
new_text = ' '.join(word_list)
wordcloud = WordCloud(font_path='simhei.ttf',
background_color="black").generate(new_text)
plt.imshow(wordcloud)
plt.axis("off")
plt.show()
#方法三
#利用 pyecharm 做词云

count = df['City'].value_counts() #对 dataframe 进行全频率统计,排除了 nan
City_list = df['City'].fillna('').tolist()
#将 dataframe 的列转化为 list,其中的 nan 用“NAN”替换
count_City = pd.value_counts(City_list)
#对 list 进行全频率统计

from pyecharts import WordCloud
name = count_City.index.tolist()
value = count_City.tolist()
wordcloud = WordCloud(width=1300, height=620)
wordcloud.add("", name, value, word_size_range=[20, 100])
#wordcloud.show_config()
wordcloud.render(r'D:/Python文件/微信应用.html')
#■■■■■■■■■■■■■■
#将这些个好友在全国地图上做分布
Province_list = df['Province'].fillna('NAN').tolist()
#将 dataframe 的列转化为 list,其中的 nan用“NAN”替换
count_Province = pd.value_counts(Province_list)
#对 list 进行全频率统计
from pyecharts import Map
value =count_Province.tolist()
attr =count_Province.index.tolist()
map=Map("各省微信好友分布", width=1200, height=600)
map.add("", attr, value, maptype='china', is_visualmap=True,
visual_text_color='#000',
is_label_show = True) #显示地图上的省份
#map.show_config() #显示配置
map.render(r'D:/Python文件/微信应用.html')

图灵机器人:
# -*- coding: utf-8 -*-
"""
Created on Mon Jun  3 19:36:07 2019

@author: history
"""


from wxpy import *
import requests
import json
# 初始化机器人,扫码登陆
bot = Bot()
robot = Bot()
def talk_robot(info='你好啊'):   #定义一个默认参数
    api_url = 'http://www.tuling123.com/openapi/api'  # 图灵接口url
    apikey = '0fa2519bbe2c4559b8cdc73d30665c88'       # 注册图灵生成key
    data = {'key': apikey, 'info': info}
    r=requests.post(api_url, data=data).text
    response = json.loads(r)['text']
    print(response)
talk_robot('你好啊')

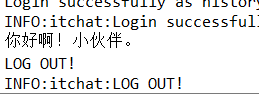
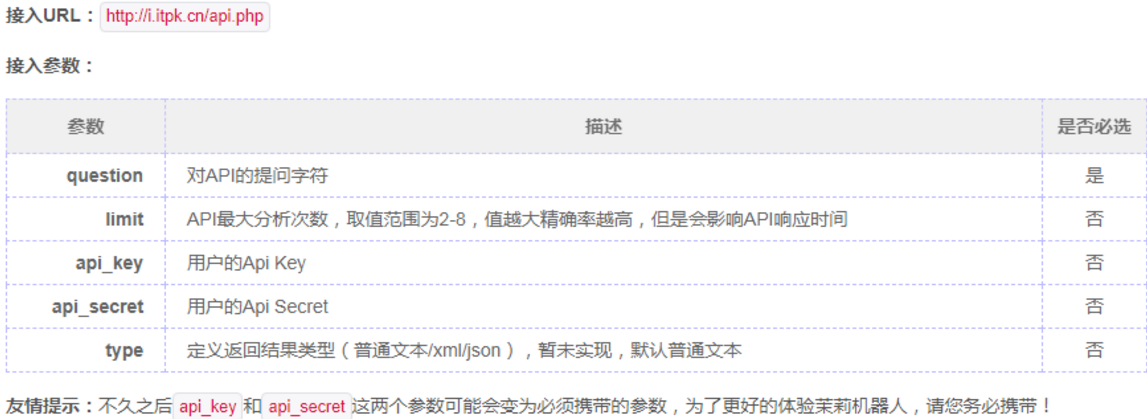
# -*- coding: utf-8 -*-
"""
Created on Mon Jun  3 19:36:07 2019

@author: history
"""


#-*- coding:utf-8 -*-
import itchat
import requests

def get_response(msg):
    apiurl = 'http://i.itpk.cn/api.php' # //moli机器人的网址
    data={
        "question": msg,    #//获取到聊天的文本信息
        "api_key": "9ddf52cacd0ef429d1c63bf411b9bed6",
        "api_secret": "n4gxkdyckd7p"
    }

    r=requests.post(apiurl,data=data) # //构造网络请求
    return r.text
@itchat.msg_register(itchat.content.TEXT)    # //好友消息的处理
def print_content(msg):
    return get_response(msg['Text'])
@itchat.msg_register([itchat.content.TEXT], isGroupChat=True)    #群消息的处理
def print_content(msg):
    return get_response(msg['Text'])
itchat.auto_login(True)           #自动登录
itchat.run()                       #//启动聊天机器人

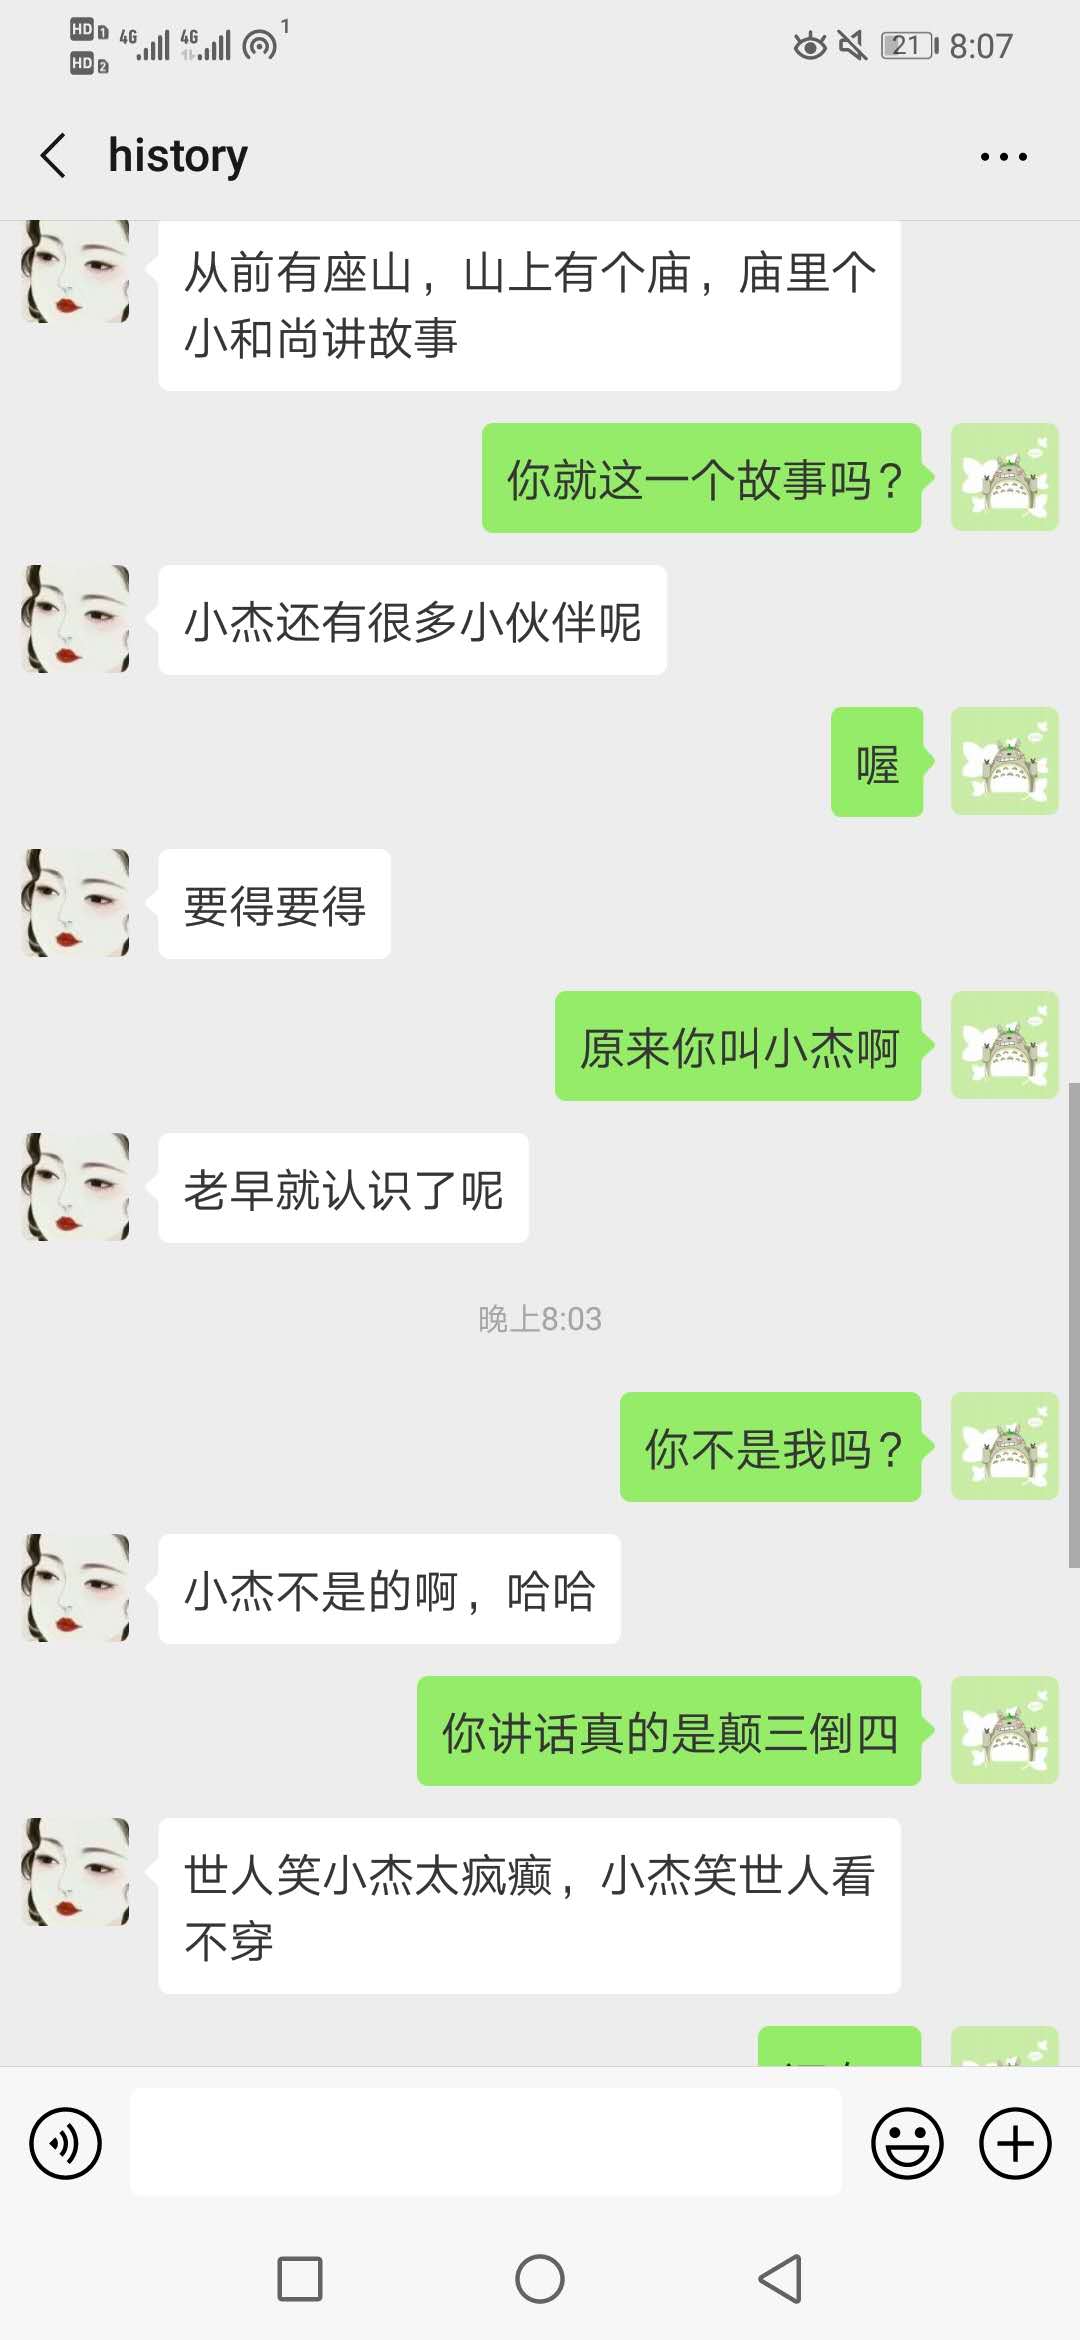
原来这个聊天的机器人叫小杰。。
Nice to meet you !

 浙公网安备 33010602011771号