python--多线程--多进程--虚拟环境--单元测试--参数化--(day8)
一、self的作用
class Person:
    country = 'China'

    def __init__(self,name):
        self.name = name
        print('内存地址',id(self))

    def say(self):
        print(self.name)


xm = Person('小明')
print('xm的内存地址',id(xm))
xm.say()

xh = Person("小红")
print('xh的内存地址',id(xh))
xh.say()

每次实例化的是谁,self 就是谁

二、多线程
import threading
import time
#进程是多个资源的集合。
#线程是就是进程里面具体干活的。
#线程和线程之间是互相独立的。

def down_load():
    time.sleep(5)
    print("运行完了")

def movie():
    time.sleep(1)
    print('movie')
# threading.Thread(target=down_load,args=('name','abfd'))#启动线程 ,target=函数名,args=(参数1,参数2)
t1 = threading.Thread(target=down_load)
t1.start()
t2 = threading.Thread(target=down_load)
t2.start()
t3 = threading.Thread(target=down_load)
t3.start()

启动多个线程可以使用for循环的方式
for i in range(10):
    t = threading.Thread(target=down_load)
    t.start()


start_time = time.time()
for i in range(10):
t = threading.Thread(target=down_load)
t.start()
for i in range(5):
t = threading.Thread(target=movie)
t.start()
end_time = time.time()
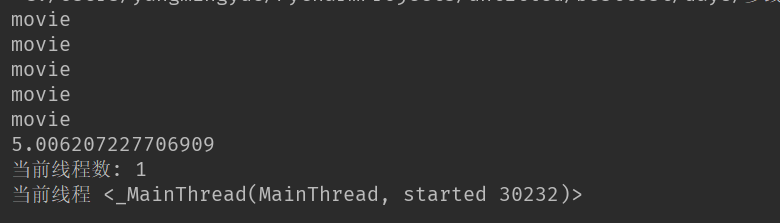
print(end_time - start_time)

没有等子线s程执行完,时间直接打印出来,因为线程和线程之间是独立的,这里统计的只是主线程(最开始执行的线程)运行的时间,通过主线程启动的线程叫做子线程
print('当前线程数',threading.activeCount()) #查看当前线程数
![]()

统计所有子线程运行完所用的时间,
方式1:用.join()
start_time = time.time()
for i in range(5):
    t = threading.Thread(target=movie)
    t.start()
    t.join()#
end_time = time.time()
print(end_time - start_time)
print('当前线程数:',threading.activeCount()) #查看当前线程数
print('当前线程',threading.current_thread())#查看当前线程
![]()
方式二:
start_time = time.time()
thread_list = []
for i in range(5):
    t = threading.Thread(target=movie)
    t.start()
    thread_list.append(t)

print('thread_list',thread_list)
#
for thread in thread_list:
    thread.join() #主线程等待子线程结束
end_time = time.time()
print(end_time - start_time)

方式三、
start_time = time.time()
for i in range(5):
    t = threading.Thread(target=movie)
    t.start()

while threading.activeCount()!=1:
    pass

print('当前线程数',threading.activeCount()) #查看当前线程数
print(threading.current_thread())#查看当前线程

end_time = time.time()
print(end_time - start_time)
![]()

2.1、下载图片例子,查看串行和并发的速度
import requests,time,threading
from hashlib import md5
result_list = {}
def down_load_pic(url):
    req = requests.get(url)#请求下url
    m = md5(url.encode())#将url md5下,当文件名
    file_name = m.hexdigest()+'.png'
    with open(file_name ,'wb') as fw:#打开文件
        fw.write(req.content)
    # return file_name
    result_list[file_name] = threading.current_thread()


url_list = ['http://www.nnzhp.cn/wp-content/uploads/2019/10/f410afea8b23fa401505a1449a41a133.png',
            'http://www.nnzhp.cn/wp-content/uploads/2019/11/481b5135e75c764b32b224c5650a8df5.png',
            'http://www.nnzhp.cn/wp-content/uploads/2019/11/b23755cdea210cfec903333c5cce6895.png',
            'http://www.nnzhp.cn/wp-content/uploads/2019/11/542824dde1dbd29ec61ad5ea867ef245.png']
'''串行下载,只有一个线程,不涉及等待'''
start_time = time.time()
for url in url_list:
    down_load_pic(url)
end_time = time.time()

print(end_time - start_time)

'''多线程'''
start_time = time.time()
for url in url_list:
    t = threading.Thread(target=down_load_pic,args=(url,))#args=(url,)#只有一个参数,一定要加个逗号
    t.start()

while threading.activeCount()!=1:
    pass

end_time = time.time()
print(end_time - start_time)
print(result_list)

#有时候多线程速度不一定会快,没有真正意义上的并发,CPU有几个核心就只能同时运行几个任务(线程),因为CPU运行速度快,让你感知多线程是同时进行的
#4c,假如电脑是4核,同时支持4个任务一起运行,但是python 只能运行1cpu,其他的用不了,python的多线程不是真正的多线程,因为python语言设计问题是GIL全局解释器锁导致的,有的线程运行速度快,有点用的慢,数据可能会丢失
#cpu 上下文切换,让python看起来是并发,cpu只负责调度任务,存储是在磁盘上进行的。cpu完成一个调度任务就去执行下个任务
#多进程
#CPU有几个核心就只能同时运行几个任务(线程)

2.2、异步任务
import yagmail,threading
def send_mail():
    smtp = yagmail.SMTP(host='smtp.163.com',
                        user='**@163.com',
                        password='****'
                        )
    smtp.send(to='**@163.com',cc=['****@163.com','***@qq.com'],subject='标题',
              contents='正文',attachments=[r'/Users/nhy/PycharmProjects/mjz/day6/jsonpath模块.py']
              )

def async_send_mail():
    t = threading.Thread(target=send_mail)#启动线程发邮件
    t.start()
2.3、线程池
import threadpool
import requests,time,threading
from hashlib import md5
def down_load_pic(url):
    print(threading.current_thread())
    req = requests.get(url)
    m = md5(url.encode())
    with open( m.hexdigest()+'.png','wb') as fw:
        fw.write(req.content)
url_list = ['http://www.nnzhp.cn/wp-content/uploads/2019/10/f410afea8b23fa401505a1449a41a133.png',
            'http://www.nnzhp.cn/wp-content/uploads/2019/11/481b5135e75c764b32b224c5650a8df5.png',
            'http://www.nnzhp.cn/wp-content/uploads/2019/11/b23755cdea210cfec903333c5cce6895.png',
            'http://www.nnzhp.cn/wp-content/uploads/2019/11/542824dde1dbd29ec61ad5ea867ef245.png']

pool = threadpool.ThreadPool(20)#实例化一个线程池
reqs = threadpool.makeRequests(down_load_pic,url_list)#分配数据(函数名,数据)
[pool.putRequest(req) for req in reqs]#列表生成式
# for req in reqs:
#     pool.putRequest(req)
print(threading.activeCount())
pool.wait() #等待
print('end')
![]()

2.4、守护线程
#主线程结束,守护线程立马死掉。
import threading,time
def down_load():
time.sleep(5)
print("运行完了")
for i in range(10):
t = threading.Thread(target=down_load)
t.setDaemon(True) #设置子线程为守护线程
t.start()
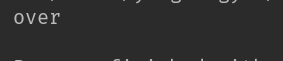
print('over')
七、锁
#多个线程操作同一个数据的时候,就得加锁
import threading

num = 0

lock = threading.Lock() #申请一把锁

def add():
    global num#修改全局变量要加global声明
    lock.acquire()#加锁
    num+=1
    lock.release()#解锁  加锁后不解锁会导致死锁


for i in range(20):
    t = threading.Thread(target=add,)
    t.start()

while threading.activeCount() !=1:
    pass

print(num)

'''用with方式替代加锁解锁'''
#多个线程操作同一个数据的时候,就得加锁
import threading

num = 0

lock = threading.Lock() #申请一把锁

def add():
    global num#修改全局变量要加global声明

    with lock:#简写,用with也会帮你加锁,解锁
        num+=1
for i in range(20):
    t = threading.Thread(target=add,)
    t.start()

while threading.activeCount() !=1:
    pass

print(num)

3、多进程
import multiprocessing,time
def down_load():
    time.sleep(5)
    print("运行完了")

if __name__ == '__main__':#windows 电脑必须使用这个不会报错
for i in range(5):
p = multiprocessing.Process(target=down_load)
p.start()
print(multiprocessing.current_process())
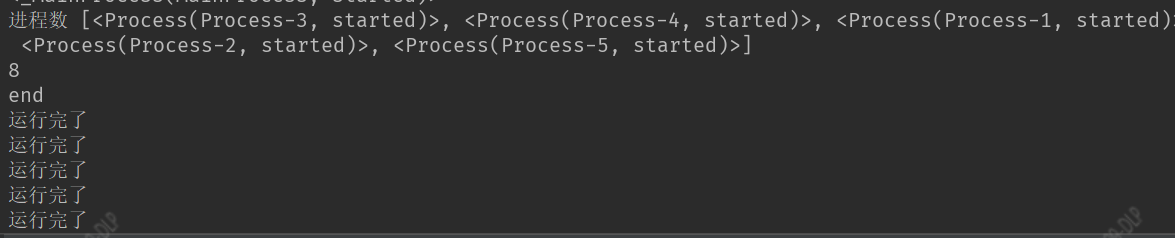
print('进程数',multiprocessing.active_children())
print('cpu 数量',multiprocessing.cpu_count())
print('end')
import multiprocessing,time
def down_load():
time.sleep(5)
print("运行完了")
if __name__ == '__main__':#windows 电脑必须使用这个不会报错
for i in range(5):
p = multiprocessing.Process(target=down_load)
p.start()
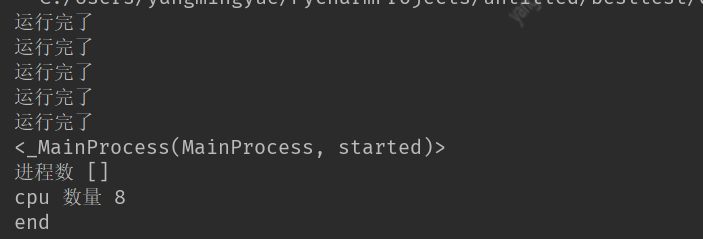
while len(multiprocessing.active_children())!=0:#等待子进程结束
pass
print(multiprocessing.current_process())
print('进程数',multiprocessing.active_children())
print('cpu 数量',multiprocessing.cpu_count())
print('end')
多线程:
适用于IO密集型任务
input/output
网络io:网络上传下载内容
磁盘io:数据库存文件
多进程:
适用于CPU密集型任务:排序,计算
#多进程内也可以启动几个线程,因为进程里干活的实际是线程
四、虚拟环境
1、pip install virtualenv

2、创建干净的虚拟环境
2.1、进入要创建虚拟环境的目录,然后virtualenv name 创建python3的虚拟环境文件

2.2、手动创建虚拟目录,然后进入虚拟环境的文件夹,virtualenv py3 #干净的环境,没有第三方模块,只有pip


4、查看文件夹内容
cd /(虚拟环目录)/py3/bin #进入虚拟环境目录,linux/mac
cd (虚拟环目录)/py3/Scripts #进入虚拟环境目录,windows

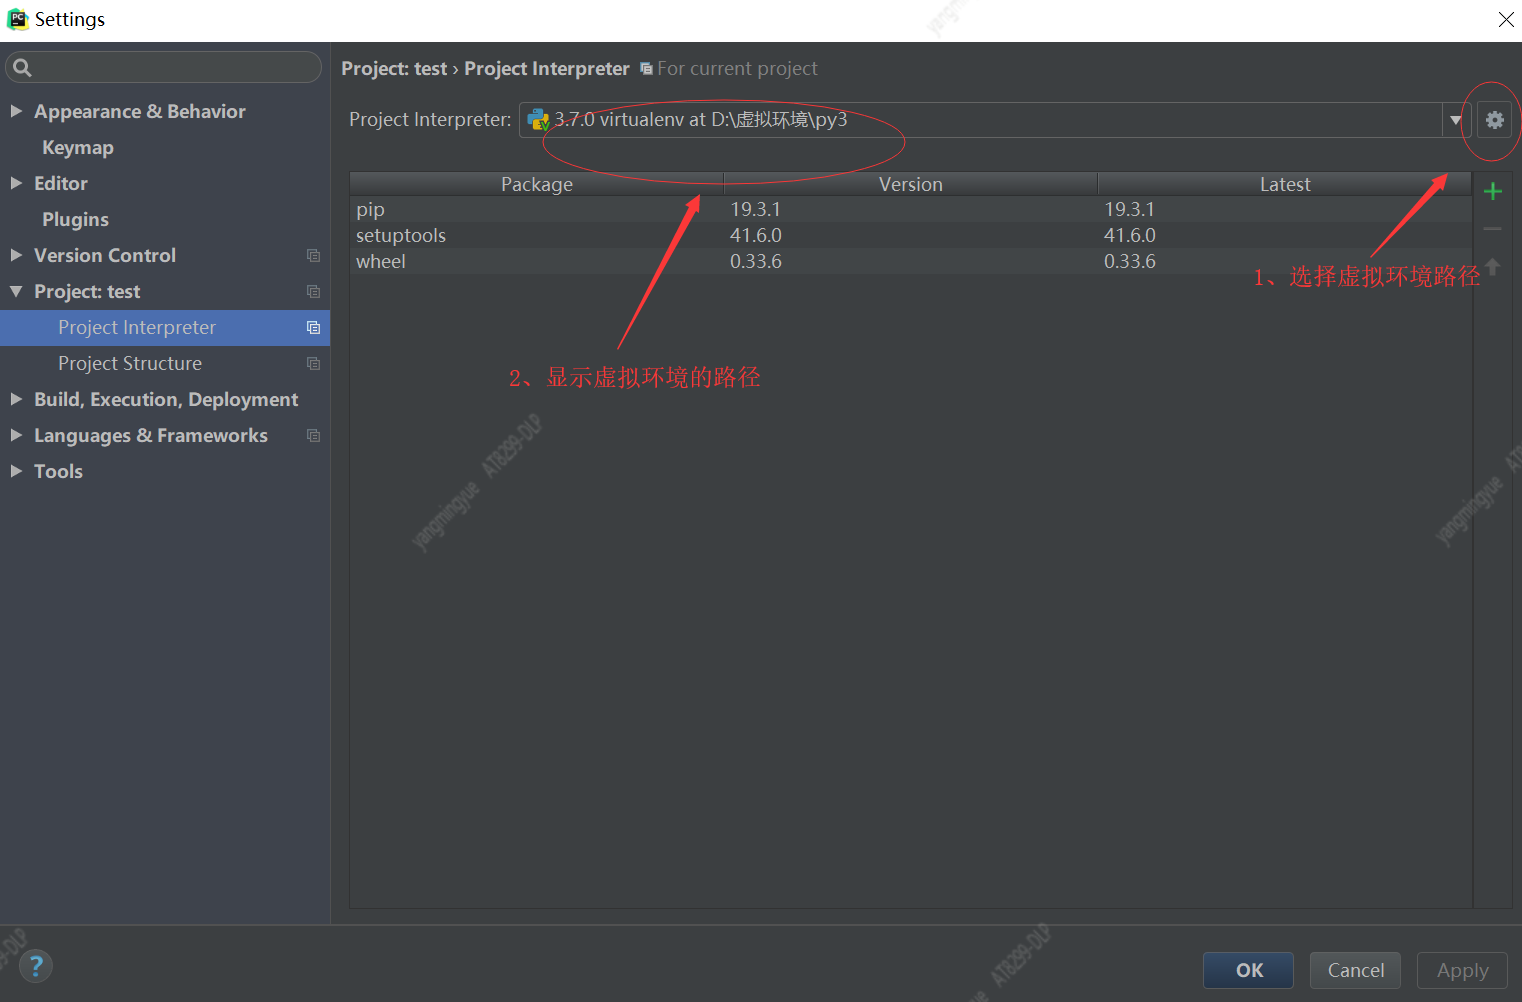
5、pycharm选择虚拟环境路径
6、pycharm 下执行命令
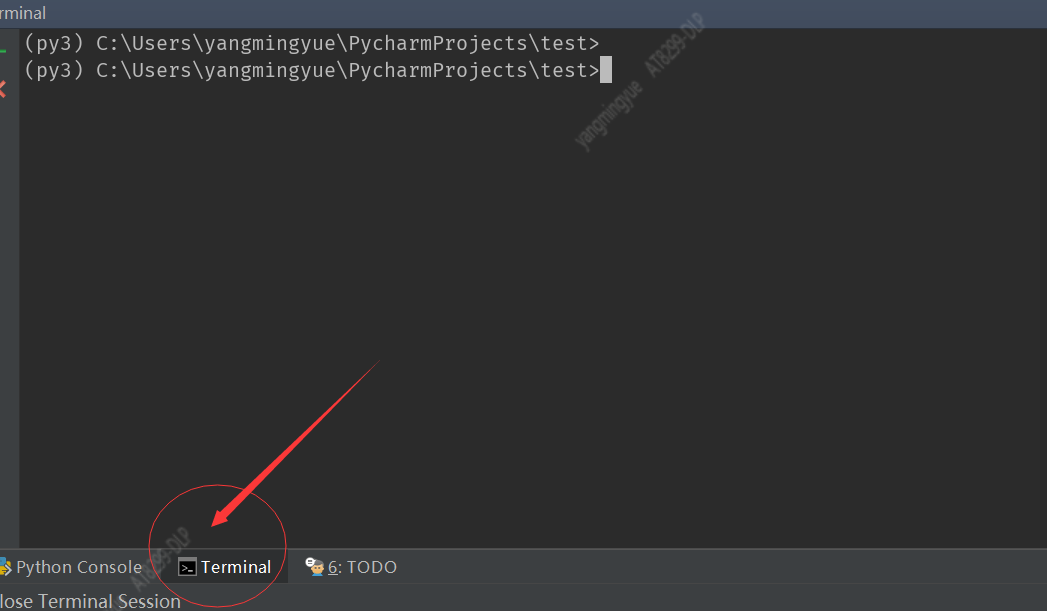
可以输入pip 命令
7、输入deactivate 退出虚拟环境
退出后再想进入虚拟环境
进入虚拟环境的安装目录--cd Scripts--dir--activate#windows
进入虚拟环境的安装目录--cd bin--ls--source ./activate #linux/mac
五、搭建测试环境
1、搭建测试环境
1、申请服务器
2、安装依赖的软件 jdk1.8、mysql、redis、tomcat等等
3、获取代码,修改配置文件,(编译、打包)
4、导入基础数据(建表、导入数据)
5、代码放到服务器上,启动
2、日常部署
1、拉取最新代码,修改配置文件,(编译、打包)
2、如果有变动的sql,执行
3、服务器上代码替换成最新的,重启
六、单元测试
1、
import unittest
def add(a,b):
    return a+b
import HTMLTestRunner
import BeautifulReport as bfr
class AddTest(unittest.TestCase):
    @classmethod
    def setUpClass(cls):#所有用例执行之前执行它
        print('setUpClass')
    @classmethod
    def tearDownClass(cls):#所有用例执行之后执行它
        print('tearDownClass')

    def setUp(self):
        print('setUp')
        #每条用例执行之前都会执行它
    def tearDown(self):
        print('tearDown')
        #每条用例执行之后都会执行它

    def test_normal(self):
        result = add(1,1)
        self.assertEqual(2,result)
        print('test_normal')

    def test_error(self):
        print('test_error')
        result = add(1,1)
        self.assertEqual(2,result,'结果计算错误')

if __name__ == 'main':
    unittest.main()

2、HTMLTestRunner测试报告
import unittest
def add(a,b):
    return a+b
import HTMLTestRunner
class AddTest(unittest.TestCase):
    @classmethod
    def setUpClass(cls):#所有用例执行之前执行它
        print('setUpClass')
    @classmethod
    def tearDownClass(cls):#所有用例执行之后执行它
        print('tearDownClass')

    def setUp(self):
        print('setUp')
        #每条用例执行之前都会执行它
    def tearDown(self):
        print('tearDown')
        #每条用例执行之后都会执行它

    def test_normal(self):
        result = add(1,1)
        self.assertEqual(2,result)
        print('test_normal')

    def test_error(self):
        print('test_error')
        result = add(1,1)
        self.assertEqual(2,result,'结果计算错误')
file = open('report.html', 'wb')
runner = HTMLTestRunner.HTMLTestRunner(file, title='测试报告')
test_suite = unittest.makeSuite(AddTest)
runner.run(test_suite)

3、BeautifulReport测试报告
import unittest
def add(a,b):
    return a+b
import HTMLTestRunner
import BeautifulReport as bfr
class AddTest(unittest.TestCase):
    @classmethod
    def setUpClass(cls):#所有用例执行之前执行它
        print('setUpClass')
    @classmethod
    def tearDownClass(cls):#所有用例执行之后执行它
        print('tearDownClass')

    def setUp(self):
        print('setUp')
        #每条用例执行之前都会执行它
    def tearDown(self):
        print('tearDown')
        #每条用例执行之后都会执行它

    def test_normal(self):
        result = add(1,1)
        self.assertEqual(2,result)
        print('test_normal')

    def test_error(self):
        print('test_error')
        result = add(1,1)
        self.assertEqual(2,result,'结果计算错误')

test_suite = unittest.makeSuite(AddTest)
report = bfr.BeautifulReport(test_suite)
report.report(filename='bf_report.html', description='bf测试报告')

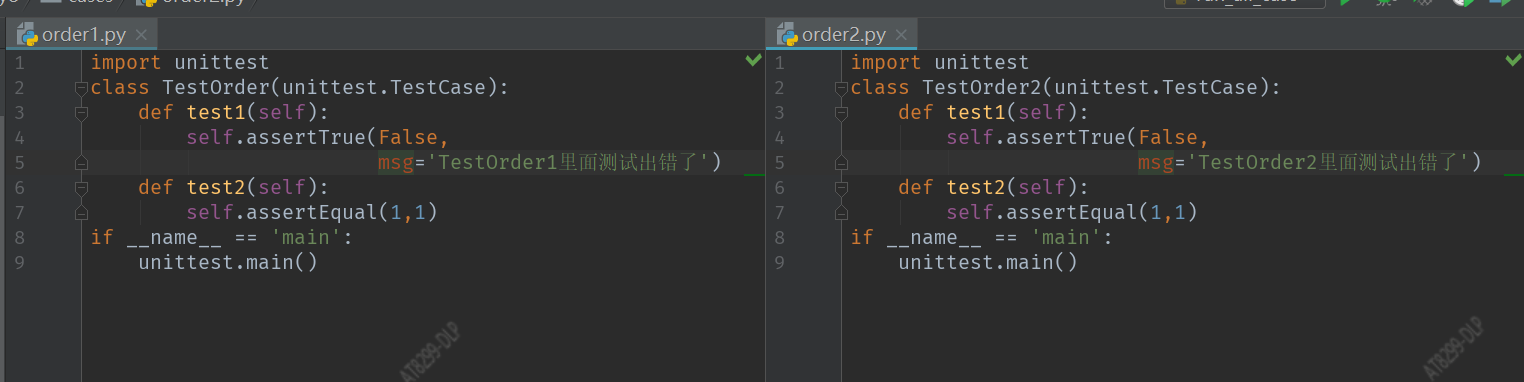
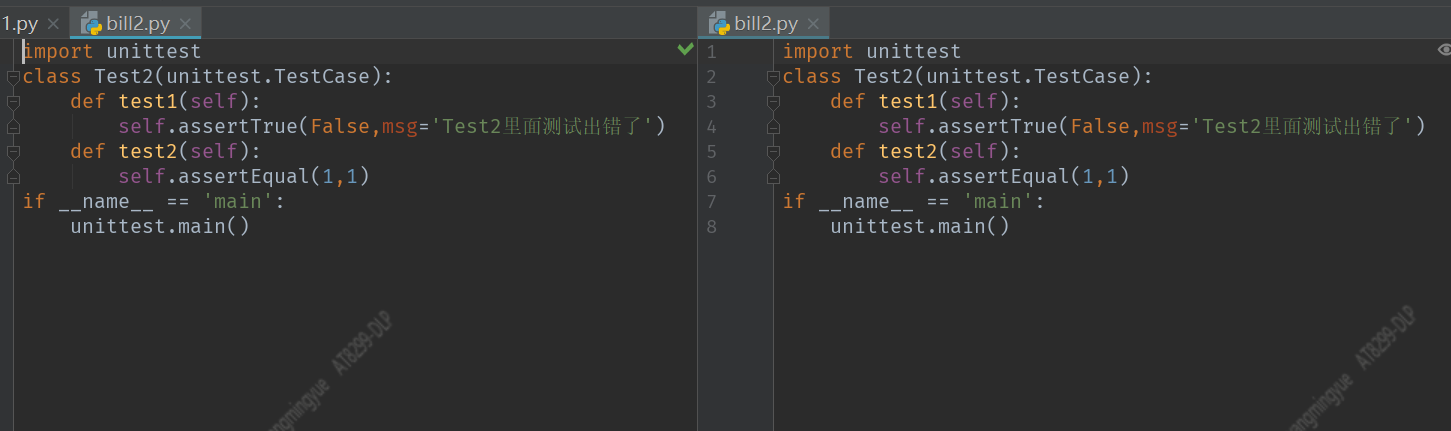
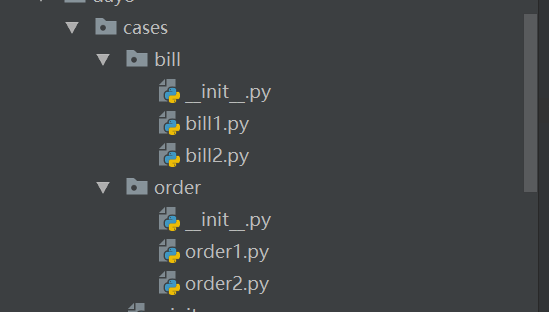
4、执行同目录下的所有文件
cases 文件夹下有4个文件,全部执行,生成测试报告
'''运行case下所有的python文件,生成测试报告'''
import unittest,BeautifulReport,os
test_suite = unittest.defaultTestLoader.discover('cases',
'*.py')
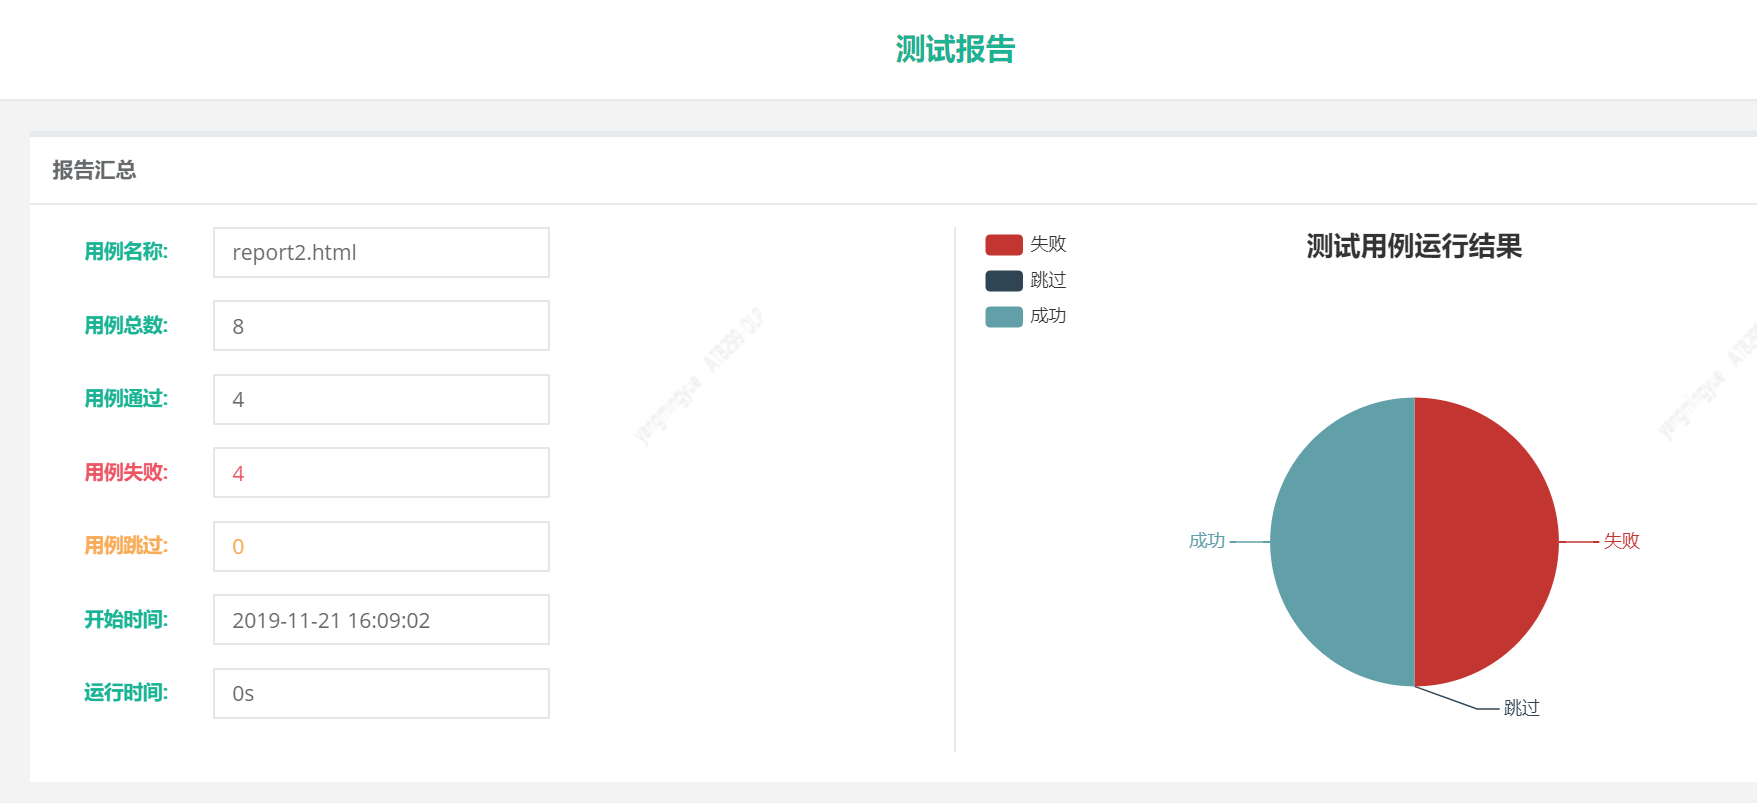
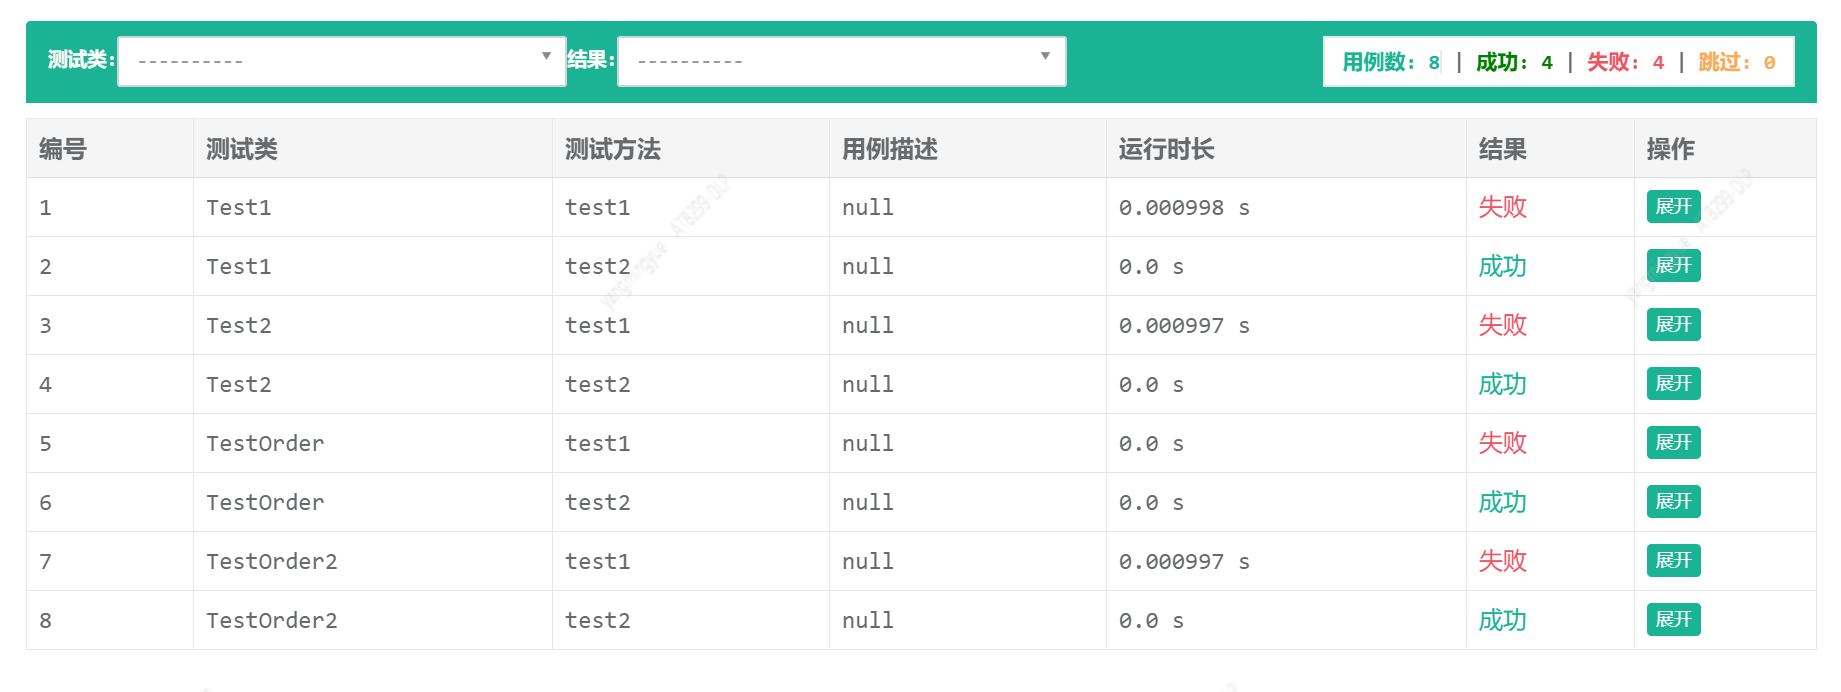
bf = BeautifulReport.BeautifulReport(test_suite)
bf.report('report2.html','哈哈哈测试报告')
运行case文件夹下的不同文件夹下的所有文件也是执行该命令
import unittest,BeautifulReport,os

test_suite = unittest.defaultTestLoader.discover('cases',
                                    '*.py')

bf = BeautifulReport.BeautifulReport(test_suite)
bf.report('report2.html','哈哈哈测试报告')
八、参数化
import parameterized
import unittest,BeautifulReport

#数据驱动
#代码驱动:用例全部是写代码实现的
#关键字驱动
data = [
    ['admin','123456',True,'正常登录'],
    ['admin','1122',False,'冻结用户登录'],
    ['sdfsdf','1111',False,'黑名单用户登录']#用户名,密码,预期结果
]
data2 = [
    ['admin','123456',True],
    ['admin','1122',False],
    ['sdfsdf','1111',False]
]
def login(user,password):
    if user=='admin' and password=='123456':
        return True
    return False


class LoginTest(unittest.TestCase):

    @parameterized.parameterized.expand(data)
    def test_login(self,user,password,expect,desc):#expect 为预期结果
        self._testMethodDoc = desc #自己指定
        result = login(user,password)#
        self.assertEqual(expect,result)

    @parameterized.parameterized.expand(data2)
    def test_login2(self,user,password,expect):
        '''登录'''
        result = login(user,password)
        self.assertEqual(expect,result)

bf = BeautifulReport.BeautifulReport(unittest.makeSuite(LoginTest))
bf.report(filename='11-17测试报告',description='接口测试报告')


 浙公网安备 33010602011771号