Springboot(十四)——集成SpringSecurity
SpringSecurity简介
Spring Security是一个功能强大且高度可定制的身份验证和访问控制框架。它实际上是保护基于sprin的应用程序的标准。
Spring Security是一个框架,侧重于为Java应用程序提供身份验证和授权。与所有Spring项目一样,Spring安全性的真正强大之处在于它可以轻松地扩展以满足定制需求
Spring Security 是针对Spring项目的安全框架,也是Spring Boot底层安全模块默认的技术选型,他可以实现强大的Web安全控制,对于安全控制,我们仅需要引入 spring-boot-starter-security 模块,进行少量的配置,即可实现强大的安全管理!
重点学习以下几个:
- WebSecurityConfigurerAdapter:自定义Security策略
- AuthenticationManagerBuilder:自定义认证策略
- @EnableWebSecurity:开启WebSecurity模式
Spring Security的两个主要目标是 “认证” 和 “授权”(访问控制)。
“认证”(Authentication)
“授权” (Authorization)
环境搭建
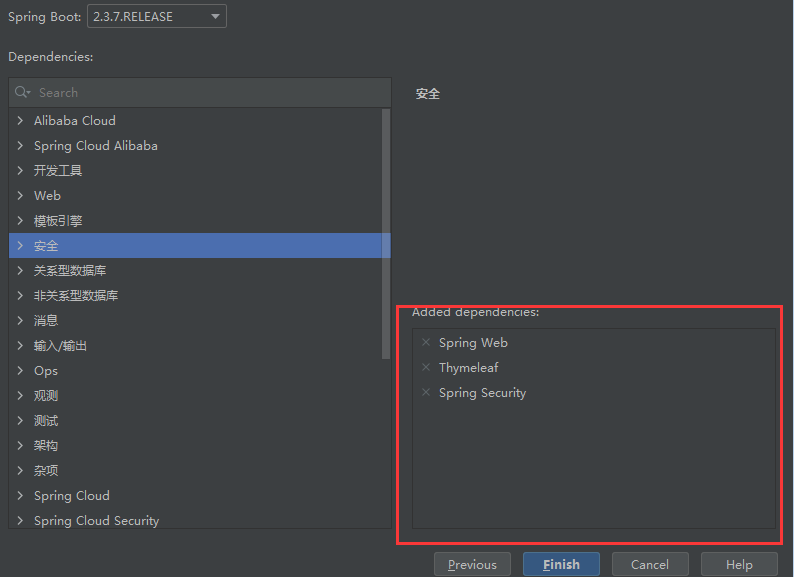
1、新建springboot项目,添加一下模块
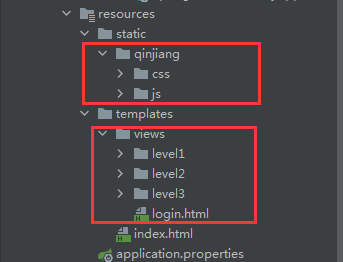
2、添加素材
下载SpringSecurity素材:https://www.kuangstudy.com/app/code
3、编写controller层
package com.study.controller;

import org.springframework.stereotype.Controller;
import org.springframework.web.bind.annotation.PathVariable;
import org.springframework.web.bind.annotation.RequestMapping;

@Controller
public class RouterController {

    @RequestMapping({"/","/index"})
    public String index(){
        return "index";
    }

    @RequestMapping("/toLogin")
    public String toLogin(){
        return "views/login";
    }

    //添加参数,实现多页面跳转
    @RequestMapping("/level1/{id}")
    public String level1(@PathVariable("id") int id){
        return "views/level1/"+id;
    }

    @RequestMapping("/level2/{id}")
    public String level2(@PathVariable("id") int id){
        return "views/level2/"+id;
    }

    @RequestMapping("/level3/{id}")
    public String level3(@PathVariable("id") int id){
        return "views/level3/"+id;
    }
}
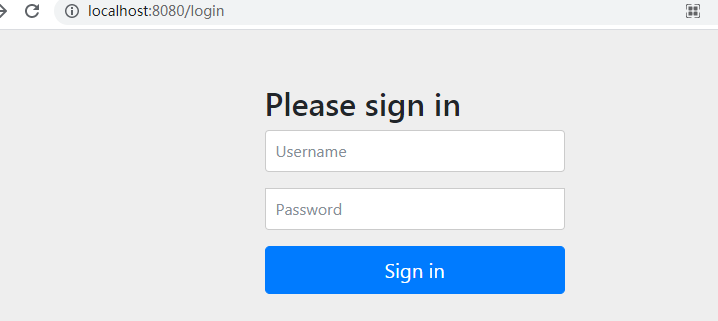
运行测试:输入localhost:8080
发现,页面自动跳转到login页面,那么只要引入SpringSecurity模块,输入任何页面都会自动跳转到SpringSecurity默认提供的login页面。
角色认证授权
新建一个SecurityConfig配置类,继承WebSecurityConfigurerAdapter,再添加@EnableWebSecurity注解
package com.study.config;

import org.springframework.security.config.annotation.authentication.builders.AuthenticationManagerBuilder;
import org.springframework.security.config.annotation.web.builders.HttpSecurity;
import org.springframework.security.config.annotation.web.configuration.EnableWebSecurity;
import org.springframework.security.config.annotation.web.configuration.WebSecurityConfigurerAdapter;
import org.springframework.security.crypto.bcrypt.BCryptPasswordEncoder;


//拦截器
@EnableWebSecurity
public class SecurityConfig extends WebSecurityConfigurerAdapter {

    //权限拦截
    @Override
    protected void configure(HttpSecurity http) throws Exception {
        //首页所有人可以访问,功能页只有对应权限的人才可以访问
        //          认证请求
        http.authorizeRequests()
                //请求地址("/"):首页           所有人都可以访问
                .antMatchers("/").permitAll()
                //求情地址("/level1/**"):level1目录下所有页面      只有vip1权限的角色可以访问
                .antMatchers("/level1/**").hasAnyRole("vip1")
                .antMatchers("/level2/**").hasAnyRole("vip2")
                .antMatchers("/level3/**").hasAnyRole("vip3")
                //除此之外,所有请求都必须要认证才能访问
                // 所有请求
                .anyRequest().authenticated();

        //没有权限默认会到登录页面,需要开启登录的页面
        http.formLogin();
    }

    //认证
    @Override
    protected void configure(AuthenticationManagerBuilder auth) throws Exception {
        //auth.jdbcAuthentication():数据库
        //内存里认证
        //这些数据正常应该从数据库中读取       密码加密方式,防止反编译
        auth.inMemoryAuthentication().passwordEncoder(new BCryptPasswordEncoder())
                //设置用户密码和赋予权限                   密码编码
                .withUser("study").password(new BCryptPasswordEncoder().encode("123456")).roles("vip2","vip3")
                .and() //拼接多个用户
                .withUser("root").password(new BCryptPasswordEncoder().encode("123456")).roles("vip1","vip2","vip3")
                .and()
                .withUser("guest").password(new BCryptPasswordEncoder().encode("123456")).roles("vip3");

    }
	//----------------------------------------------------------------------
//    链接数据库
//    private DataSource dataSource;
//
//    @Override
//    protected void configure(AuthenticationManagerBuilder auth) throws Exception {
//        auth.jdbcAuthentication()
//                .dataSource(dataSource)
//                .withDefaultSchema()
//                .withUser("user").password("password").roles("USER")
//                .and()
//                .withUser("admin").password("password").roles("USER","ADMIN");
//
//    }
}
控制显示和隐藏
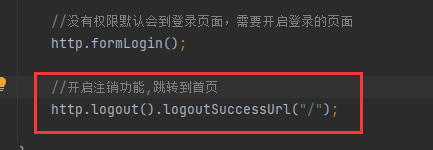
开启注销功能
//开启注销功能,跳转到首页
http.logout().logoutSuccessUrl("/");
导入thymeleaf和springsecurity5整合
<!-- https://mvnrepository.com/artifact/org.thymeleaf.extras/thymeleaf-extras-springsecurity5 -->
<dependency>
    <groupId>org.thymeleaf.extras</groupId>
    <artifactId>thymeleaf-extras-springsecurity5</artifactId>
    <version>3.0.4.RELEASE</version>
</dependency>
修改前端
 <!--登录注销-->
<div class="right menu">

    <!--如果未登录:显示登录按钮-->
    <div sec:authorize="!isAuthenticated()">
        <a class="item" th:href="@{/toLogin}">
            <i class="address card icon"></i> 登录
        </a>
    </div>
    <!--如果已登录:显示用户名和注销按钮-->
    <div sec:authorize="isAuthenticated()">
         <a class="item">
             用户名:<span sec:authentication="name"> </span>
<!--         角色:<span sec:authentication="principal.getAuthorities()"></span>-->
         </a>
    </div>
    <div sec:authorize="isAuthenticated()">
         <a class="item" th:href="@{/logout}">
             <i class="address card icon"></i> 注销
         </a>
    </div>
</div>
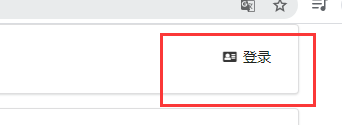
运行测试:
未登录状态
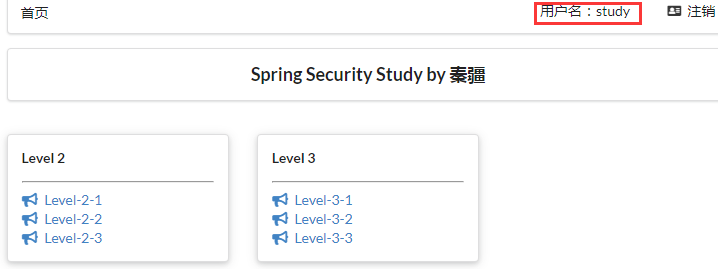
登录状态

内容根据用户权限动态显示
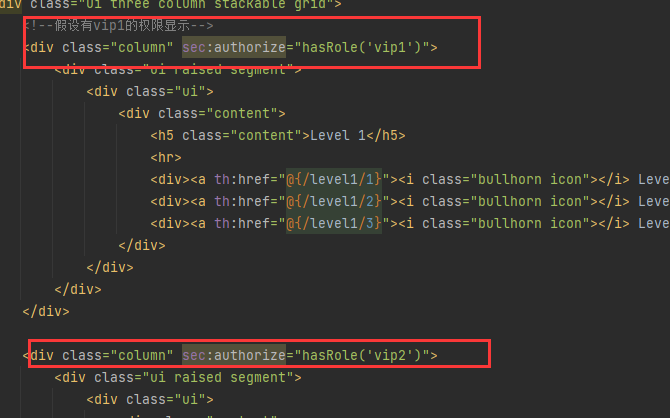
修改前端
<!--假设有对应的权限才显示-->
<div class="column" sec:authorize="hasRole('vip1')">
<div class="column" sec:authorize="hasRole('vip2')">
<div class="column" sec:authorize="hasRole('vip3')">
运行测试
//开启记住我功能
http.rememberMe();
http.formLogin().loginPage("/toLogin"); //自定义登录页

