

C# 部署 tensorRT resnet分类模型 deploy TensorRT model with C#
基于生态的优势,一般都是用pytorch写模型;但是工业现场的部署,目前比较方便的还是onnx;当下为了追求效率,使用了TensorRT
C#: .net8
GPU: A2000 / 4070Ti
OS: windows
Cuda: 11.8
预处理:Emgu.CV
- install v11.8 Cuda
默认安装,会生成以下路径 C:\Program Files\NVIDIA GPU Computing Toolkit\CUDA\v11.8 - 下载 v8.1.6 TensorRT
我随便放到了一个路径,解压一下就好 - copy files from TensorRT to cuda
· 把TensorRT文件夹里的 include 和 lib 文件夹复制,粘贴到cuda文件夹里
· 把cuda/lib 文件夹里的.dll 文件,全部剪切,放到 cuda/bin 文件夹中 - git clone TensorRTSharp 项目
https://github.com/guojin-yan/TensorRT-CSharp-API.git - 按照 https://www.cnblogs.com/guojin-blogs/p/18108220 设置
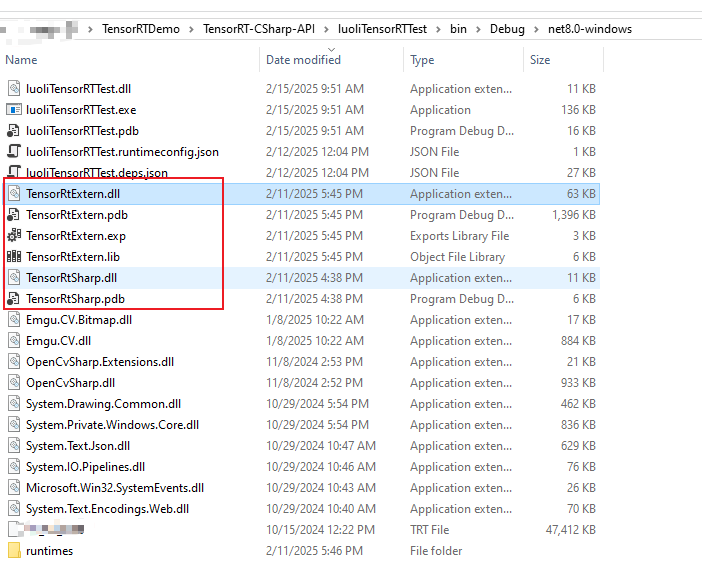
其中,在附加依赖项目录时,我这边报错了,所以去除了nvJitLink.libnvJitLink_static.lib - 新建一个测试项目,引用TensorRTSharp.dll,把TensorRtExtern生成的4个文件也copy过来
- 测试项目核心代码,其中 'input' 'output' 是模型的input/output layer,如果使用了onnx,在onnx导出时,有输入相关参数,需要保持一致
string modelPath = string.Empty;
Nvinfer nvinfer = new Nvinfer(modelPath );

float[] inputData = imagePreProc20250212(img);

nvinfer.LoadInferenceData("input", inputData);
nvinfer.infer();

List<float> results = nvinfer.GetInferenceResult("output").ToList();

//这一段是在根据最后的output,以最大confidence的index作为结果,并归一化,也就是概率
float maxProb = results.Max();
float minProb = results.Min();
int index = results.IndexOf(maxProb);

double sum = results.Sum(x => Math.Pow(Math.E, x));

float prob = float.Parse((Math.Pow(Math.E, maxProb) / sum).ToString("f4"));
- Emgu.CV的预处理
TensorRT的输入是float[],项目的输入是图片,所以需要进行一些处理;这里的核心就是,图片需要遵循NCHW格式;我的batch size是1,所以不需要考虑N
 private float[] imagePreProc20250212(Image<Rgb, float> image)
 {

     image = image.Resize(224, 224, Emgu.CV.CvEnum.Inter.Nearest);

     int chLen = 224 * 224;

     float[] data = new float[3 * chLen];

     float[] mean = new[] { 0.485f, 0.456f, 0.406f };
     float[] stddev = new[] { 0.229f, 0.224f, 0.225f };

     for (int y = 0; y < image.Cols; y++)
     {
         for (int x = 0; x < image.Rows; x++)
         {
             image.Data[x, y, 0] = ((image.Data[x, y, 0] / 255.0f) - mean[0]) / stddev[0];
             image.Data[x, y, 1] = ((image.Data[x, y, 1] / 255.0f) - mean[1]) / stddev[1];
             image.Data[x, y, 2] = ((image.Data[x, y, 2] / 255.0f) - mean[2]) / stddev[2];
         }
     }
     // 因为image是  image<RGB, float>, 所以channel的顺序就是R,G,B
     for (int c =0; c < 3;c++)
     {
         Emgu.CV.Mat chMat = new Emgu.CV.Mat();
         CvInvoke.ExtractChannel(image.Mat, chMat, c);
         float[] chFloat = new float[chLen];
         Marshal.Copy(chMat.DataPointer, chFloat, 0, chLen);
         Array.Copy(chFloat, 0, data, c * chLen, chLen);
     }

     return data;
 }
- 测试结果
在4070ti 上测试,单张图片分类,速度约为onnx的1.6倍
其中onnx因为是线程安全的,我用了多线程,trt是用的单线程
时间包含了加载模型,数据库拿image,image的preprocess,所以单张速度应该在2倍左右,batch size如果大一点,提升能更大
| model | cycle per second |
|---|---|
| onnx | 96.02 |
| TensorRT | 158.81 |


【推荐】国内首个AI IDE,深度理解中文开发场景,立即下载体验Trae
【推荐】编程新体验,更懂你的AI,立即体验豆包MarsCode编程助手
【推荐】抖音旗下AI助手豆包,你的智能百科全书,全免费不限次数
【推荐】轻量又高性能的 SSH 工具 IShell:AI 加持,快人一步
· 分享一个免费、快速、无限量使用的满血 DeepSeek R1 模型,支持深度思考和联网搜索!
· 25岁的心里话
· 基于 Docker 搭建 FRP 内网穿透开源项目(很简单哒)
· ollama系列01:轻松3步本地部署deepseek,普通电脑可用
· 按钮权限的设计及实现