[转]A message is added to the Dead Letter Queue (DLQ)
A message is added to the Dead Letter Queue (DLQ)
Summary
A message is added to the Dead Letter Queue (DLQ). Use the ‘Service Bus Explorer’ tool to identify and resolve the error.
Cause
This alert is sent when a new message is added to the Dead Letter Queue (DLQ).
Resolution
Use the Service Bus Explorer tool to view the dead letter queues and resolve the issue using the following steps:
Service Bus Explorer is an open source tool that can be used to manage Azure Service Bus. For additional information on the Service Bus Explorer tool, see External Links.
Steps to connect to the Azure Service Bus namespace
-
Open the Service Bus Explorer tool.
-
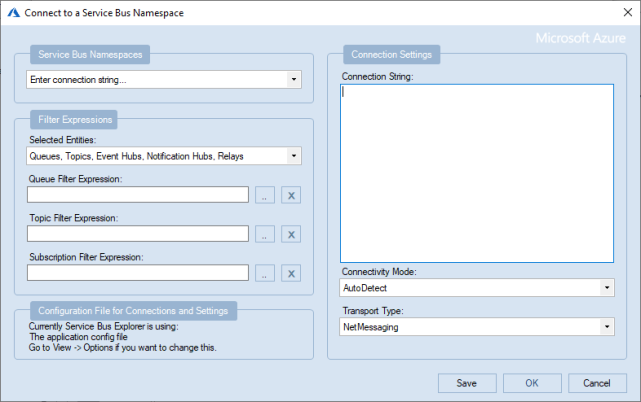
Click File > Connect.
The Connect to a Service Bus Namespace dialog box is displayed.
![]()
-
In the Service Bus Namespace field, select Enter connection string.
-
In the Connection String field, specify the connection string generated for the Service Bus Namespace on Azure portal. To obtain the connection string for Service Bus Namespace, perform the following steps:
-
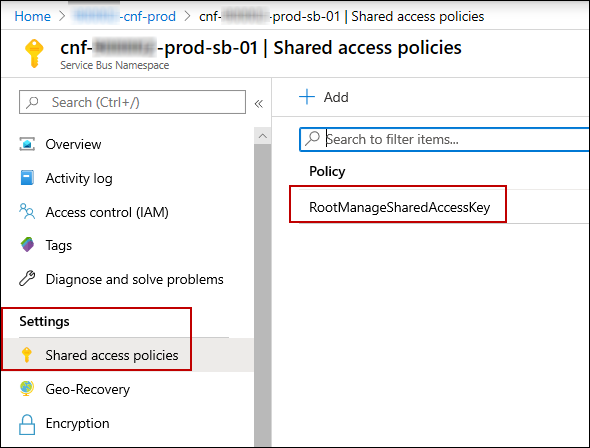
On the Azure Portal, navigate to the Resource group under which the service bus namespace is created and click on the service bus namespace name.
-
In the service bus namespace page, on the left pane, click Settings > Shared access policies, and click the RootManageSharedAccessKey policy.
![]()
-
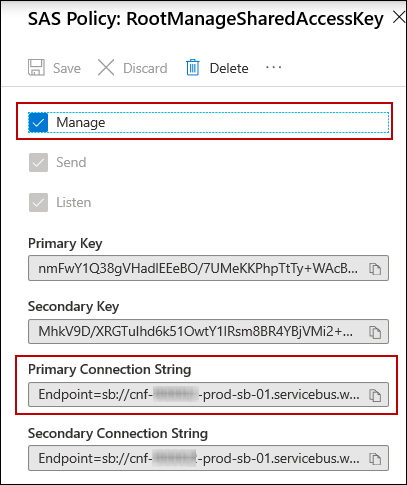
In the SAS Policy: RootManageSharedAccessKey page, if the keys are not already generated, click the Manage check box to generate the keys and connection strings.
![]()
- Copy the value from the Primary Connection String field.
-
-
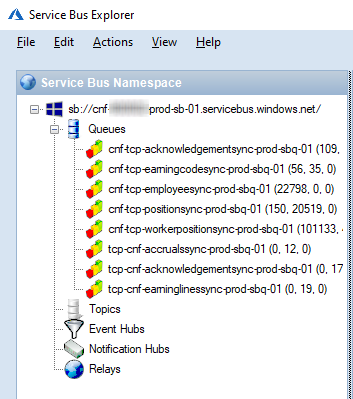
In the Enter the key for the Service Bus namespace dialog, click OK.
The Service Bus Namespace is connected, and the queues within the namespace are listed.
![]()
Steps to view the Dead Letter Queue and resolve the issue
-
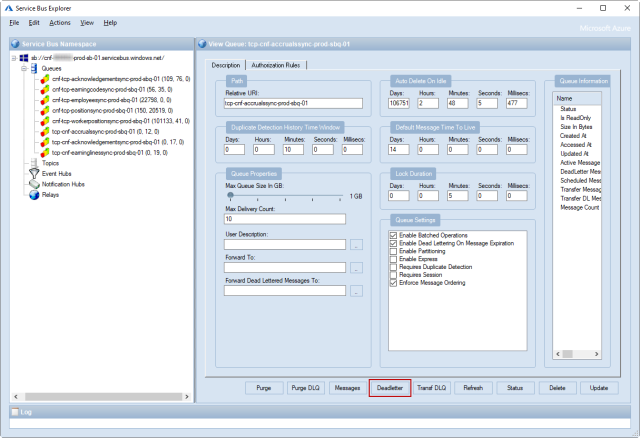
In the Service Bus Explorer, connect to the service bus namespace for which the alert is triggered.
![]()
-
Select a queue, and click the Deadletter button.
-
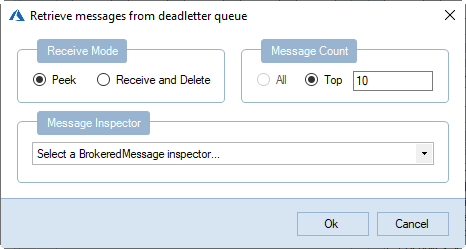
In the Retrieve messages from deadletter queue dialog, click Ok.
![]()
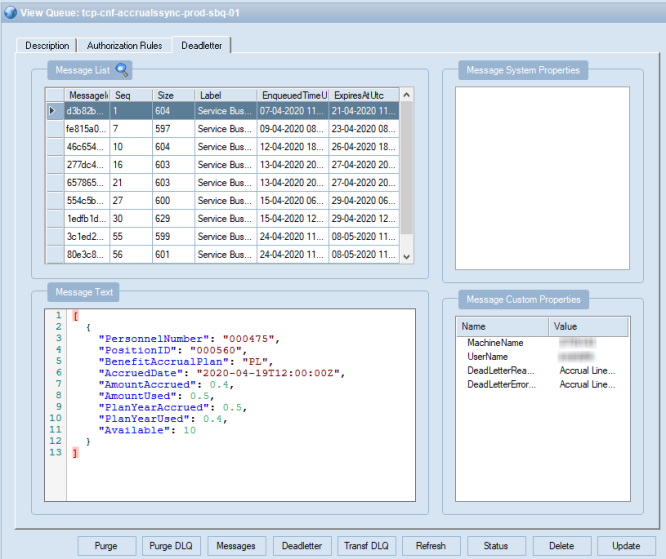
The deadletter messages are displayed in the Deadletter tab.
![]()
-
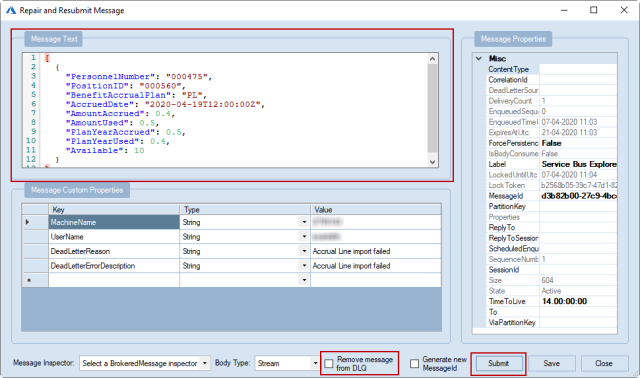
Double-click on a dead letter message to view the Repair and Resubmit Message dialog.
![]()
The dead letter message is removed from the list in the Deadletter tab.
-
In the Repair and Resubmit Message dialog, perform the following steps:
-
In the Message text field, make the required corrections to the message.
-
Select the Remove message from DLQ check box.
-
Click Submit.
-
In the Select a target Queue or topic dialog, and click Ok.
-
External Link(s)
当在复杂的环境中面临问题,格物之道需:浊而静之徐清,安以动之徐生。 云中,恰是如此!

 浙公网安备 33010602011771号