Eureka服务治理-注册中心和注册服务
一、Eureka介绍
Spring Cloud Eureka 是 Spring Cloud Netflix组件之一,是微服务架构中最为核心和基础的模块,主要用来实现各个微服务实例的自动化注册与发现。
二、Eureka组成
Spring Cloud Eureka 主要包含了服务端和客户端组件:Eureka Server 服务端、Eureka Client 客户端。
Eureka Server,是提供服务注册与发现功能的服务端,也称作服务注册中心,Eureka 支持高可用的配置。
Eureka Client 客户端,主要处理服务的注册和发现,需要注册的微服务向 Eureka Server 注册自身提供的服务并通过心跳机制实现注册中心与微服务的通信,更新服务租约,刷新服务状态。
三、搭建注册中心
1、创建SpringBoot项目(sc-demo)
由于SpringCloud是多个子项目的总括,建议先了解一下SpringCloud 和 SpringBoot 版本对应关系,比如SpringBoot用的最新版本,SpringCloud引用的依赖版本过低,启动就会报错如Unable to start embedded Tomcat等问题。
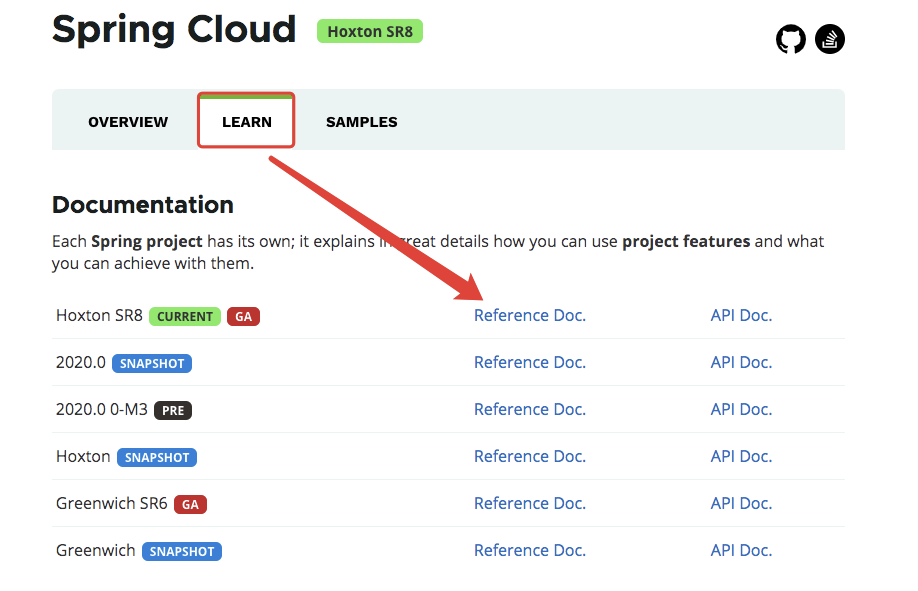
Spring Cloud官方链接:https://spring.io/projects/spring-cloud

这里我创建的SpringBoot项目是2.3.3版本,官方链接可以看到2.3.3对应的SpringCloud版本是Hoxton SR8。
引入依赖
<!-- 引入 Spring Cloud 的依赖,管理 Spring Cloud 各组件 -->
<dependency>
    <groupId>org.springframework.cloud</groupId>
    <artifactId>spring-cloud-dependencies</artifactId>
    <version>Hoxton.SR8</version>
    <type>pom</type>
    <scope>runtime</scope>
</dependency>

<!-- SpringCloud eureka-server -->
<dependency>
    <groupId>org.springframework.cloud</groupId>
    <artifactId>spring-cloud-starter-netflix-eureka-server</artifactId>
    <version>2.2.5.RELEASE</version>
</dependency>
2、修改application.yml配置
server:
  port: 8900

eureka:
  instance:
    hostname: localhost
  client:
    register-with-eureka: false
    fetch-registry: false
    service-url:
      defaultZone: http://localhost:8900/eureka/
属性说明:
-
server.port:当前 Eureka Server 服务端口;
-
eureka.client.register-with-eureka:是否将当前 Eureka Server 服务作为客户端进行注册,false代表不向注册中心注册自己;
-
eureka.client.fetch-registry:是否获取其他 Eureka Server 服务的数据,由于注册中心职责就是维护服务实例,并不需要检索服务,所以也设置为false;
-
eureka.client.service-url.defaultZone:注册中心的访问地址。
3、修改启动类
通过 @EnableEurekaServer 注解声明该类是一个Eureka Server微服务
@EnableEurekaServer
@SpringBootApplication
public class ScDemoApplication {
    public static void main(String[] args) {
        SpringApplication.run(ScDemoApplication.class, args);
    }
}
4、启动
打开浏览器,访问http://localhost:8900,可看到如下界面,注册中心启动成功。

No instances avaliable 表示当前没有发现微服务实例,即没有微服务完成注册;
如果我们将 application.yml 中的 register-with-eureka 属性值改为 true,重启后见下图:
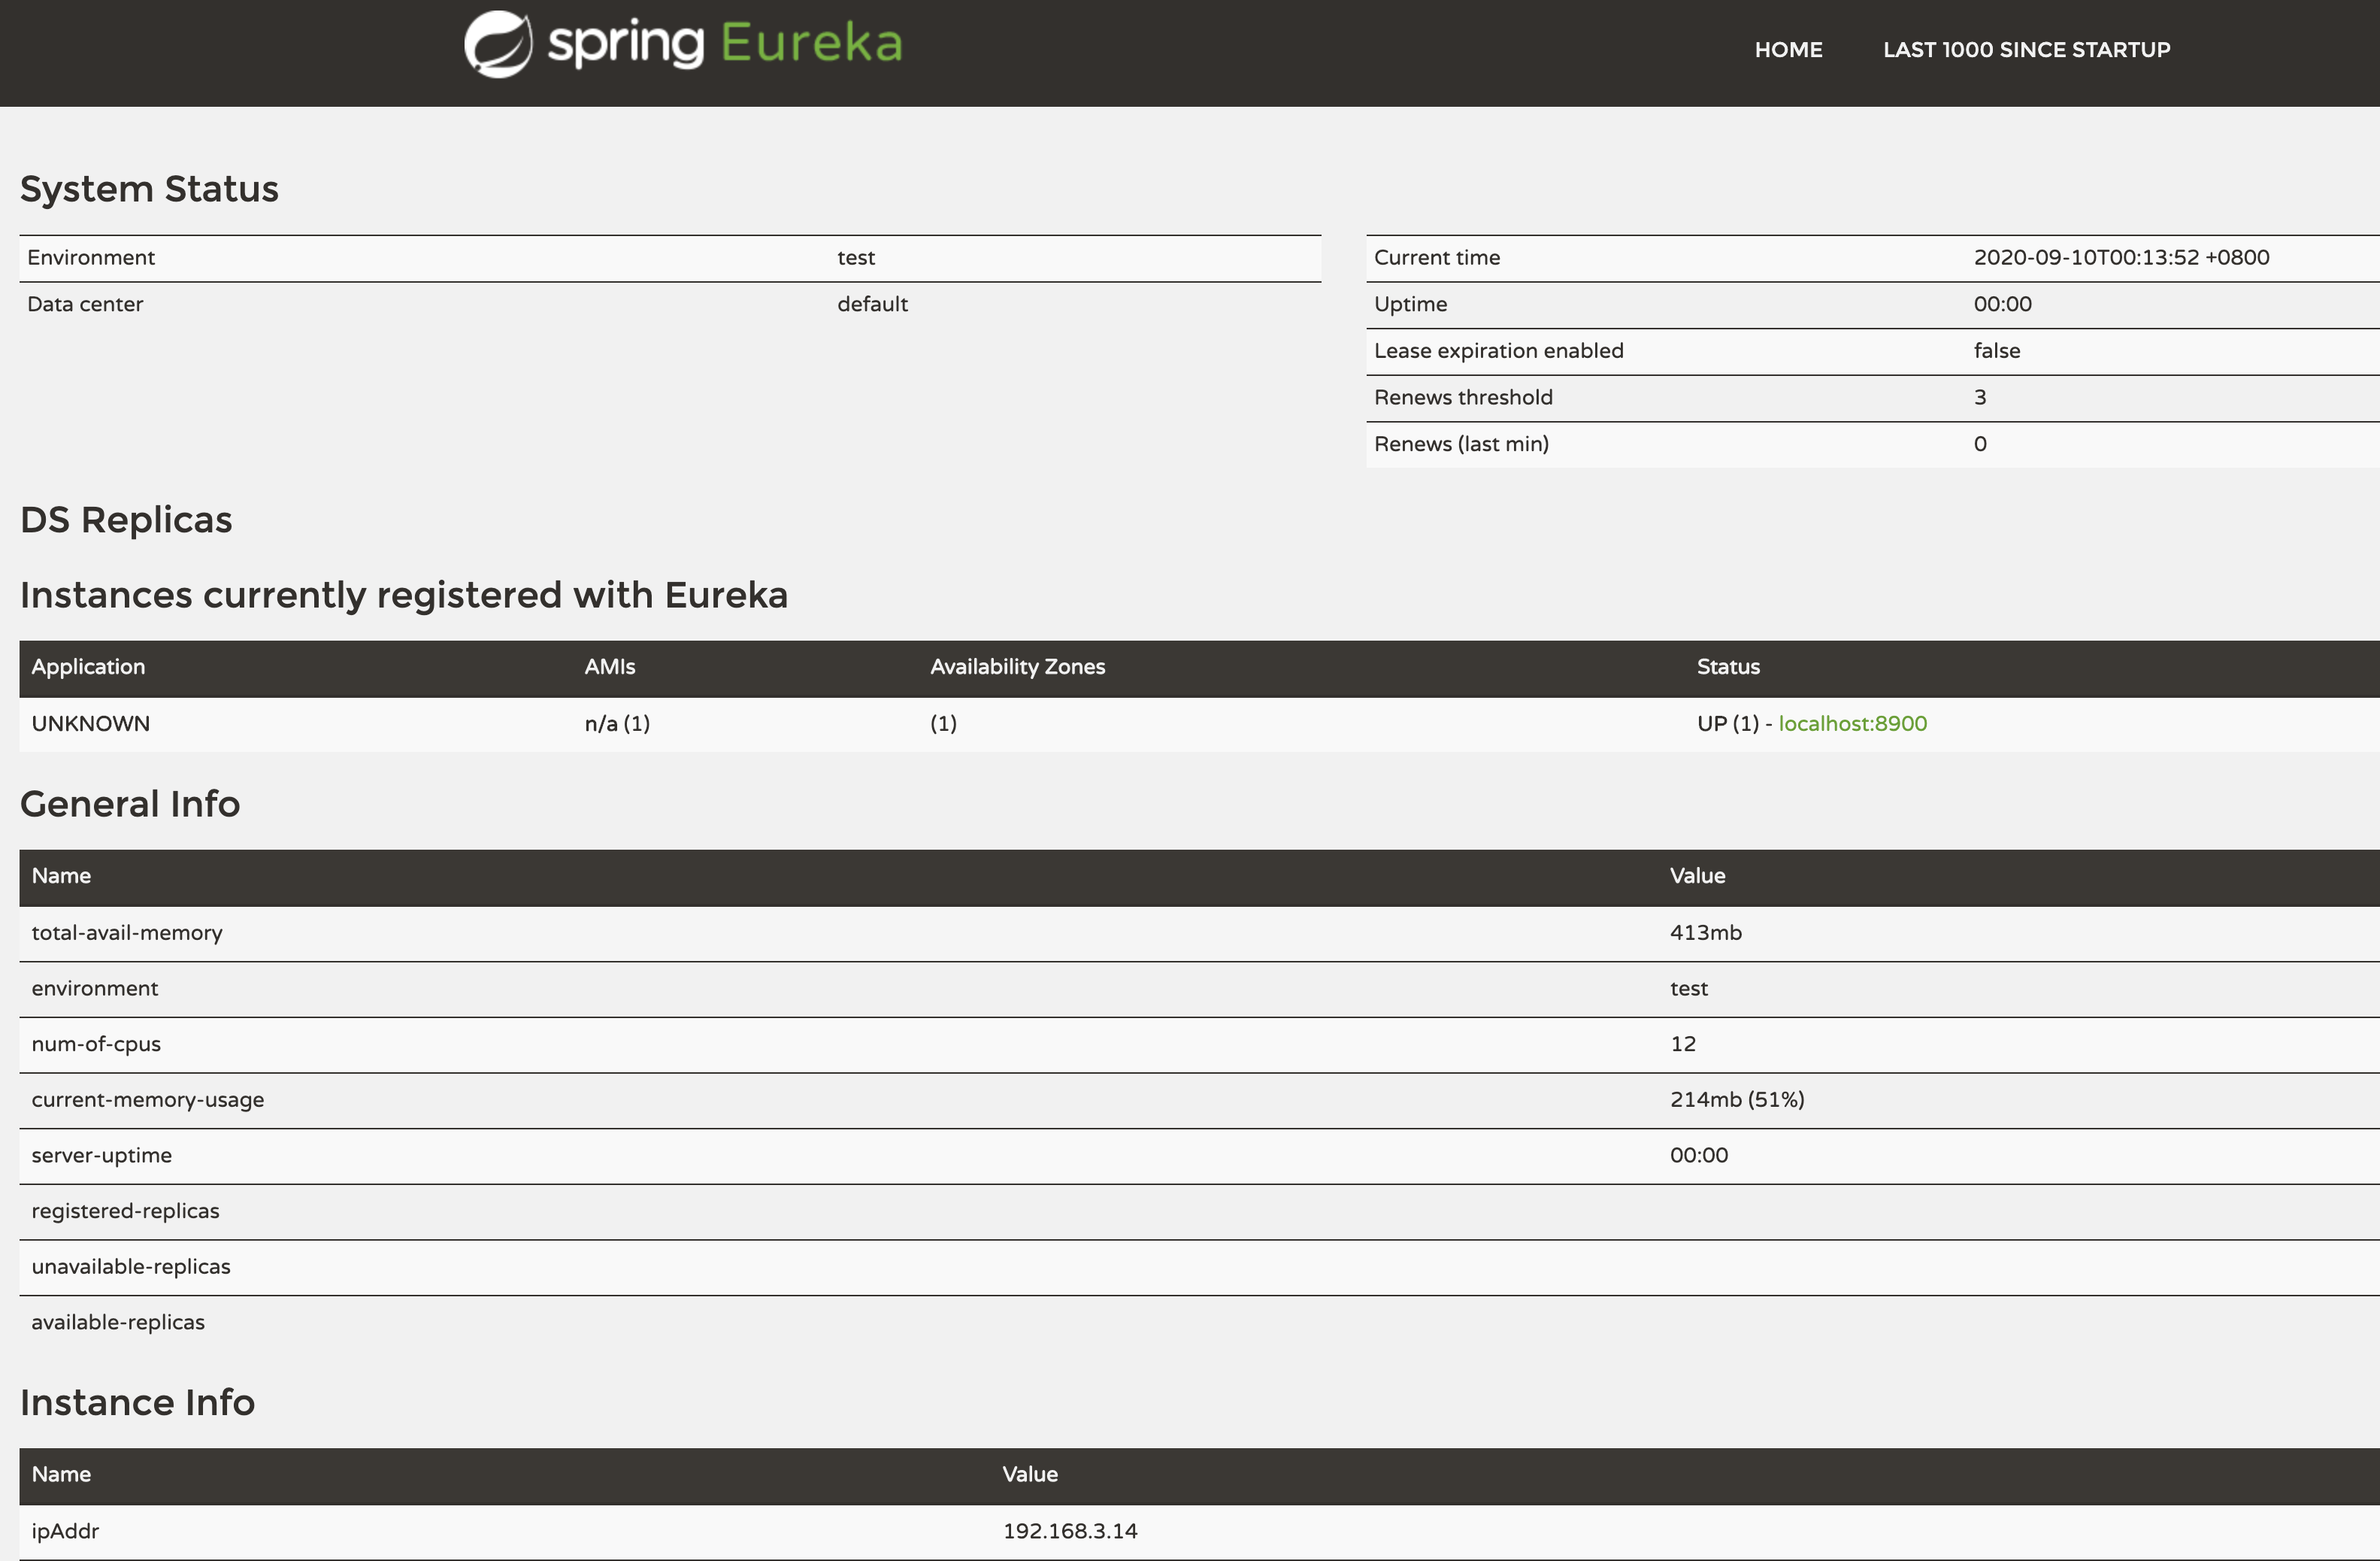
表示当前注册中心有一个客户端服务注册在案,即 Eureka Server 自己。
四、注册服务提供者
1、新建SpringBoot项目(provider)
引入 Eureka Client 依赖
<!-- 引入 Spring Cloud 的依赖,管理 Spring Cloud 各组件 -->
<dependency>
    <groupId>org.springframework.cloud</groupId>
    <artifactId>spring-cloud-dependencies</artifactId>
    <version>Hoxton.SR8</version>
    <type>pom</type>
    <scope>runtime</scope>
</dependency>

<!-- Spring Eureka client-->
<dependency>
    <groupId>org.springframework.cloud</groupId>
    <artifactId>spring-cloud-starter-netflix-eureka-client</artifactId>
    <version>2.2.5.RELEASE</version>
</dependency>
2、修改application.yml配置
server:
  port: 8901
spring:
  application:
    name: provider
eureka:
  client:
    service-url:
      defaultZone: http://localhost:8900/eureka/
  instance:
    prefer-ip-address: true
属性说明:
-
server.port:当前 Eureka Client 服务端口。
-
spring.application.name:当前服务注册在 Eureka Server 上的名称。
-
eureka.client.service-url.defaultZone:注册中心的访问地址。
-
eureka.instance.prefer-ip-address:是否将当前服务的 IP 注册到 Eureka Server。
3、启动
先后启动注册中心(sc-demo)和 提供者(provider)项目,浏览器输入localhost:8900,如下图所示:
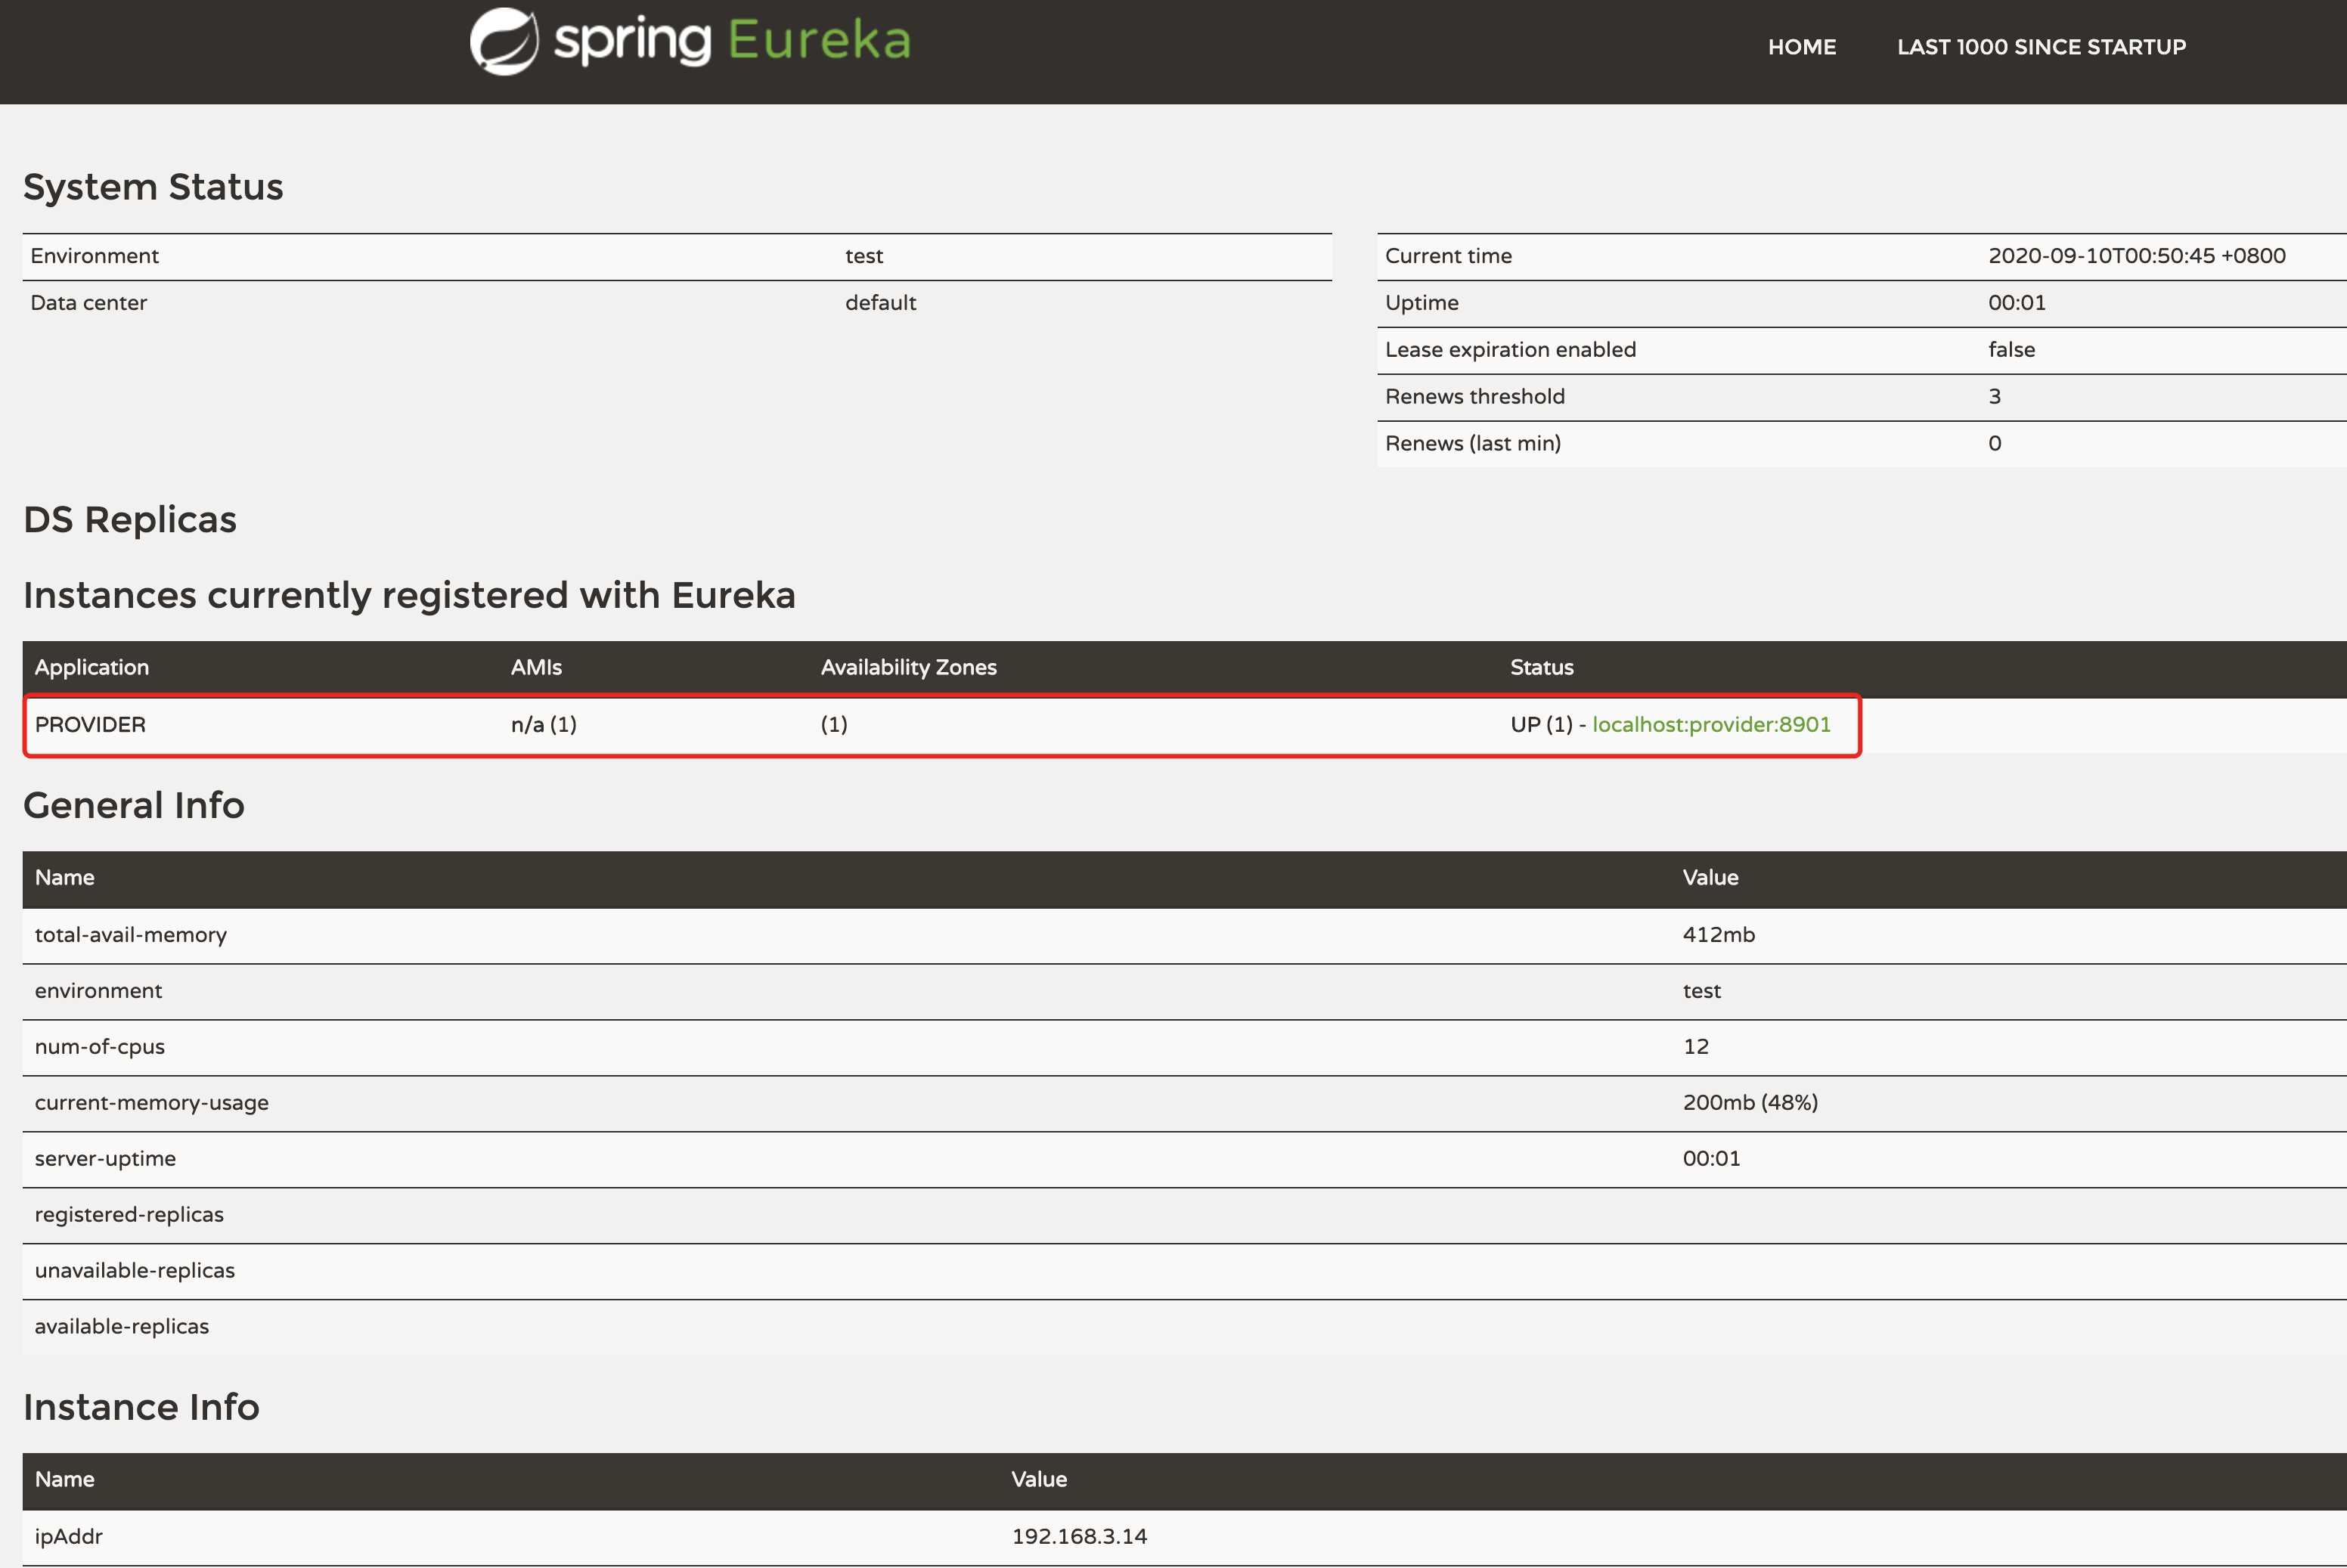
可以看到服务提供者 provider 已经在 Eureka Server 完成注册,接下来就可以访问 provider 提供的相关服务了。
备注:
Eureka 客户端不使用 @EnableEurekaClient 注解也可以注册到注册中心,这应该是新版Spring Cloud的特性,引用依赖即可,未做深究,这里做个记录。
